Banana Blossom curry (Vaazhaipoo curry)


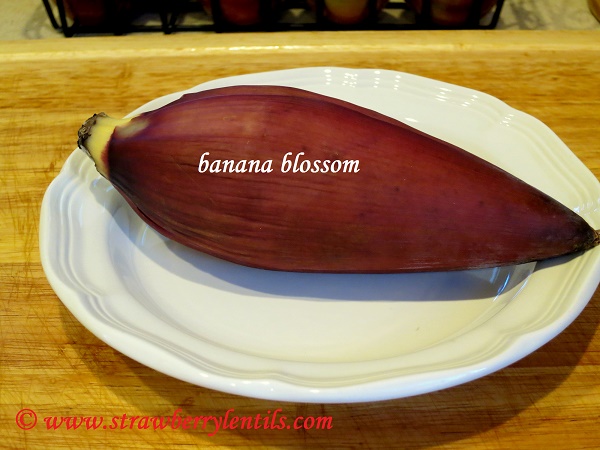
The banana tree is a true giver, all parts of the plant : the tender bark, the leaves, the flowers , the fruits…. either are edible or they aid in cooking. Banana blossoms, rich in antioxidants , flavonoids and vitamin E are found to stabilize blood sugar levels and elevate mood among other health benefits. Prepping the flower for cooking can be cumbersome, but its unique taste is completely worthy of the time and efforts.

Image

If you are new to cooking with the blossom, this post can show you how to properly prep the flower. The blossom can be used in stir fries, salads, stews and curries. The most popular concoction is the “vazhaipoo vadai” (crispy patties made with chickpeas and the banana flowers). Though the flowers can be used in any curry, here I have given my mushroom curry recipe, replacing mushrooms with the banana flowers.

Without further ado, here is how to prep the blossom for cooking :

[Either use  food prep gloves or rub sesame oil on your fingers before working with the blossom to avoid staining.]

  • The petals are layered on top of one another and as you remove each petal you will find the cluster of tiny flowers inside.

Image

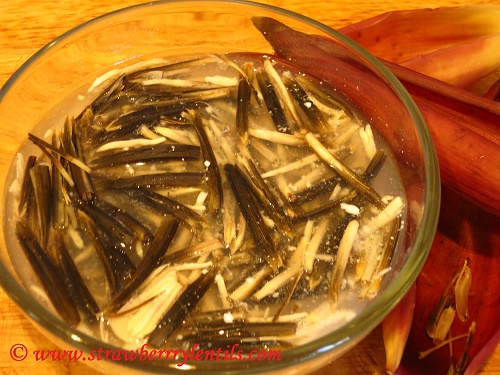
  • Actually in a fresh banana blossom , the flowers are slightly pinkish (as shown in the image below). However, the blossoms I get here are either refrigerated or frozen before they make it to the stores, so the black color. However, the color doesn’t affect the taste.

Image

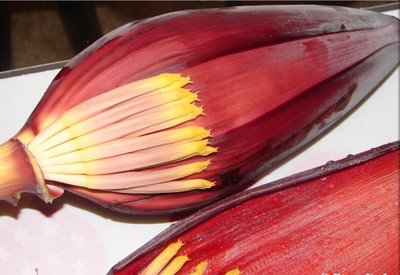
[Image from : http://www.moorheadandrutter.com.au]

  • As you remove the layers you will notice the flowers getting smaller and tender.

Image

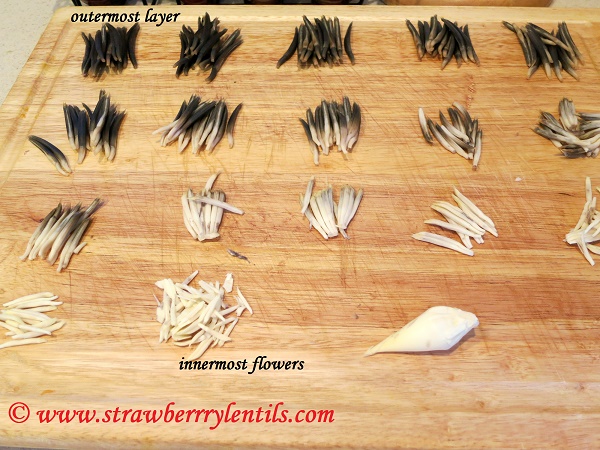
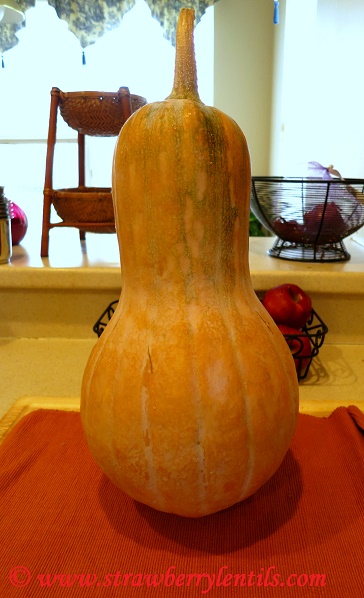
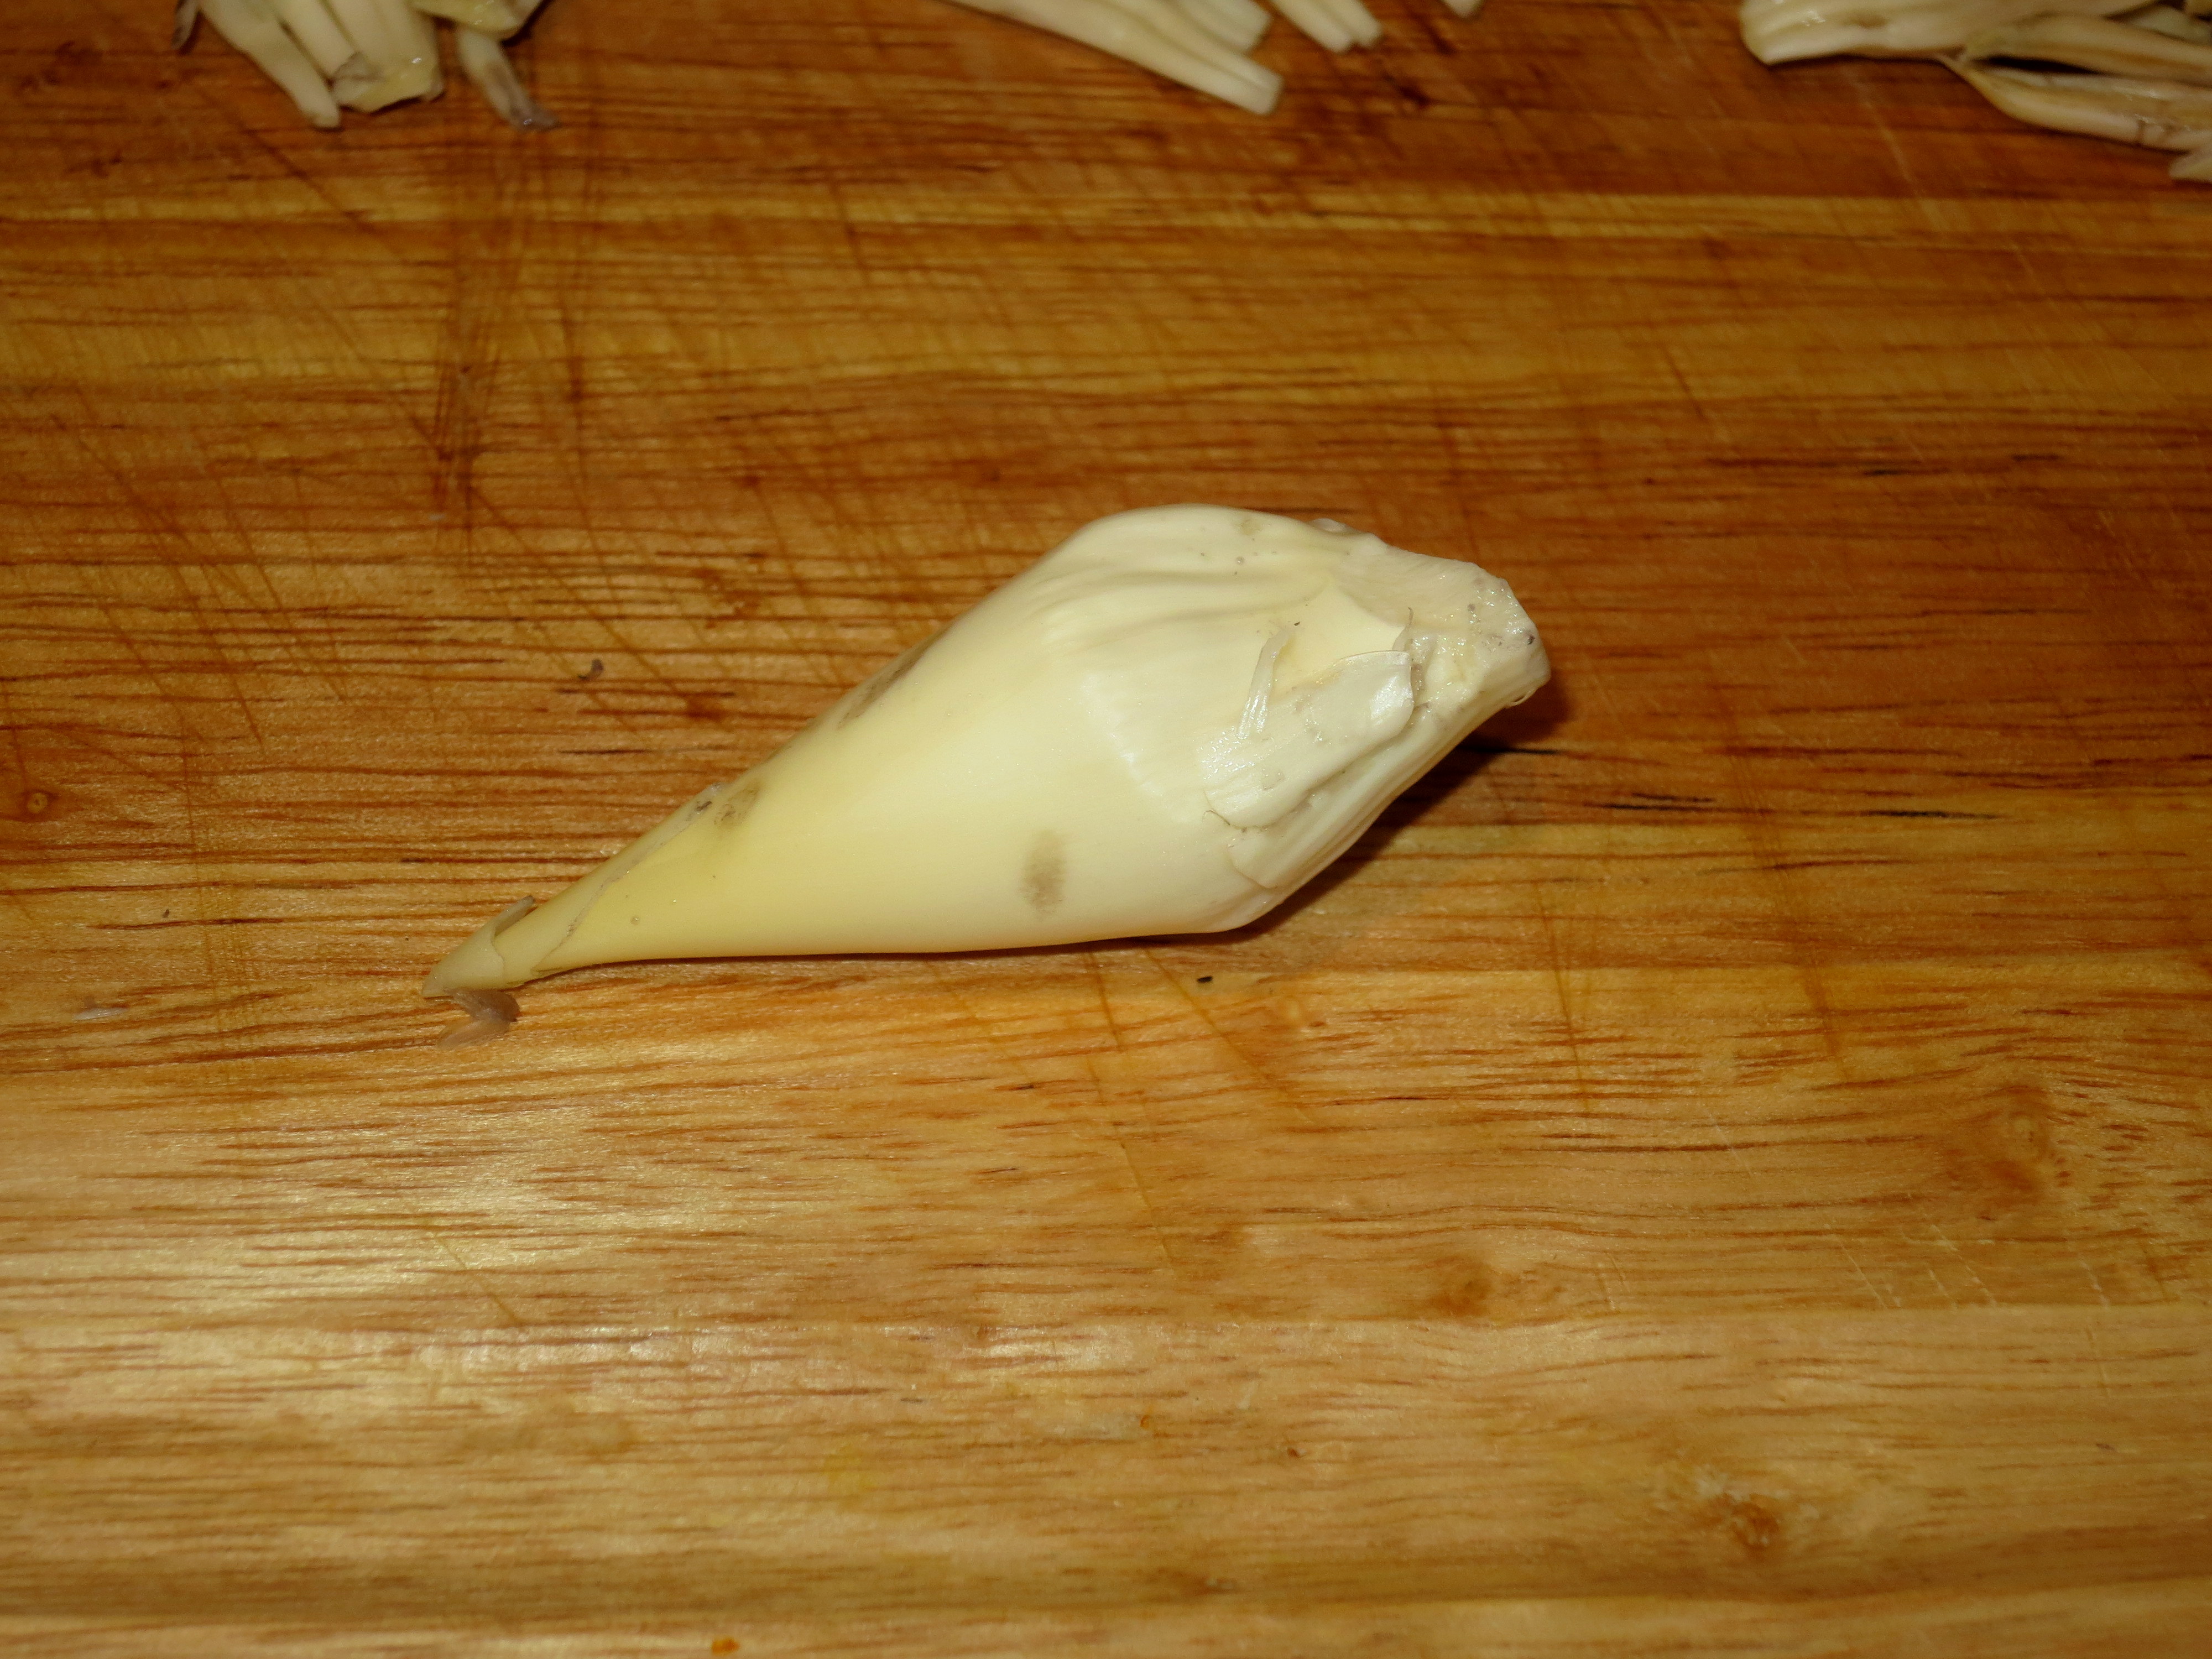
  • Finally you will end up with this beautiful tender bud, which can be either eaten  raw or sliced up and used in cooking.

Image

  • Once you have removed all the flowers, each flower must be individually prepped by removing some unwanted parts (similar to deveining a shrimp).

Image

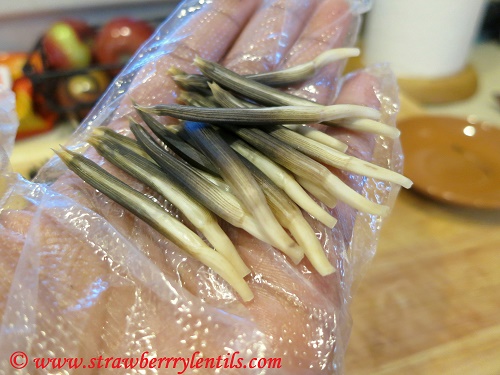
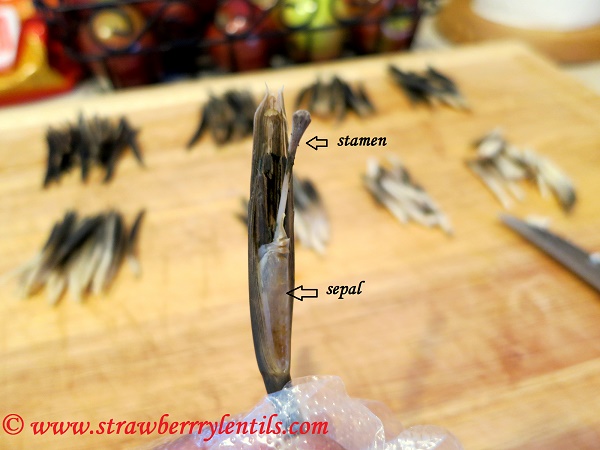
  • Each mature flower has  a stamen and a sepal (a wax paper like layer). It is important to remove both , as the stamen and sepal will stay raw even after cooking, resulting in an unpleasant texture and taste.

Image

Image

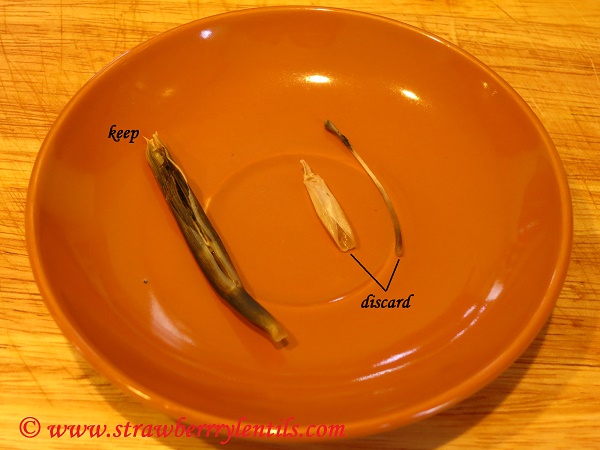
  • It is time consuming but if it is any consolation, only the outer 4 or 5 clusters will have stamen and sepal. The middle clusters won’t have a prominent sepal. The inner flowers are very tender and they can be used as such.

Image

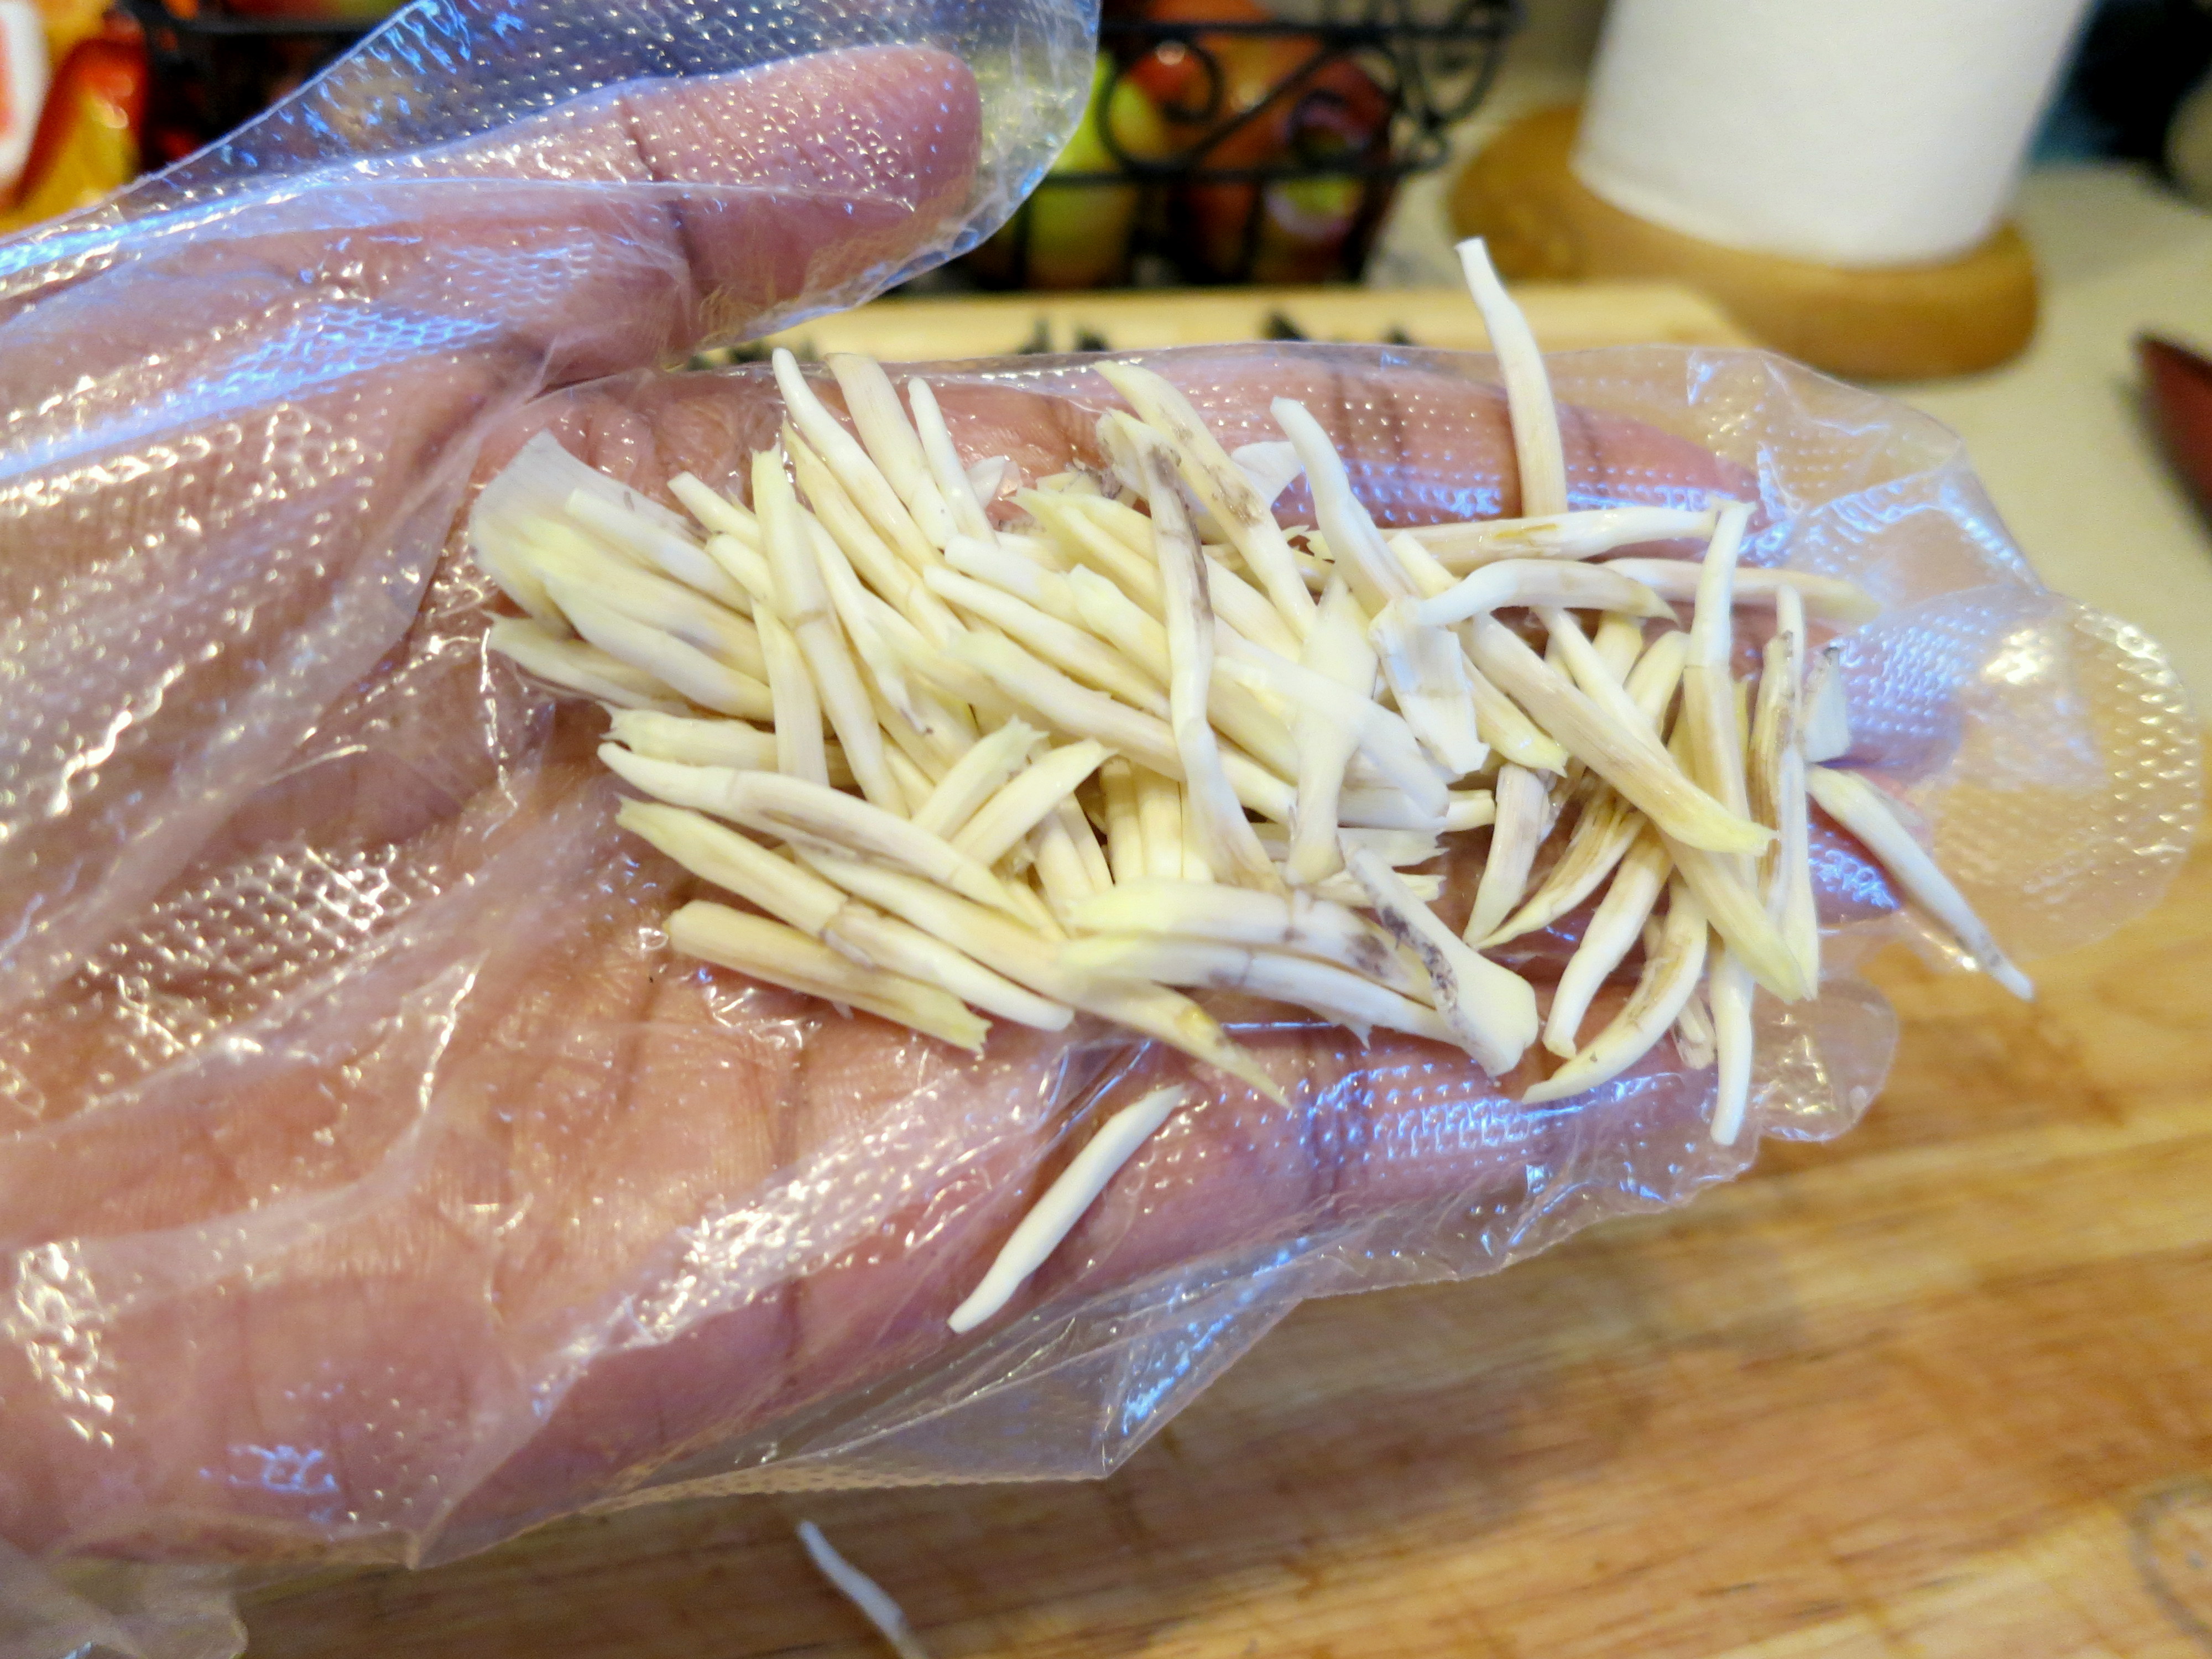
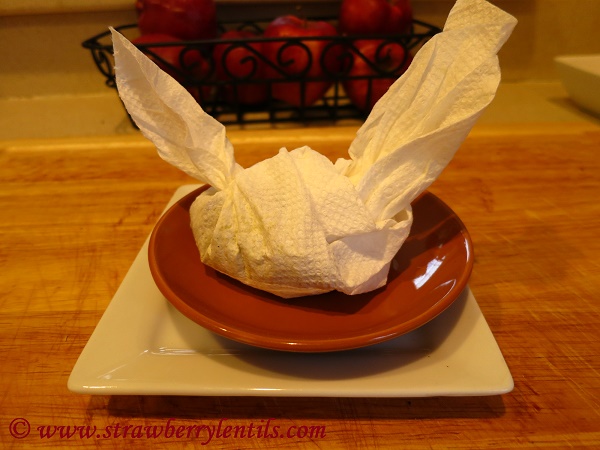
  • Soak the cleaned flowers in diluted buttermilk until you need them.

Image

This concludes the prepping of the banana blossom. No matter what you choose to make with them, the above steps have to be done first.

Now for the curry recipe :

I normally make this curry with mushrooms. The cooked flowers have a similar texture to mushroom, so I figured this would be a good choice. You can add the florets in any curry of your choice.

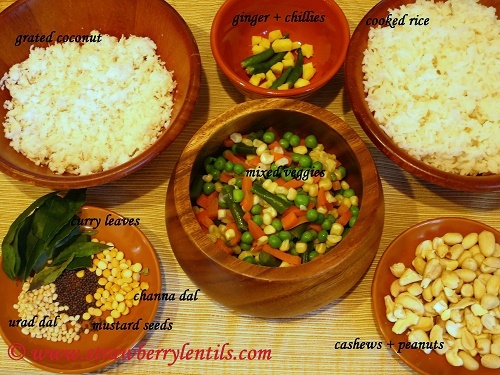
To make the cooking sauce for this curry, you will need :

Image

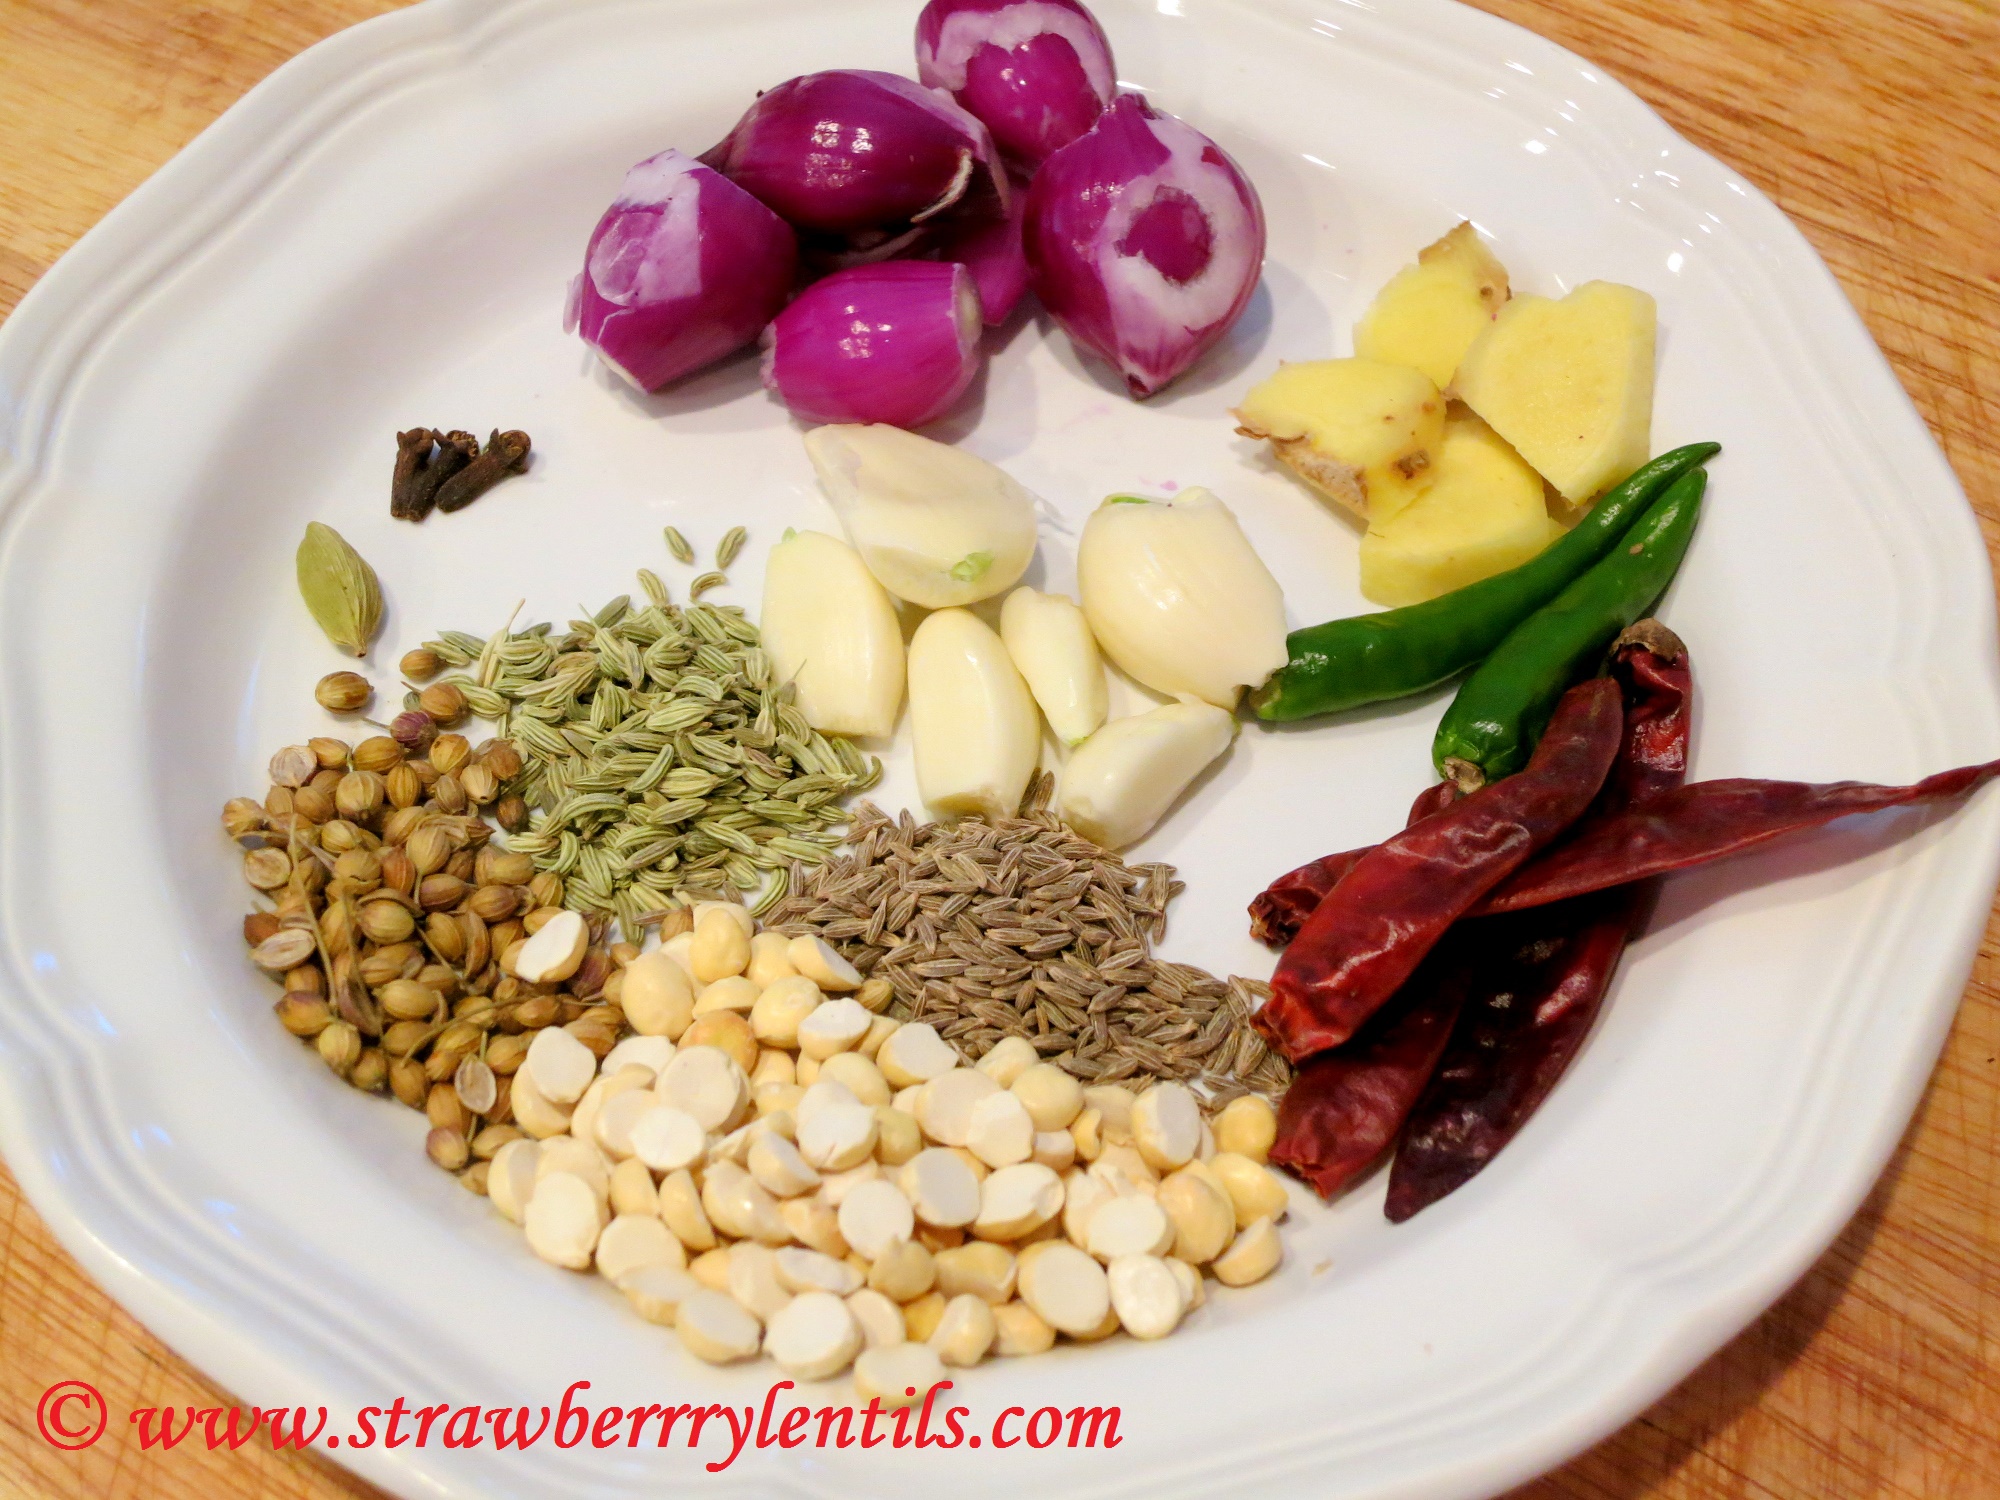
  1. Pearl Onions – 5 or 6
  2. Ginger – 1 inch piece
  3. Garlic – 4 or 5 cloves
  4. Green chilli – 1 (optional)
  5. Dry red chiilies – 3 or 4 (use red pepper flakes instead)[use only 1 or 2 chillies for milder curry]
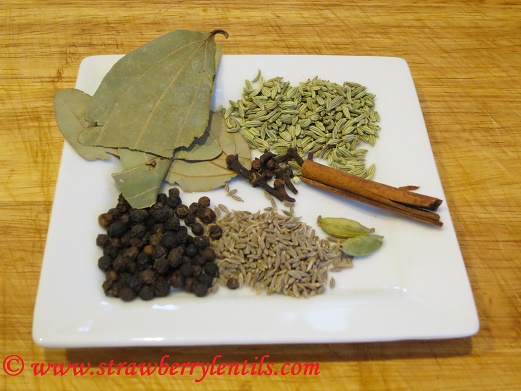
  6. cloves – 3
  7. cardamom – 1
  8. fennel – 1 tsp
  9. cumin – 1 tsp
  10. coriander seeds (dhaniya) – 1 tsp
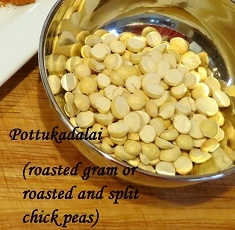
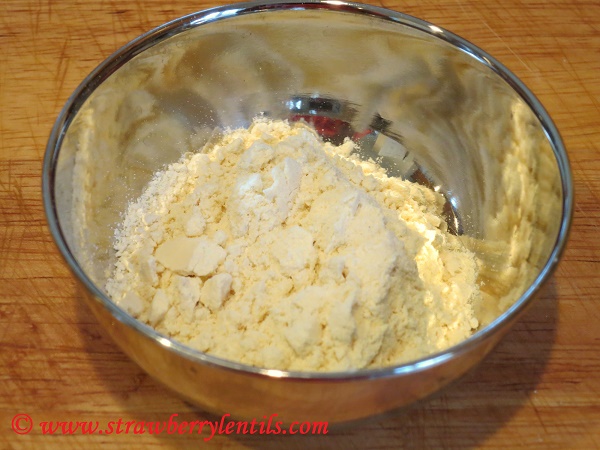
  11. roasted gram dhal (pottukadalai) – 1 tbsp (replace with cashews or grated coconut)

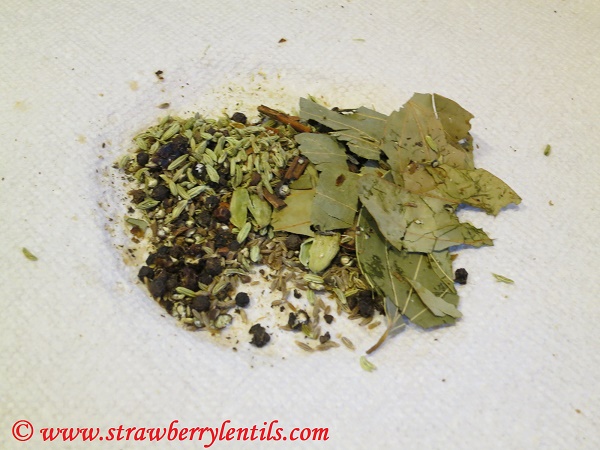
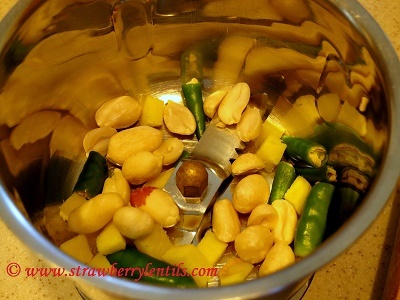
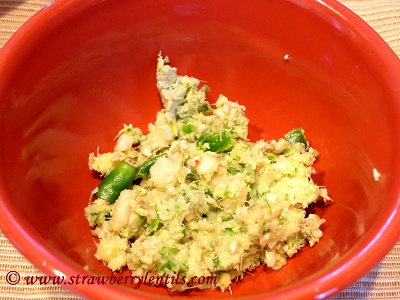
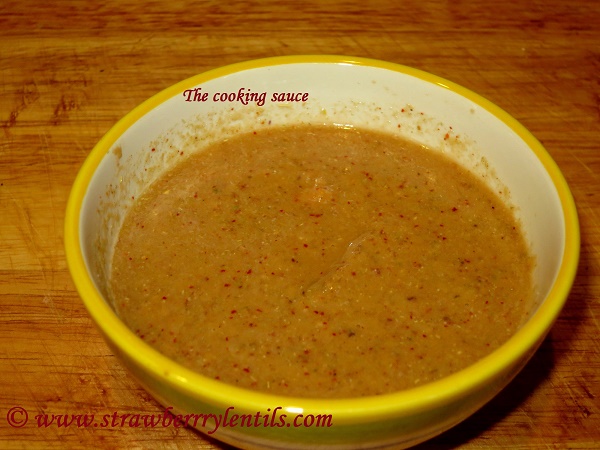
I know thats a lot of ingredients, but they result in a very aromatic curry. No fancy ingredients anyways 🙂 . Grind all the above ingredients with little water to make the cooking sauce.

Image

  • You will also need :
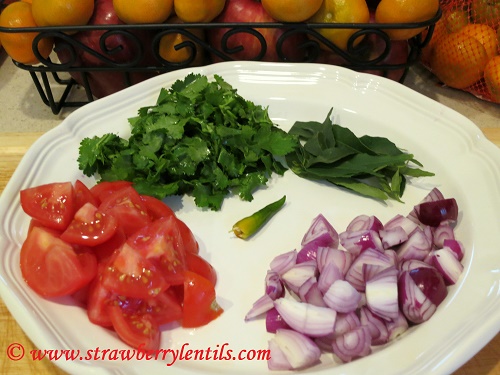
  1. onions – 1 medium (chopped)
  2. tomatoes – 1 large or 2 medium (diced)
  3. curry leaves – few
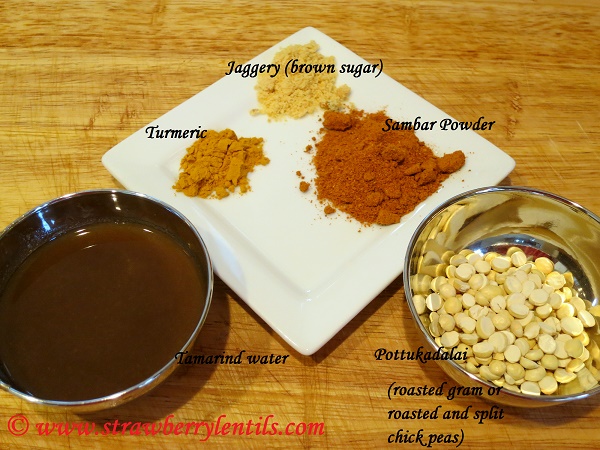
  4. turmeric powder – 1 tsp

Image

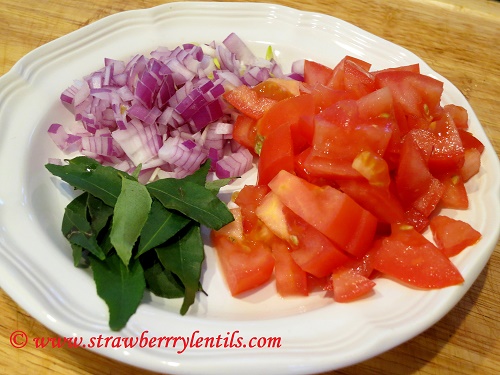
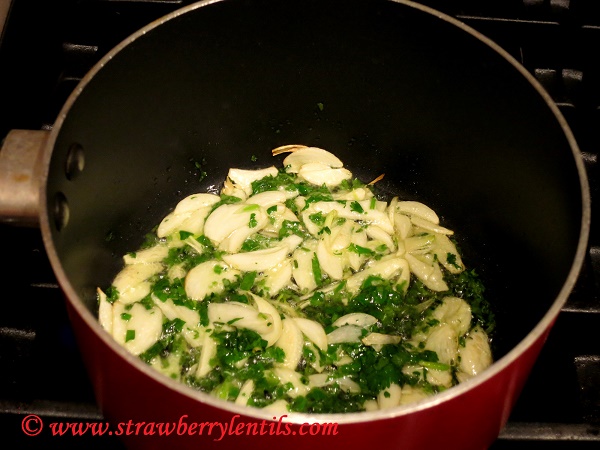
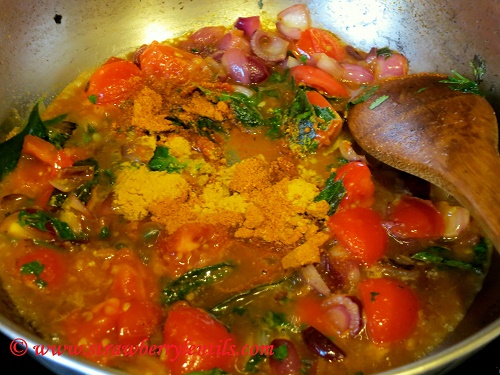
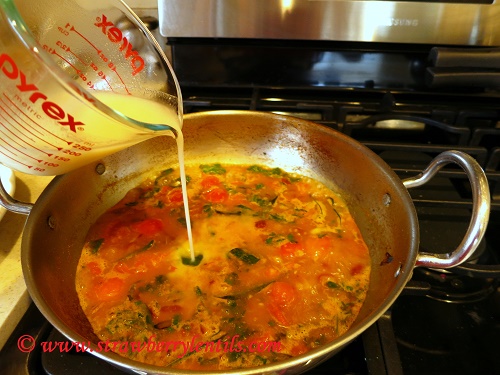
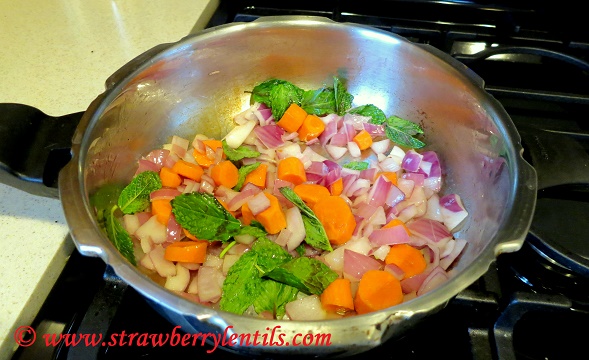
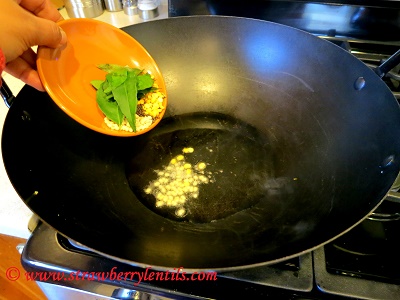
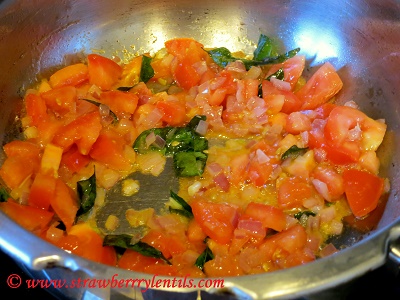
  • In a pan , heat a 2 tsp of oil, and saute the onions and curry leaves. Then add the tomatoes and cook until tomatoes soften.

Image

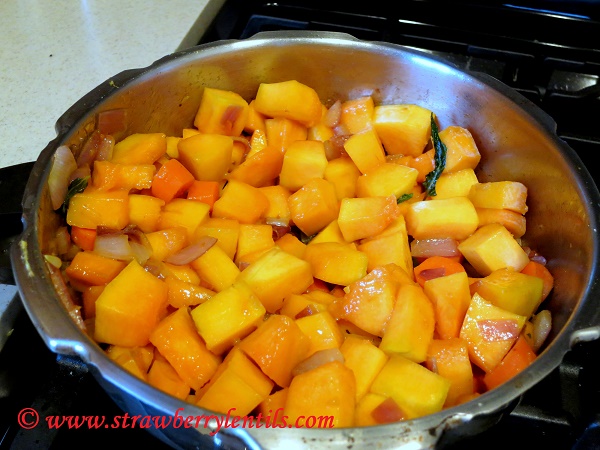
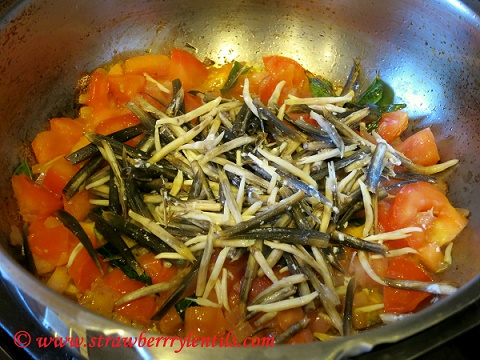
  • Add the banana flowers (that were soaking in buttermilk) to the pan and saute.

Image

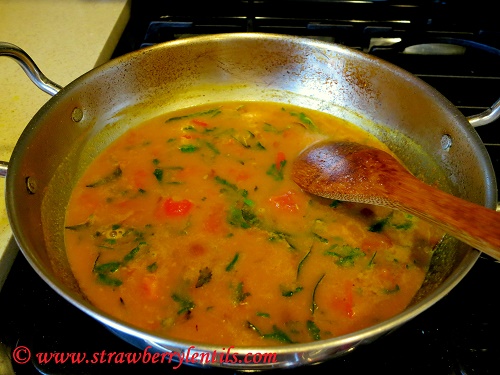
  • Add the cooking sauce , turmeric powder, salt and mix well.

Image

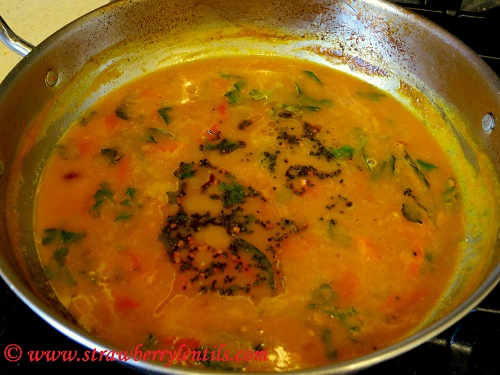
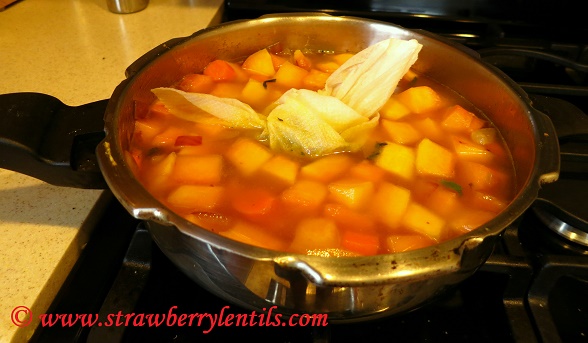
  • Add about half a cup of water and cook until the flowers are tender and oil starts to separate. It will take about 15 – 20 minutes in medium heat.

Image

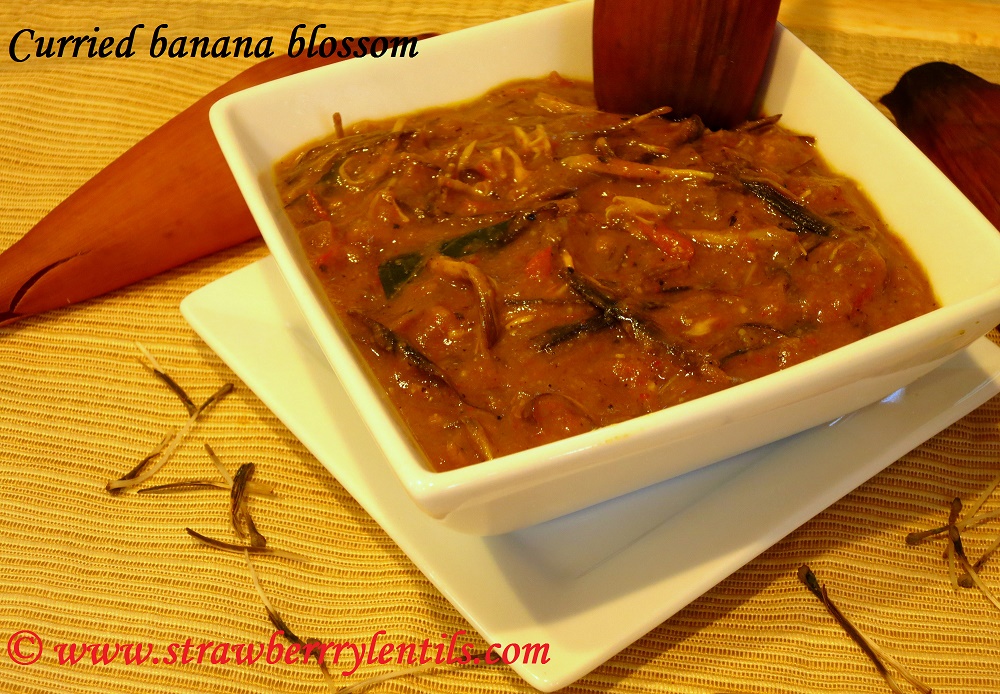
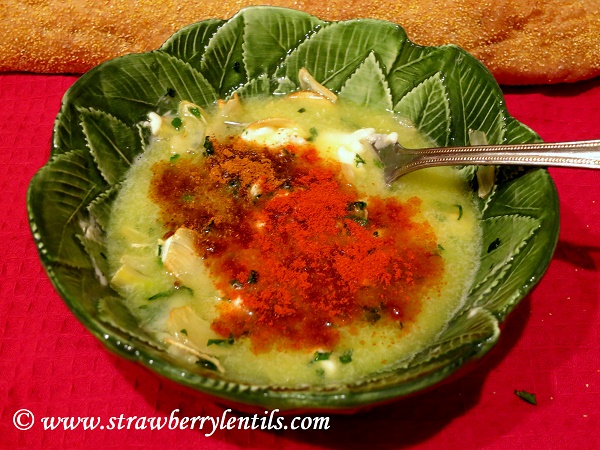
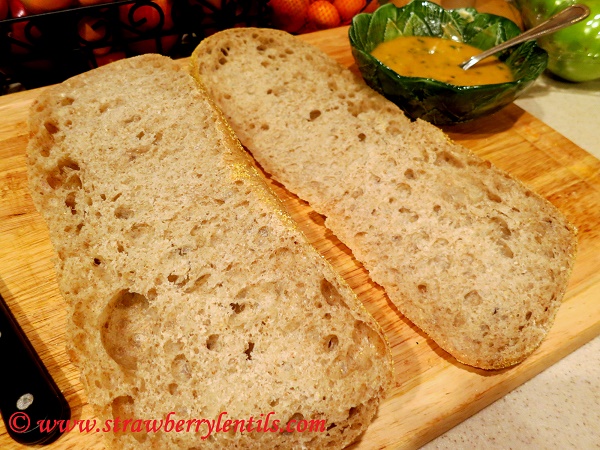
I like this curry for its flavors and also that it goes well with rice, rotis, idli and dosa. You will definitely appreciate the unique taste of banana flowers in this curry. Hope you try it 🙂 !

Garlic Bread (with Indianised garlic butter)


The perk of home cooking is customizing recipes to suit our own taste buds. There are countless times, I had eaten something outside wondering “hmmm….if it just had a hint of chillies” . That too , when you try something from a different cuisine and wondering how it would taste with a sprinkle of chaat masala or garam masala, there is only one option “DIY” :). I lovvvvveee garic bread (who doesn’t ?)….the golden toasted crust with half crisp and half soft insides soaked in garlic…..I so wish, its  health food 😦 . Every time I ate garlic bread, I sprinkled some crushed red peppers on the slices, and I  believe that red chillies and garlic compliment each other so well. So when I had this intense craving to taste garlic bread spiced up with red chiili powder and garam masala, I knew I had to make it :).

I am not baking any breads yet (I might soon give it a try 🙂 ), I got a nice ciabatta roll and made an Indian spiced garlic butter and was all set to go. The prep time was 5 minutes , the cooking time was 10 minutes….. an easy entertainer recipe !

Here are a few things you will need :

  1. Ciabatta roll (any French or Italian bread will do too) – 1 loaf
  2. Butter (or butter substitute) – 1/2 stick or 2 oz or about 50 gm
  3. Oil – 2 tbsp
  4. Garlic cloves – about 8
  5. Chopped Cilantro – 2 tbsp ( use parsley instead)
  6. red chilli powder – 1.5 tsp
  7. garam masala – 1.5 tsp

Image

  • Slice garlic cloves into thin chips. You can also finely mince garlic. But I like nibbling on the crispy garlic flakes at the end.
  • Heat oil in a pan and saute garlic and cilantro , just for a few seconds.

Image

  • Make sure the butter is at room temperature and soft. Add the hot oil with garlic and cilantro to the butter. And also add chilli powder and garam masala to the butter. The hot oil will melt the butter slightly, which is okay. If you used unsalted butter, you might have to add just a pinch of salt to the mix.

Image

  • Slit the ciabatta into halves.

Image

  • Spread the garlic butter on the halves. And make sure the garlic flakes are uniformly spread.

Image

  • Bake at 350 degrees for 10 minutes. I pulled them out after 10 minutes and sprinkled some parmesan just on kids’ portion and returned to the oven and baked at 425 degrees for  another 3 minutes.

Image

The toasted garlic chips easily fall off the bread, so you don’t have to console a panicky child screaming “why do you have to put those awful garlic stuff on my garlic bread ??? ” (Experience !!! )

Slice and serve while the warm aroma fills your home and your soul 🙂

Image

I paired it with a clear soup to help keep the total calories in check and it was a good combo too 🙂

Image

Please let me know what spices you would like to have on your garlic bread, I will try it the next time !!!


The 5 minutes Sambar


Being a south Indian, sambar is our staple curry. I can make a pot of sambar , serve with rice for lunch and then serve with idlis or dosas for dinner, or serve with vadas for appetizers ,or as lentil soup, it is truly multi-purpose. Made with lentils and vegetables , it ranks high on nutritional value too. To make sambar in traditional way is not at all complicated, cook your lentils, cook your vegetables, add tamarind and sambar powder, add your favorite seasoning, temper with some ghee…..and that is all there is to it. But the lentils do take some time to cook, so it is not something you can make when you are trying to fix a meal in 10 minutes.

This quick sambar recipe replaces dal (lentils) with powdered split chickpeas (pottukadalai / roasted gram). Pottukadalai (fried gram) is the split and roasted chickpeas. Roasting is not done with oil, but done by applying high pressure (similar to how puffed rice is made). It is the most easily digestible form of chickpeas, porridge made out of this form of chick peas is a popular baby food. I encourage my kids to eat this roasted gram as such, a good source of protein yet mild on their stomachs.

Image

Ok, now to make this quick sambar, you will need :

  1. Pearl Onions – 7 or 8 (quartered)
  2. Tomatoes – 1 large or 2 medium
  3. Green chilli – 1 (slit)
  4. Cilantro – a good bunch
  5. Curry leaves – few
  6. Pottukadalai (Roasted gram) – 1 tbsp
  7. Tamarind water – 2 tbsp (diluted)
  8. Turmeric – 1 tsp
  9. Sambar powder – 2 to 3 tsp
  10. Salt to taste
  11. Vellam / Jaggery / Brown sugar – 1 tsp
  12. Mustard seeds, urad dal and ghee – 1/2 tsp each (to temper)

ImageImage

  • Powder the roasted gram, this will only take a few seconds and it becomes a fine powder very quickly.

Image

  • Now dilute this 1 tbsp of powder with about half a cup of water.

Image

  • In a pot, heat a spoon of oil and saute the onions, tomatoes, green chillies, curry leaves and cilantro.

Image

  • When the onions and tomatoes soften add the tamarind water, turmeric, sambar powder, brown sugar and salt. Tamarind is optional, you can just add more tomatoes instead. Also if you don’t have sambar powder , use chilli powder and coriander powder.

Image

  • Add about half a cup of water and bring the curry to boil, and then mix in the diluted gram powder solution.

Image

  • You will see the sambar thickening within seconds. Bring the sambar to a good boil. Check for seasoning, add salt if needed.

Image

  • In a separate pan, heat 1/2 tsp of ghee and fry the mustard seed and urad dal and add it to the sambar.

Image

  • Remove from heat and serve. The neat thing is you can make this sambar while your idlis are steaming .  You might have already tasted this sambar, because it is a popular restaurant trick 🙂 (why wouldn’t they ? it is both cost effective and time effective). I still make my sambar the traditional way with dal (lentils), but this quick sambar recipe is good to have in your arsenal for one of those crazy busy days !

Image

P.S. – While you can use besan (garbanzo flour) instead of the roasted gram powder, I prefer the latter.

Butternut Squash Soup (with cashew cream)


A butternut squash in its wholesome is very intimidating(to me). Had never bought one, always chose the frozen cut squash to make our traditional koottu. If somebody cleans, peels, cuts and puts in a bag, why bother ? 🙂 So imagine my shock surprise, when my neighbor walked in with this “humongous” squash…a fruit of her labor in her garden. I just left it on my kitchen counter , not wanting to deal with it amidst the Halloween/Diwali chaos.

Image

A week after Diwali, suqash was still there, and I was just pretending not to look at it, if I don’t see it, its not there.. kind of logic 🙂 . But then came the day when my mind went blank at the thought of dinner. Having read some amazing squash soup posts by fellow bloggers, I declared it was squash soup for dinner. Though I didn’t have  many ingredients that I normally add in a soup, I decided to make do with what I have (hence, the cashew cream instead of heavy cream 🙂 ) and it turned out to be a very successful dinner (with kids polishing their bowls 🙂 ).

If this is your first time handling a whole squash, please check out Anjana’s (At the corner of happy and harried) tips on how to cut a squash. I found them very helpful, I strongly recommend it if your are a first timer, because no soup is worth losing a finger 🙂

And here is my squash soup recipe:

  • Cut squash into cubes.

Image

  •  Cut some carrots and red onions. I also used few mint leaves. You can add celery, tomatoes and definitely more carrots (it was a “fridge almost empty, so make-do” day for me ). However, I did have some vegetable broth which made up for the lack of other vegetables.

Image

  • Here is my favorite spice blend for the soup.
  1. Cinnamon – 1 stick
  2. Cardamom – 2
  3. Cloves – 5 or 6
  4. Bay leaves – 2
  5. Black pepper – 1.5 tsp
  6. Cumin – 1 tsp
  7. Fennel – 1.5 tsp

Image

  • Coarsely crush the spices just enough to release flavor.

Image

  • Tie the crushed spices in a bundle, either using a clean cloth or a bounty paper towel. This is a convenient way of seasoning the soup, just drop the bundle in the soup and remove it once the soup is cooked.

Image

  • I used my pressure cooker, as I didn’t have a lot of time to slow cook the soup and develop flavors. Pressure cooker delivers the same results in a quicker fashion…(what will I do without them ???? ). Heat a spoon of oil and saute the red onions and when the onions brown, add a tsp of ginger garlic paste and then saute the carrots and mint.

Image

  • Add the squash cubes and sprinkle some salt to sweat the veggies and saute until the squash softens a little.

Image

  • Add 5 cups of broth (vegetable or chicken). If you are using a lot of vegetables , just water will suffice. Drop the spice bundle in the broth.

Image

  • I pressure cooked for 5 whistles. Squash was so tender that it  almost dissolved in the soup. Fish the spice bundle out as its job is done :).

Image

  • I allowed my soup to completely cool down before pureeing and meanwhile made the cashew cream. You can use dairy cream instead. To make cashew cream, grind 2 tbsp of cashew nuts with water or milk to make a smooth cream.

Image

  • I reserved 1 tbsp of cream for final garnish and mixed the rest in the soup.

Image

  • Puree the cooled down soup in a blender and add the cashew cream to it. Add salt and pepper as you need, and heat the soup (do not bring to boil).

Image

It is a yummy comfy soup, we had it with some roasted corn quesadillas and it was a finger-licking, bowl-polishing meal 🙂 Hope you try it too !

Image

Coconut Rice


Its quick, its fresh, its nutty, its light…so why not ? Coconut rice is one of the many quick and easy variety rice recipes. I love the flexibility it offers : got some leftover rice and trying to make a meal out of it without sweating much or make an exotic aromatic party food, coconut rice will be your best friend 🙂 .  Whether you go for simplicity or embellish it to the core, this flavor packed rice will take you to your happy place.

You will need :

  1. Rice – 1 cup
  2. Grated coconut – 3/4 cup
  3. Green chillies – 3
  4. Ginger – 1/2 inch piece
  5. Peanuts – 1/4 cup
  6. Cashew – 1/4 cup
  7. Mixed vegetables – 1 cup
  8. Mustard seeds – 1/2 tsp
  9. Urad dal – 1/2 tsp
  10. Channa dal – 1 tsp
  11. Curry leaves – few

IMG_5399

  • Cook rice by your preferred method. You can also use leftover rice. Adding a tsp of oil to the water while boiling rice helps the grains to stay separate.
  • Grind green  chillies and ginger along with a few peanuts to a coarse mix. It doesn’t have to be a paste, just grind enough to blend everything. Else, you can just finely mince the chillies and ginger.

IMG_5408IMG_5410

  • In a wok, add a tbsp of oil (preferably coconut oil or sesame oil) and fry the mustard seeds, urad dal, channa dal and the curry leaves.

IMG_5416

  • When the mustard seeds splutter and the dals turn golden add the peanuts and cashewnuts.

IMG_5418

  • When the nuts turn slightly golden add the mixed vegetables. This is optional,I prefer adding a lot of veggies to the rice, so that I can skip making a side 🙂 . Sprinkle some salt and cook for two minutes and then add the ground green chillies+ginger paste.

IMG_5425

  • Once the green chillies and ginger paste coats all the vegetables add the cooked rice to the wok, reduce heat and mix well.

IMG_5428

  • Check for seasoning, add salt if needed. Three green chillies should pack enough punch, but if you need more heat you can add red pepper flakes. Finally add the grated coconut and mix with rice thoroughly, remove from heat after a minute.

IMG_5432

  • You can also toast the coconut before adding to the rice. While it deepens the flavor, I feel that freshness is compromised.  You can try both ways and see which you would prefer.

IMG_5446

While the cold, windy weather and the 5 p.m. dark skies keep warning about the bitter winter, it feels like spring in my kitchen and thats what matters, right ?

IMG_5464