Idli podi (or molaga podi or chammandhi podi or..)


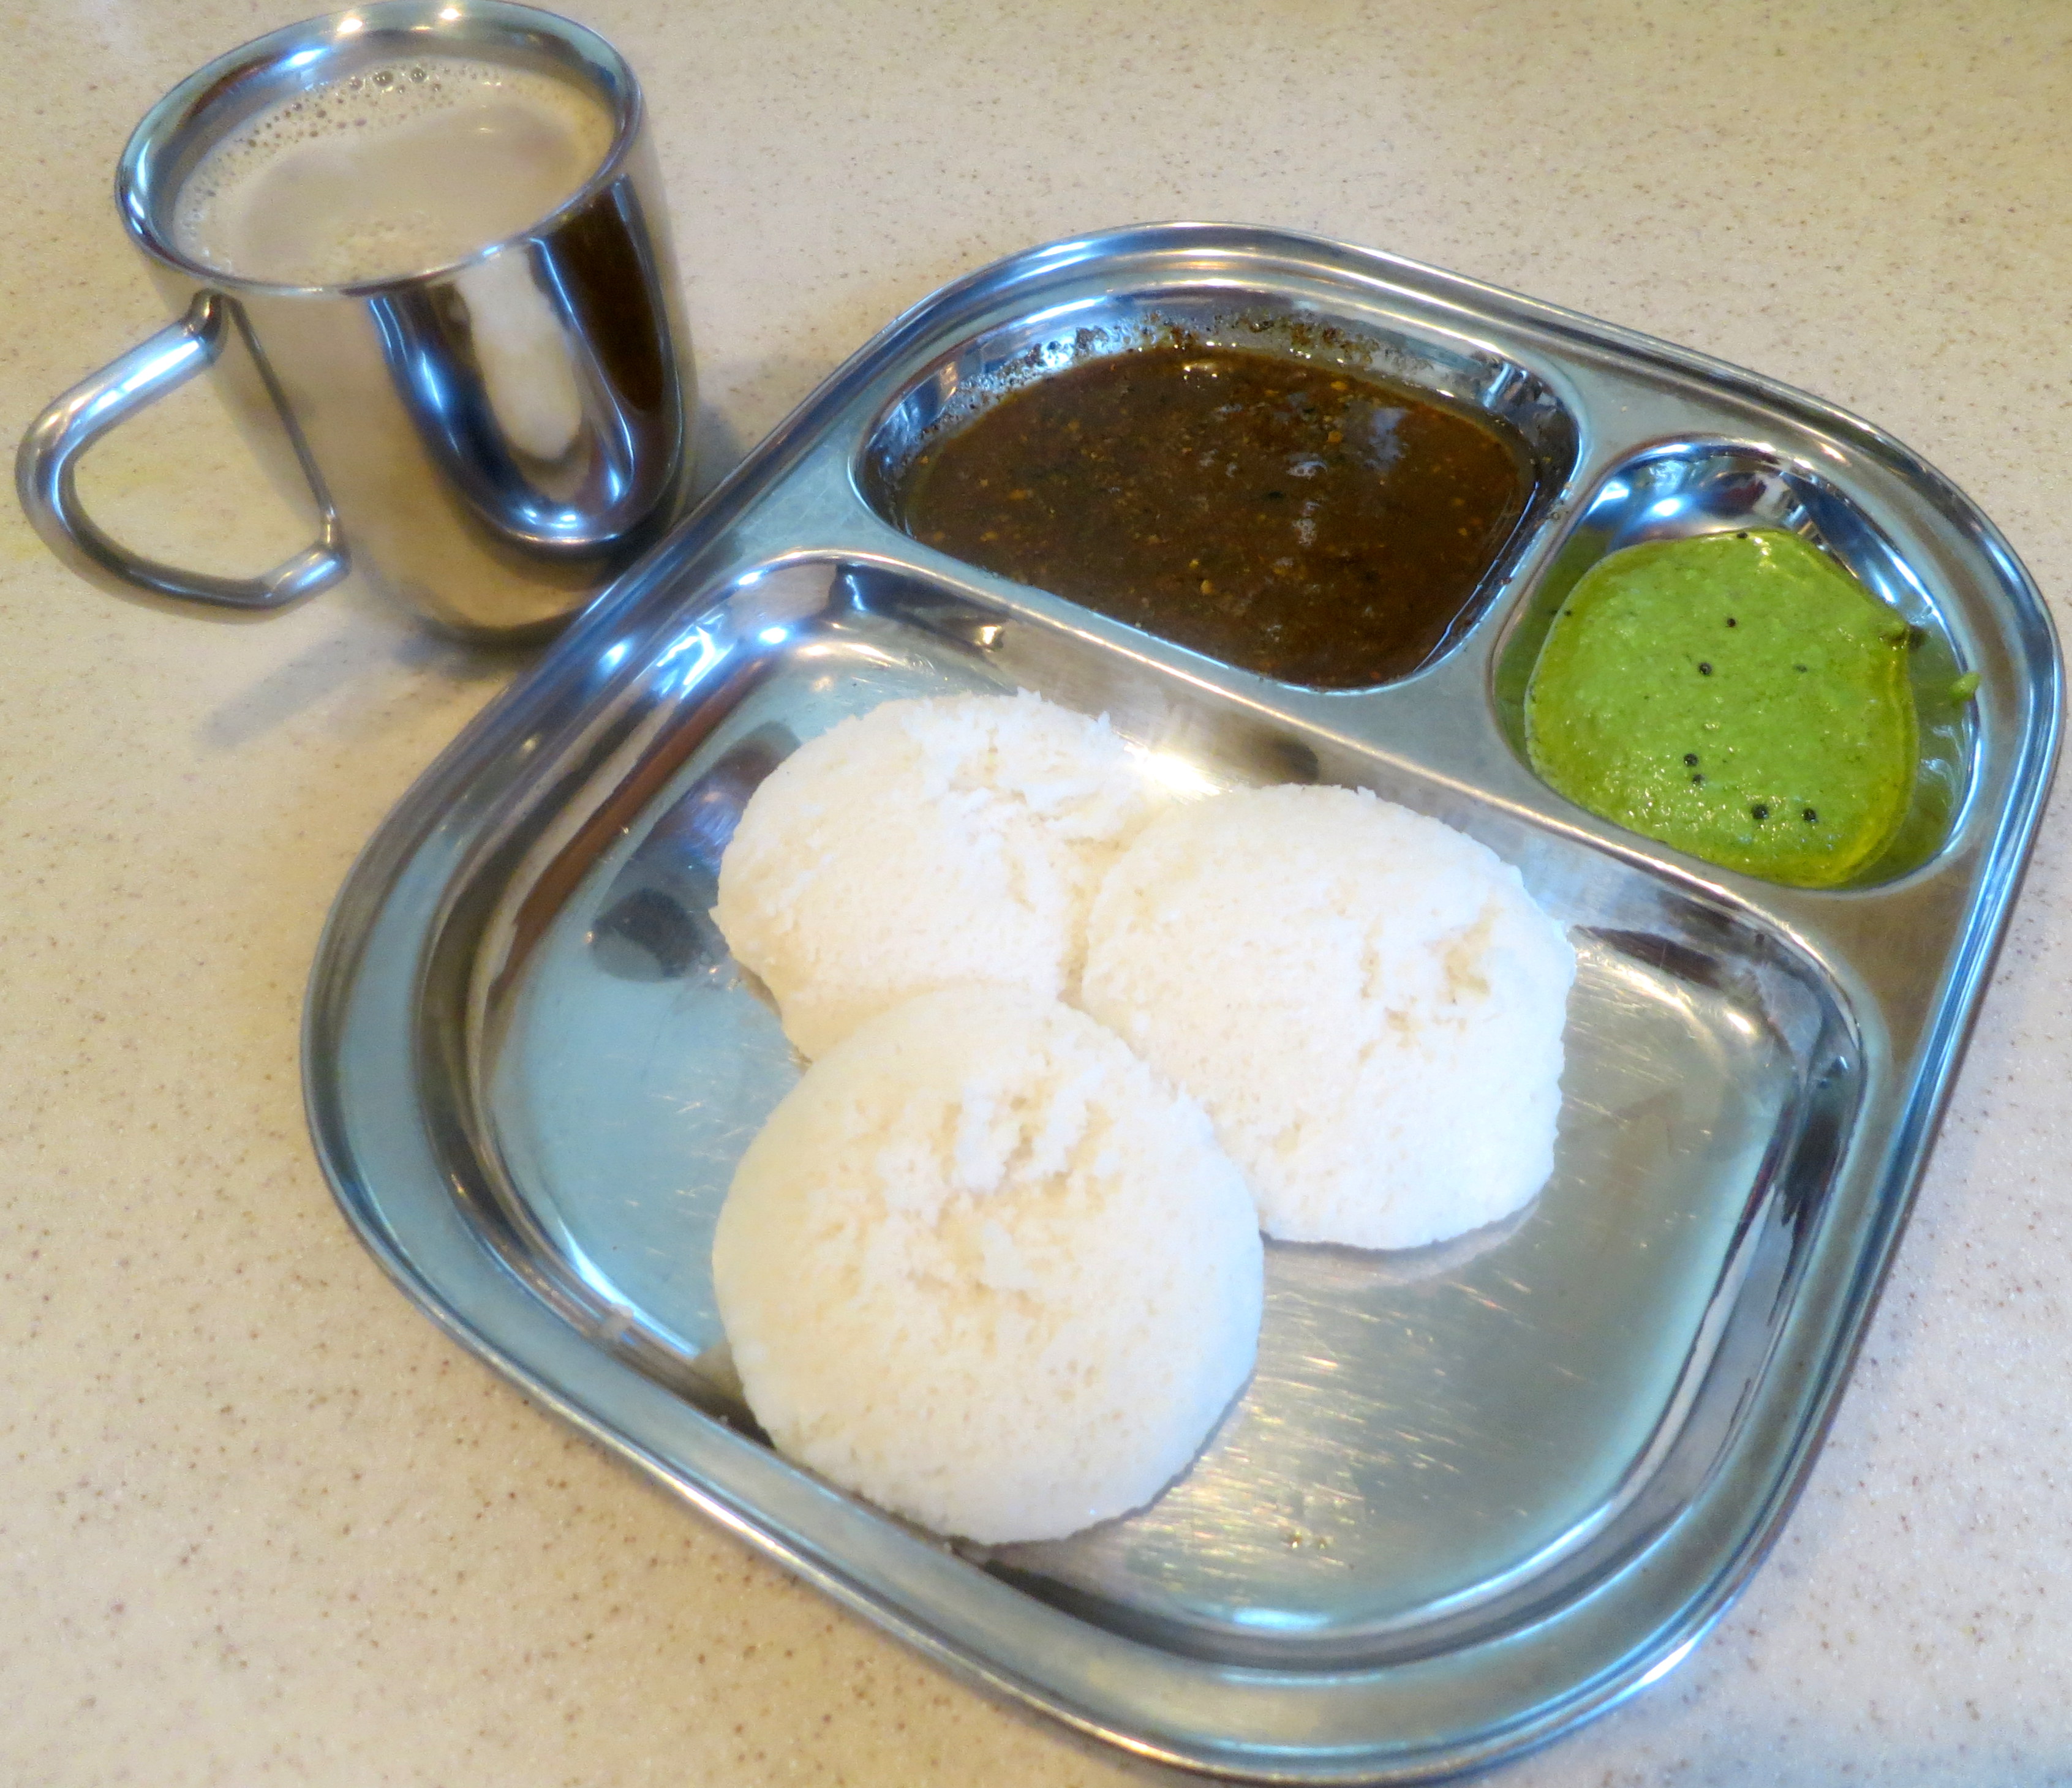
Call it any name , the taste never fails. I’ve always loved the combination of idli and podi(who doesn’t), this particular recipe is from my mom’s mom. This is more intense, more flavorful and more salivating 🙂 There are a few brands of podi available in stores (in NJ that is, I am sure there are more options in India), but I usually find them to be either very mild or they look very reddish as if the red chillies are raw. This recipe is very simple, so I always make it at home.
Image
If you just want a basic podi…these are the only ingredients you need.
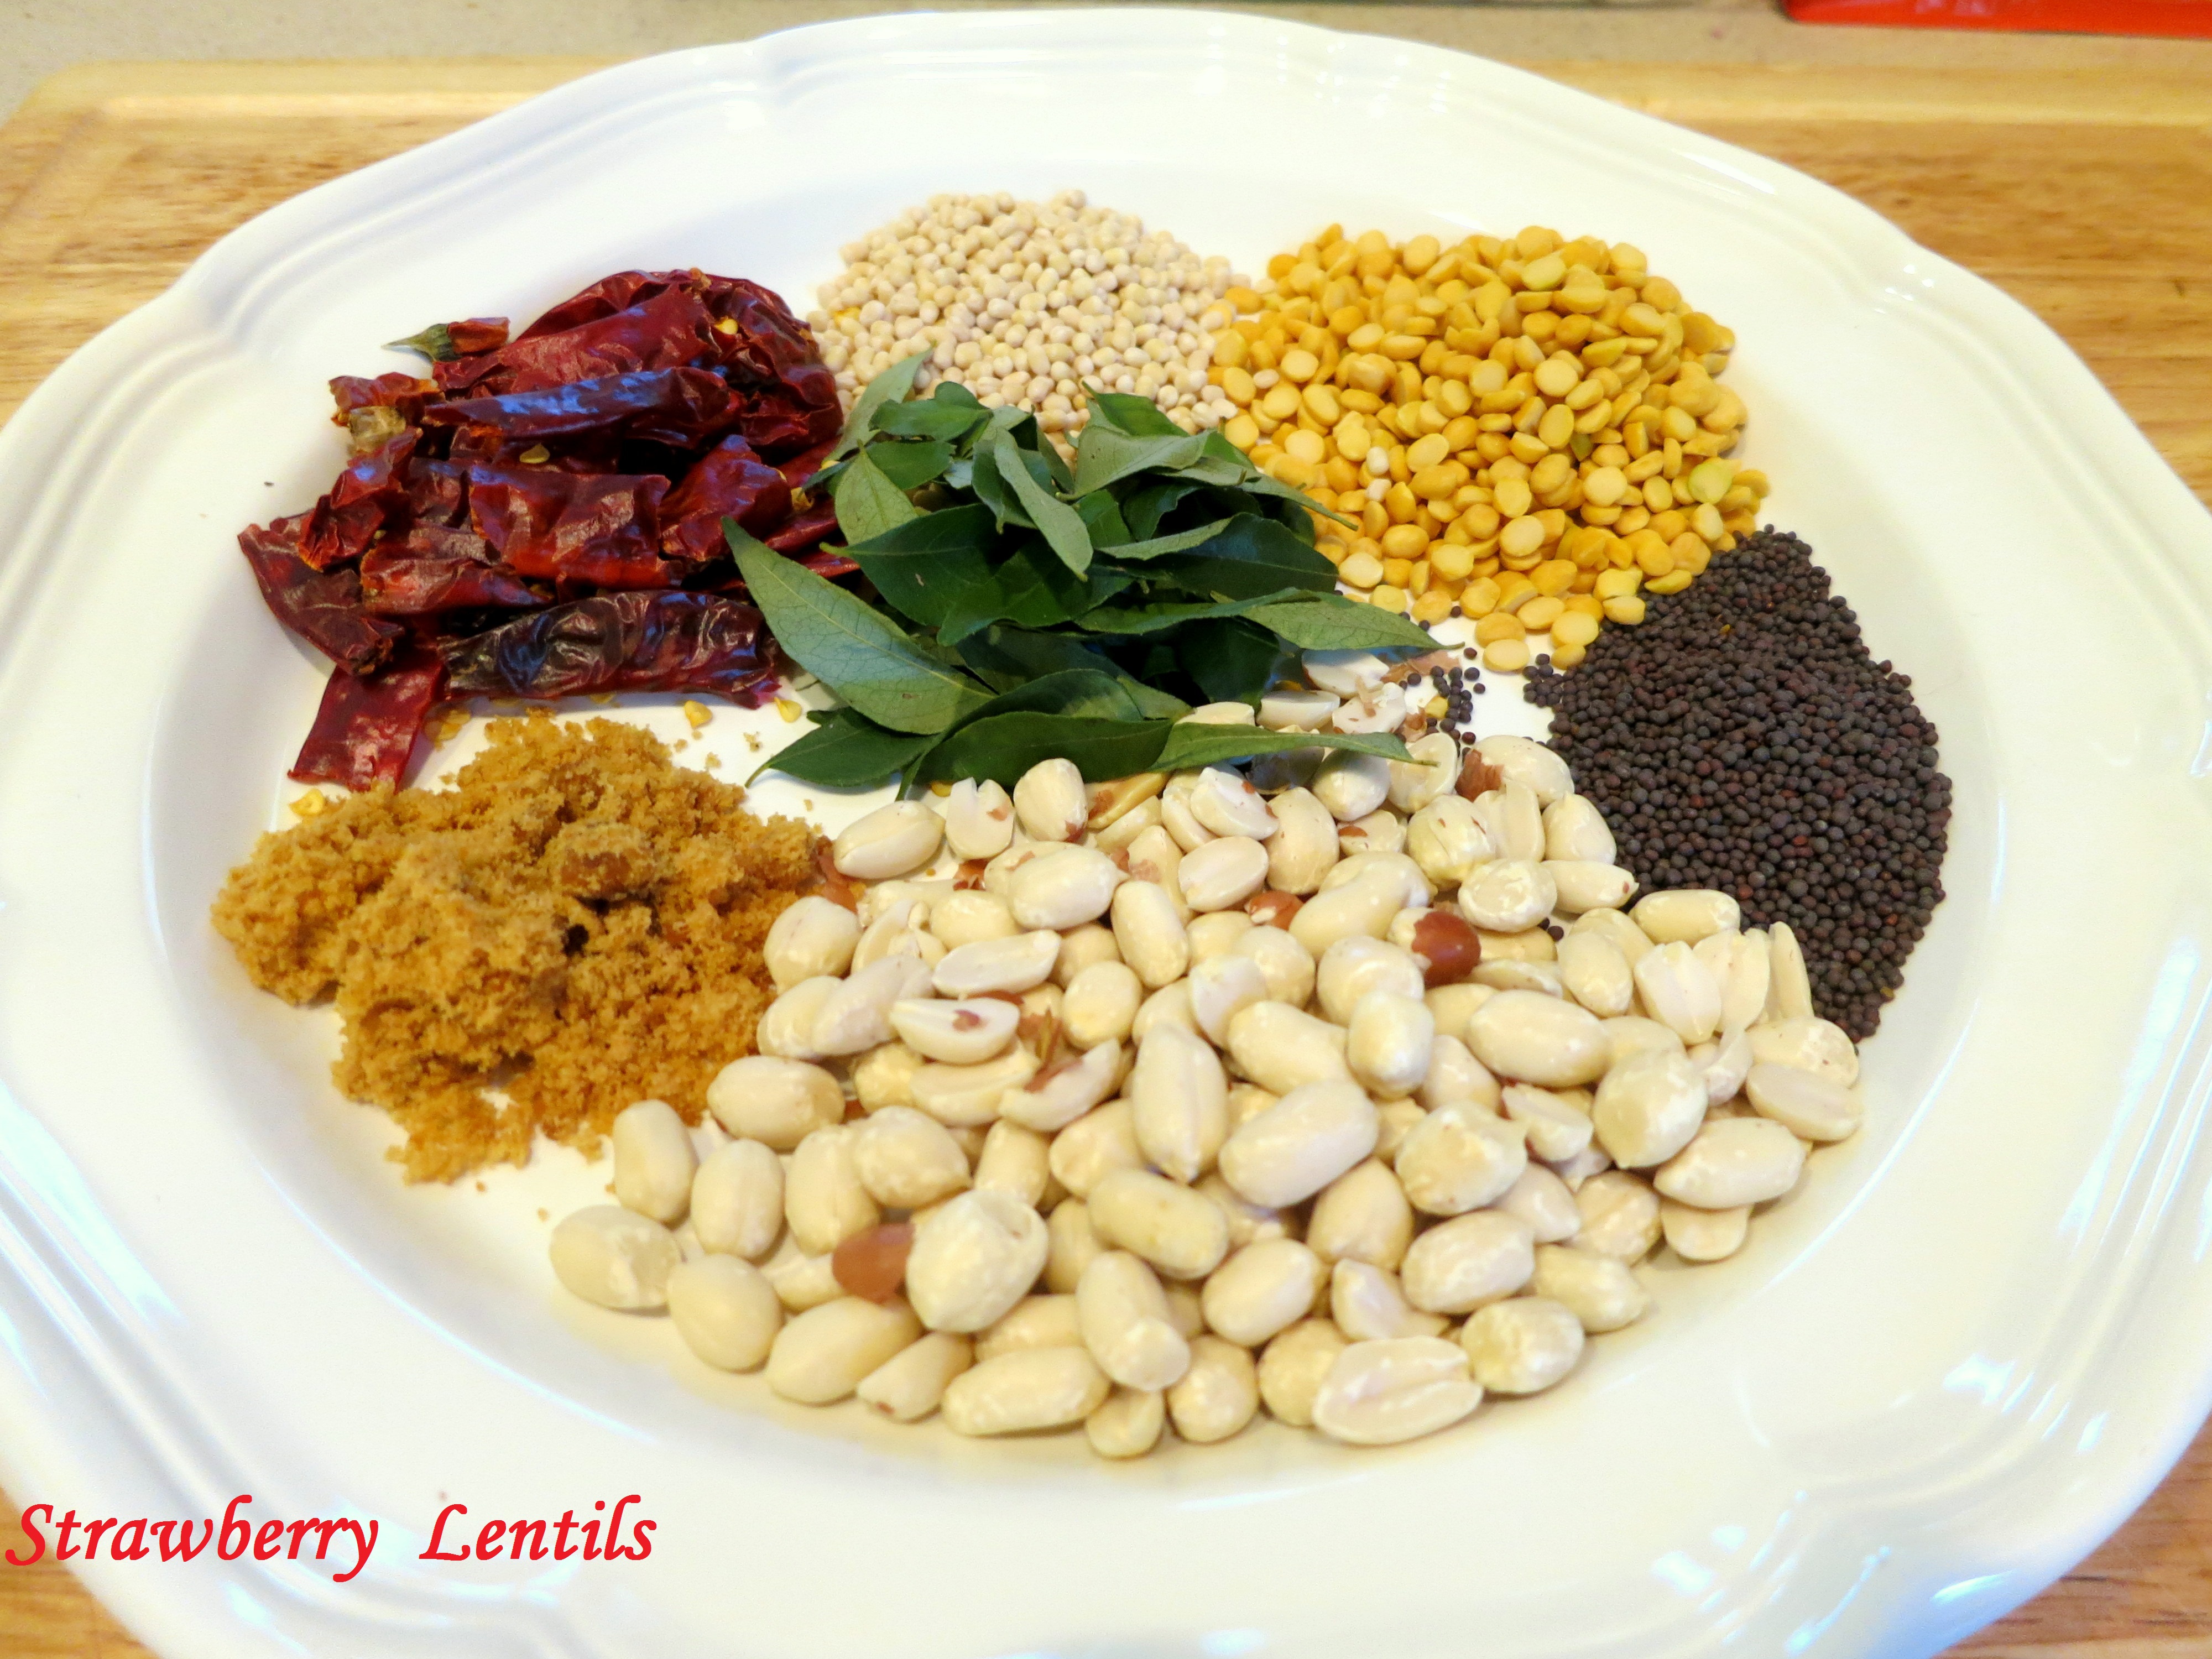
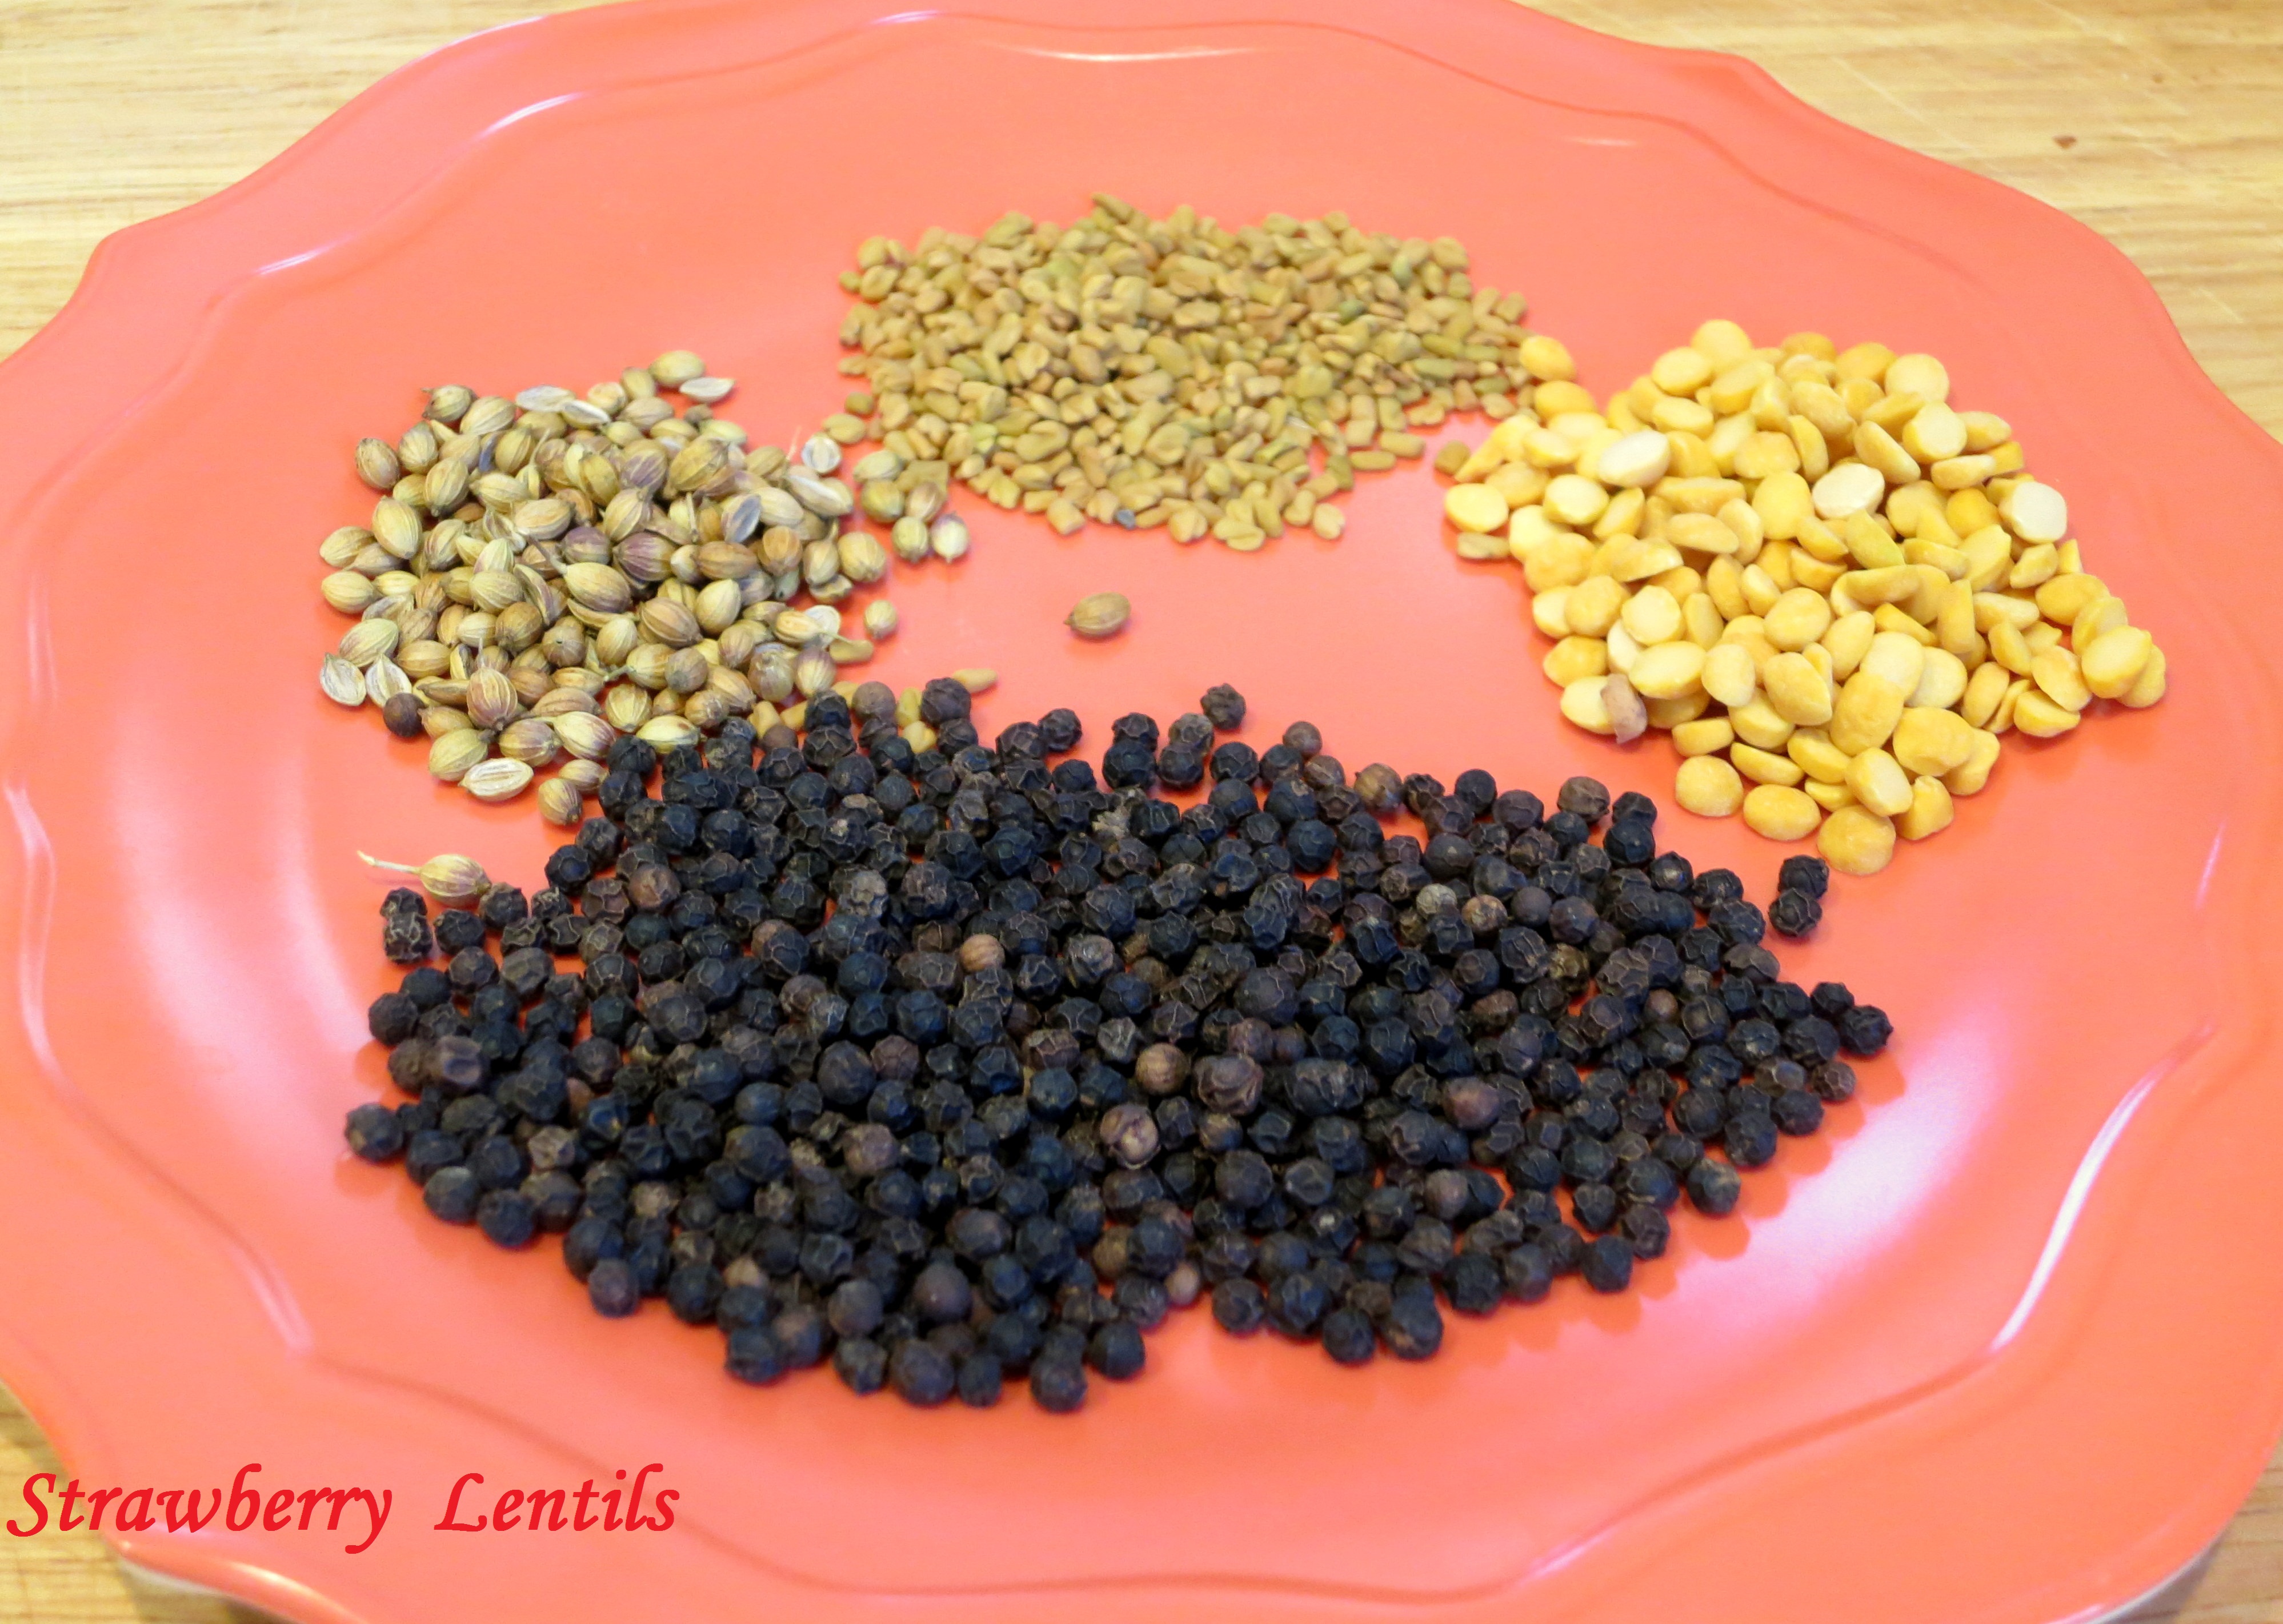
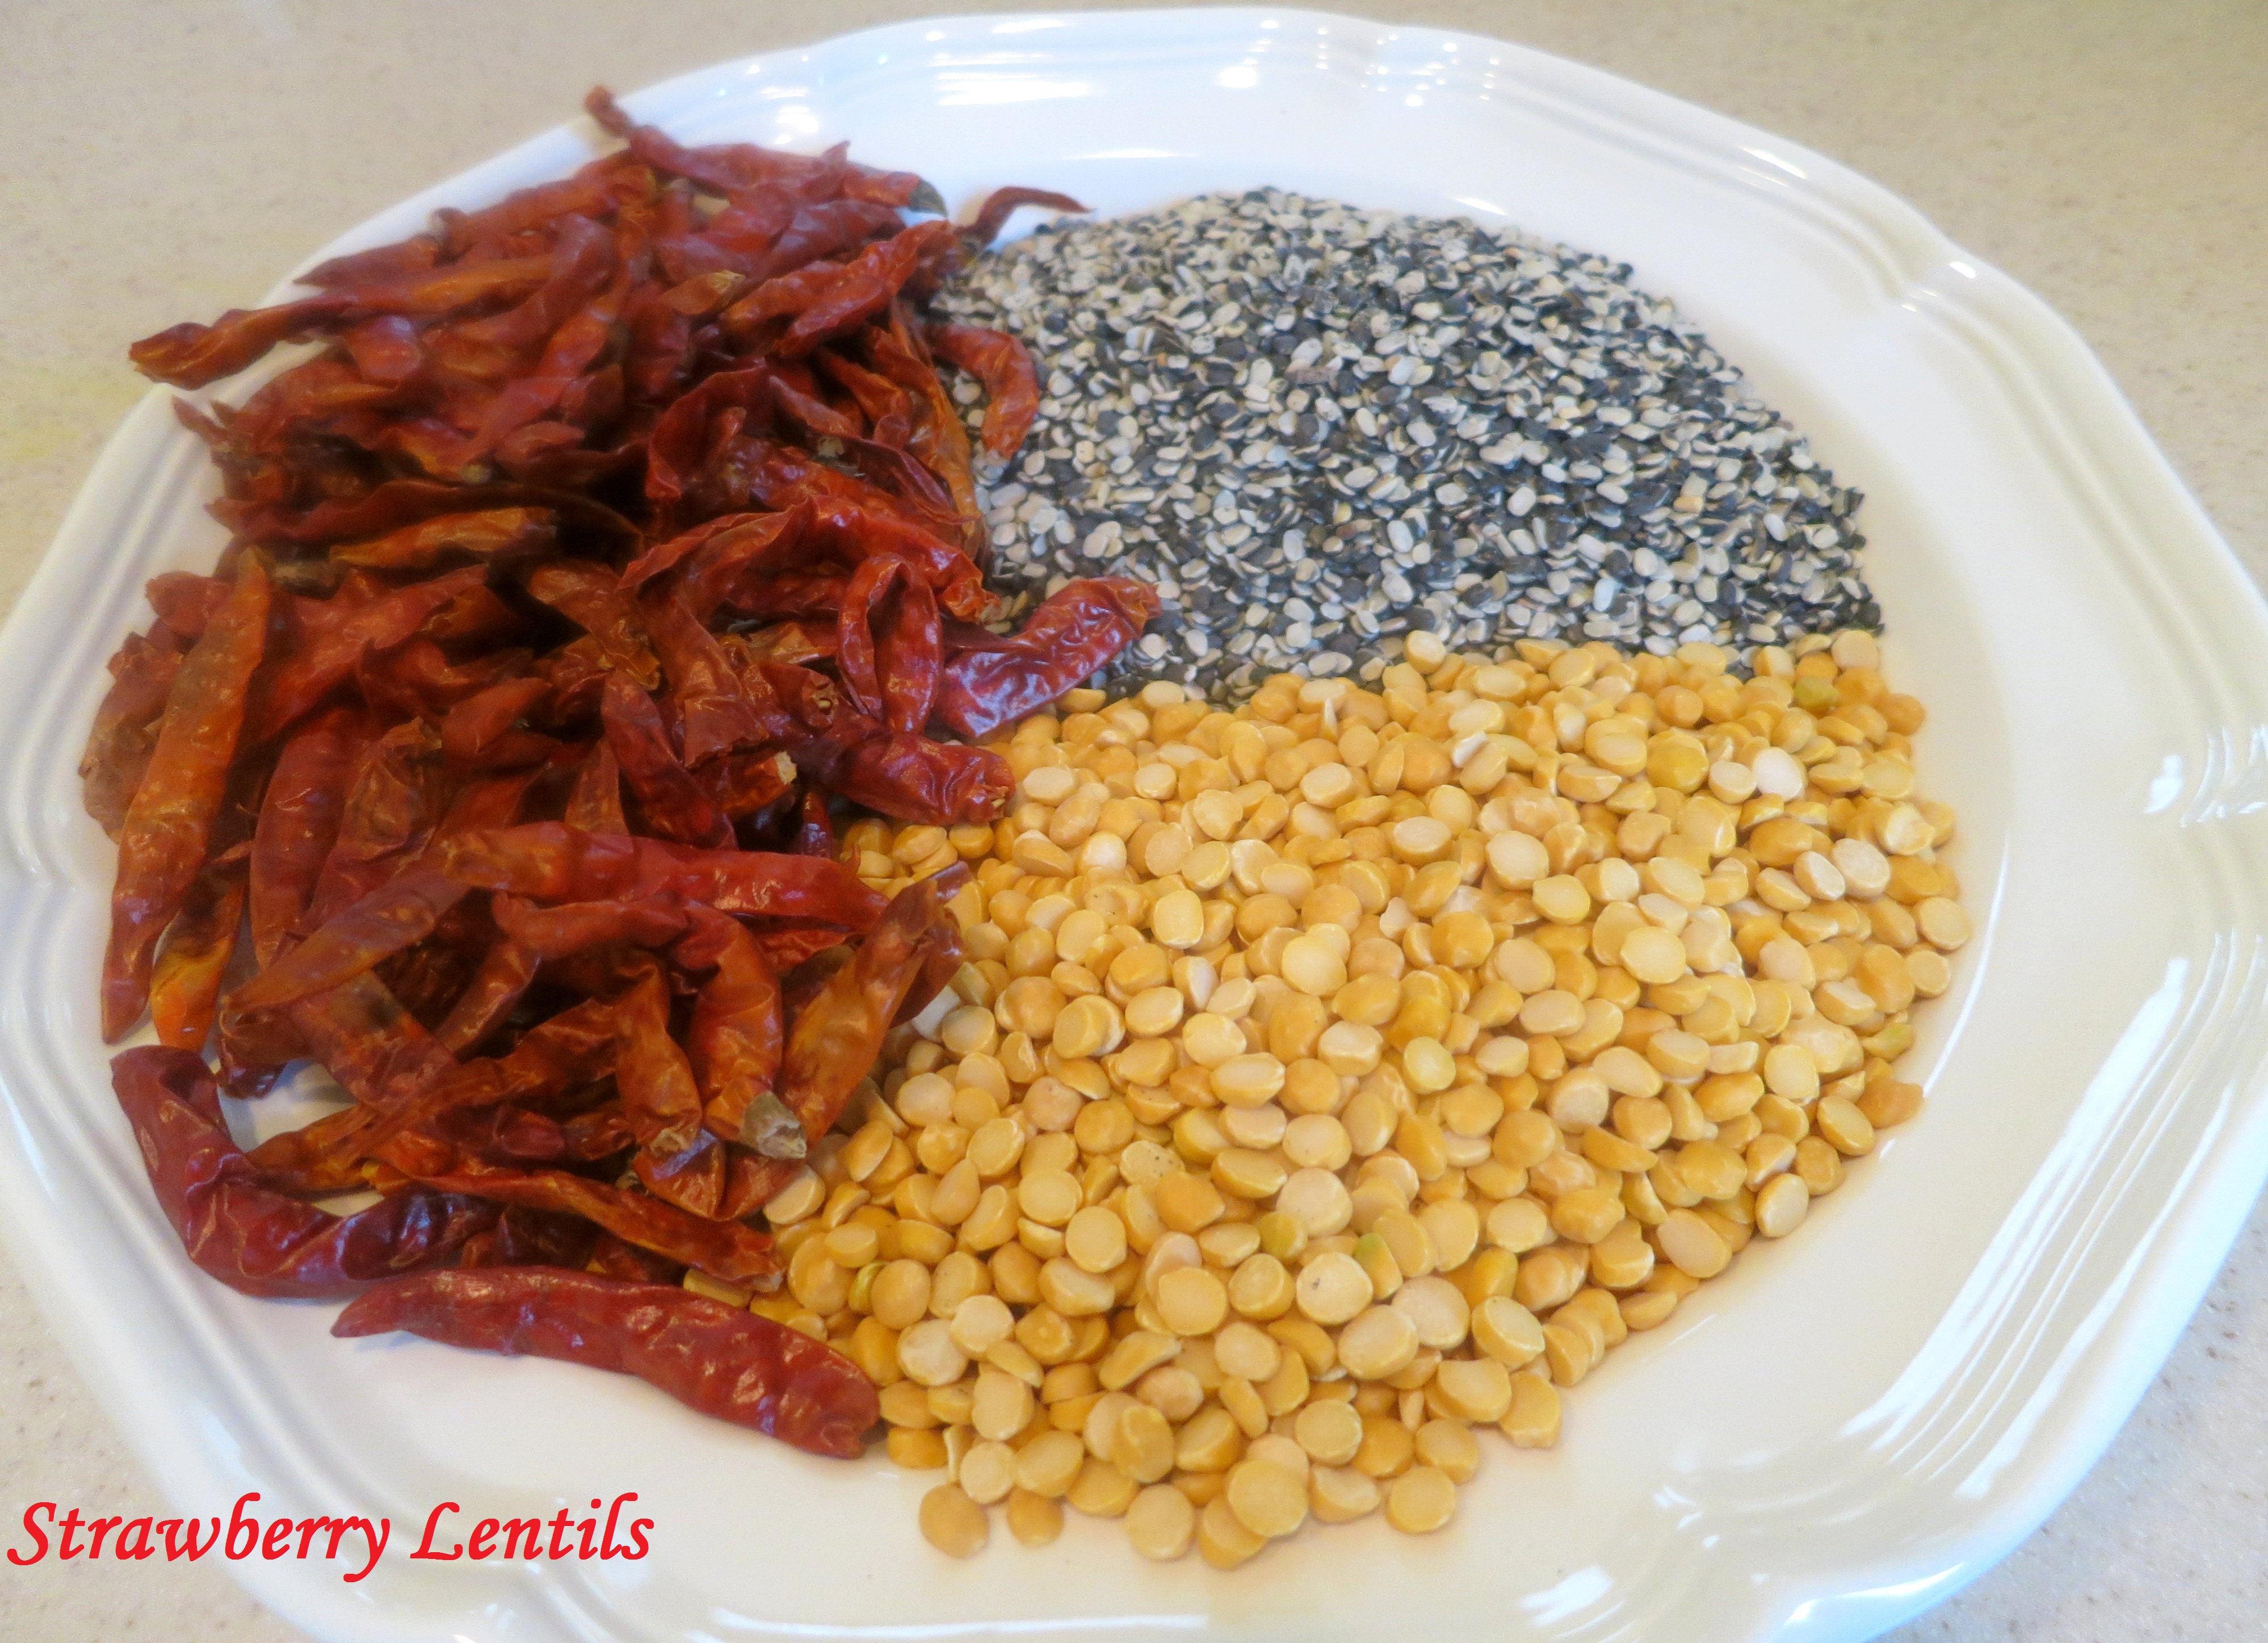
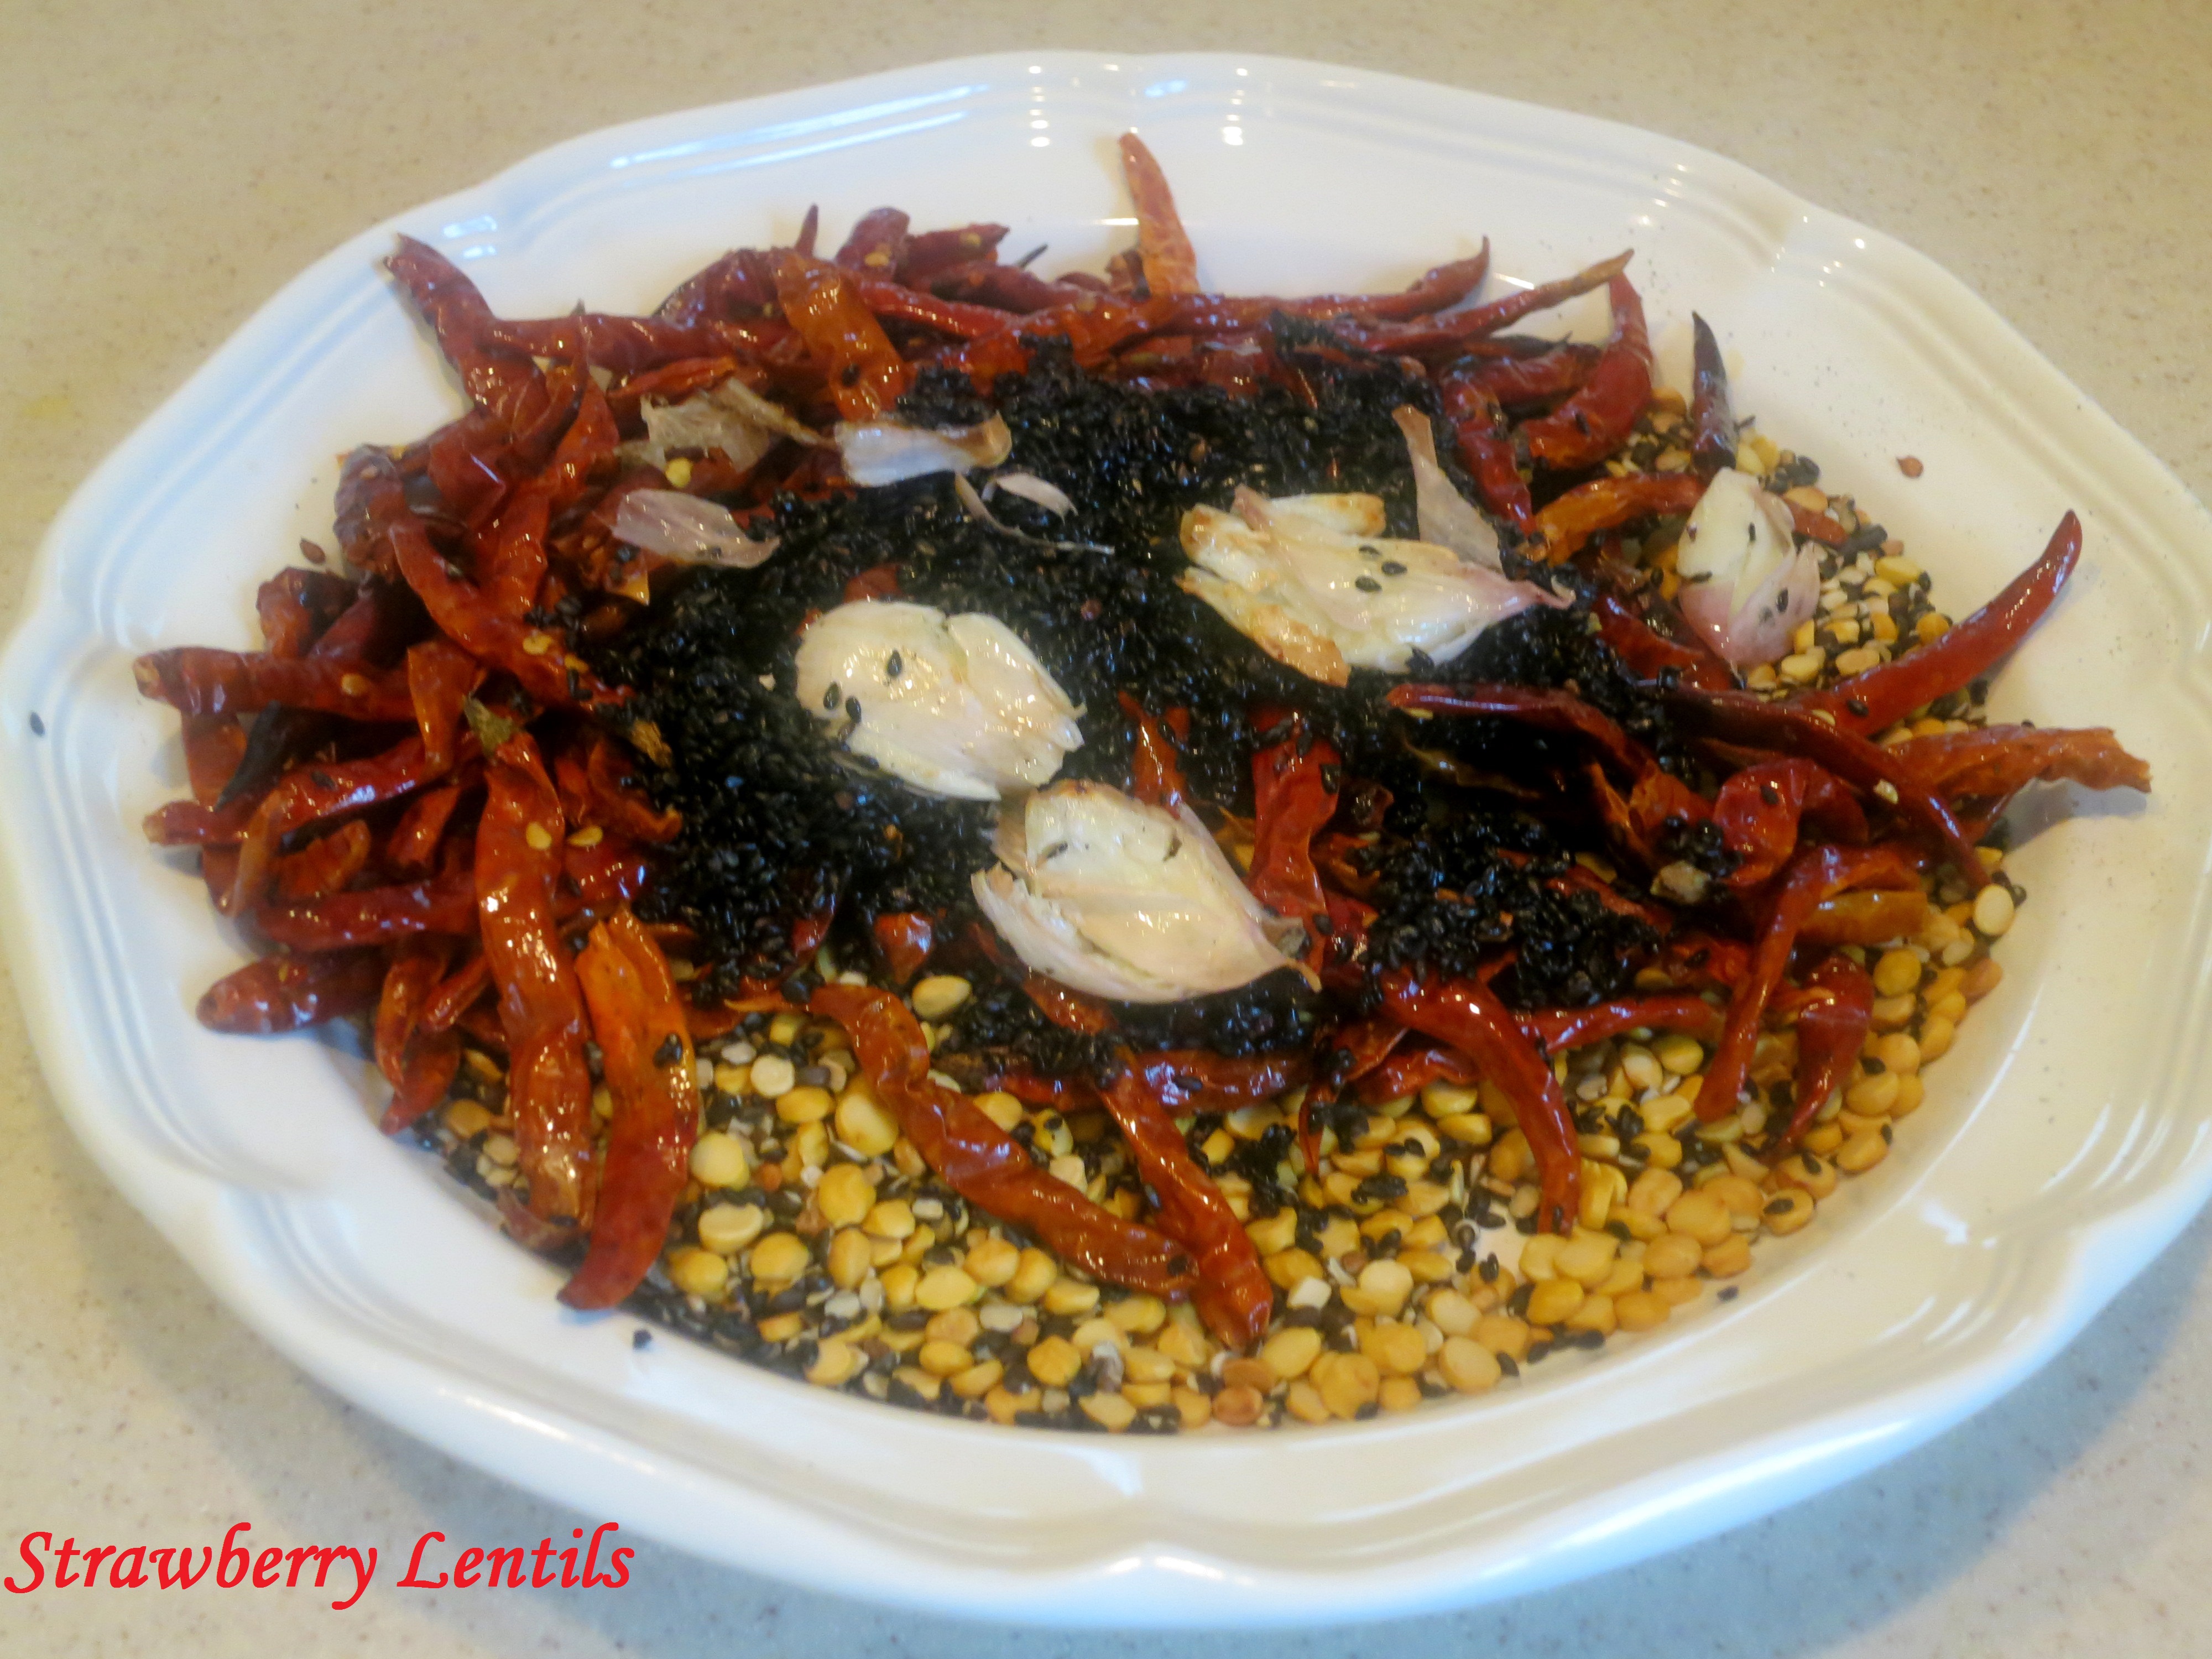
Urad dhal – 1 cup (you can use urad dhal without the peel too)
Channa dhal – 1 cup
dry red chillies – 2cups (loosely packed)
Image
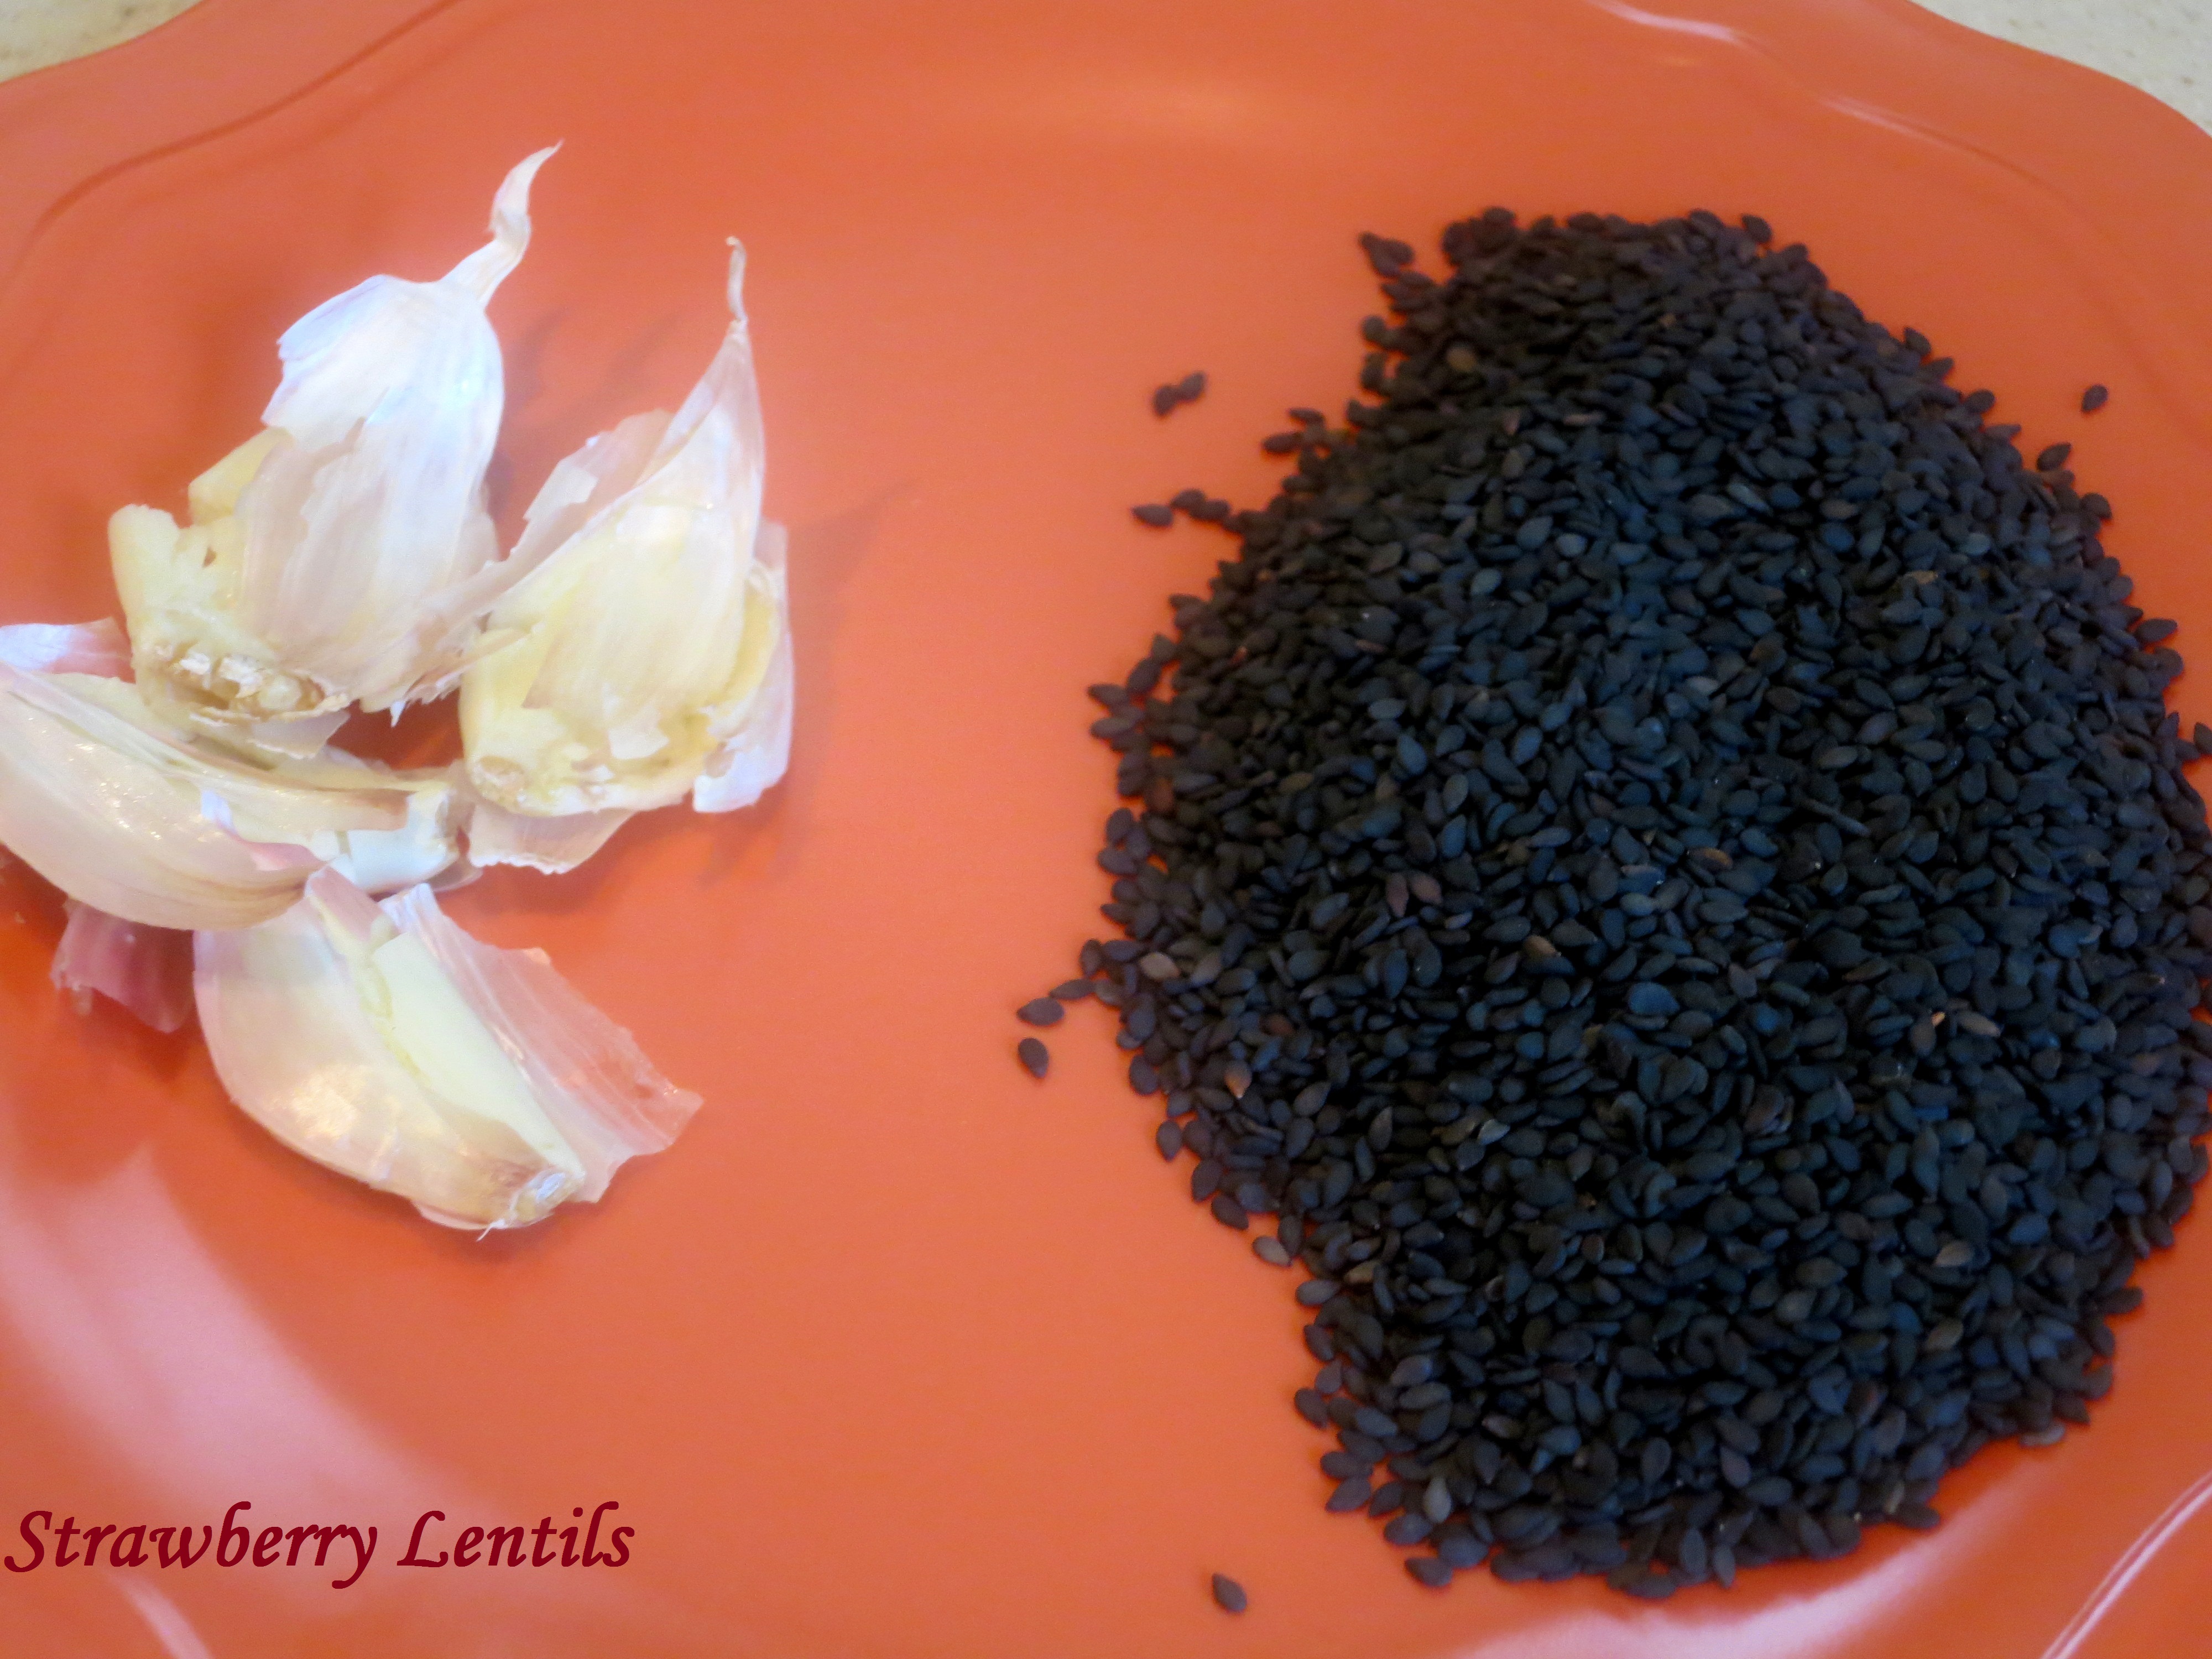
These are just embellishments that add more layers of flavor. You don’t have to add these for a simple podi. If you are adding sesame seeds, the shelf life is less.Sesame seeds (black, brown or white) – 1 cup ; Garlic cloves – a few
Image
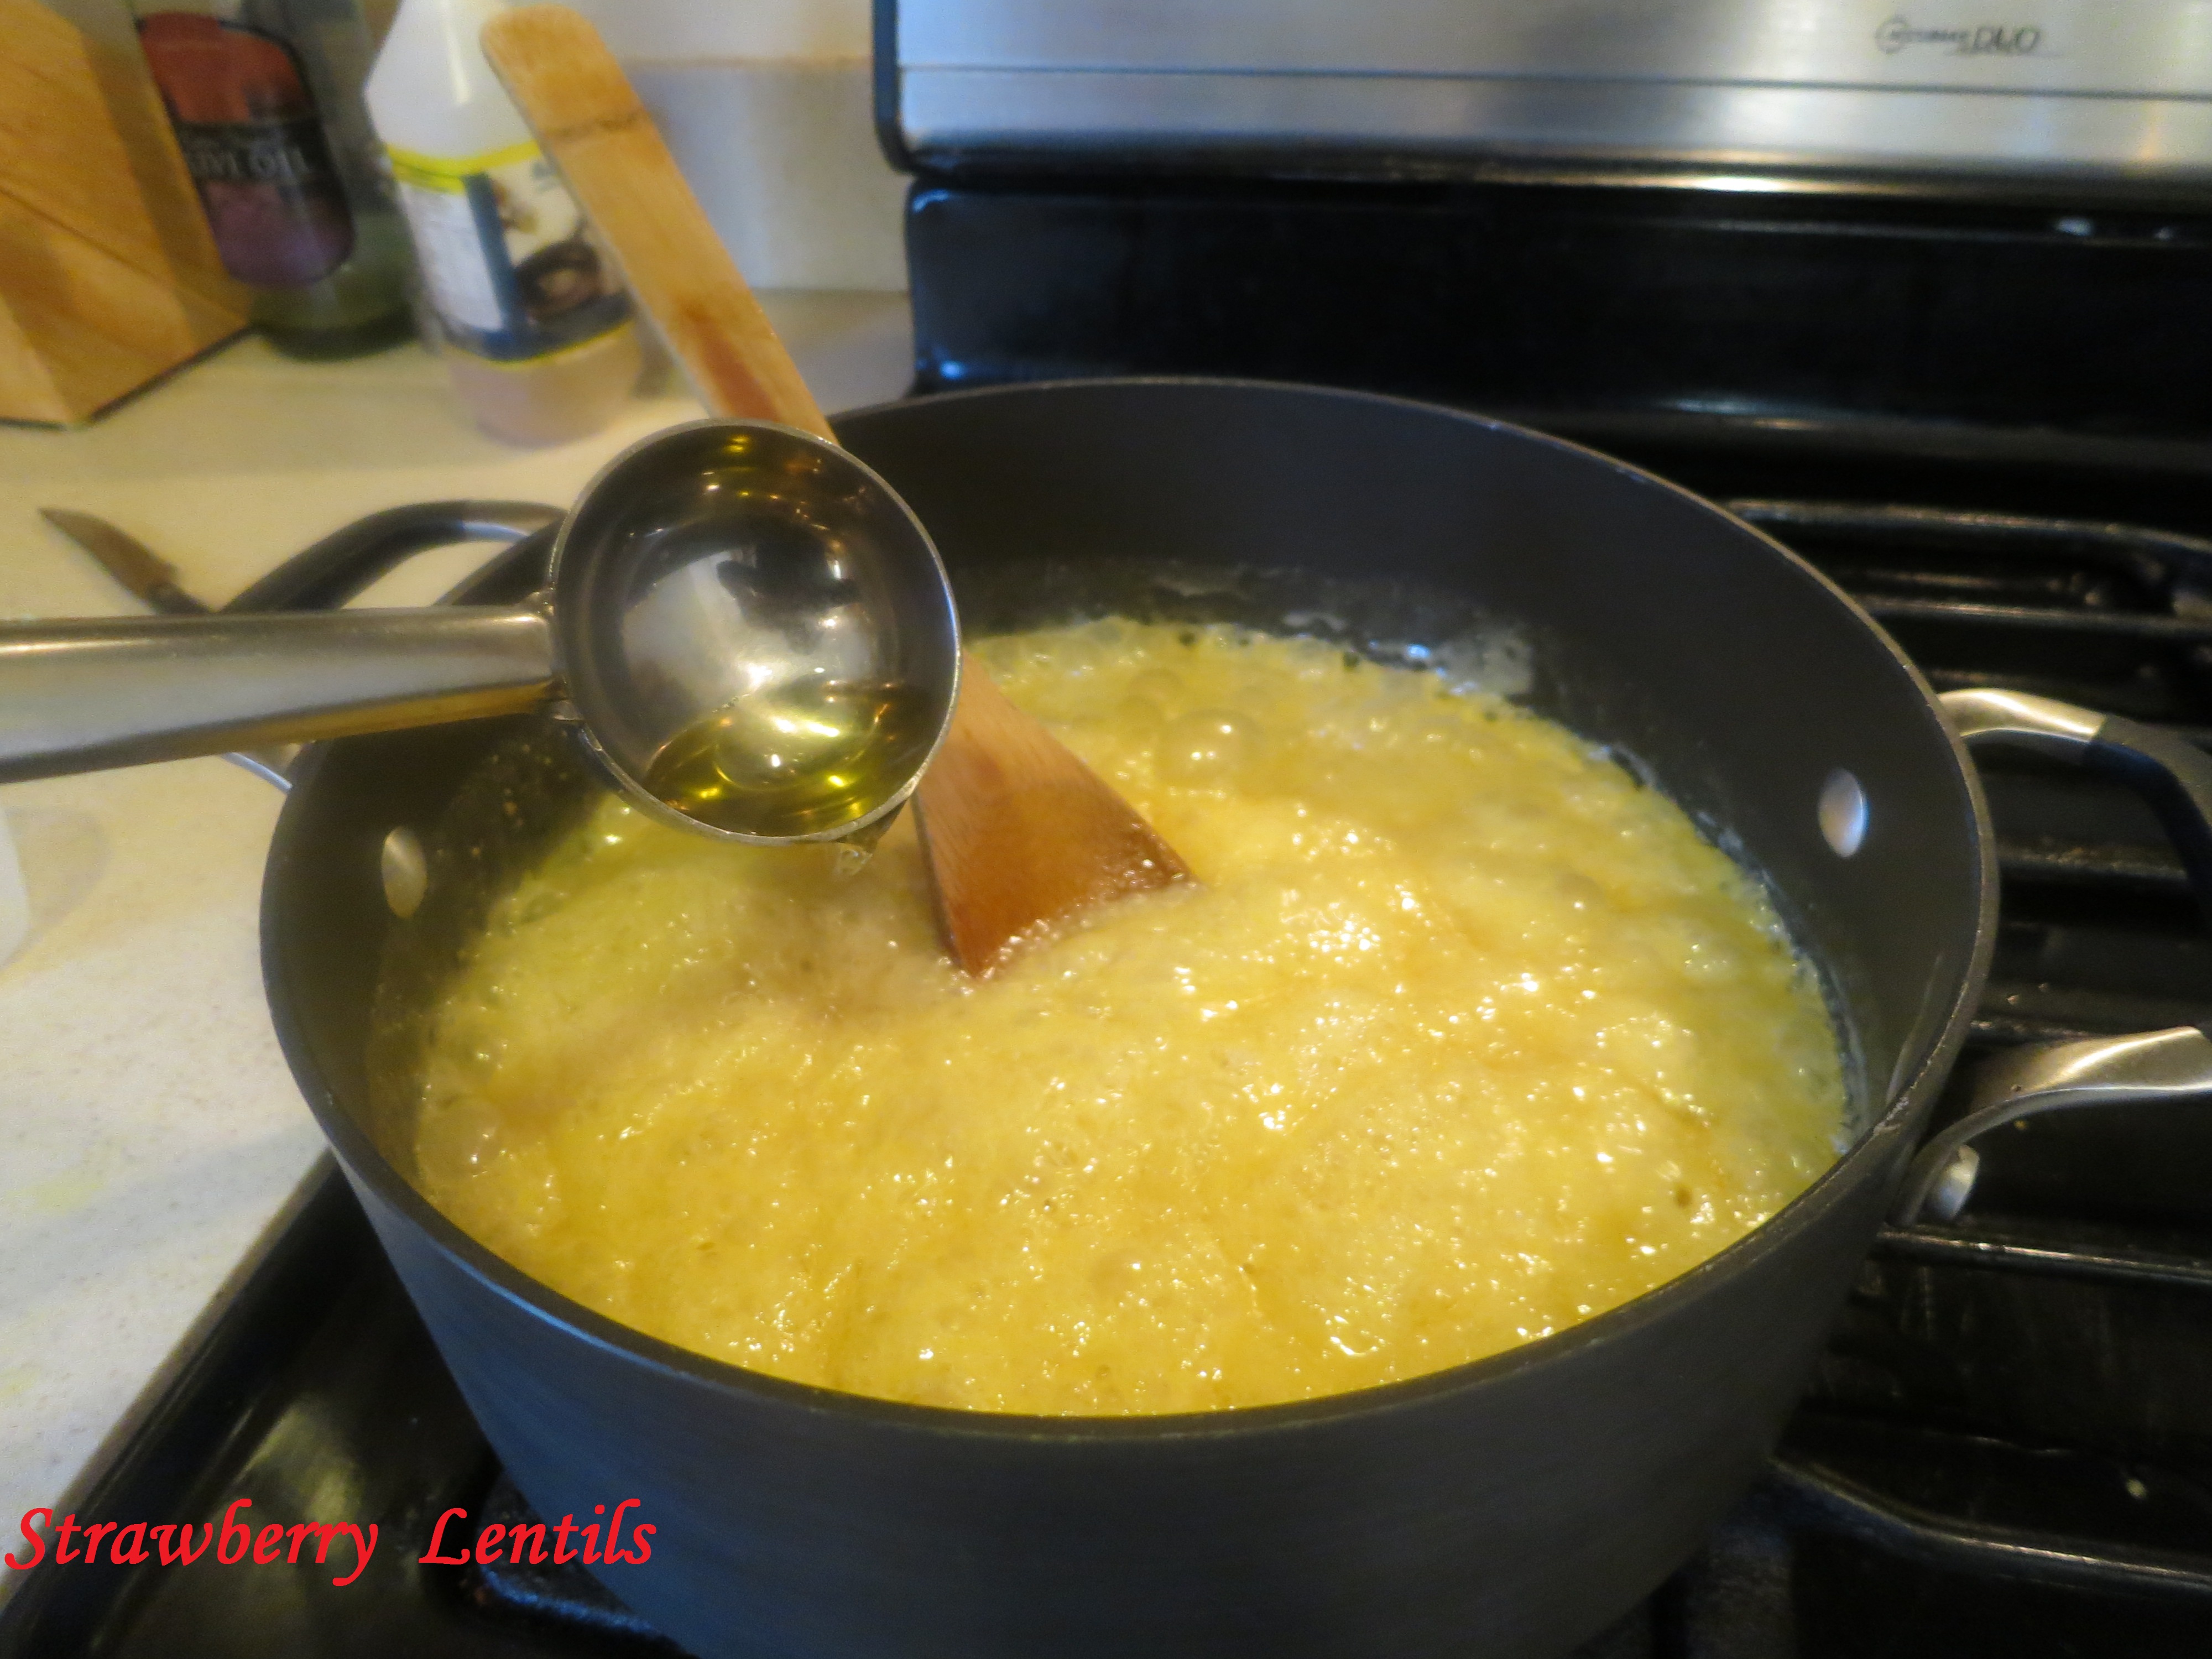
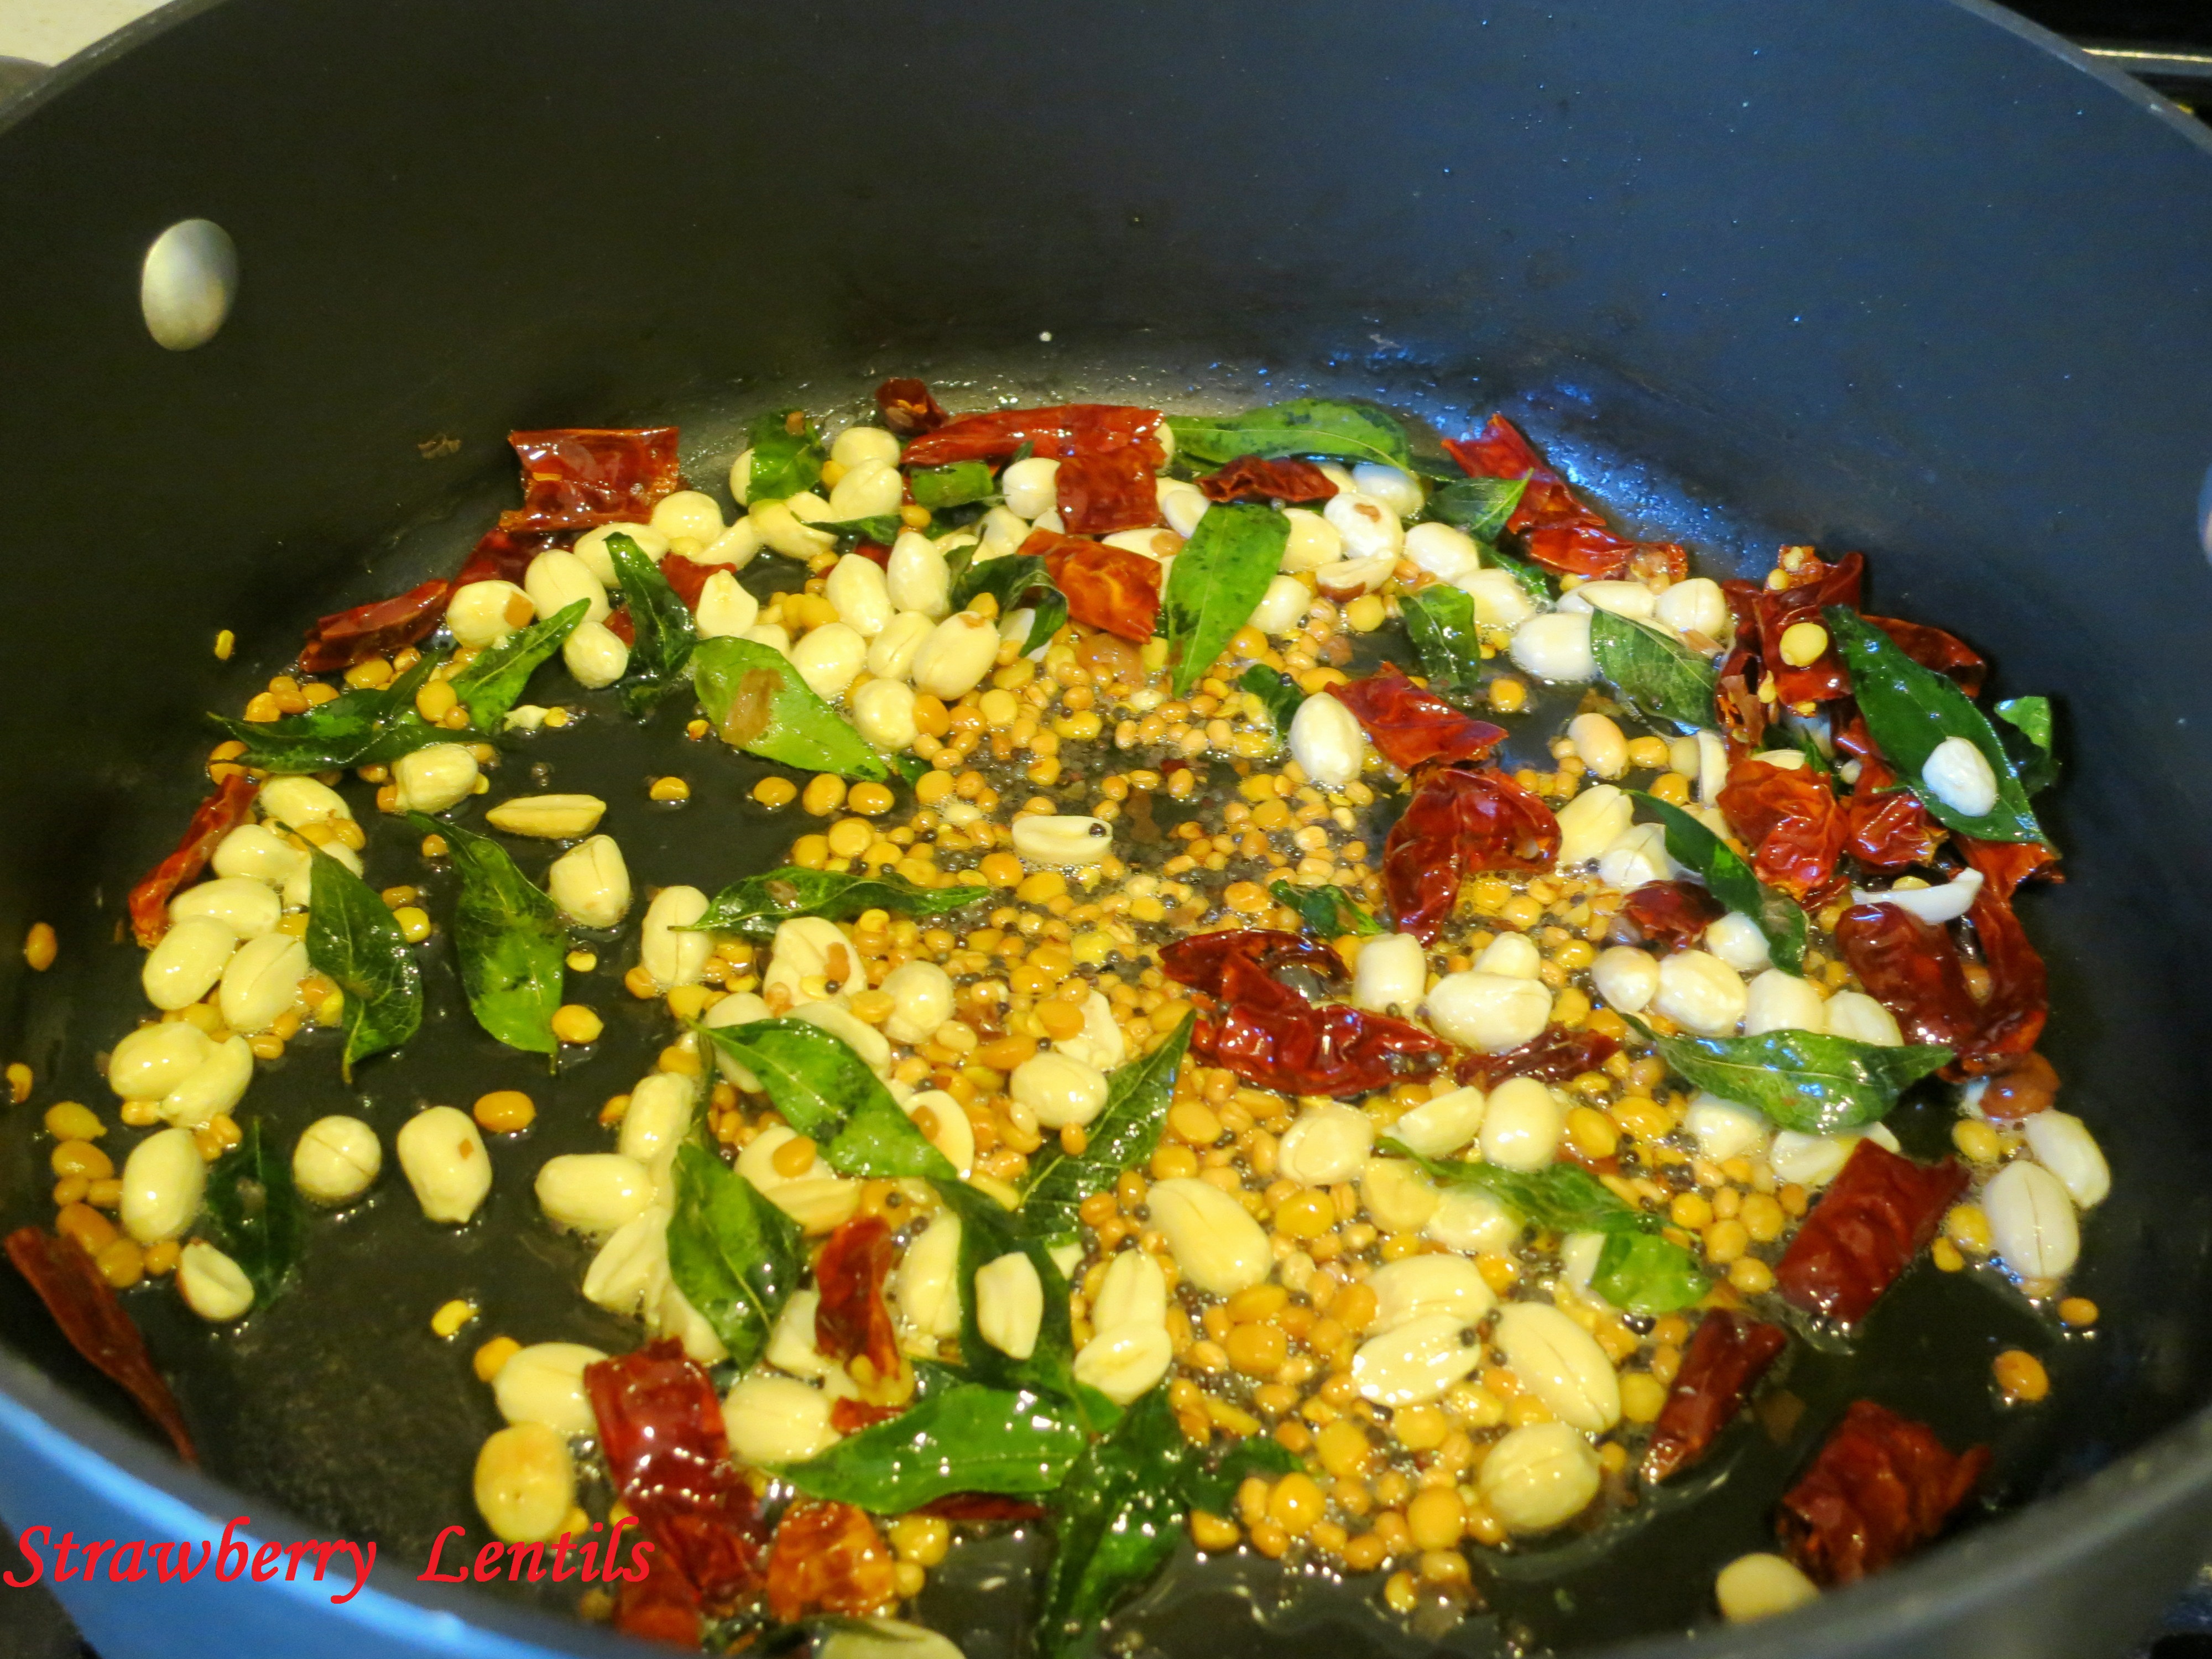
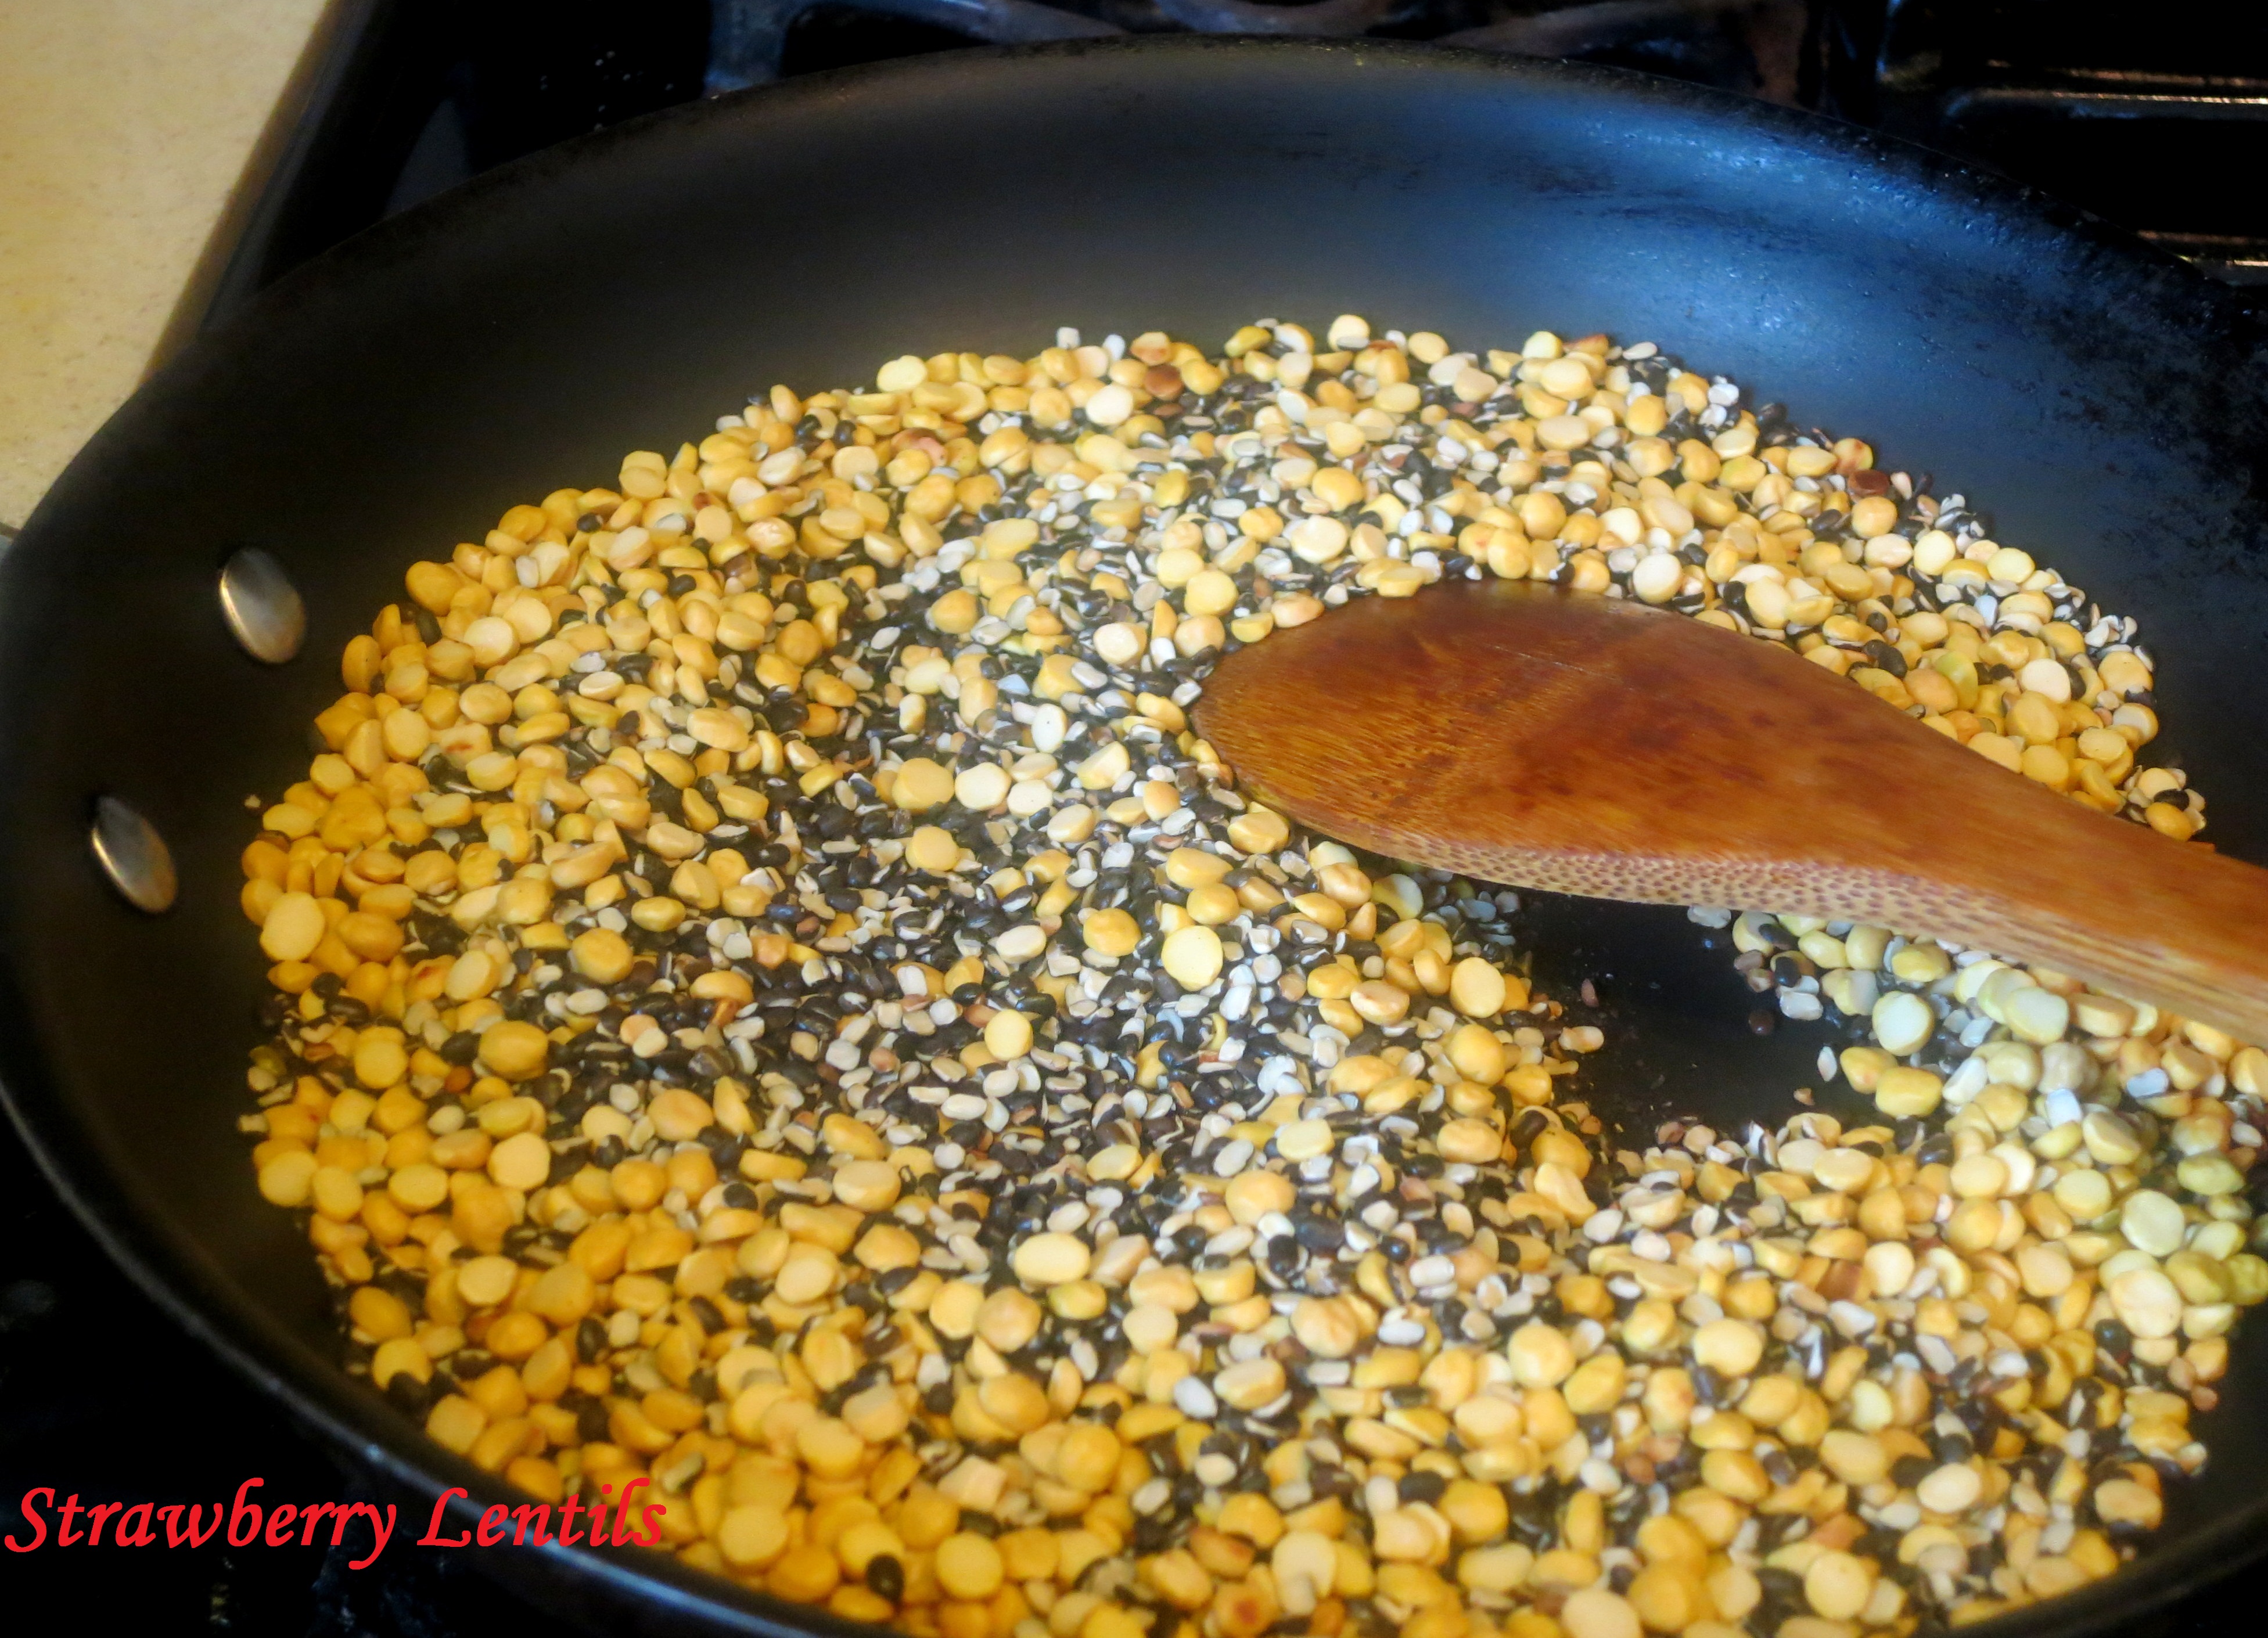
Heat a pan and dry toast the lentils (urad dhal and channa dhal). Do not add oil, just toast them dry for a few minutes, until you get the flavor and the urad dhal becomes slightly pinkish.(Make sure to keep stirring to avoid burnt lentils).Image
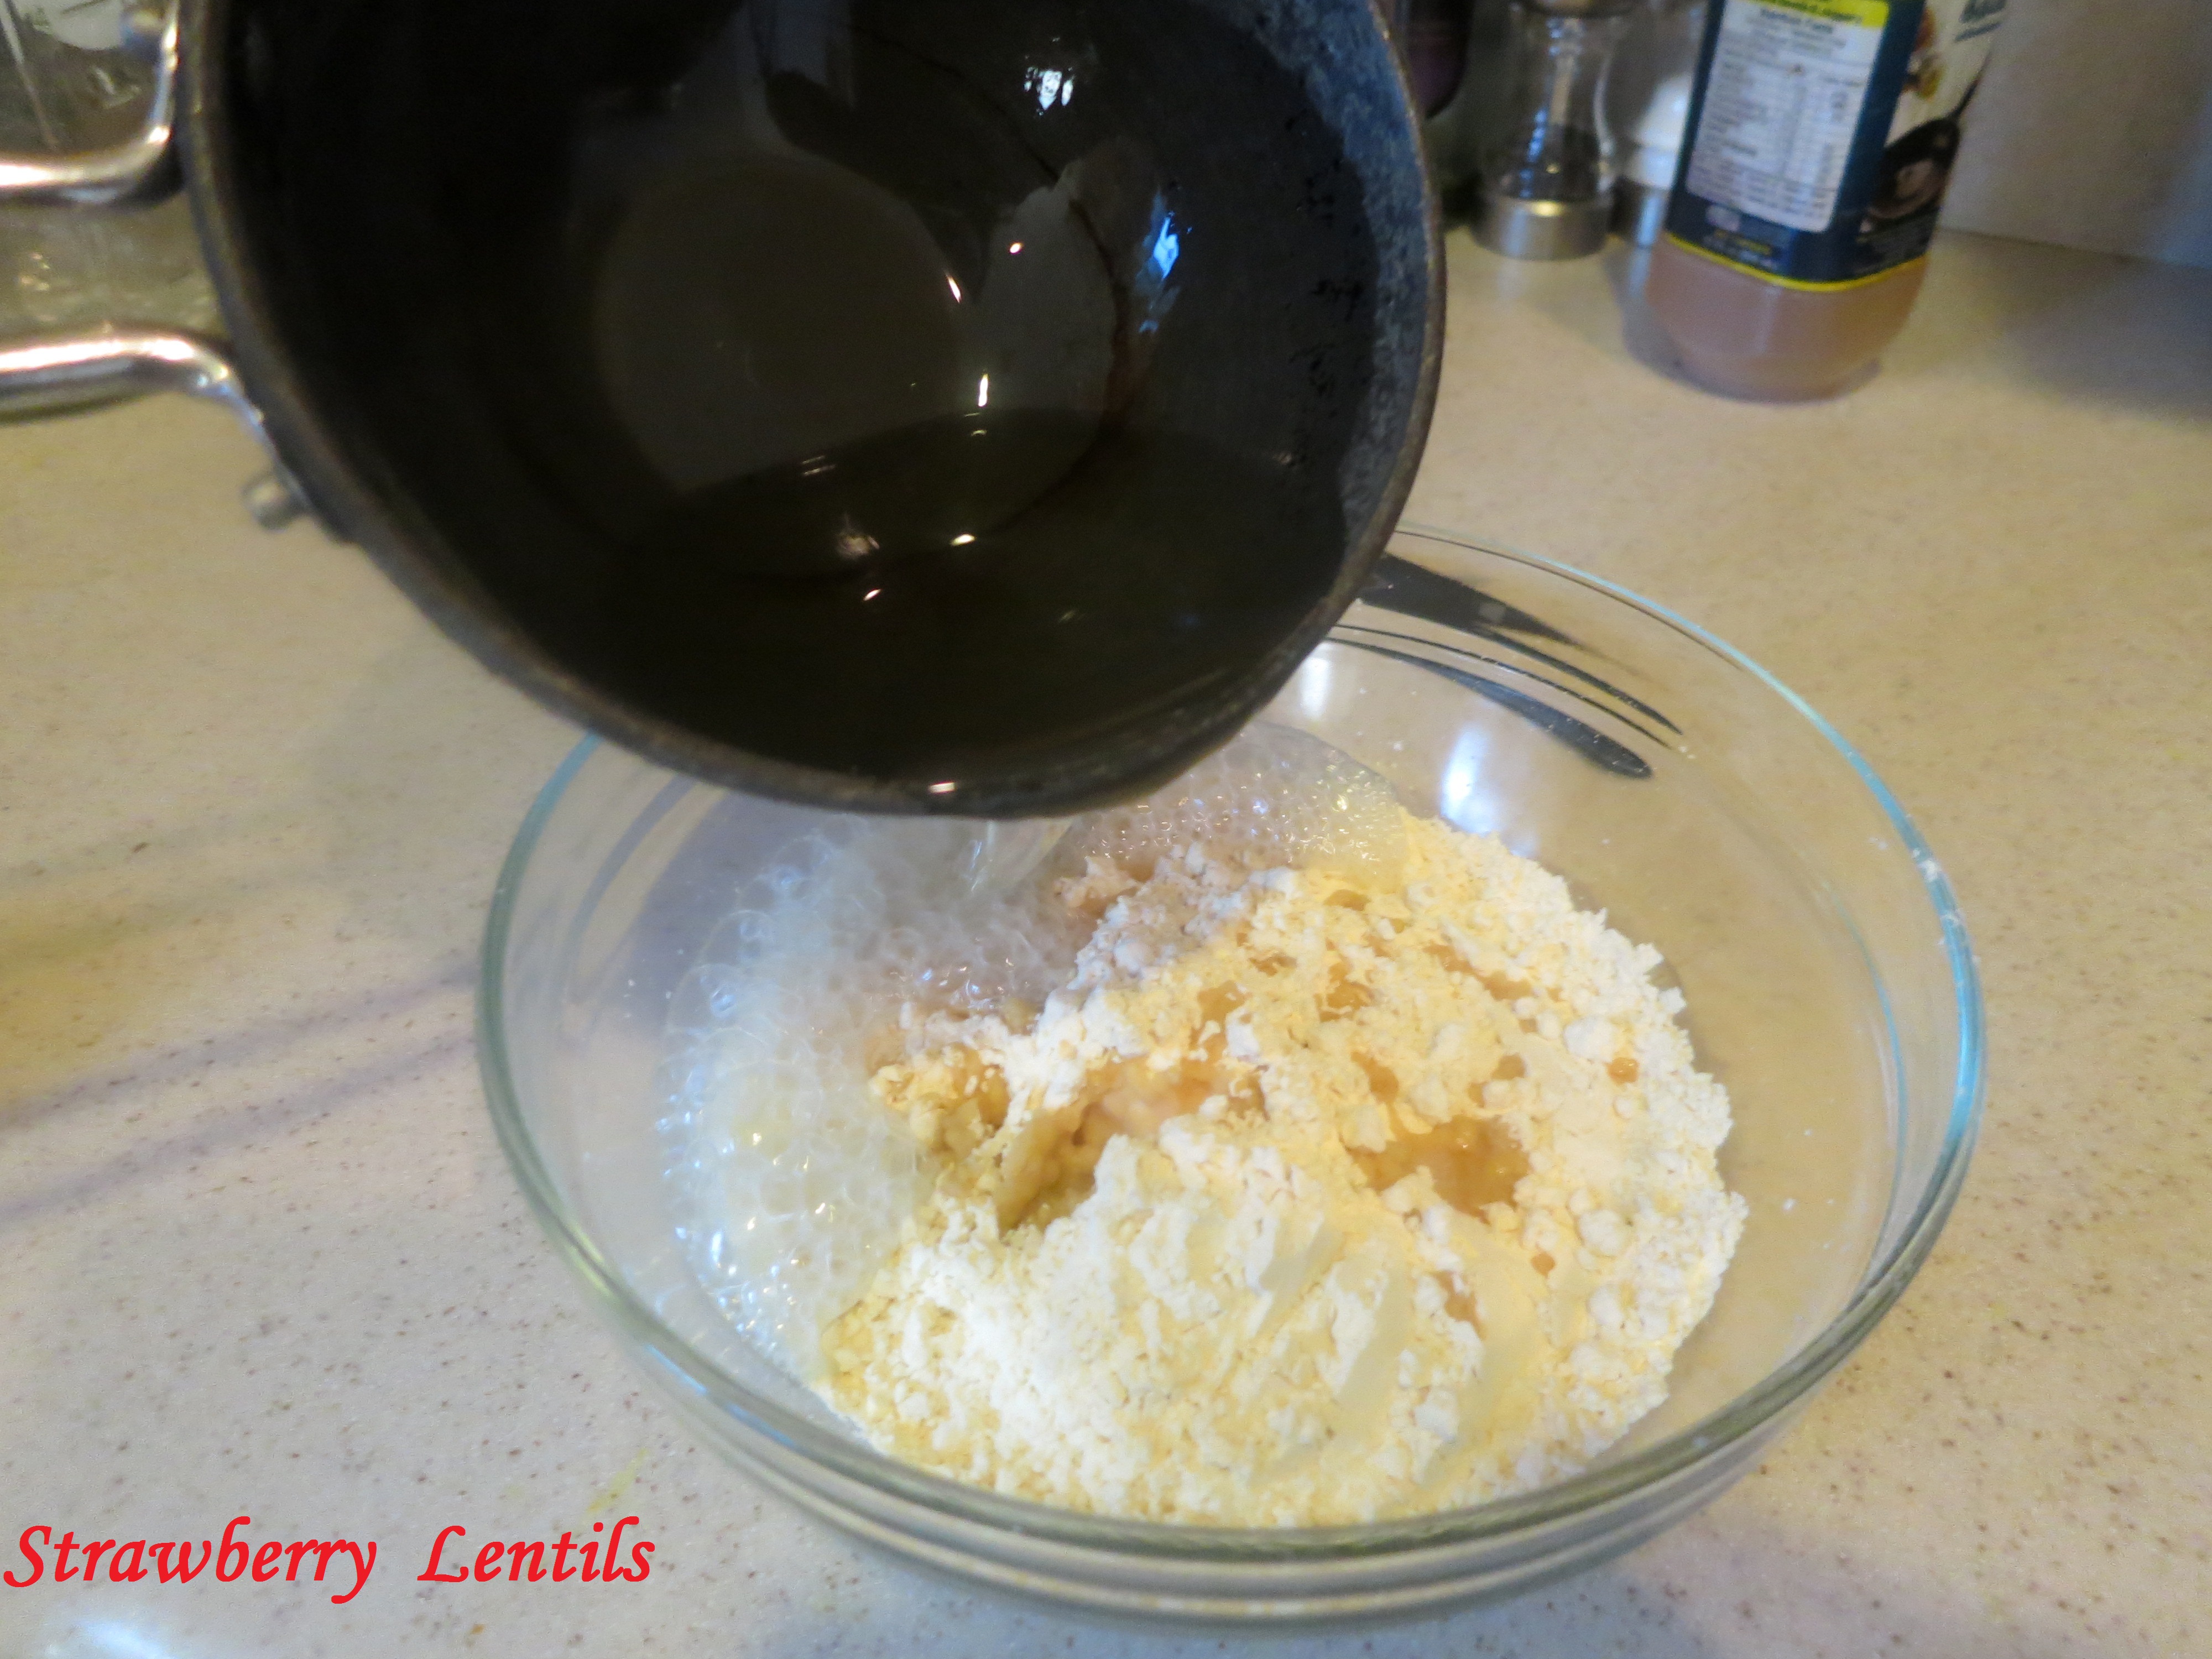
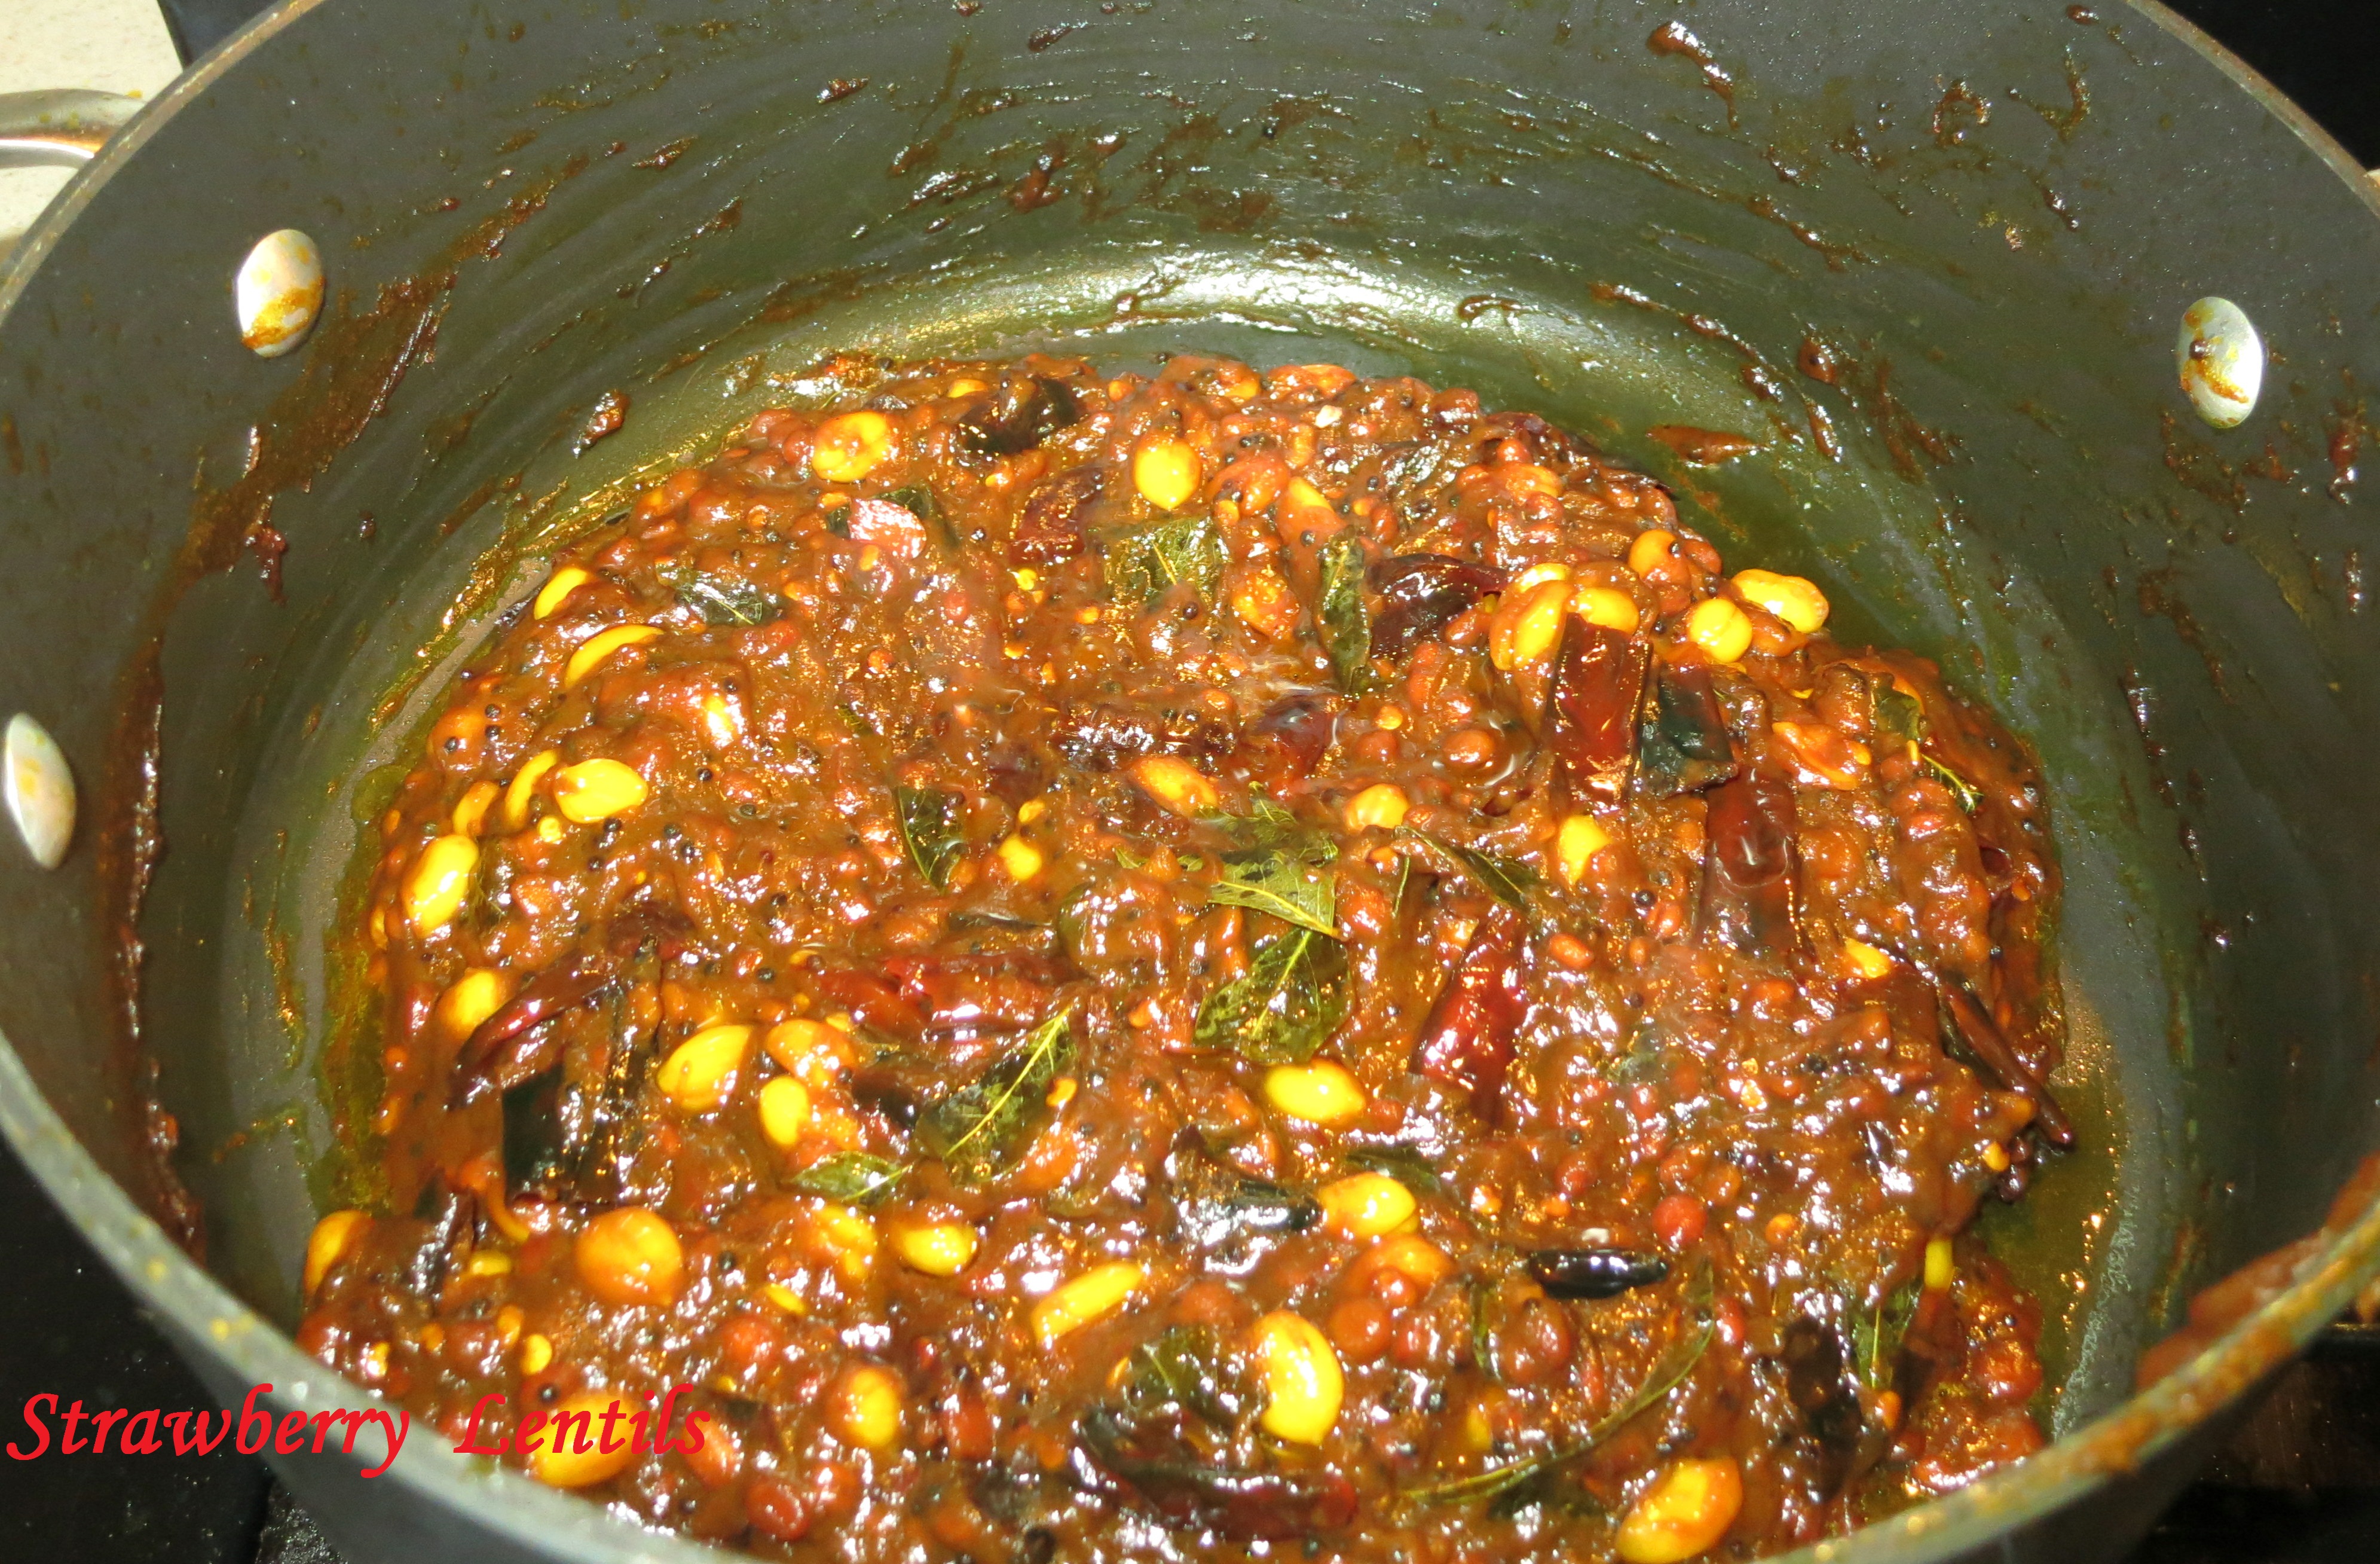
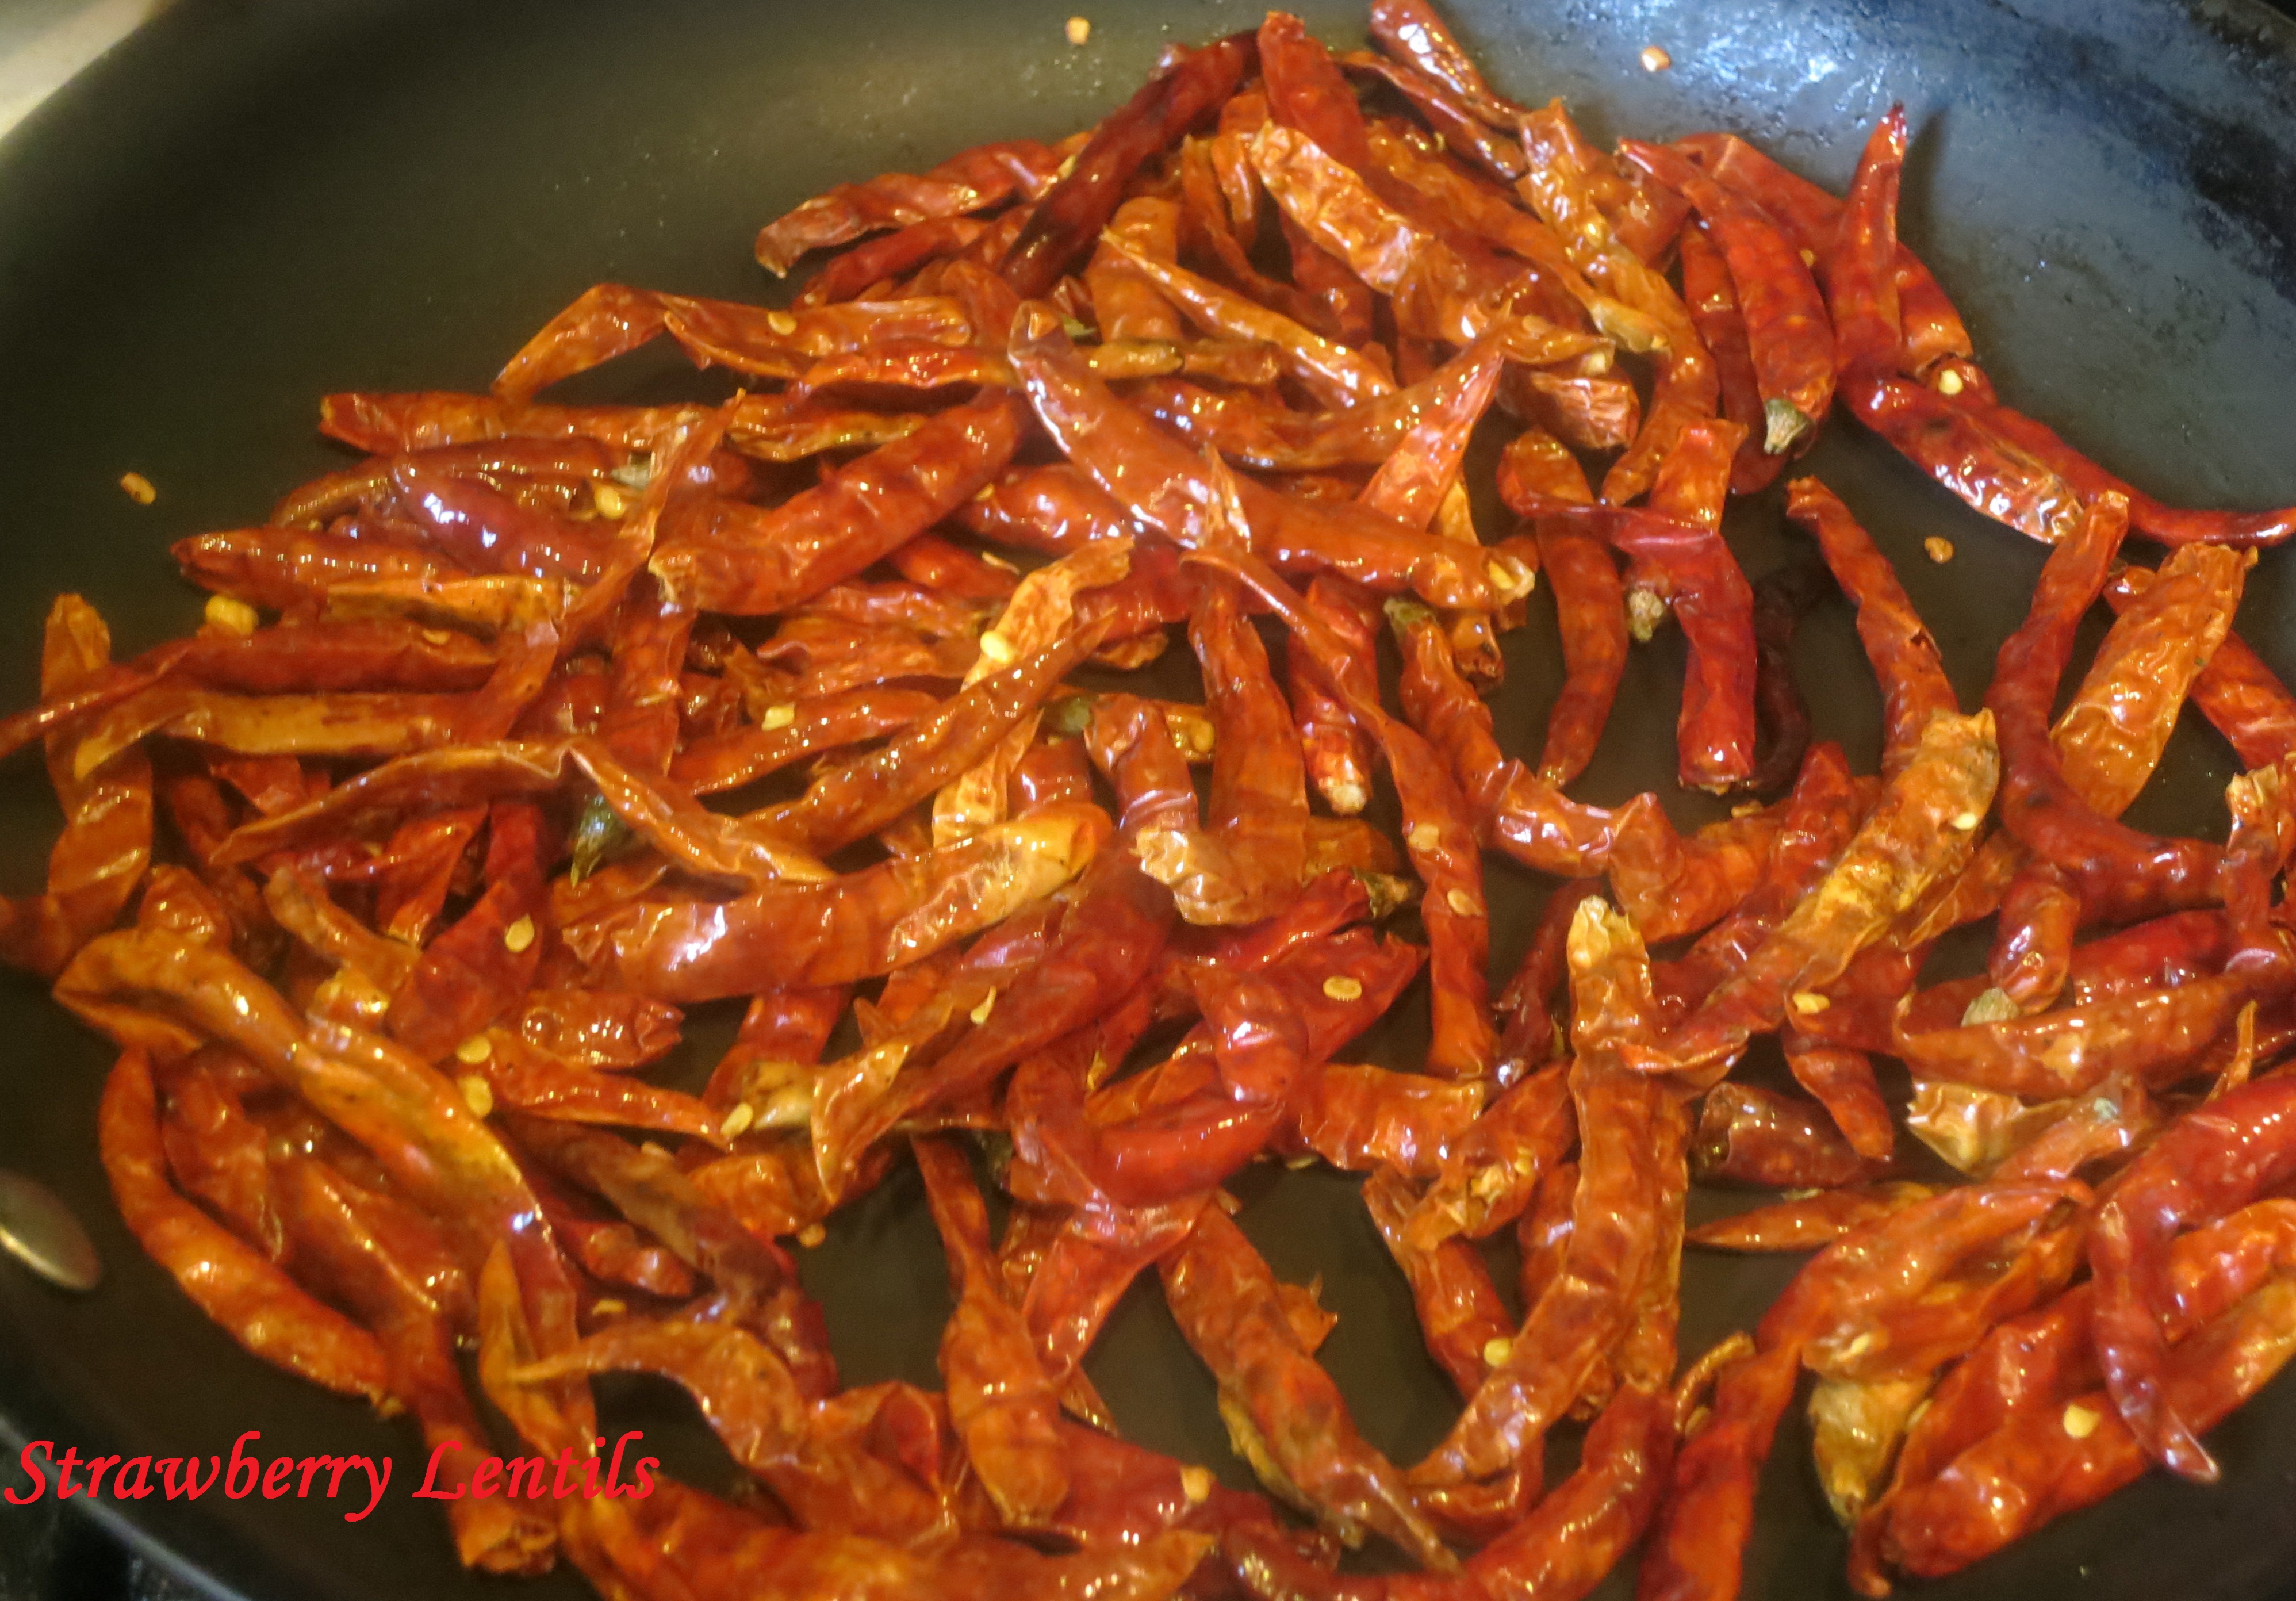
Set the toasted lentils aside. Heat 1 tsp of oil and toast the chillies until they slightly change in color (again no burning).
Image
Toast the sesame seeds in a tsp of oil.
Image
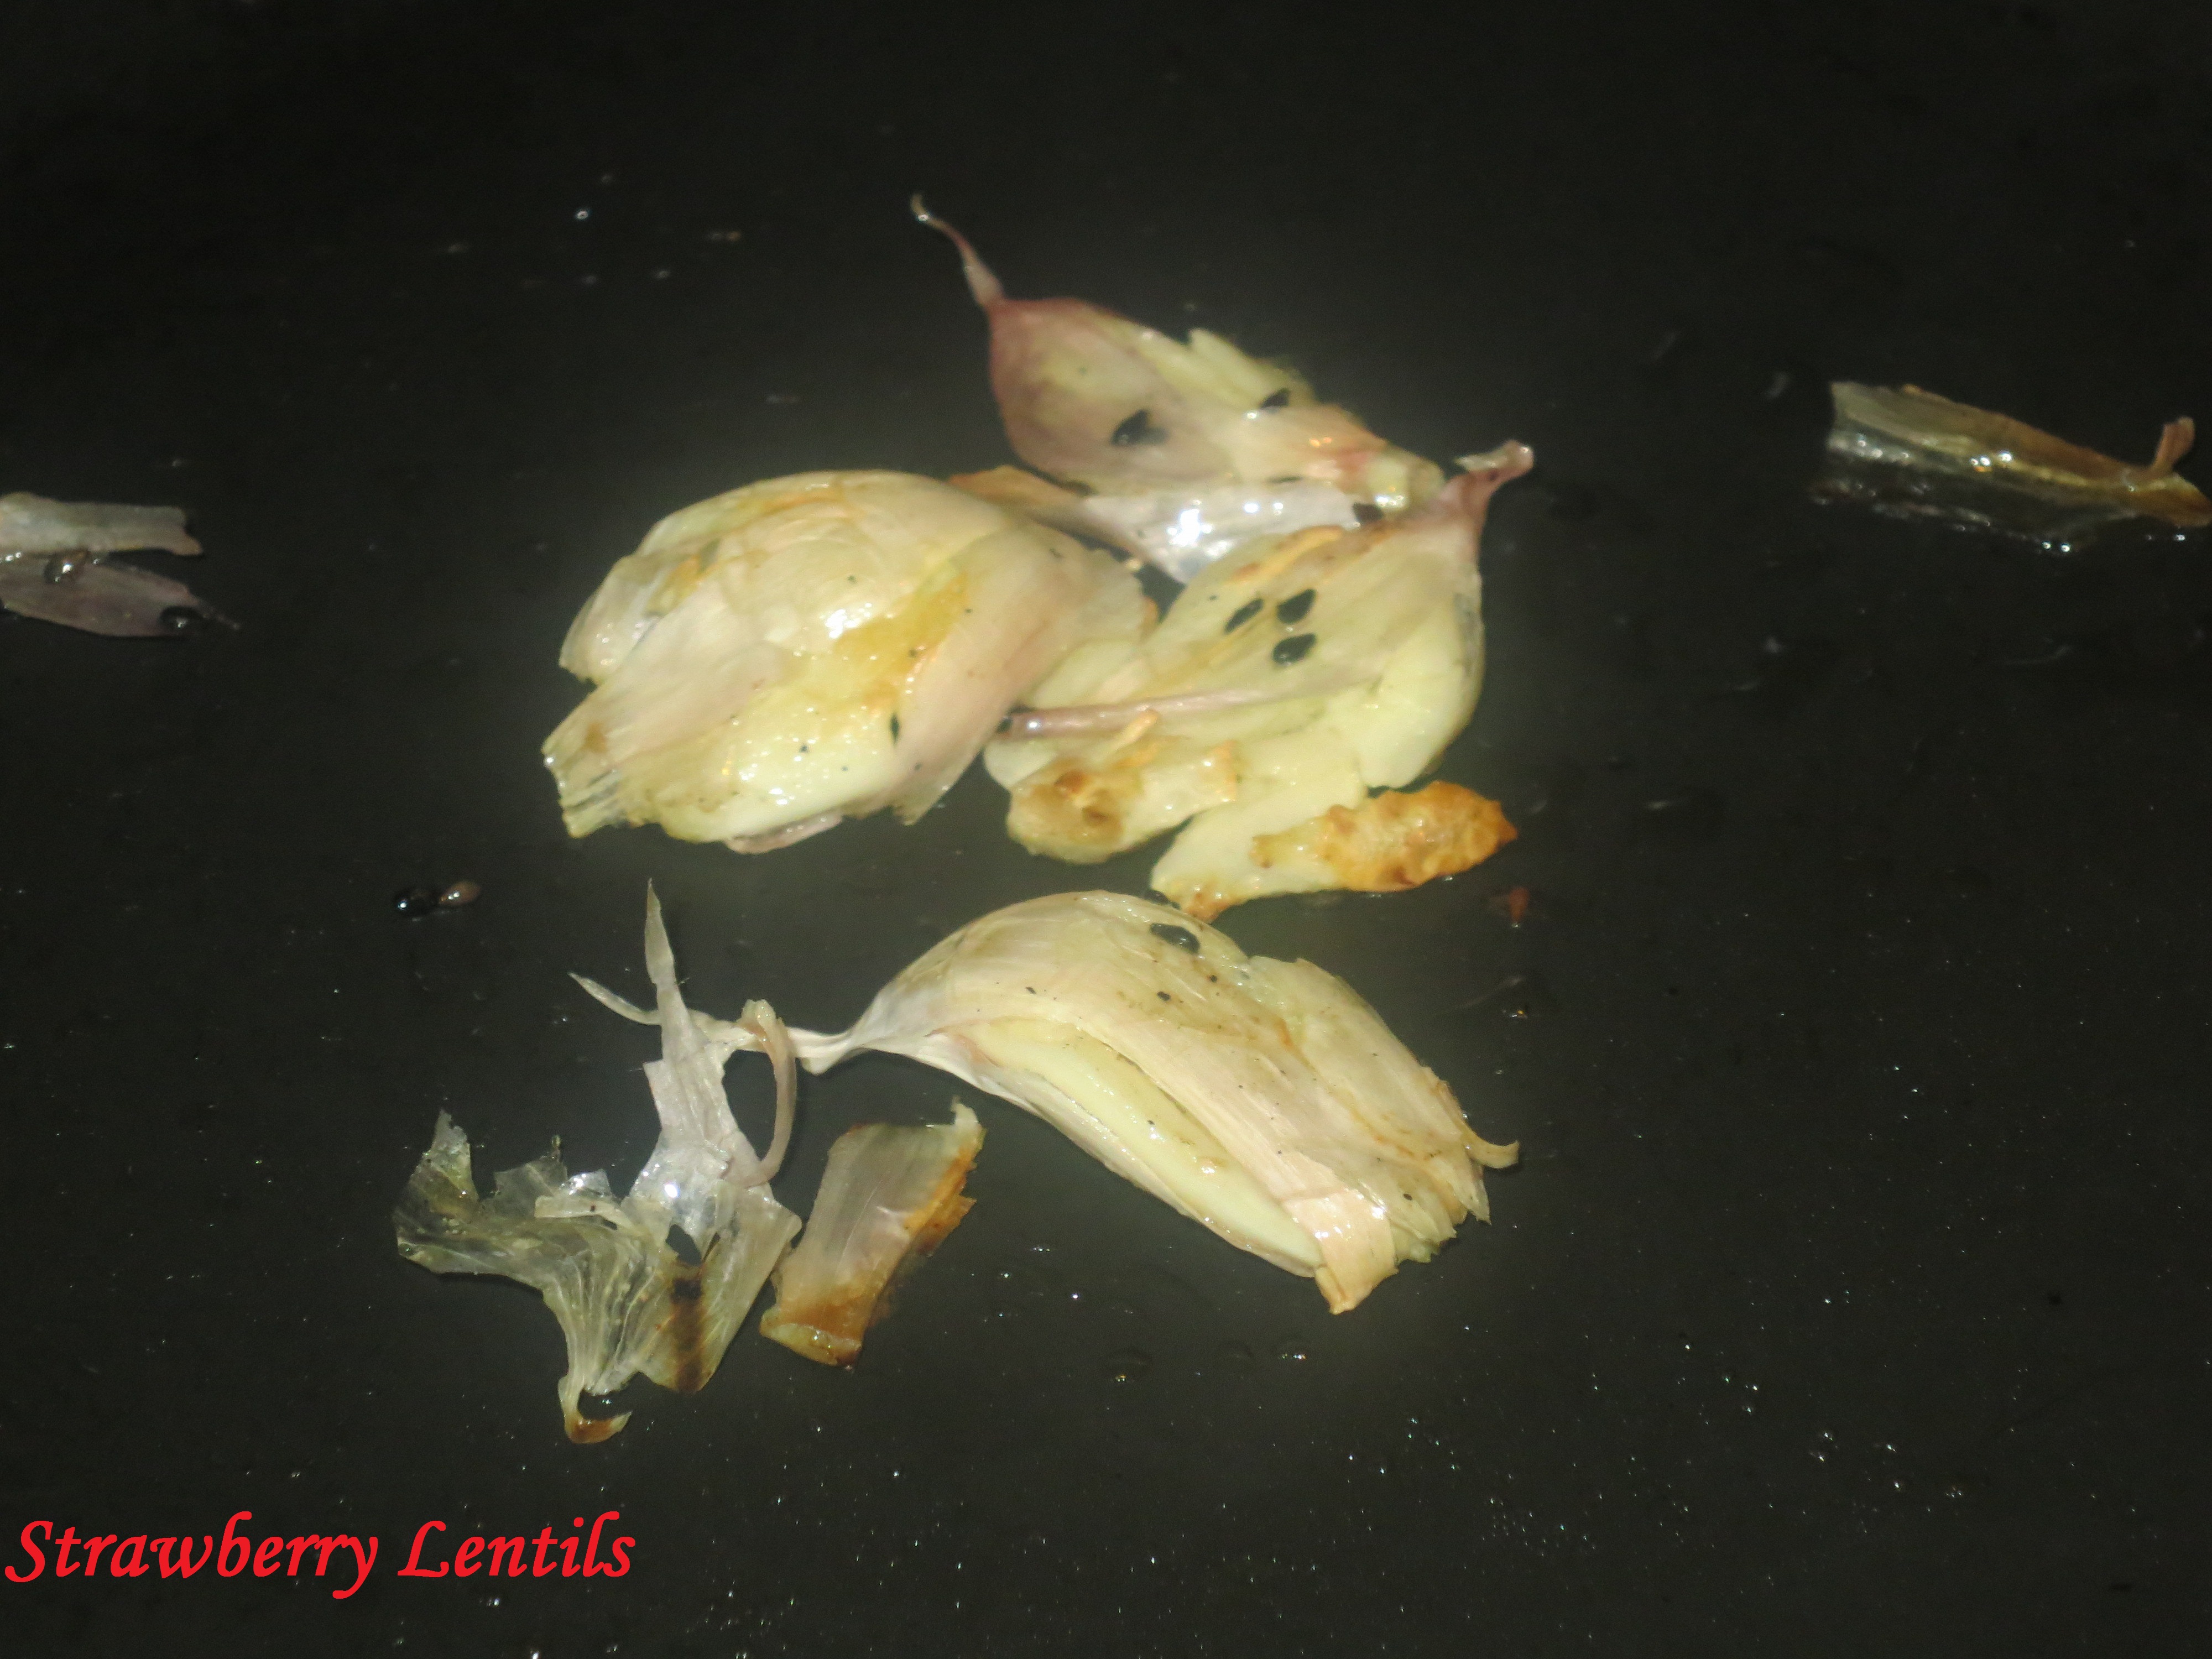
Roast the garlic in a tsp of oil.
Image
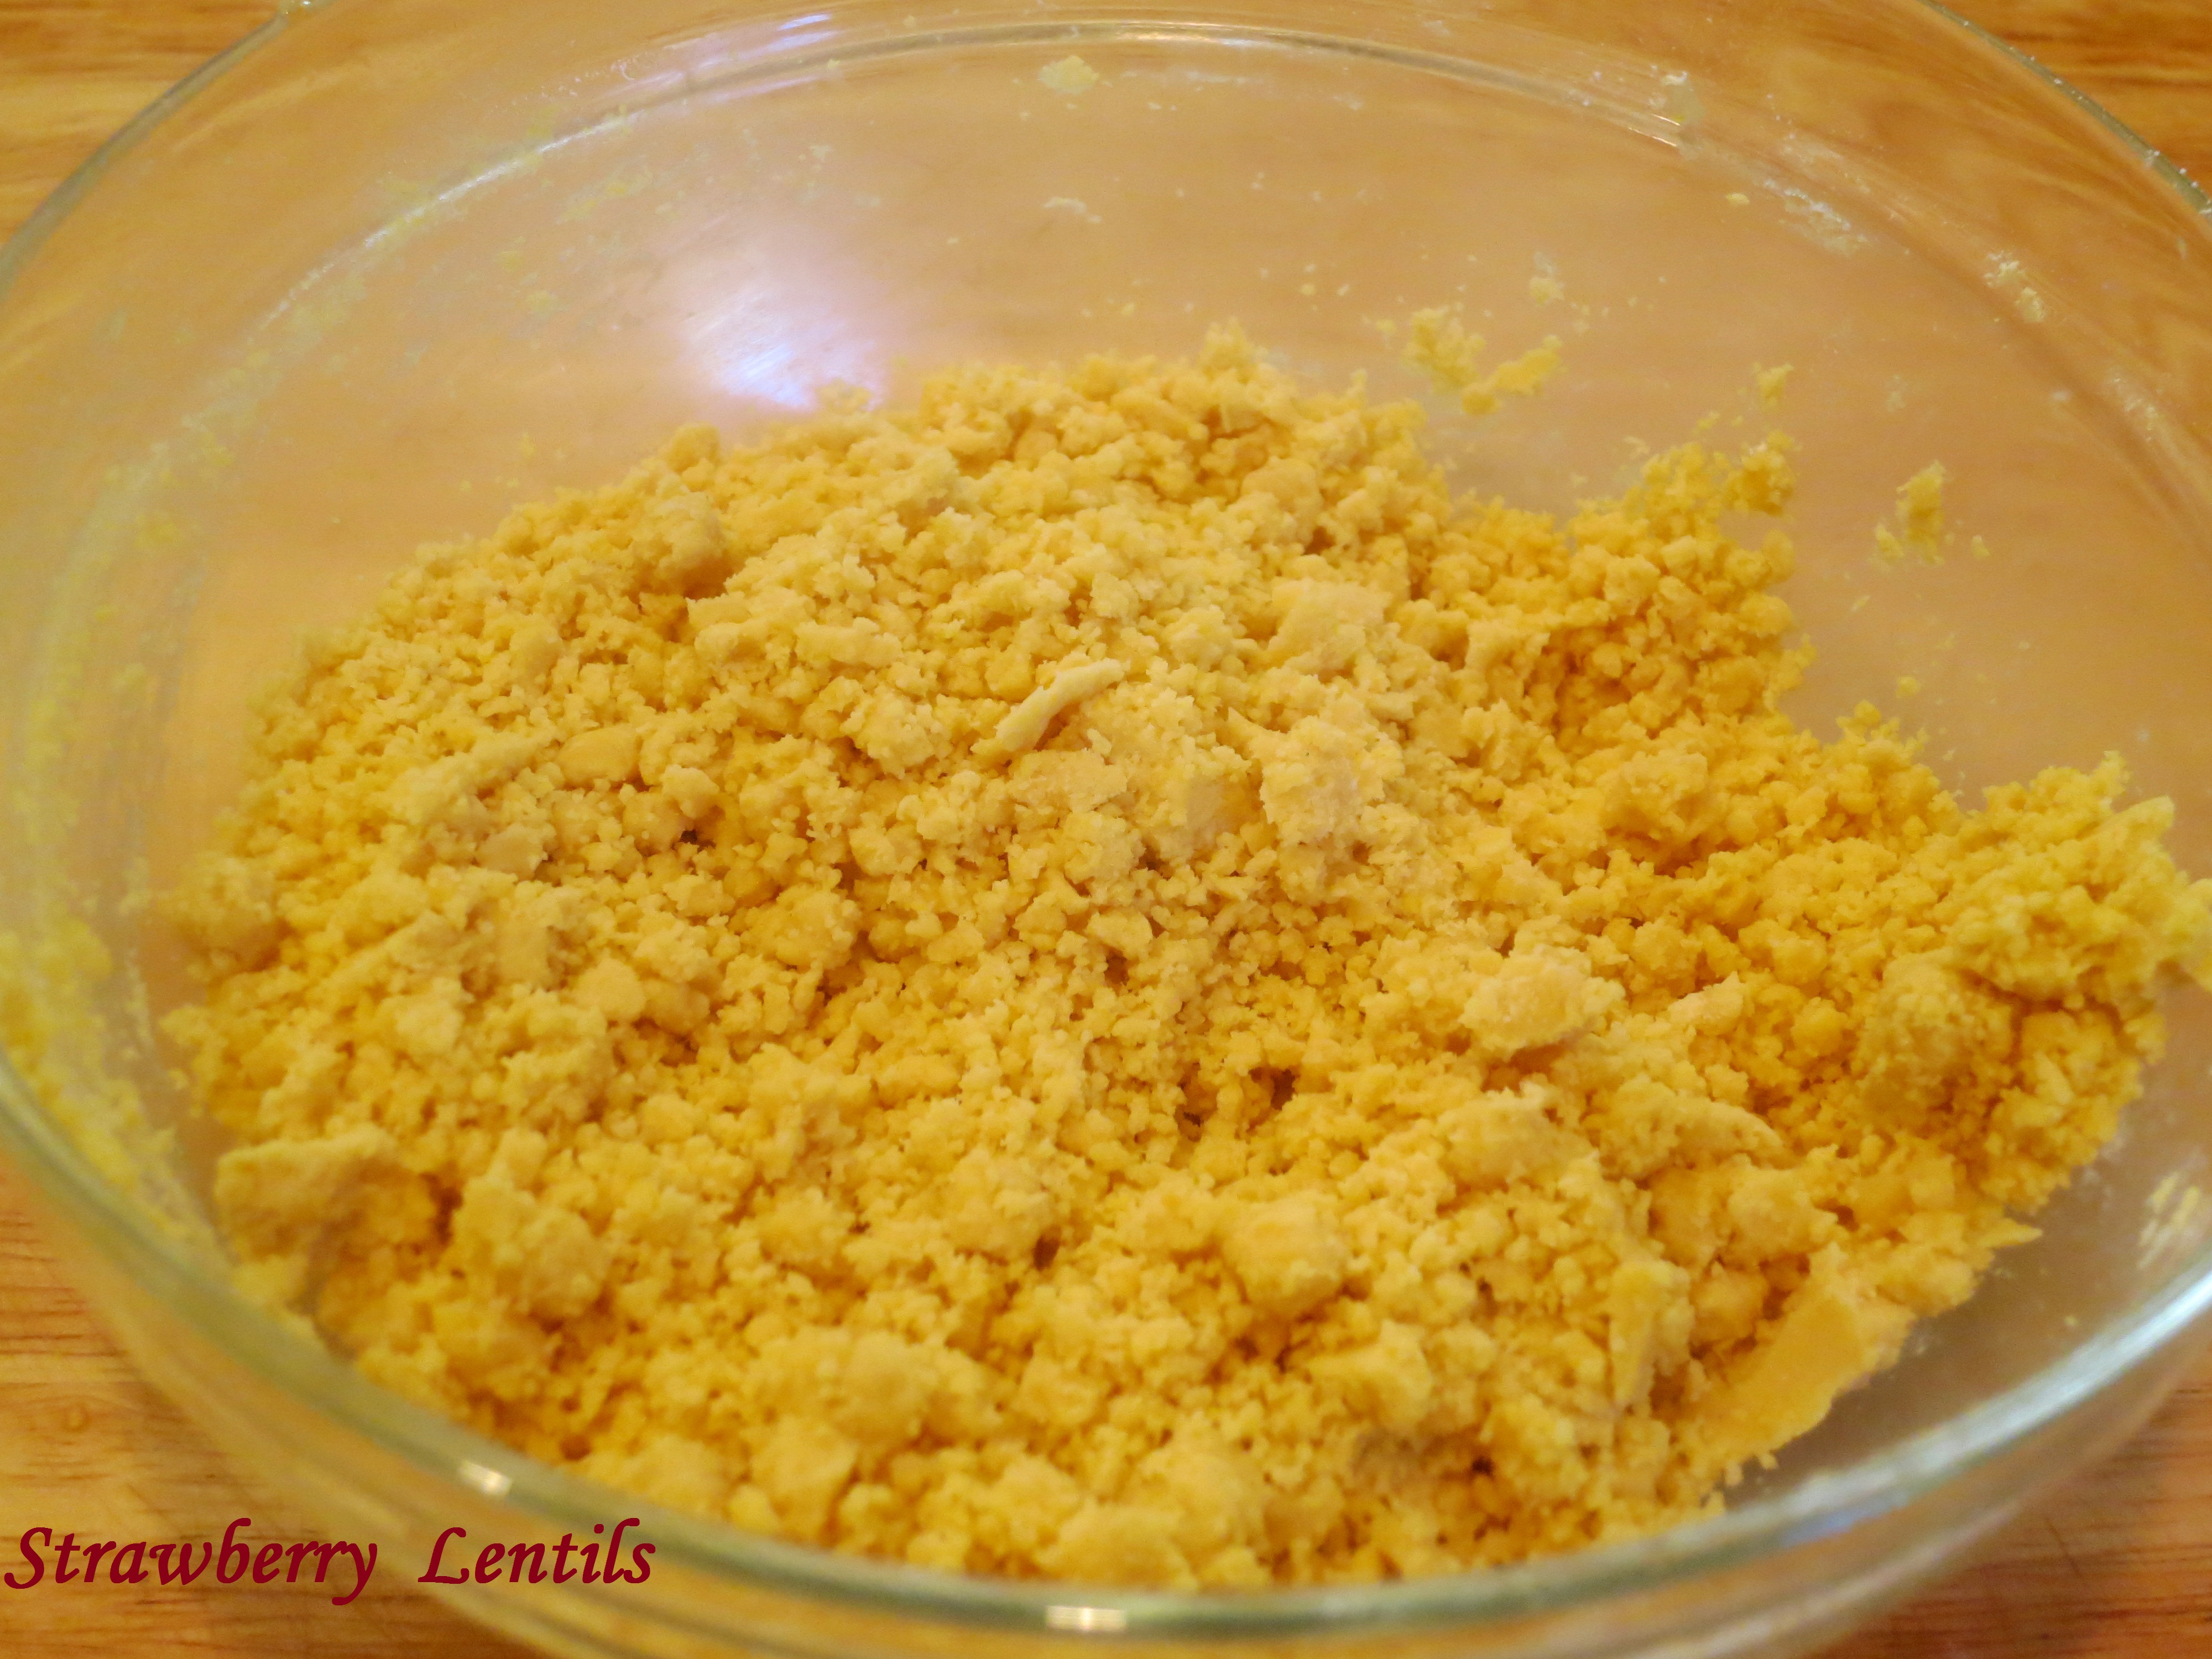
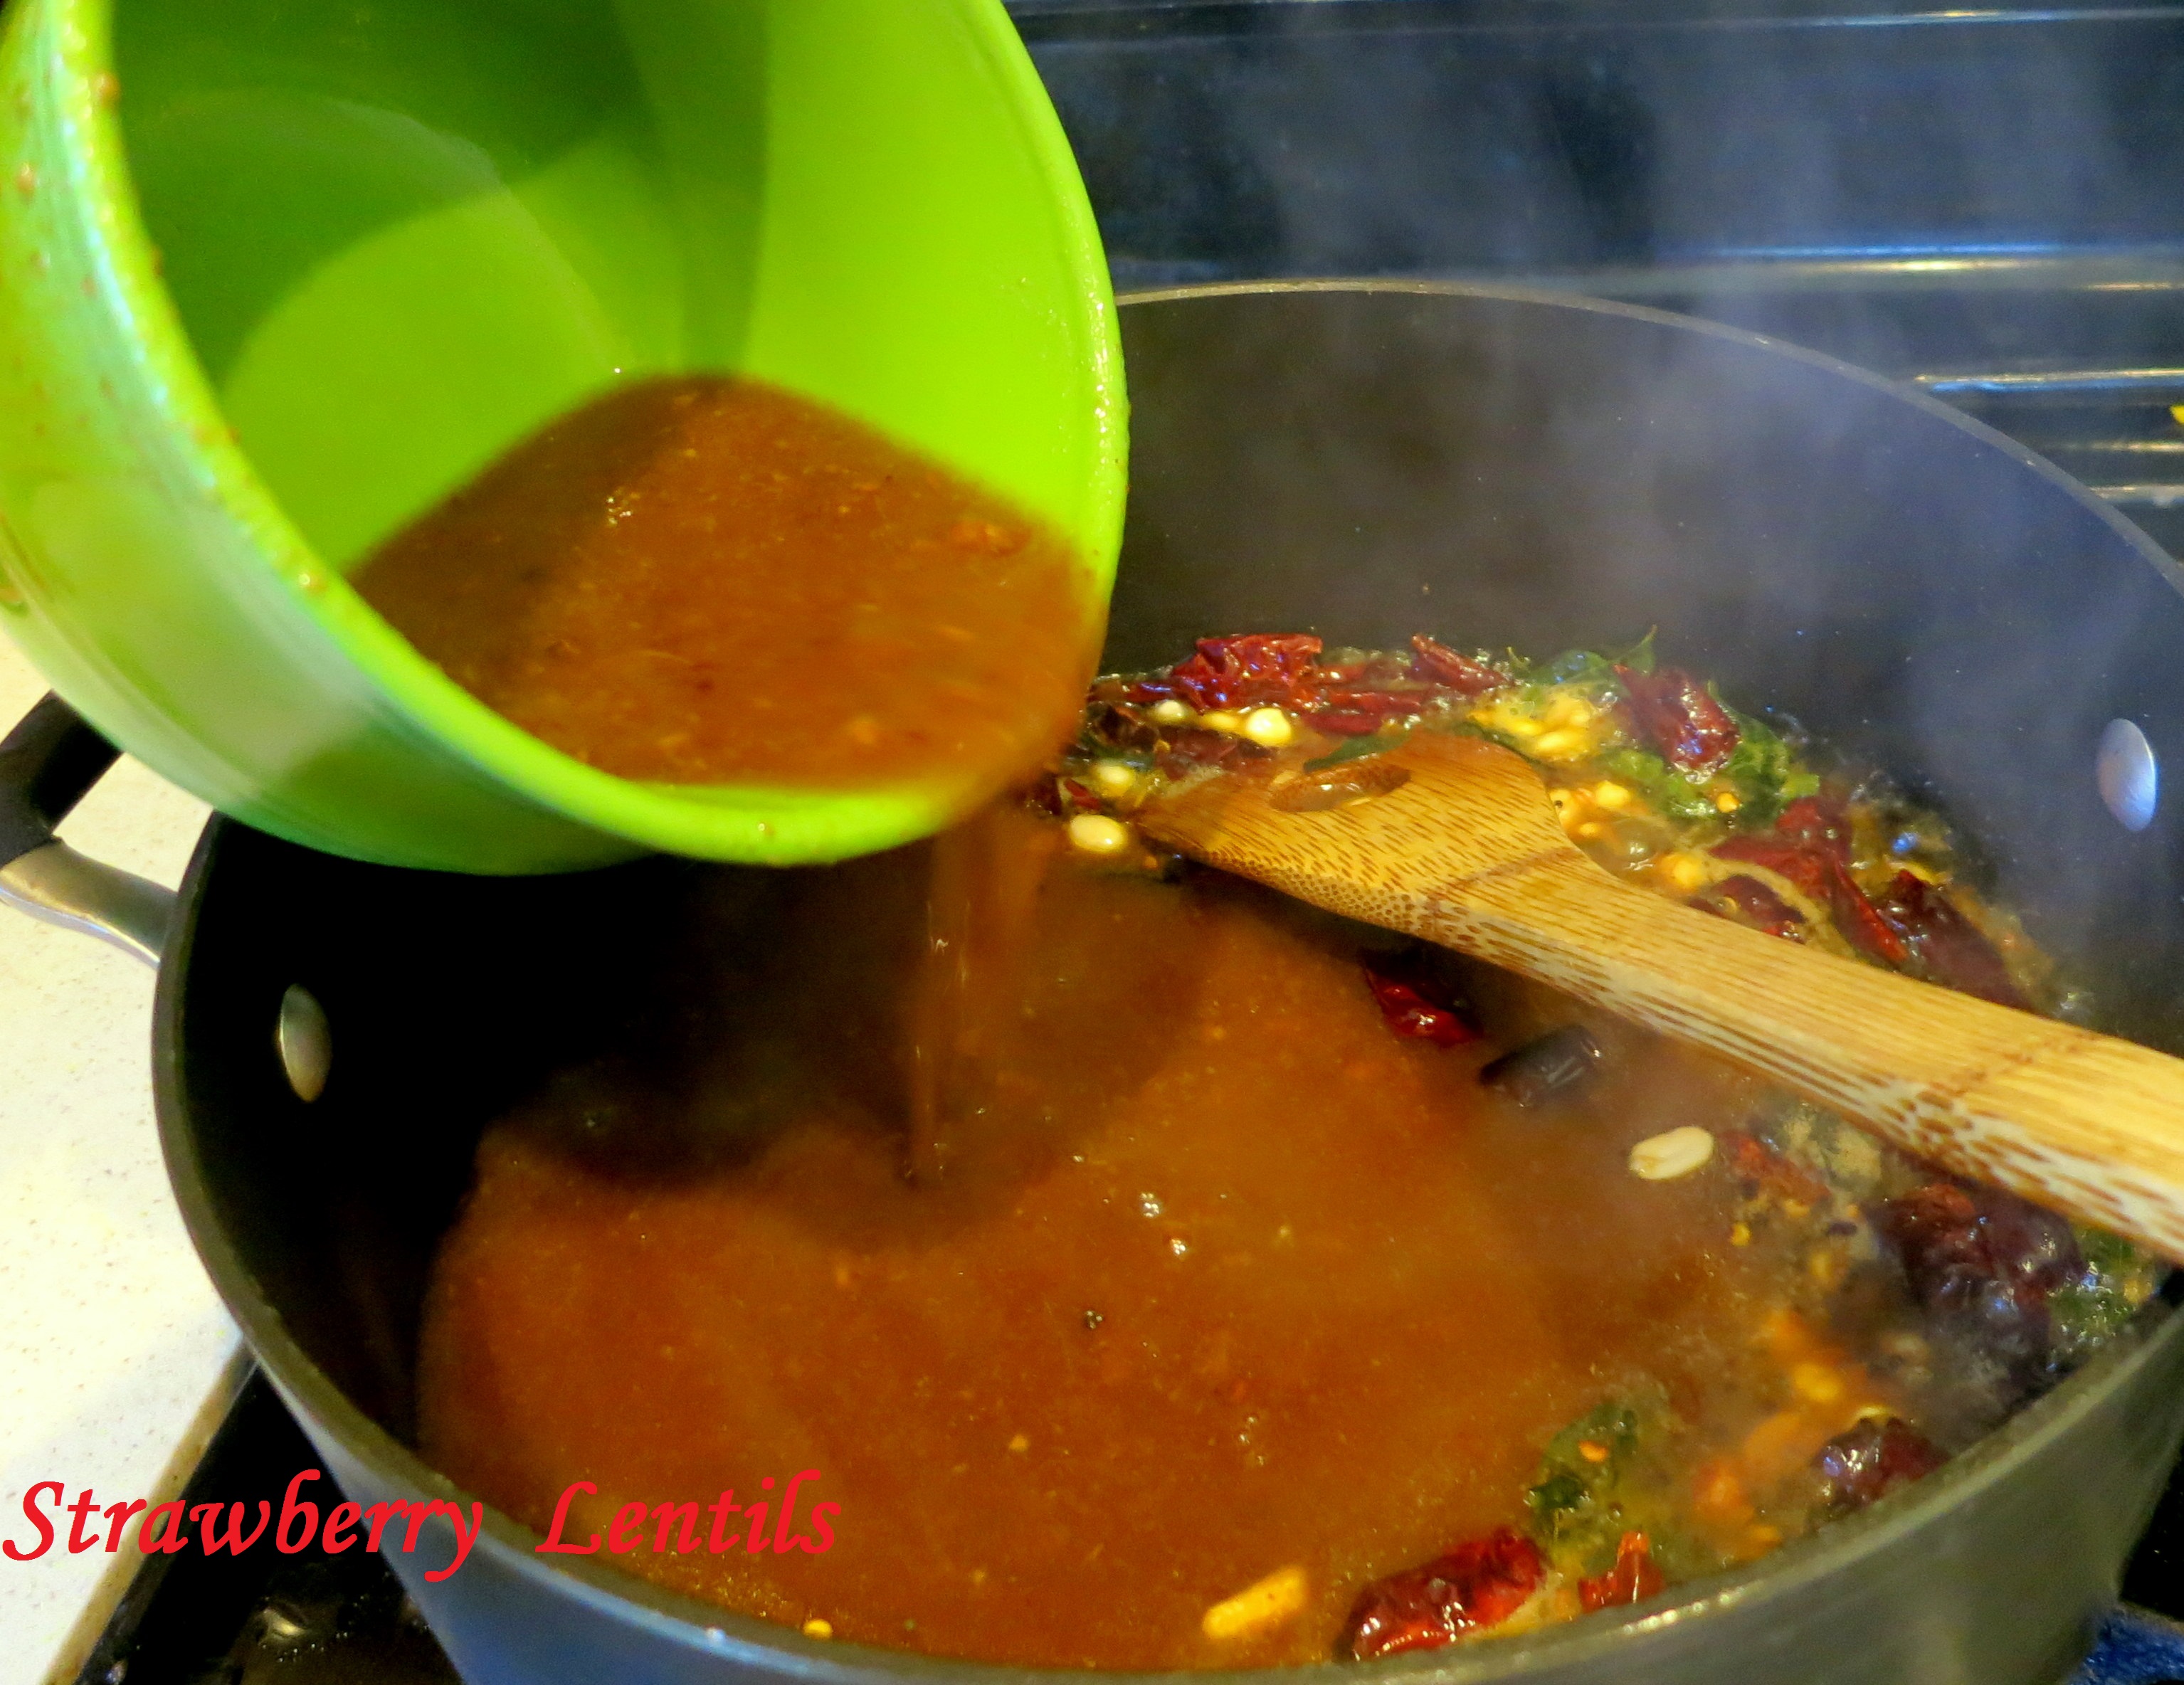
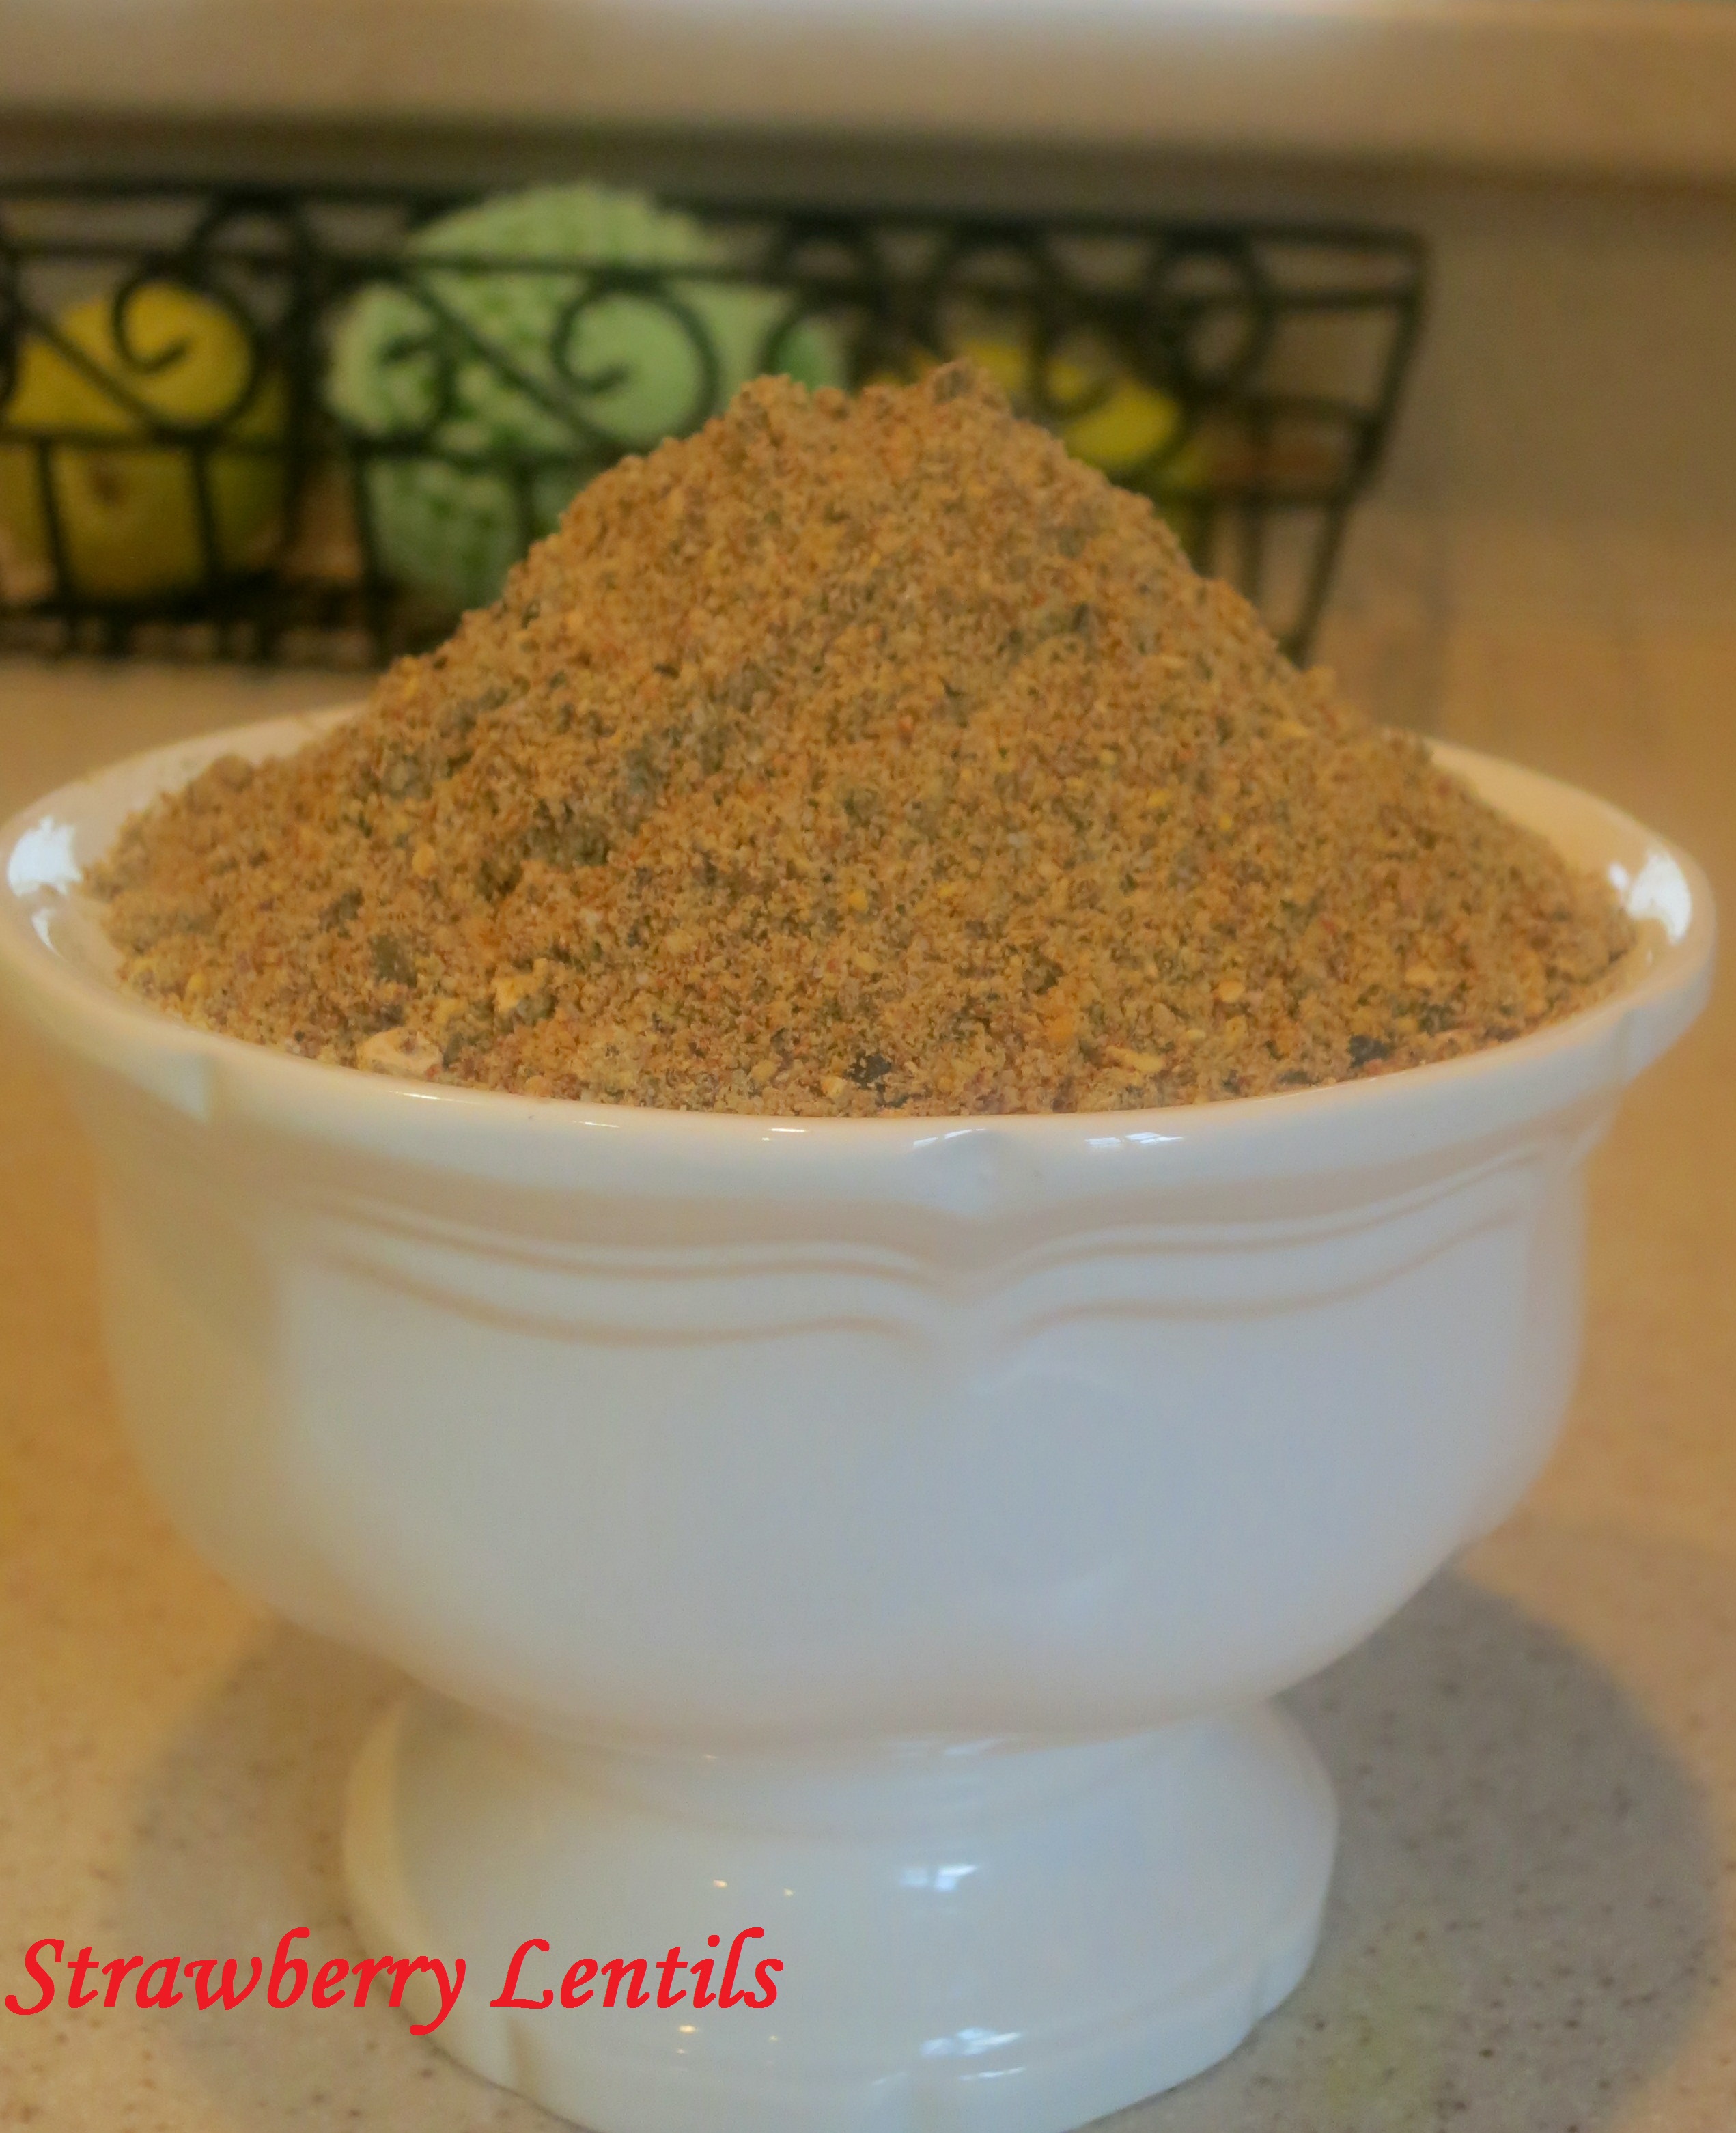
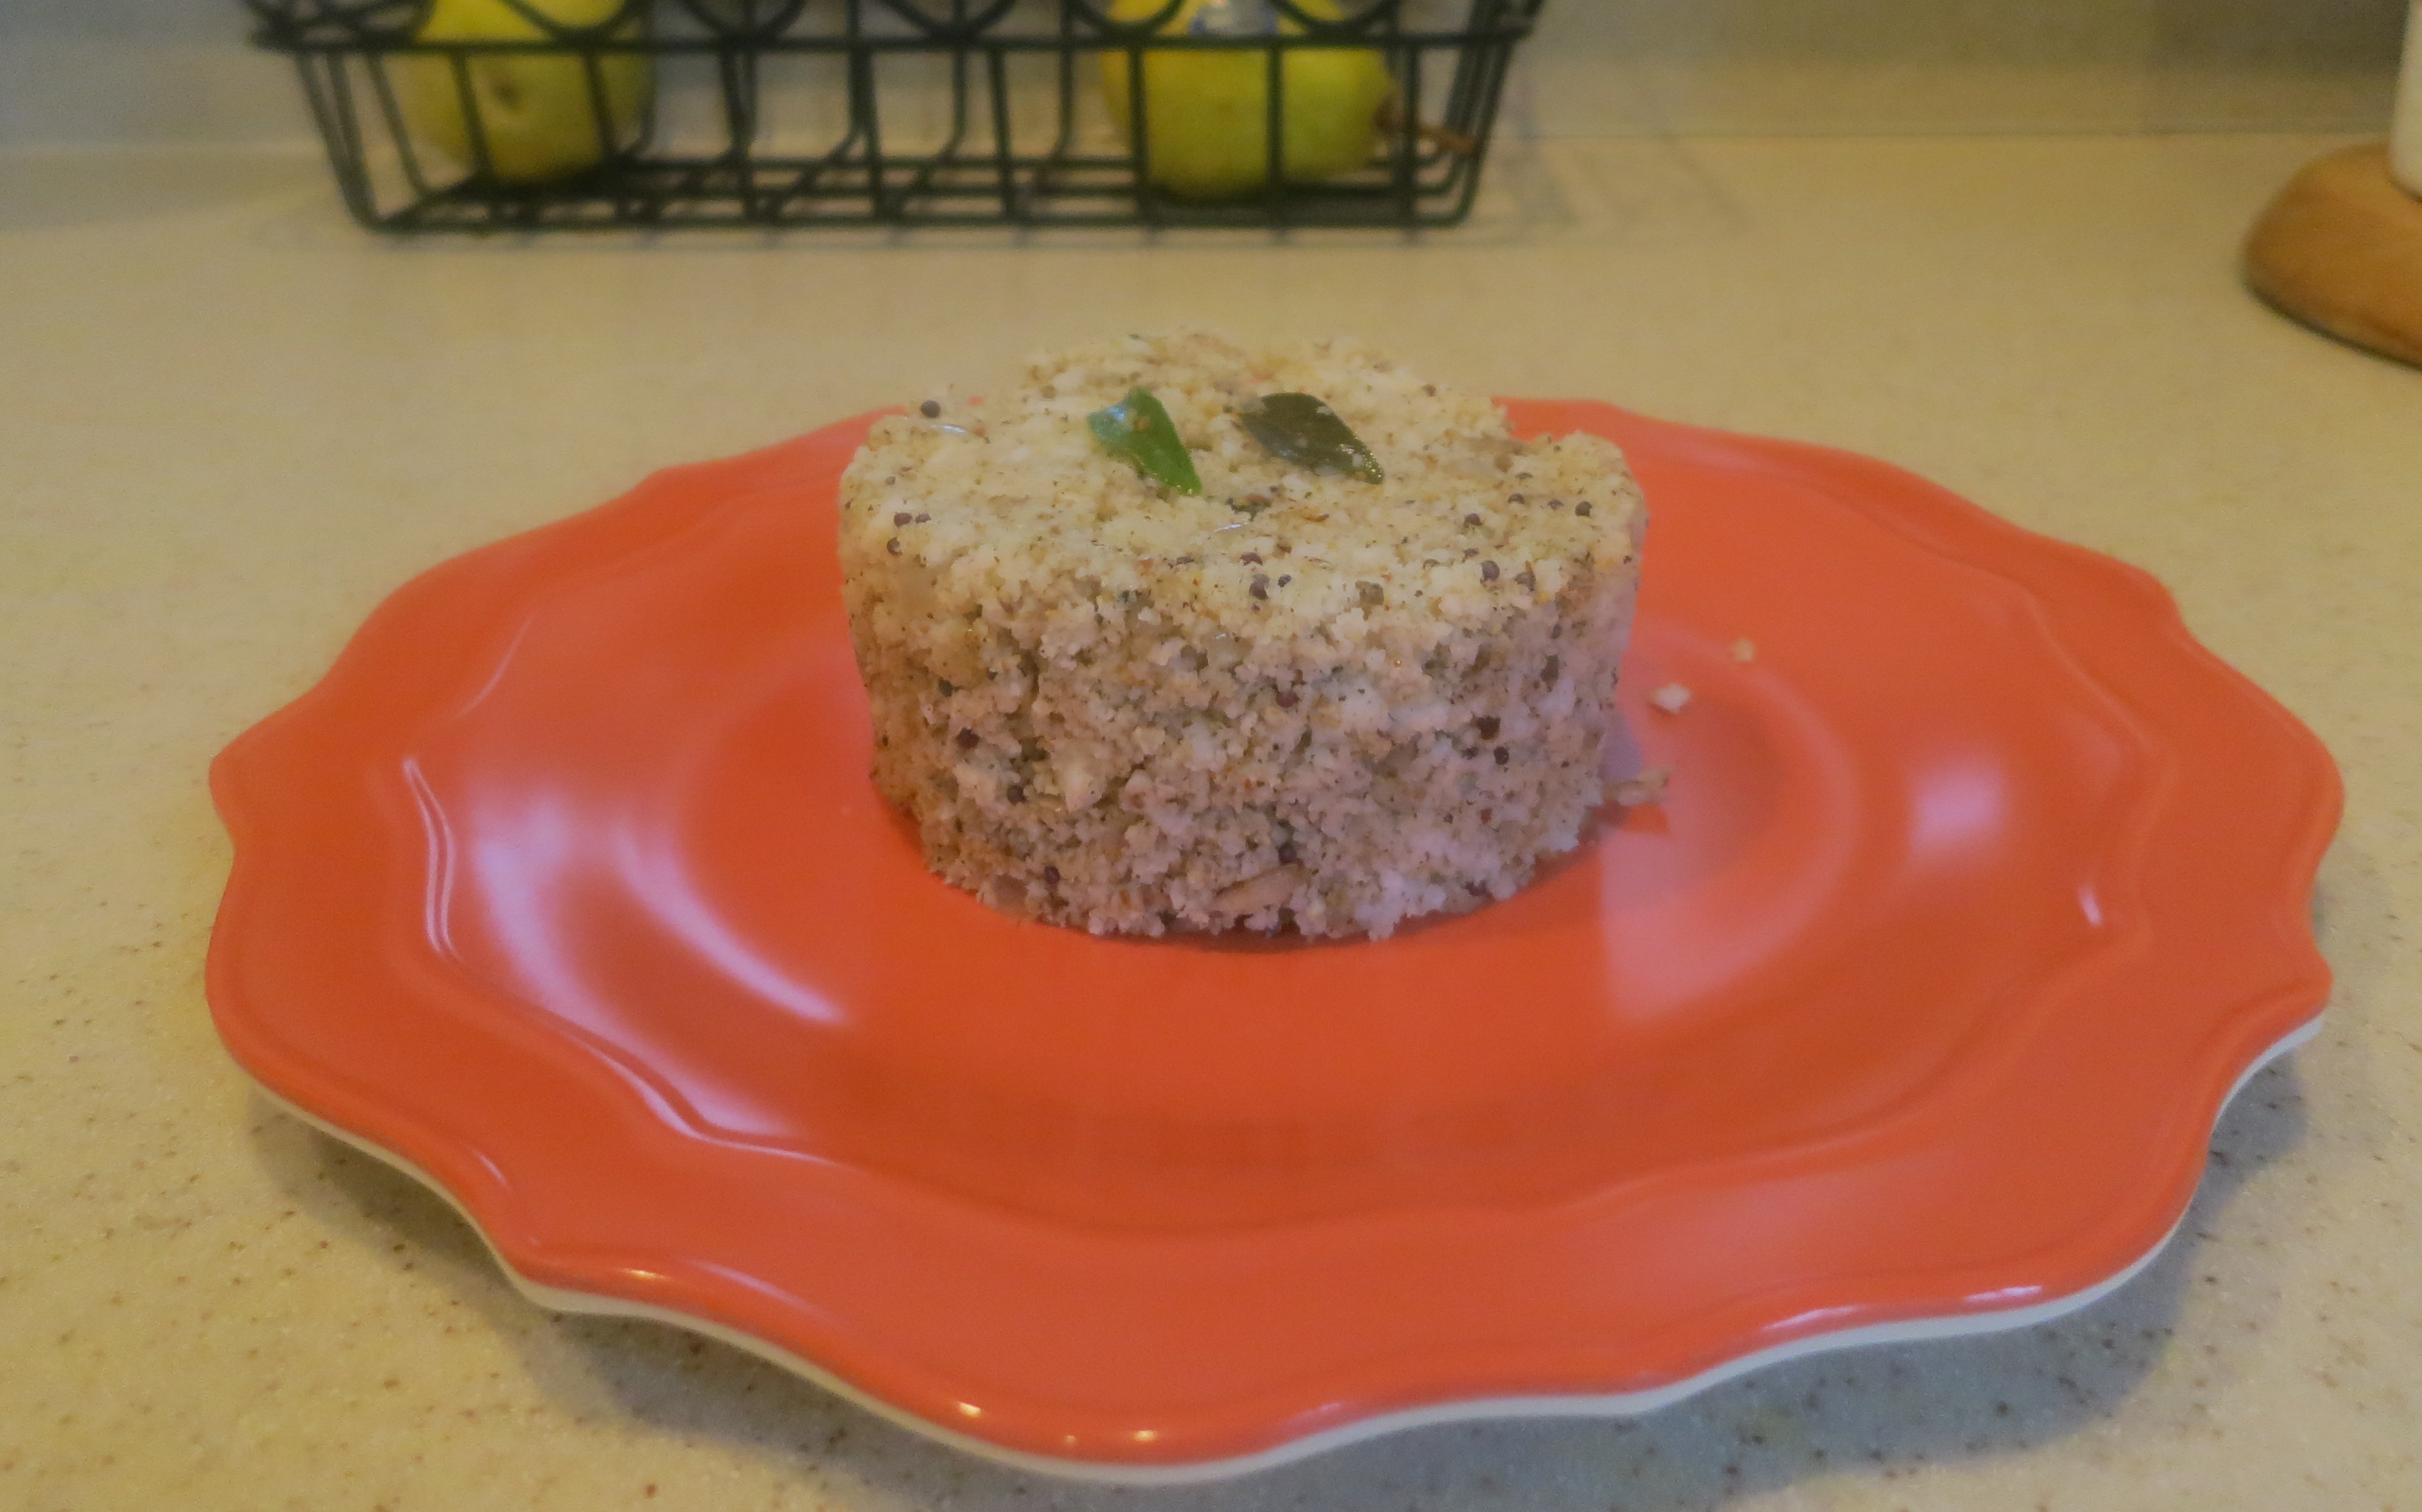
Let everything cool down for atleast 30 minutes. Then dry grind it to a coarse powder.
Image
Add salt only after grinding. The right texture should be like beach sand, if you add salt while grinding, it will add moisture.
 Image
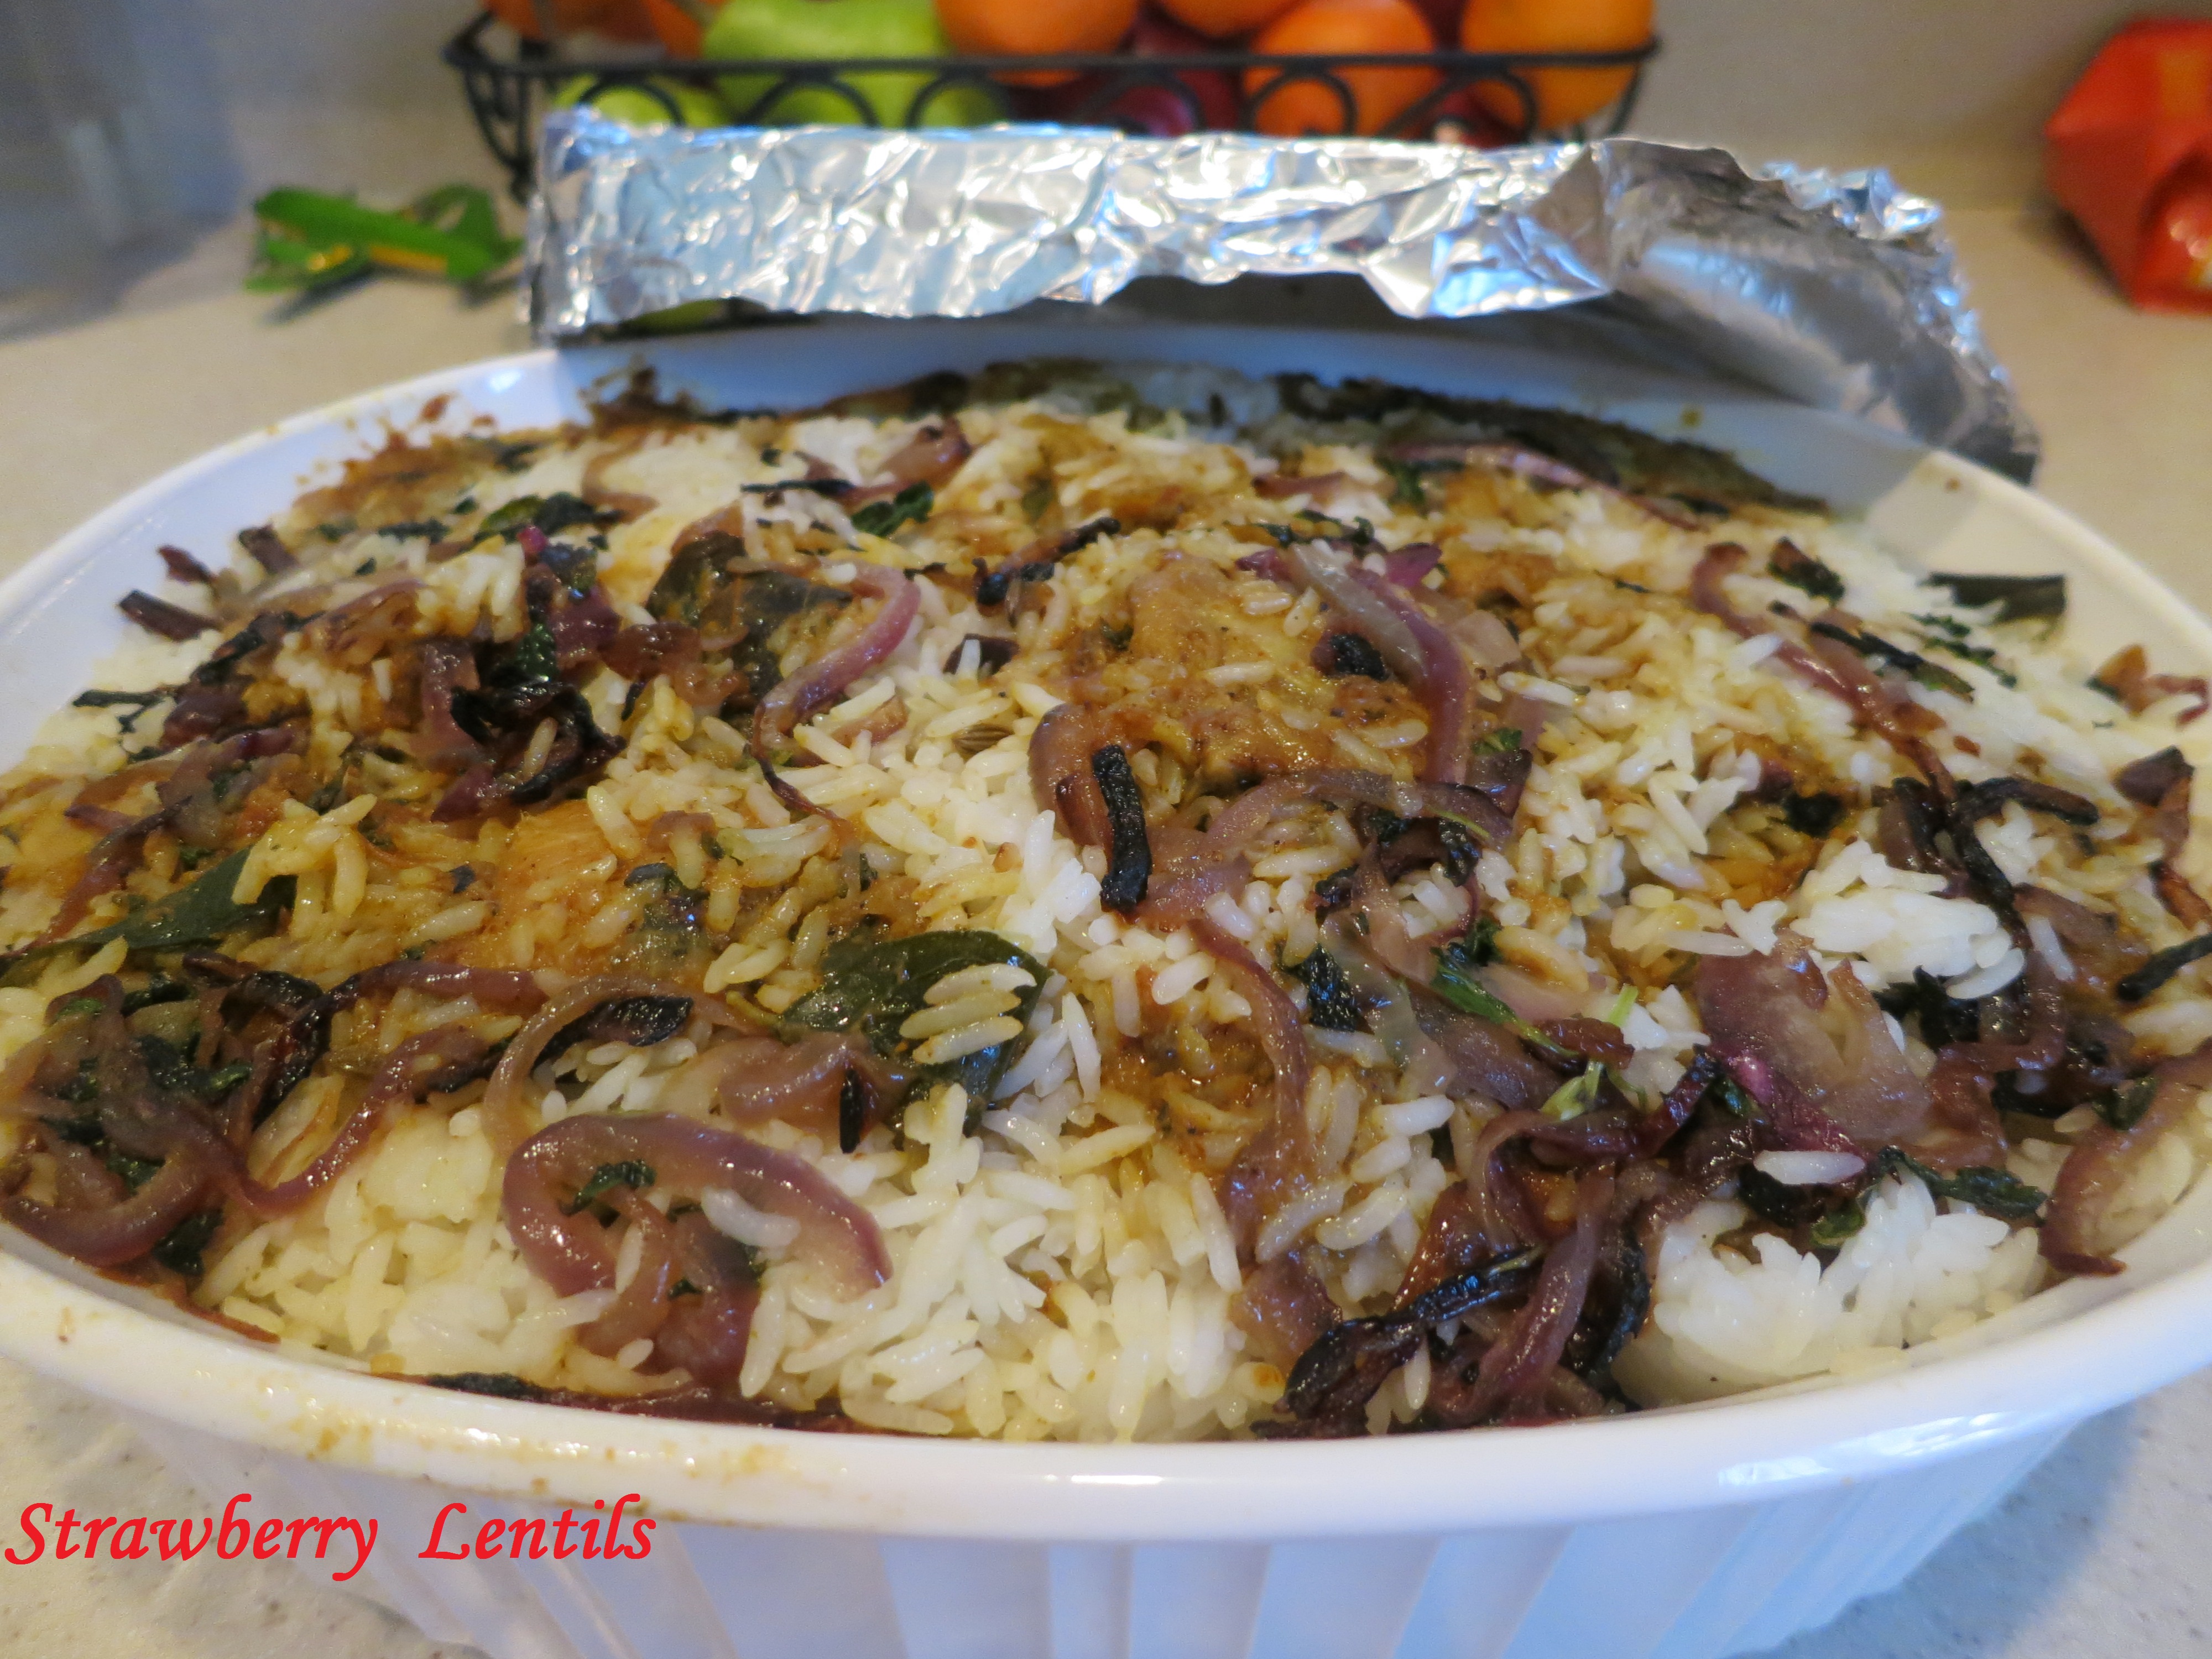
Hot idlis, podi, sesame oil and a cup of good Madras coffee…..mmmm….what a wonderful life !!
Image
You can also add podi to spice up the idli upma.
Image
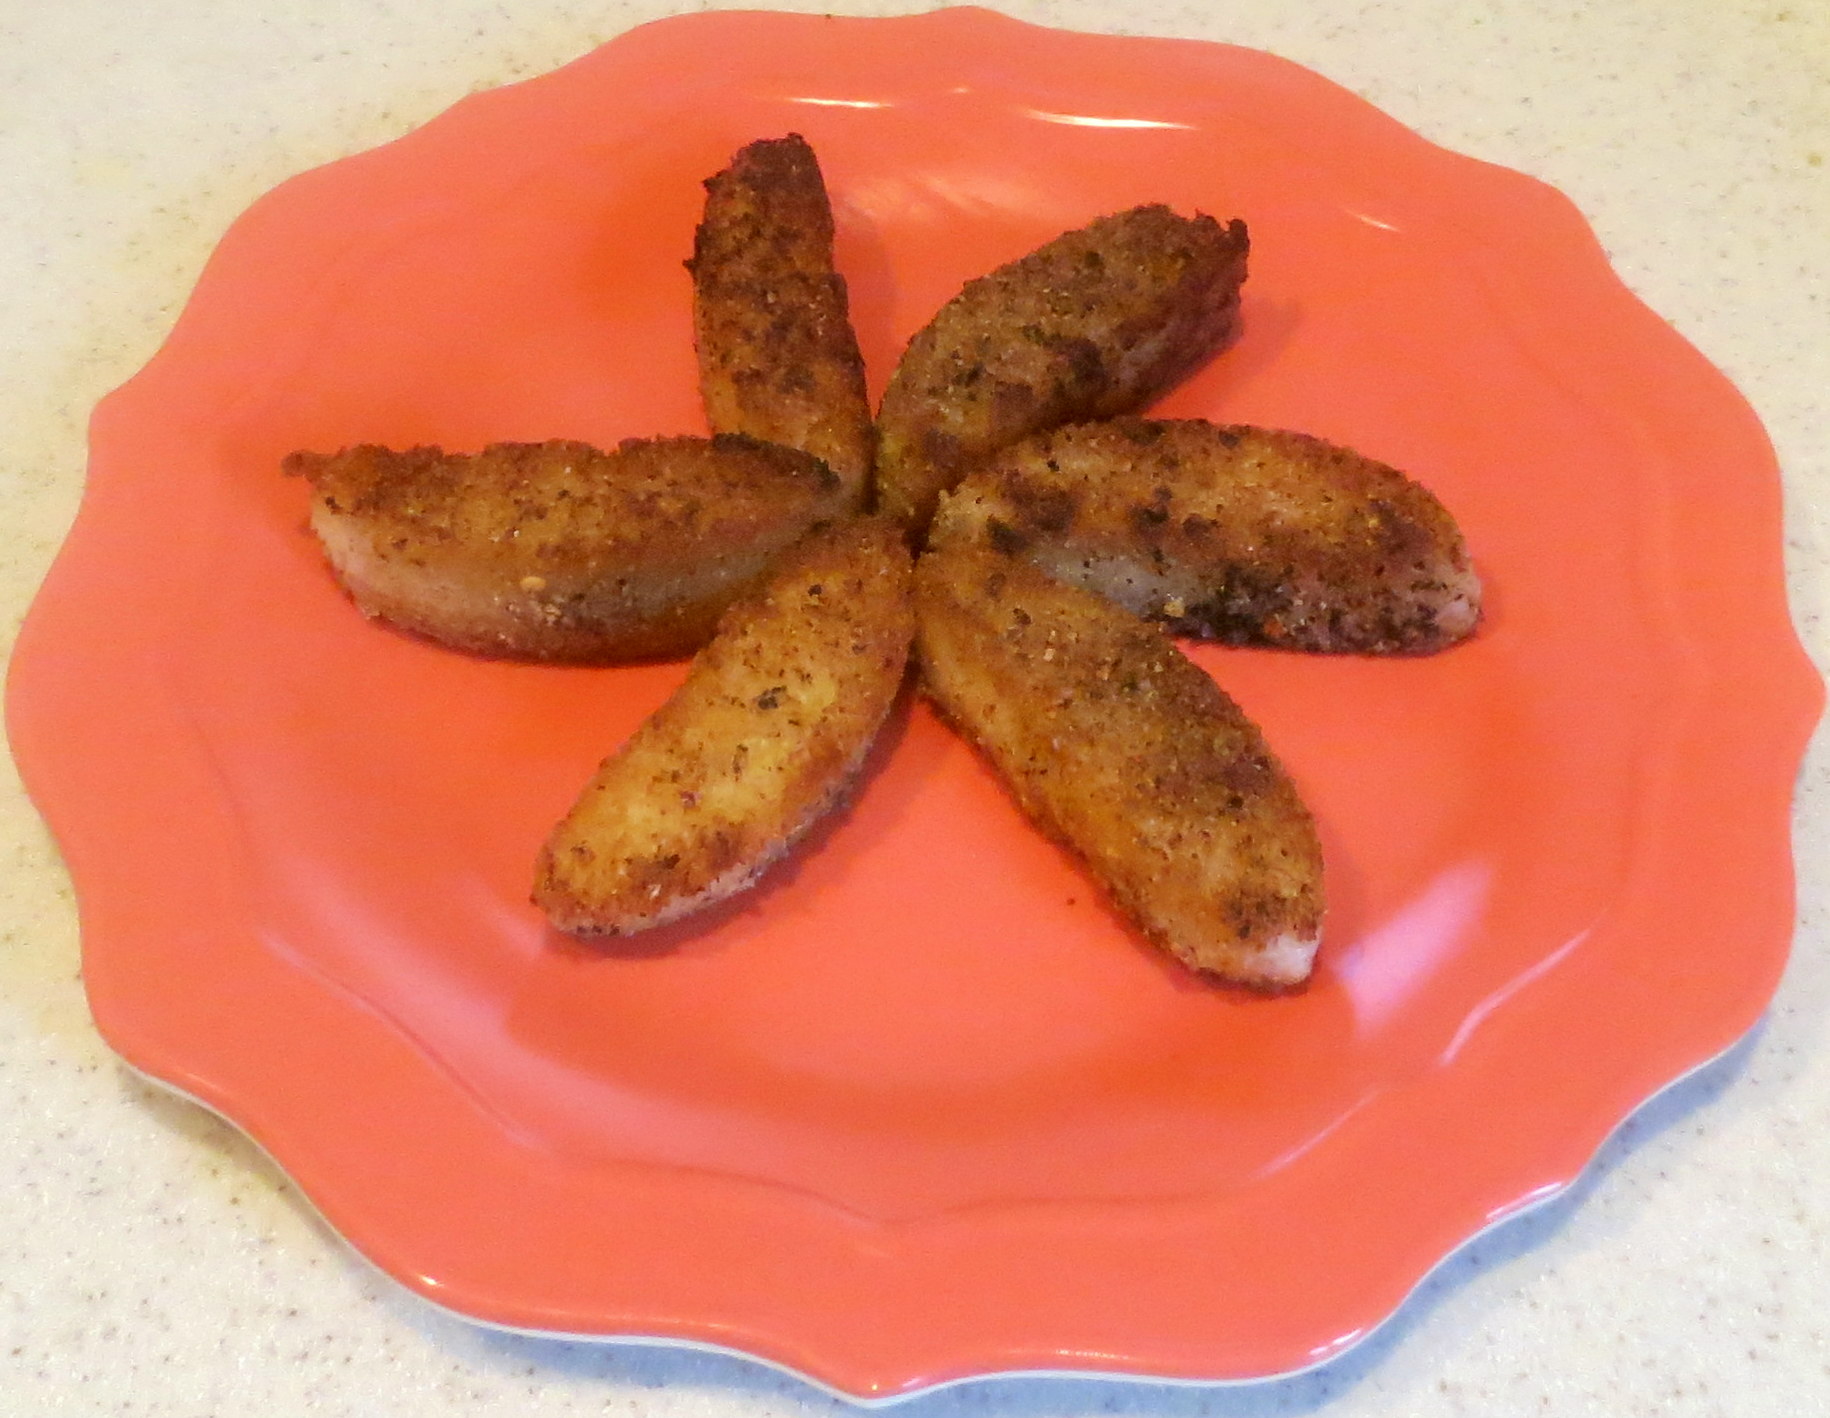
Make “crispy idli fingers” (cut the idlis into finger shaped pieces and coat them with the podi and oil mix and shallow fry them. You won’t believe how crisp they come out.)Image

Oats Kichadi


Tired of eating oats with maple, brown sugar, cinnamon and fruits…try this savory oats recipe for a change…Image

Soak 1 cup of green grams (whole moong) for about 4 hours.

Image

Cook the green grams thoroughly. (I pressure cooked them).

Image

Plain oats – 1 cup.

Image

Onions, Tomatoes, Green chillies (I’ve used two), garlic – chopped, grated carrots, green beans

Image

In a pan, heat a spoon of oil and fry cumin seeds. Then sauté the green chillies, garlic and onions.

Image

Saute carrots and green beans (you can add vegetables of your choice) and finally add the chopped tomatoes.

Image

After the veggies soften add 2.5 cups of water

(1 cup of oatmeal : 2.5 cups of water)

 Image
When water boils add the oats. I am using quick oats. Check the box for cooking time and water quantity.
Image
Cook for about 5 mins. If needed add more water and add salt to taste. Once the oats are cooked , stir in the cooked green grams and sook in low hear for another 5 mins.

 Image
For seasoning : black pepper and cumin – crushed, chopped ginger, curry leaves
Image
Heat a spoon of oil and fry the pepper, cumin, curry leaves and ginger.
Image
Mix with the cooked oats.
Image
For garnish and to add texture, dry roast some nuts. I roast them in microwave for about a minute.Image
Top the oats with the dry roasted nut, chopped carrots and herbs of your choice. I’ve used curry leaves here.This is a complete meal with whole grains, lentils, vegetables and nuts.

 Image

Mysorepak


Mysorepak is one such sweet , that you can’t just read a recipe, do it and get it right. There is a rhythm to the making of it and you have to do atleast a couple of times to find your own and make mysorepaks with the melt in your mouth texture and yet not like a burfi. I had the hardest time taking pics for this recipe as in the last 5 minutes things happen really fast , and managing the camera and the stirring was a challenge. However, I hope if you are looking for a mysorepak recipe this could help you.Image
Besan (chick peas flour)- 1 cup
Sugar – 2 cups
water – 1/2 cup
Ghee – 1 cup
flavorless oil – 1 cup(I like the mix of ghee and oil, when you use just ghee, the texture doesn’t come right…it comes out very soft , like a burfi. And we won’t be fully using the 2 cups of ghee and oil mix, but its always better to have this amount on hand ready, coz’ while making the mysorepak, if you need more ghee/oil…it would be too late.)Image

Mix 1 cup of ghee and 1 cup of oil and heat it to smoking hot, then lower down the flame and keep it in ‘sim’ until the mysorepak is done. The key is that it should be hot, not warm.Image
Heat 3 tbsp of oil (you can take some from ghee+oil mix) and add it to the besan. The oil has to be hot enough so that you hear a sizzle and you can also see it bubbling when you add to the besan. Do not skip this step, this takes the raw smell out of besan.Image
Mix the oil well with the besan, try to break the lumps with spoon, but do not worry much about them. I always add it like this, the lumps smooth out in the syrup anyways.Image
Grease the plate you will be pouring the mysorepak in at the end.Image
I have one heavy bottomed pot to make the mysorepak and the ghee+oil pot in the nearby burner (keep it hot)Image
Add the sugar and water to the pot to make the syrup.Image
Stir until sugar completely dissolves. The consistency we are looking for is 1-string. But you don’t have to check the string. when you see the sugar boiling like this, it is 1-string consistency.Image
Add the besan to the syrup. You will see lumps now…but do not worry about that.keep stirring for a couple of minute before you start to add ghee.Image
Pour a big spoon of hot ghee+oil to the mix. Ofcourse, you have to hear the sizzle and you will see the hot ghee cooking the top layer instantly.Image
Mix well until the ghee is absorbed. Keep adding ghee and keep stirring.Image
The mixture will take in all the ghee you are adding. Notice the smooth texture…Image
Notice how the texture is becoming flaky, its the beginning of the end .Image
Slowly the ghee+oil will start oozing out of the mixture. Image
The mixture will not stick to the bottom anymore.Image
When it rolls easily into one big lump you know its done…if you leave it on heat any longer, it will start to brown/burn.Image
Quickly transfer the mysorepak to the greased plate….the mysorepak will continue to cook.
Image
Smooth the top without pressing too hard, the top layer will look rough….that’s how mysorepak is.Image
Mark lines when it is still warm. But you can wait for it cool down before you cut them into pieces.Image
The cooking time, from making the syrup to pouring the finished mysorepak to the greased plate won’t be more than 10 – 12 mins. But those 10 mins definitely need your undivided attention.  Good luck !Image

Tamarind Rice


Lemon rice and Tamarind rice are like twins. But I’ve seen more people prefer lemon rice, may be its bright color and the fresh lemon scent helps. But tamarind rice is a comfort food, often offered in Hindu temples. Its used to be a great travel food, as it tastes good in room temperature and it actually tastes better 3-4 hrs after you make it. I don’t know if its still popular in this age of pulavs and fried rice, but I think its a rice dish that we just can’t let go.

Image

  • Tamarind water
    (Soak tamarind preferably overnight to get the most out of it. If in a time crunch, soak it in hot water and take the juice filtering out the seeds and other solids) Image
  • Red chillies, Urad dhal, channa dhal, mustard seeds, peanuts, vellam/jaggery/brown- sugar, curry leavesImage
  • The ingredients in the picture below are to make a flavor enhancing pixie dust that you sprinkle at the very end. The quantity of black pepper could be alarming, but you need only 1 tsp of this powder for 1 cup of rice. If you are still not a fan of heat, reduce the black pepper and increase channa dhal and coriander seeds. Be careful with fenugreek though, more can make the powder bitter. This powder can also be used in curries like sambar or vegetable sides. Sprinkle at the very end for a fresh flavor. 

         Black pepper, Coriander seeds, fenugreek and channa dhalImage

  • Fry the ingredients in the above photo in 1 tsp of oil. Let them cool down completely. Grind it to a smooth powder. Store in an air-tight container for later use.Image
  • Heat about 3 tbsp. of sesame oil and add the ingredients in the order below :

         mustard seeds
         urad dhal
         channa dhal
         red chillies
         curry leaves
         peanuts

Image

  • When the peanuts get roasted slightly, add the tamarind juice.Image
  • Add turmeric powder, Asafoetida , jaggery and salt. Bring to a good boil.Image
  • Allow it to reduce and lower the heat.Image
  • You know its done when the oil separates. This quantity is good for 10 – 12 cups of rice. Allow it to cool completely and store it an air-tight container. Doesn’t have to be refrigerated.Image
  • Cook 1 cup of rice and mix with 1 tbsp. of the prepared wet mix. Finally sprinkle 1 tsp. of the powder and mix well.Image
  • No matter how many new cuisines we expose ourselves to and how many new tastes we get introduced to, some foods scream ” Home”, “Warm” and “Comfort”. This is one such rice. Enjoy !Image


Dhum Biriyani (simplified)


There are more than hundred ways to cook biriyani. This is just one of them. I have combined various steps and tips from many recipes I have tried over the years to simplify the recipe. This is a well tested , fool-proof recipe that guarantees yummy biriyani with authentic taste, flavor, color and texture.
Image
 
 
There are usually three layers in Dhum Biriyani.
1. Rice
2.Meat with gravy
3.Garnish

First, cook the rice. I do not prefer Basmati rice for biriyani. The best option is to use biriyani rice(kichadi samba) or Jeeraga samba. If not, regular raw ponni rice can also be used. 
  1. Soak 3 cups of raw rice in water for 30 mins

Image


2.  In a pan, heat up 2 tbsp. of ghee and 2 spoons of oil. Fry Bay leaves, Cinnamon, Cloves, Cardamom and Fennel.

Image


3. Stir in the soaked rice and mix well so that each grain is coated with oil.

 Image
 
4.Usually I use 2 cups of water for 1 cup of rice for regular cooking. But for biriyani I only use 1.5 cups of water for 1 cup of rice. (You can use coconut milk or chicken stock instead of water).
Add salt , cover and cook.
 
Image
 
 
5. Rice is cooked al-dente. (It takes about 10 -13 mins). When we cook in dhum later rice will be cooked thoroughly. This way we can make sure, the rice doesn’t get mushy and the grains stay separate at the end. So the first part, preparing the rice is done.
Image
 
 
6. Now to make the meat gravy : Cut and clean chicken pieces.
Image
 
 
7. Chop : Onions, Tomatoes, Green chillies,  Mint, Curry leaves, Coriander leaves(optional)

You will also need: ginger garlic paste, plain yogurt, turmeric powder, red chilli powder, coriander powder and garam masala

Image

 
8. In a wok , heat up 2 tbsp. of ghee or butter and 2 spoons of oil and fry the same spices :
Bay leaves, Cardamom, Cinnamon, Cloves and Fennel. Saute onions, green chillies, curry leaves and 2 tbsp. of ginger garlic paste.
Image
 
9. Saute mint and add the tomatoes.
Image
 
10. When tomatoes soften , add chicken. When chicken begins to change color, add turmeric, red chilli powder, coriander powder, garam masala.I would add very little coriander powder. If you have a good chicken curry masala, you can add that too.
Image
 
11. Add a cup of plain yogurt. Add salt. Taste the curry and add more chilli powder or salt as needed.
Image
 
12. Cook until you get a thick gravy. Chicken should not be overdone.
Image
 
13. Now for the third part of garnish: Thinly sliced onions  and Mint leaves chopped
Image
 
14. In a pan, heat up a spoon of oil and sauté the onions. when the onions brown , add the mint.
Image
 
15. Now we have everything we need to start layering the biriyani.
Image
 
16. In a baking dish, add a layer of rice. Then add a layer of meat and sprinkle some sautéed onions and mint over them. Repeat layering like this until you have used up all your rice, meat and garnish.
Image
 
17. Roughly for 3 cups of rice, you should be able to repeat the layers atleast 3 times. Cover the dish tightly with foil.Place the lid over the foil. Make sure its sealed tight. Else, the rice and meat will lose moisture and we will end up with a very dry biriyani. Bake in the oven at 300 degrees F for 1 hour.
Image
 
 
18. You can serve the biriyani as such with layers or…Image
 
Mix the layers well to get the traditional look. If you do not have an oven, you can layer the biriyani in the electric rice cooker and set it up in “warm” mode (instead of “cook”) for an hour.Image