There is nothing much to say about this recipe, actually there is nothing much to this recipe either :). My kids love fries and they also love tofu. I have seen tofu responding very well to baking. So this recipe was a no-brainer, crunchy fries (just the way they want it) made with less than a tbsp of oil (just the way I like it 🙂 ).
To make this healthy munch, you will need :
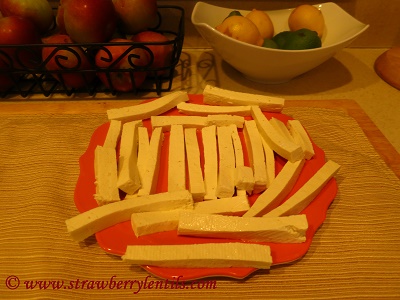
1. Extra firm organic tofu (I used half the slab for this recipe)
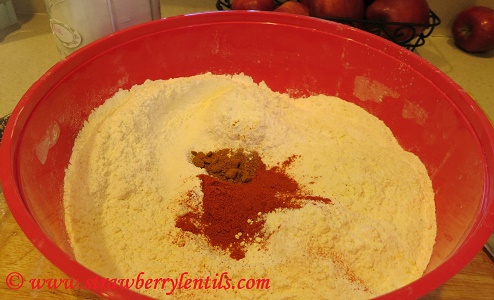
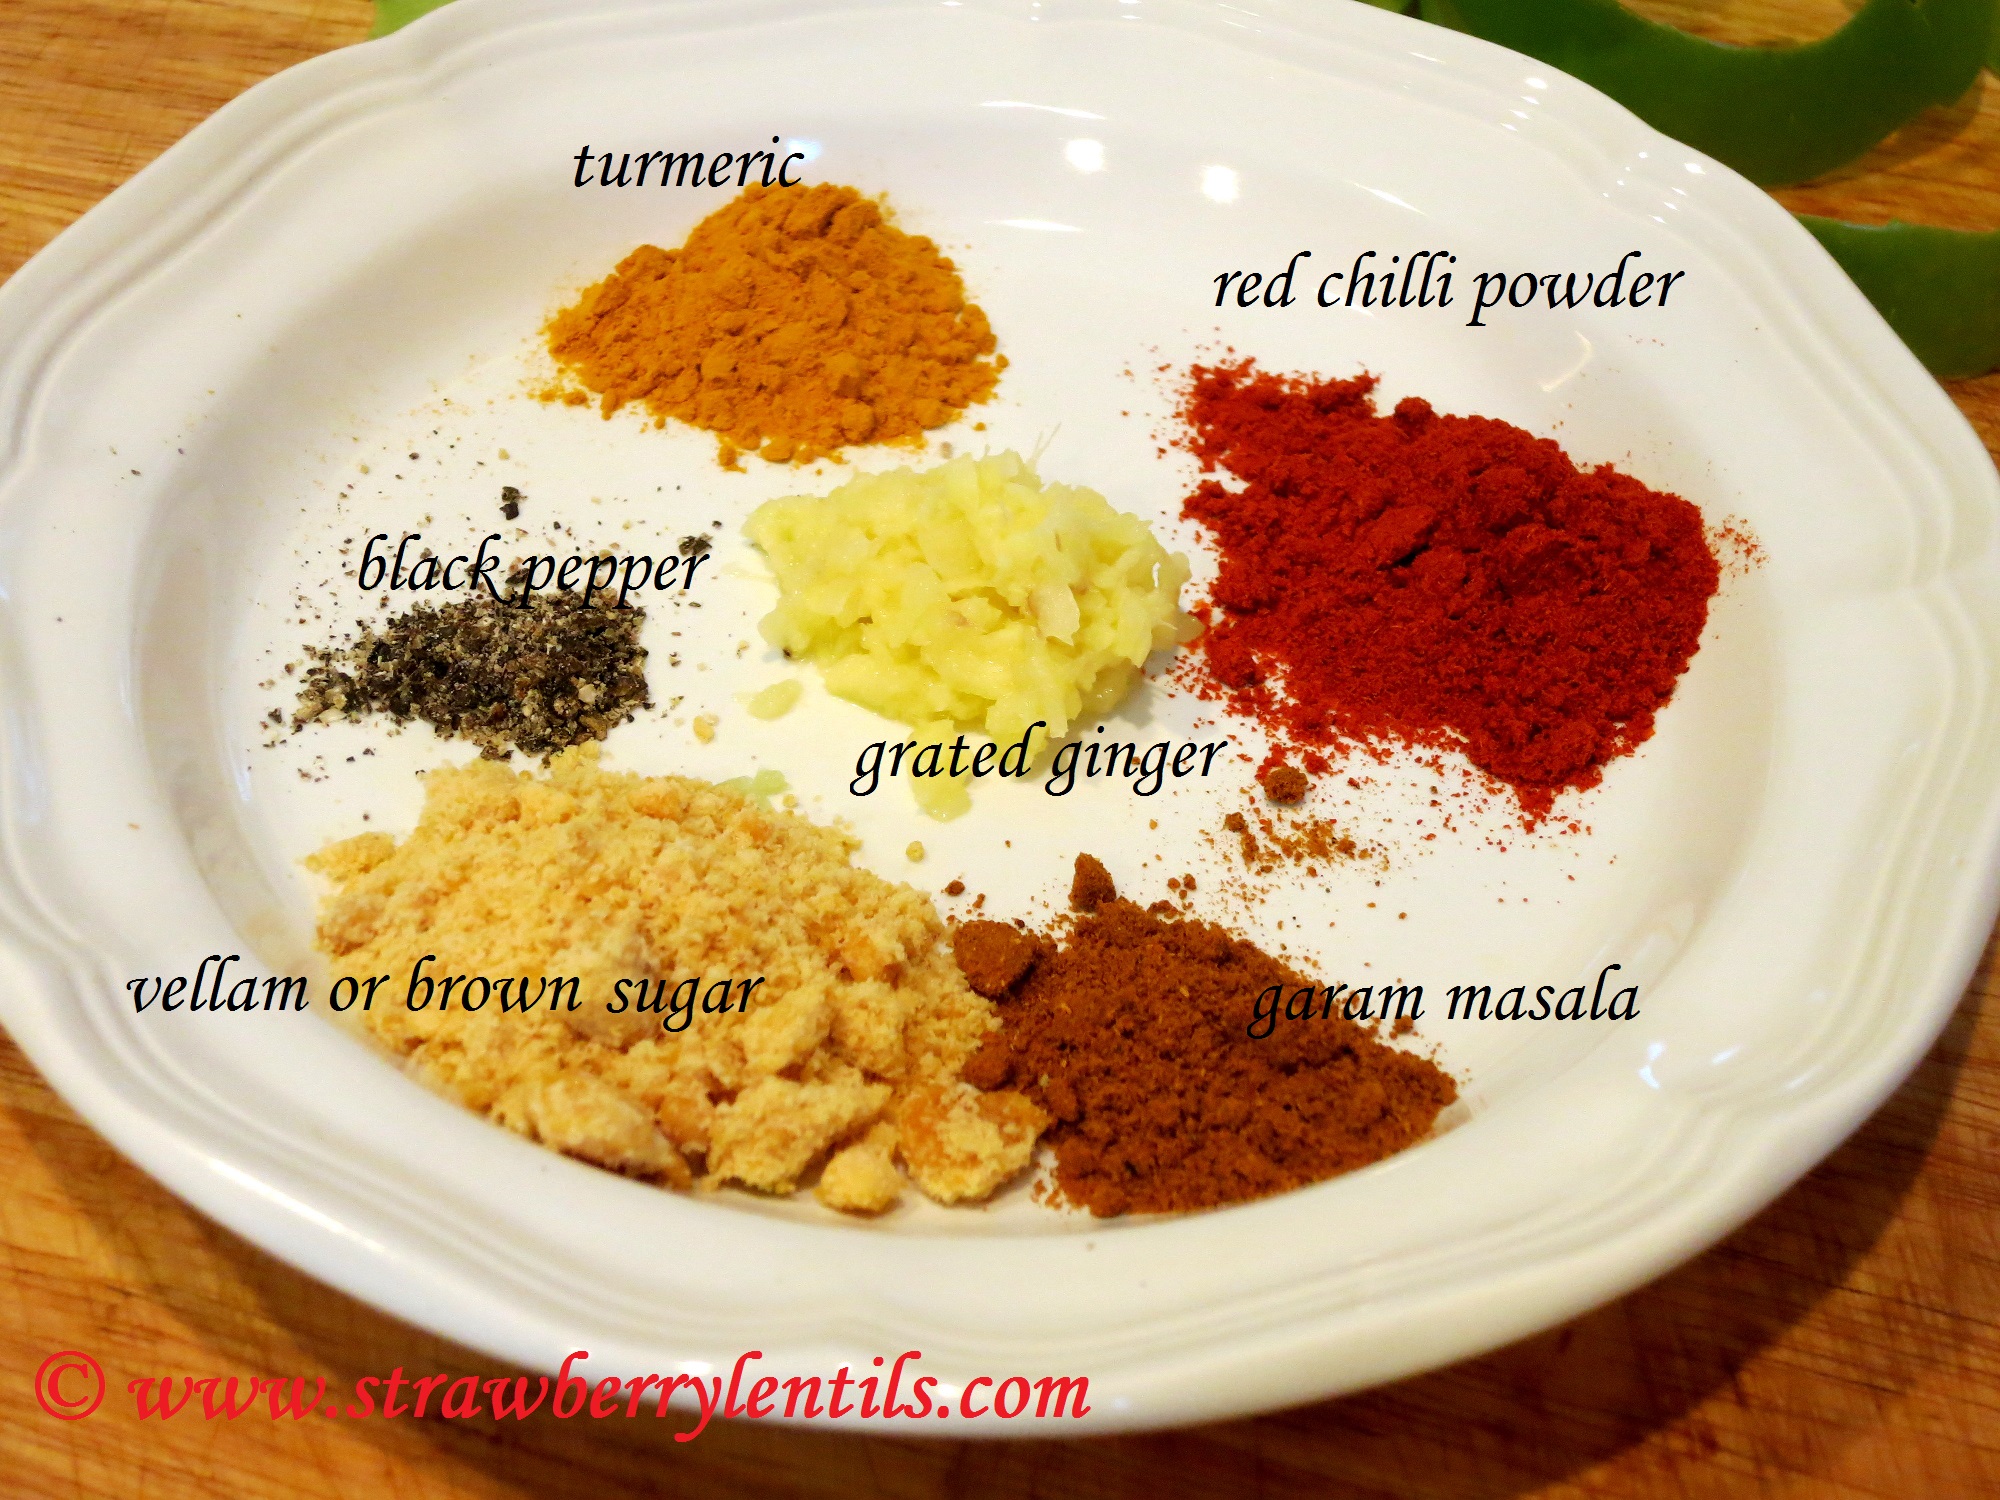
2. Chilli powder or paprika – 1 tsp
3. Garlic Paste or Garlic powder – 1 tsp
4. Salt to taste
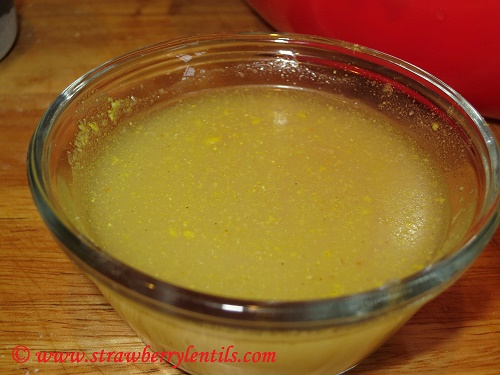
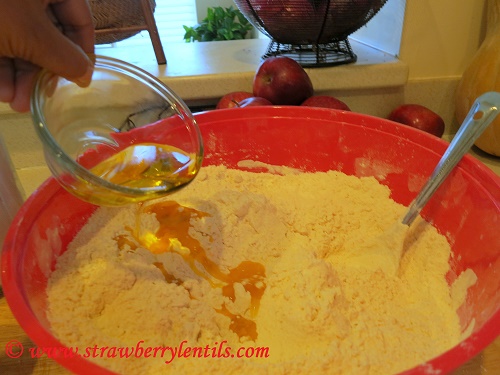
5. Oil – 1/2 tbsp
- First cut the tofu into strips. If you prefer super crunchy fries, cut them very thin. I prefer crunchy on the outside and soft on the inside kind, so I did medium cuts.
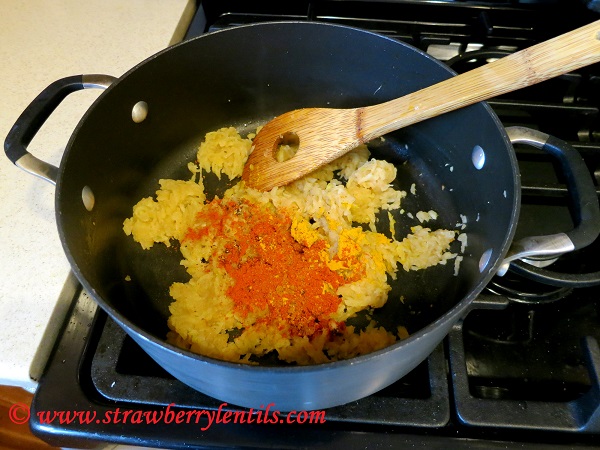
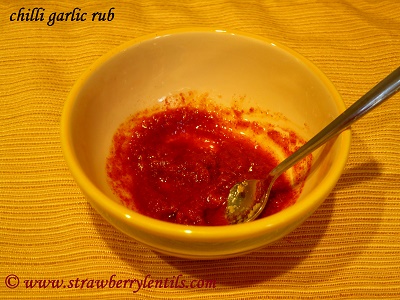
- For the rub, I mixed red chilli powder, garlic paste, salt and oil. You can also grind red chillies and garlic cloves to make a fresh rub or use the store bought chilli garlic paste.
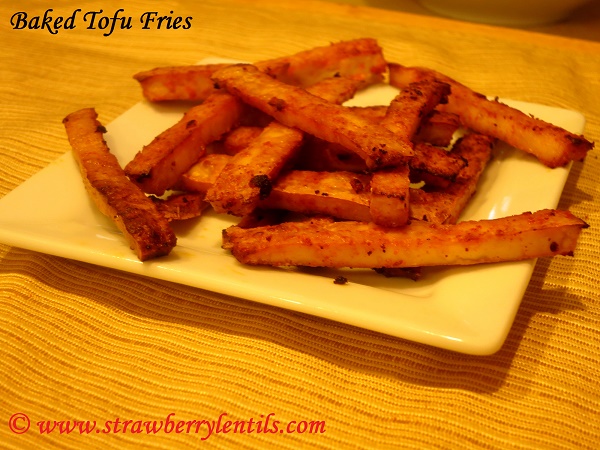
- Rub the chilli garlic mix on the tofu strips gently. Even the extra firm tofu breaks easily, so be gentle :). Line a baking tray with foil or grease the tray with cooking spray and place the tofu strips on the tray in a single layer. Bake at 425 degrees for about 12 minutes and then flip the strips and bake for another 8 – 10 minutes , until your preferred texture is reached.

- As I expected the golden crunchy fries were gone in minutes and the kids were complaining that I didn’t make enough :). Well, there is always next time :).
Related articles
- 3 Ways to Enjoy Tofu (myasmusings.com)
- Tofu Satay Skewers with a Spicy Peanut Dipping Sauce (healthwealthandbaby.com)