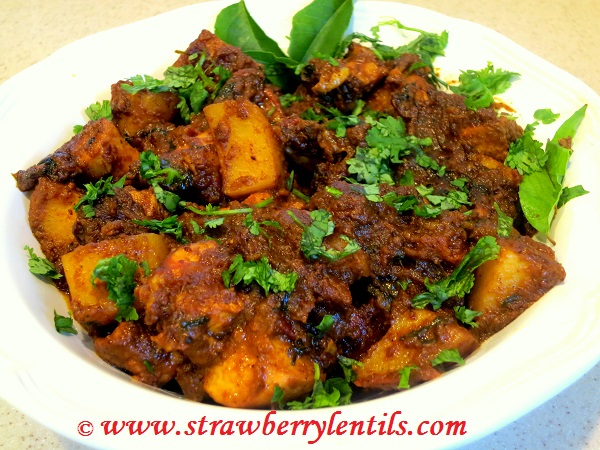
As much as I love cooking, I am very much intimidated by recipes that call for 25 ingredients and 30 steps 🙂 I have been cooking long enough to understand that good food can also be simple food. But there are exceptions to every rule. Chicken Vindaloo is one such recipe, involves more steps than normal, but completely worth all the efforts. A staple in Indian restaurants’ lunch buffet, this curry with chicken and potatoes is quite spicy. Its not the kind of heat that makes you reach for water after the first bite, but with all the different layers of spices, you will definietly start to sweat before your are done eating 🙂 I don’t mind spending an hour in the kitchen for this, because this could be the only thing I cook for the whole day. Make chicken vindaloo and steam some rice… lunch and dinner are taken care of (with no complaints :)) (The flavor profile closely matches with chicken chettinad).
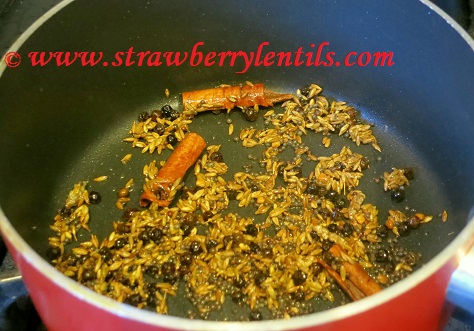
- Step 1 (Making the spice blend)

- black mustard seeds – 2 tsp
- cumin – 2 tsp
- black pepper – 1.5 tsp
- cardamom seeds – 2 cardamom (remove the pod)
- fenugreek – 1 tsp
- cinnamon – three sticks (about an inch each)
(These quantiies are for 1.5 lbs of chicken)
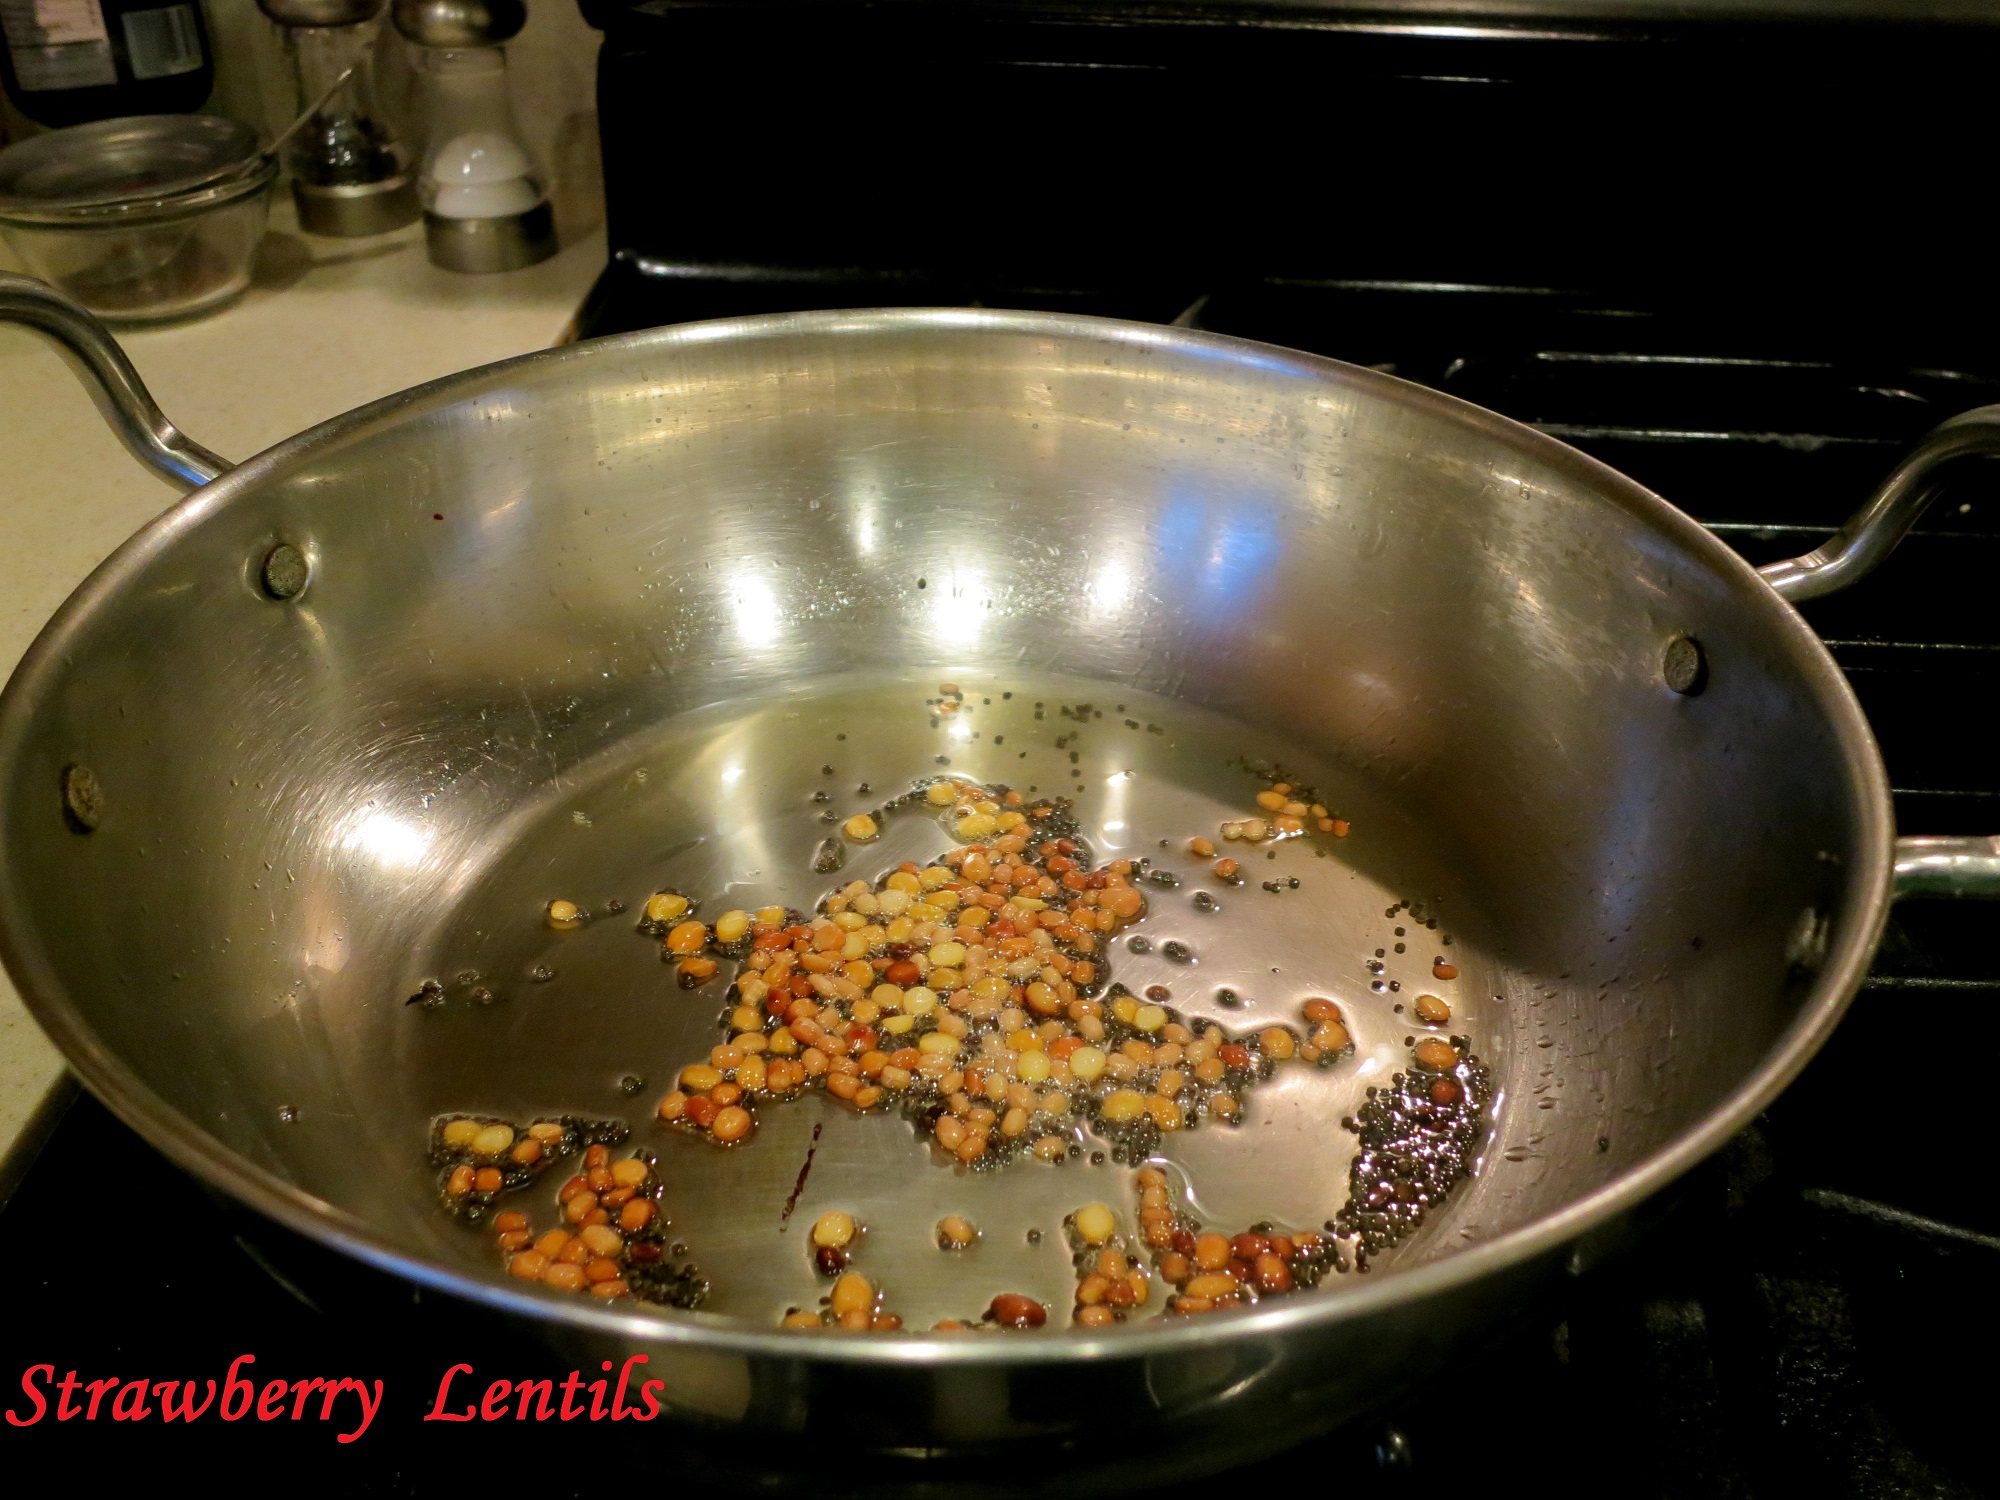
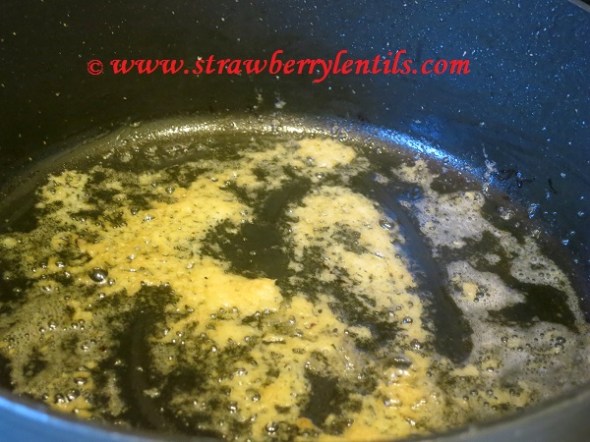
- Heat 1/2 tsp of oil in a pan and fry the spices. Add the mustard seeds first and the fenugreek at the very end.

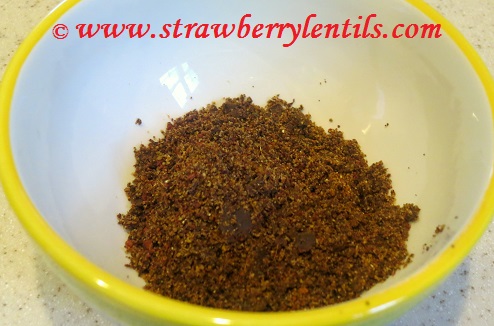
- Allow them to cool down for a bit and pulse them in a spice blender.
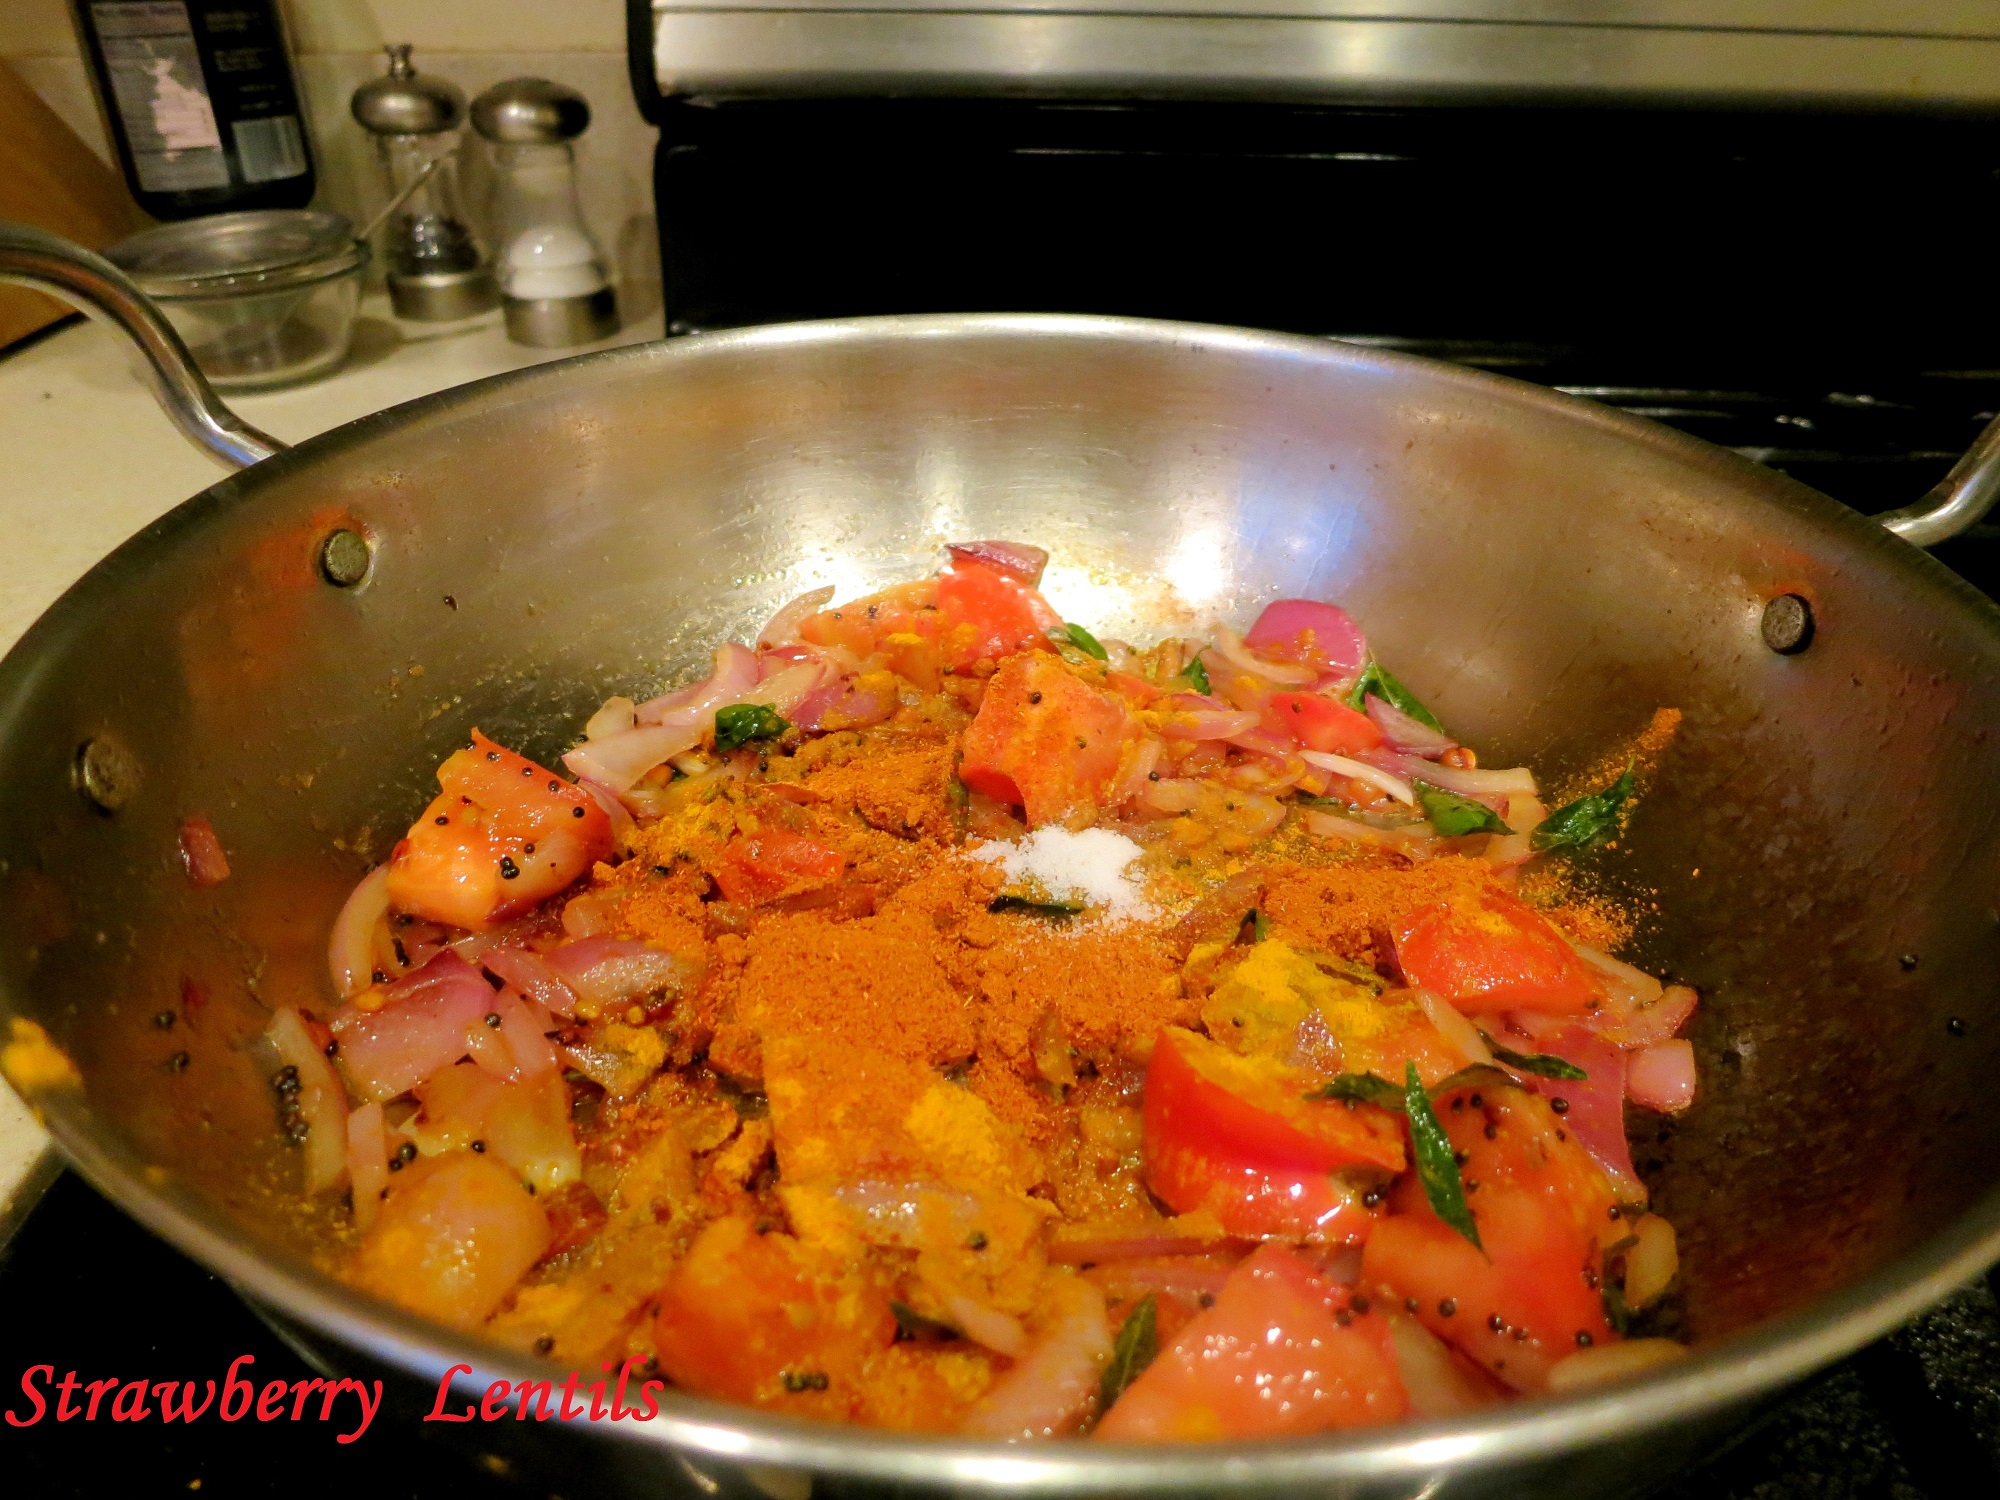
- To this add :
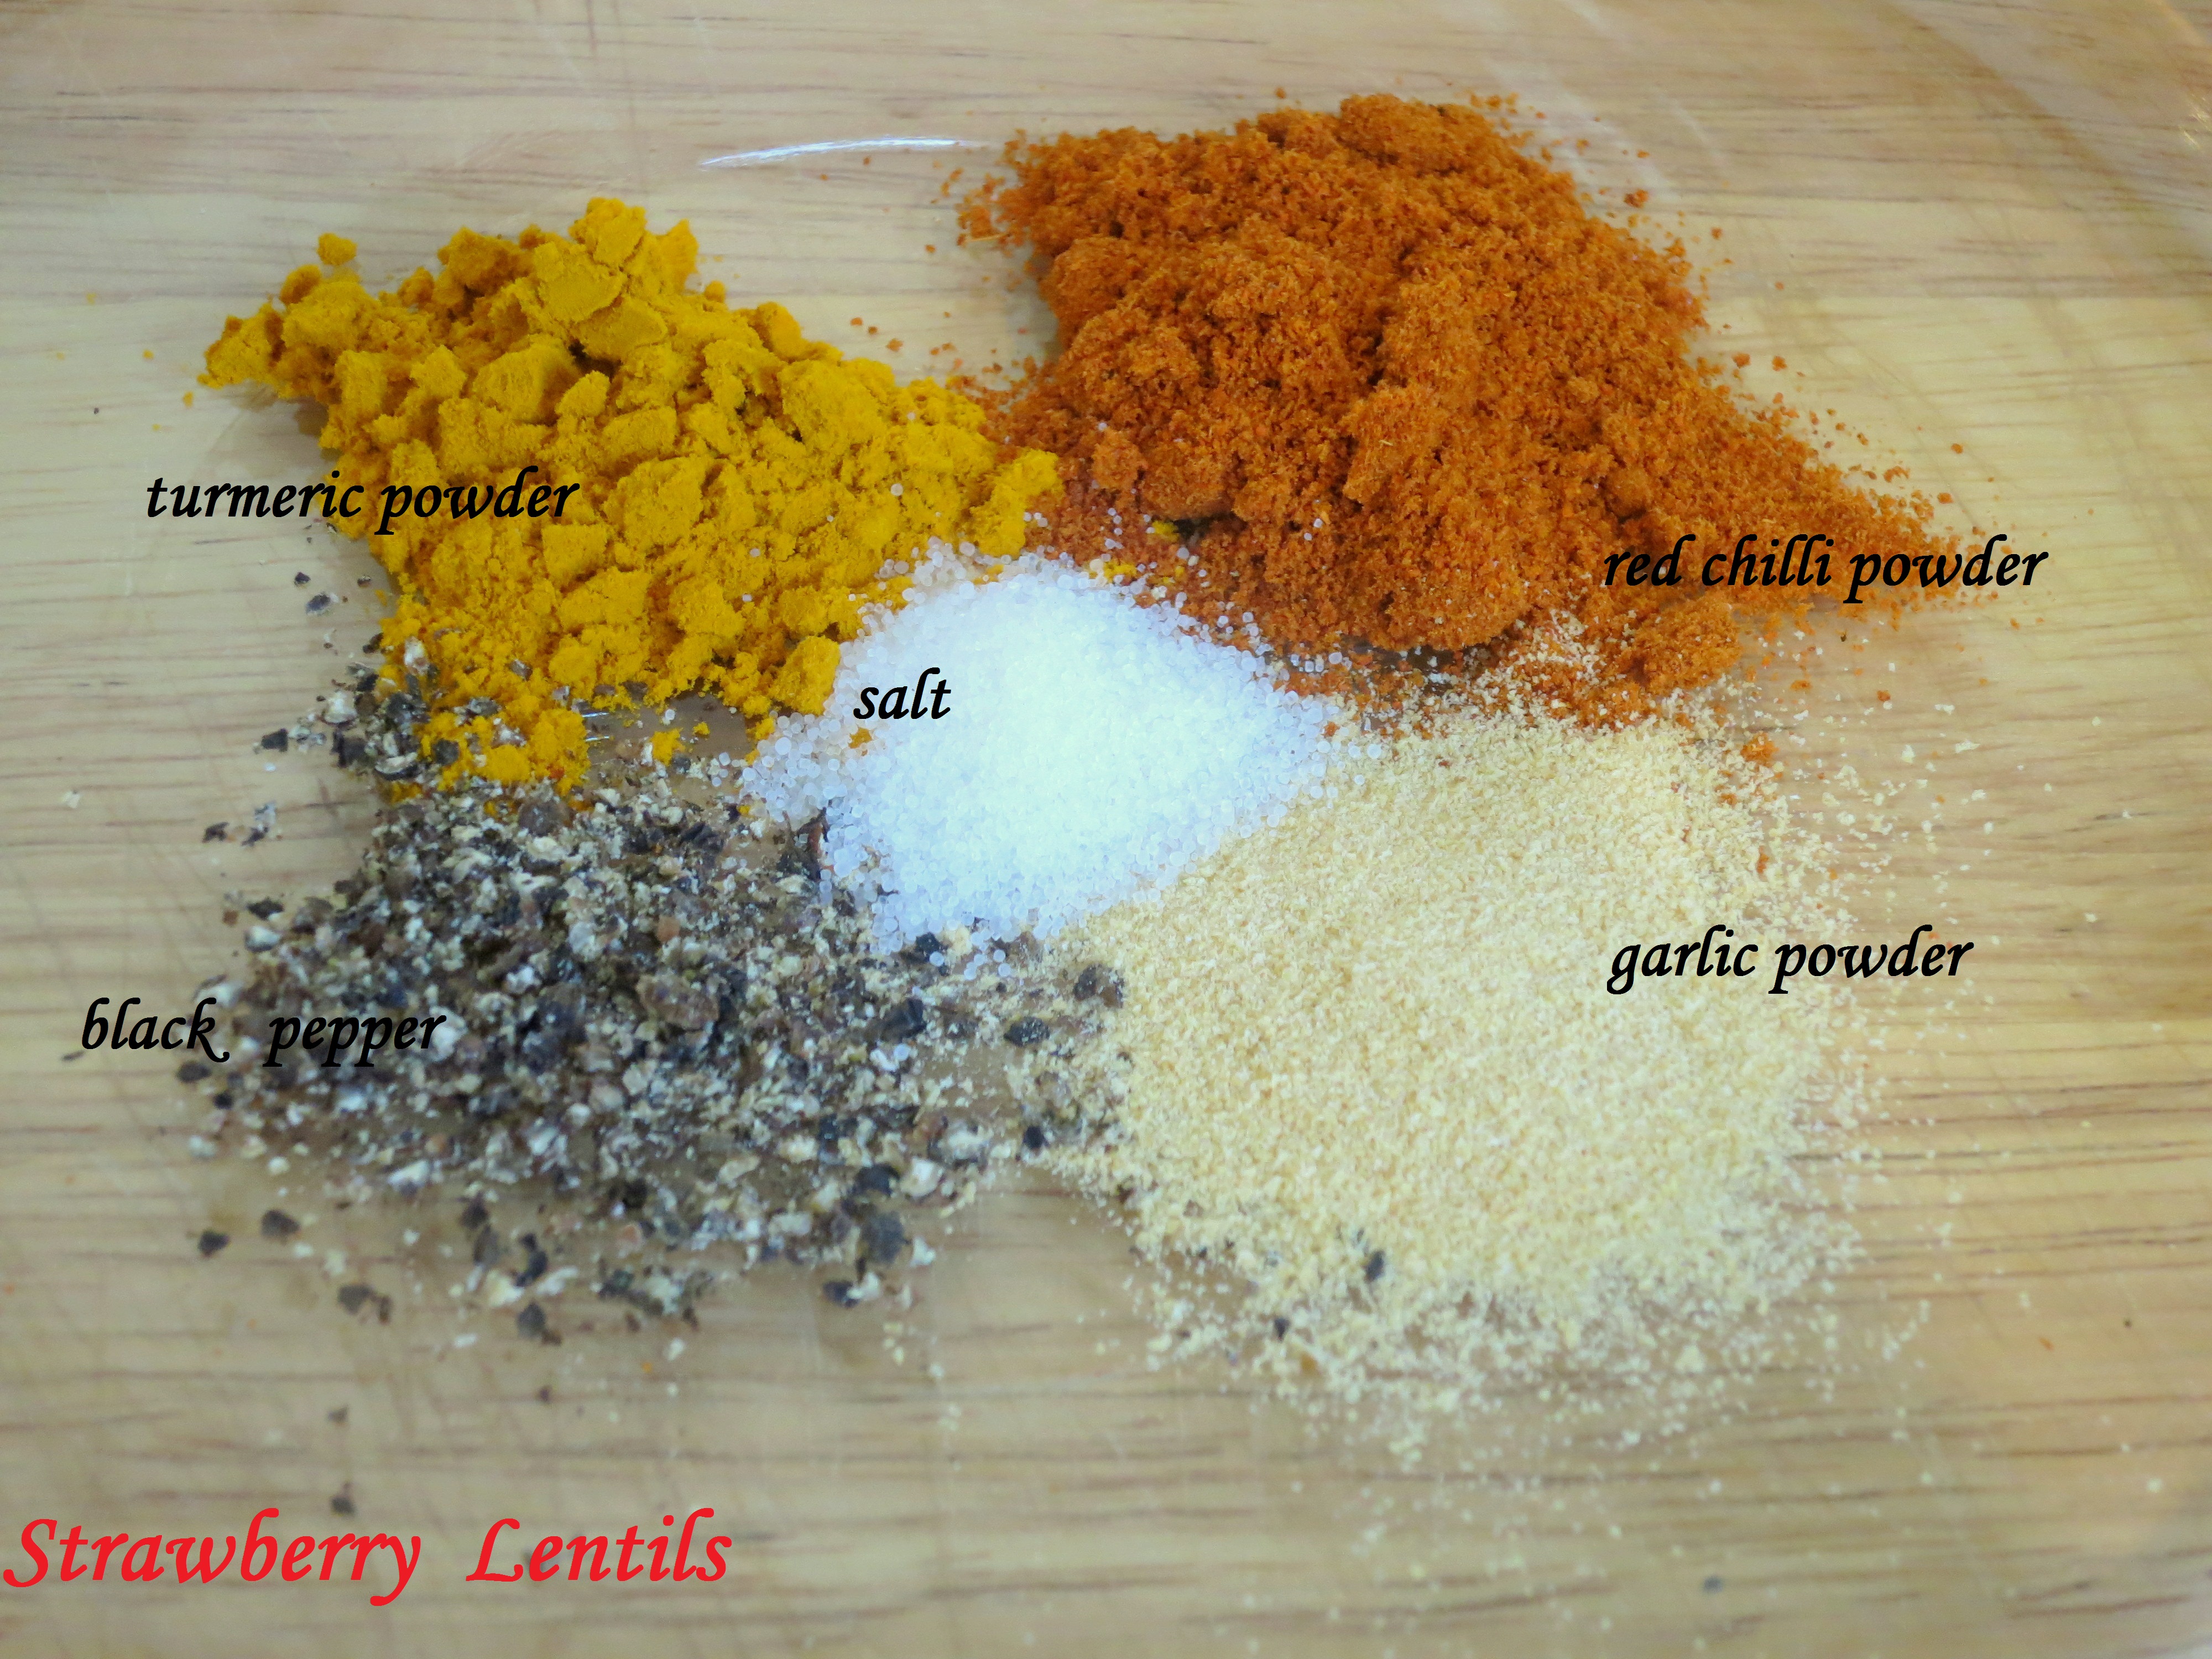
- 1 tsp of turmeric powder
- 2 tsp of red chilli powder
- 1 tsp salt
- 3 tsp of brown sugar
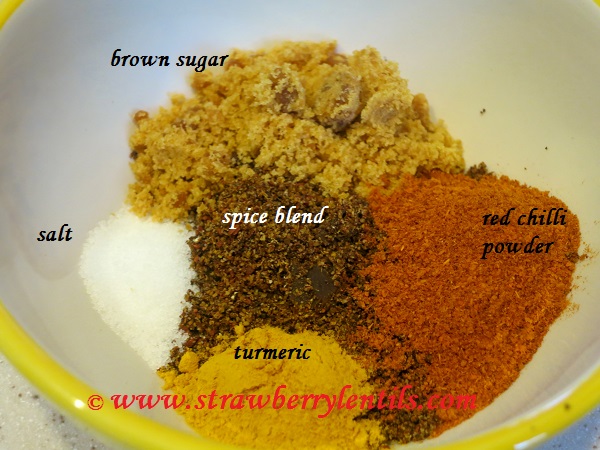
- Mix everything with 2 tbsp of vingear.

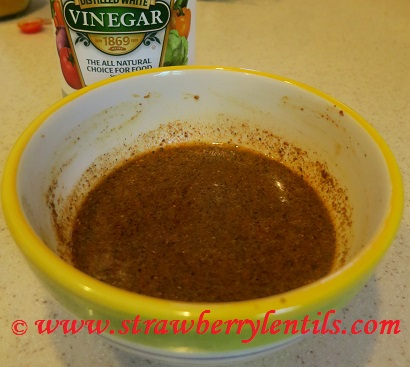
This concludes the making of the vindaloo spice blend.
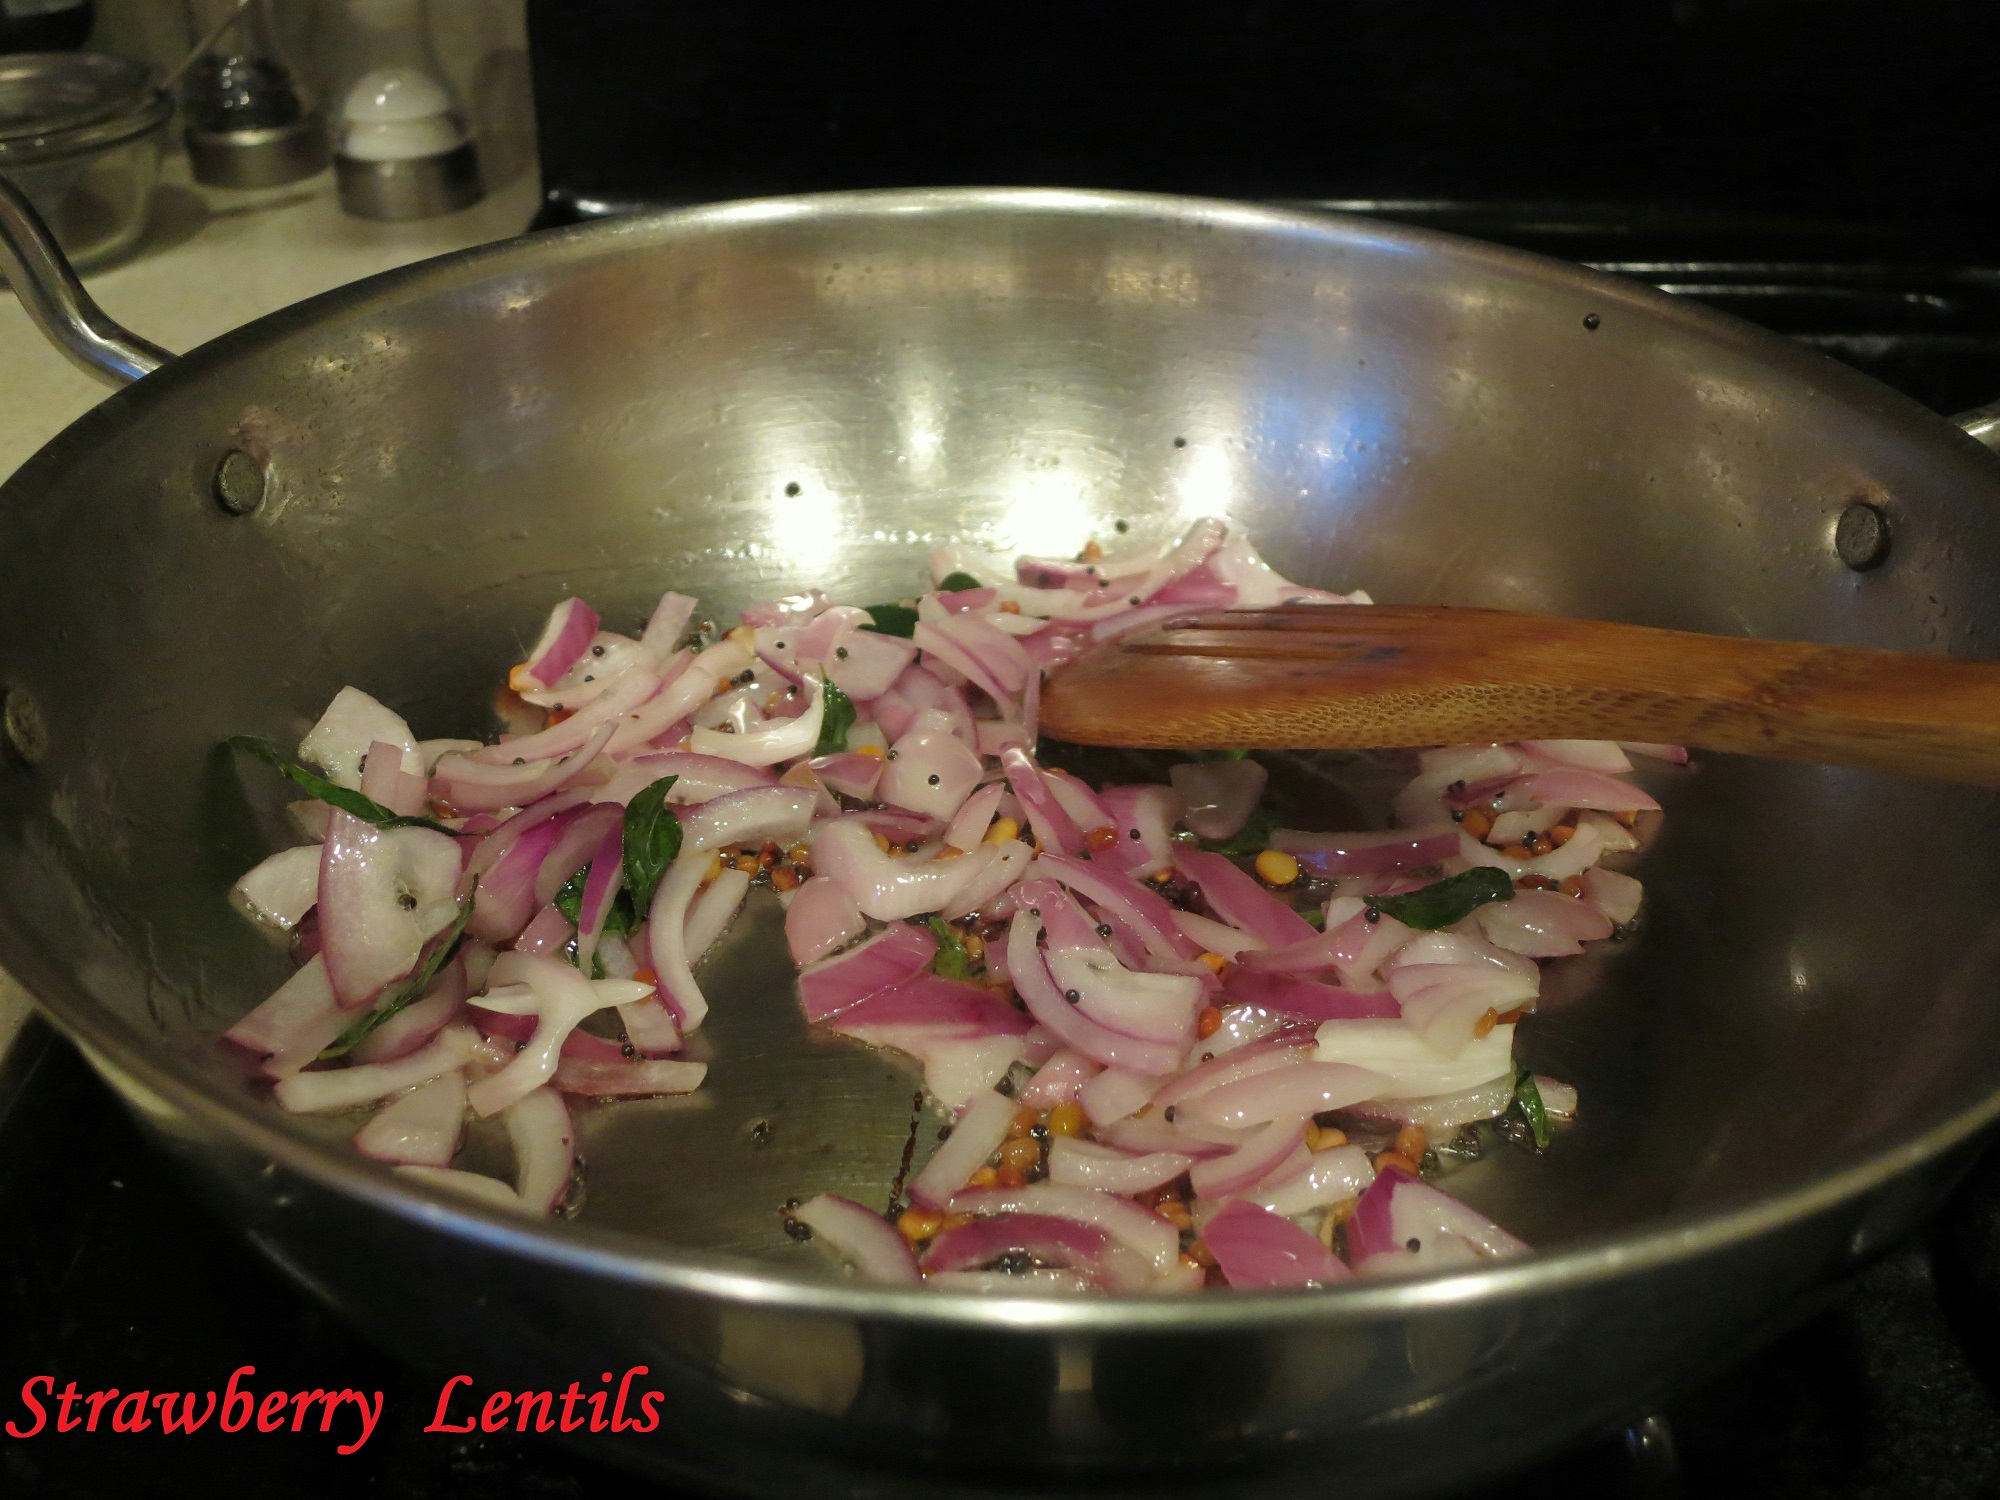
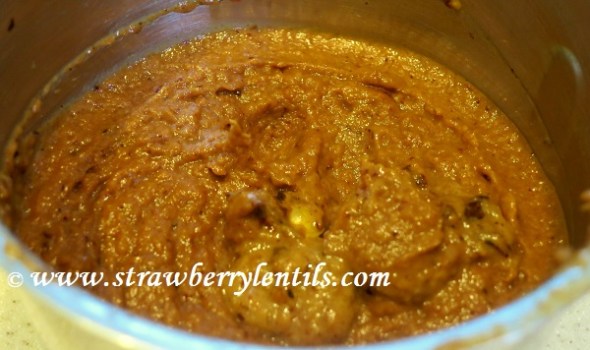
- Step 2 (Making the onion paste)
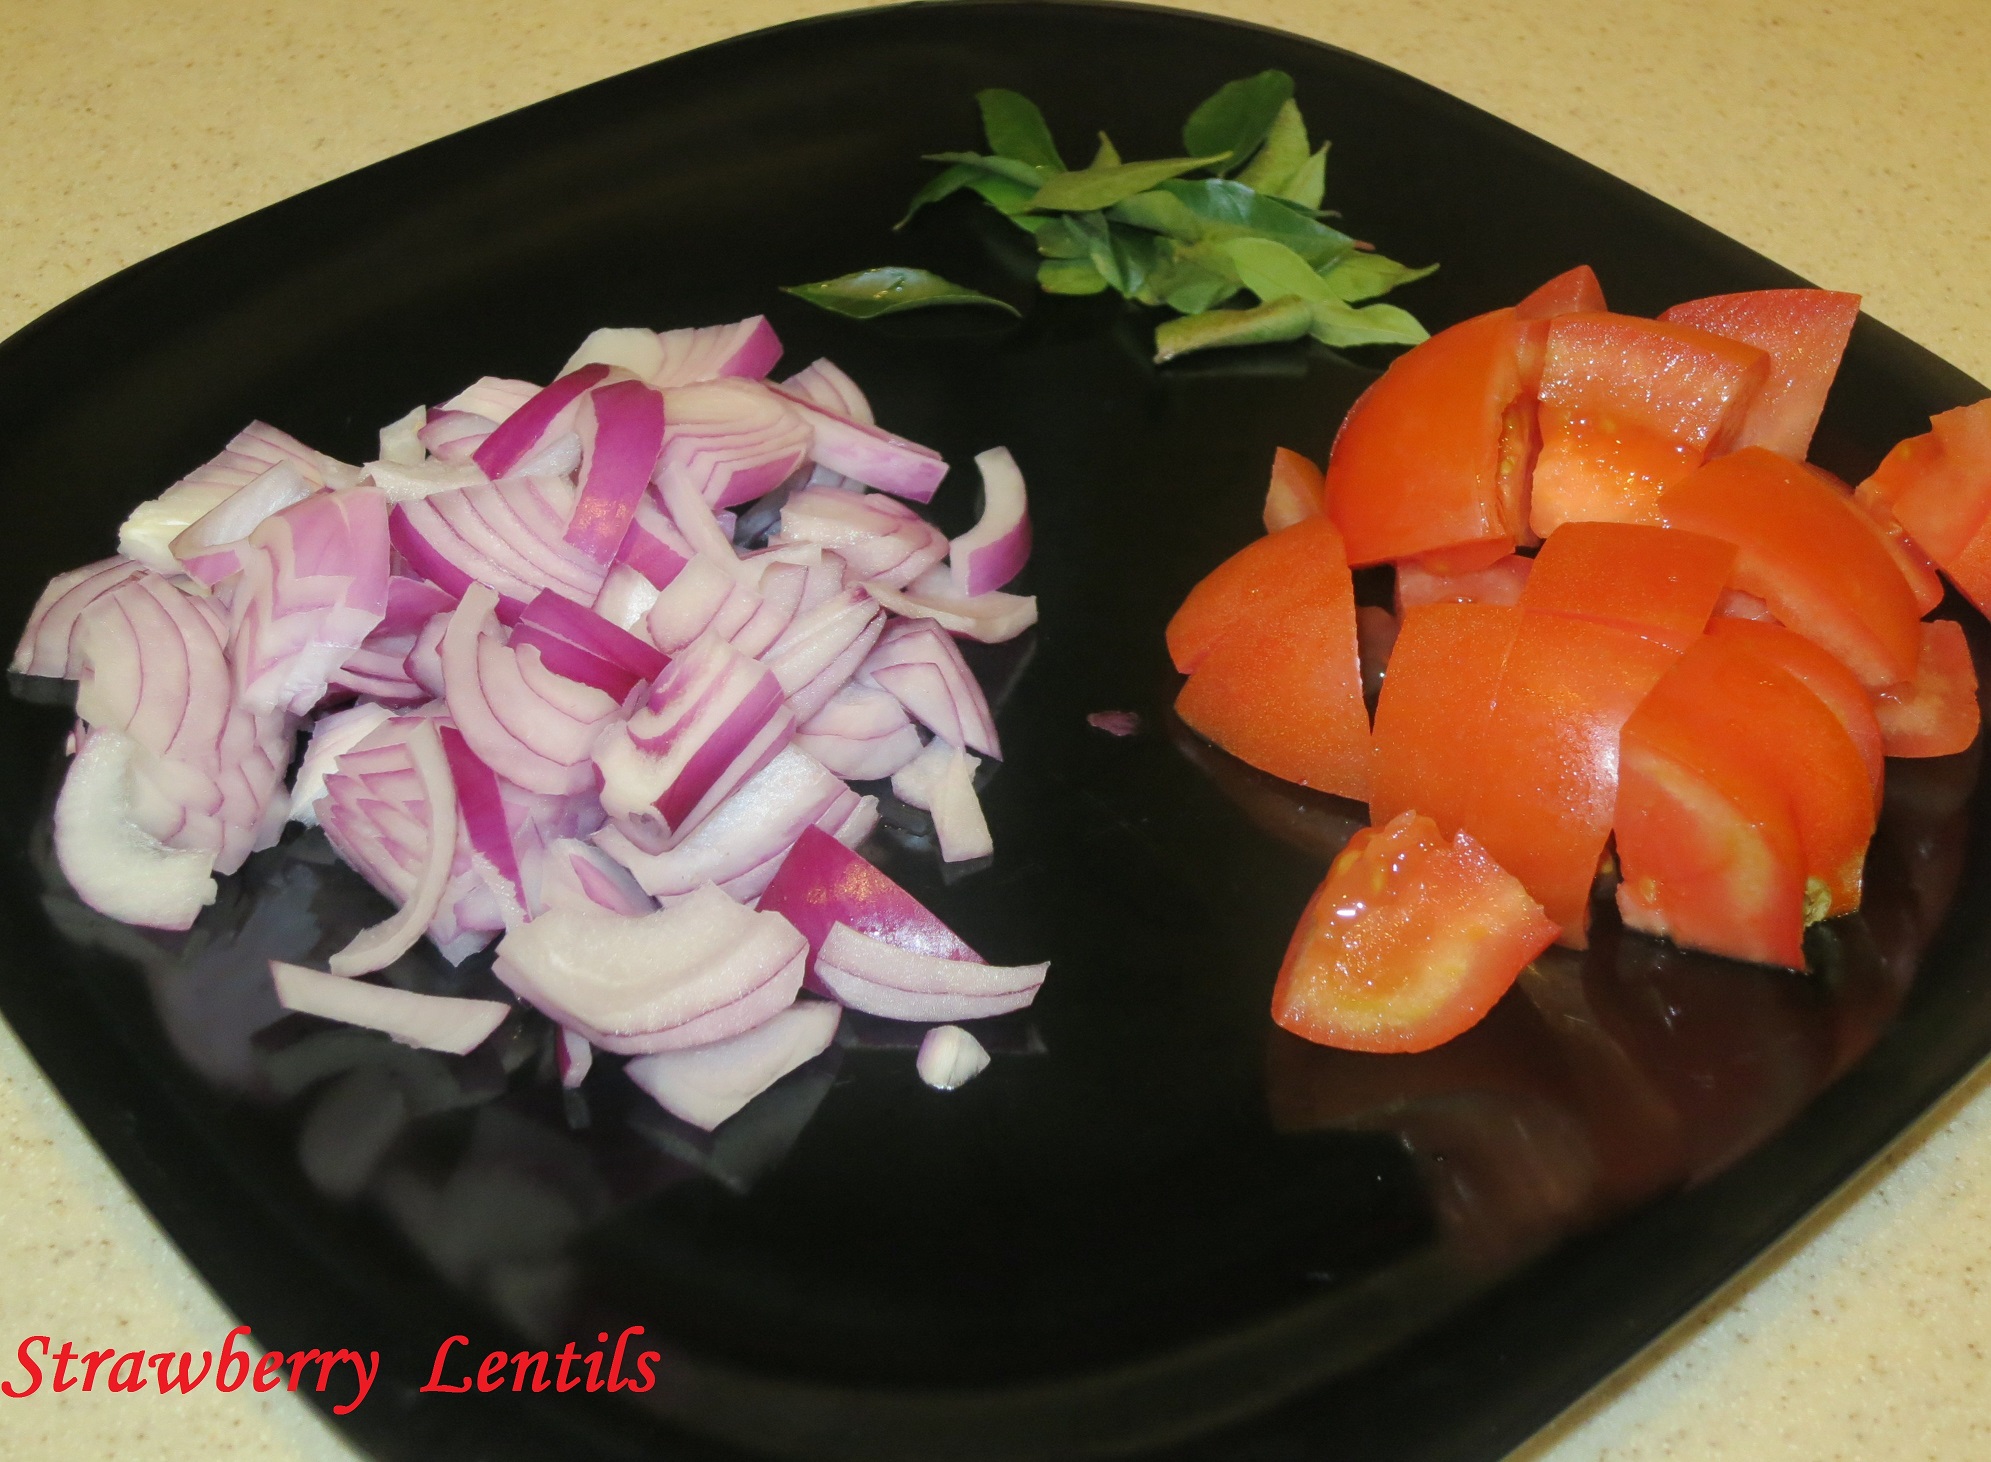
Chop 2 medium size onions. 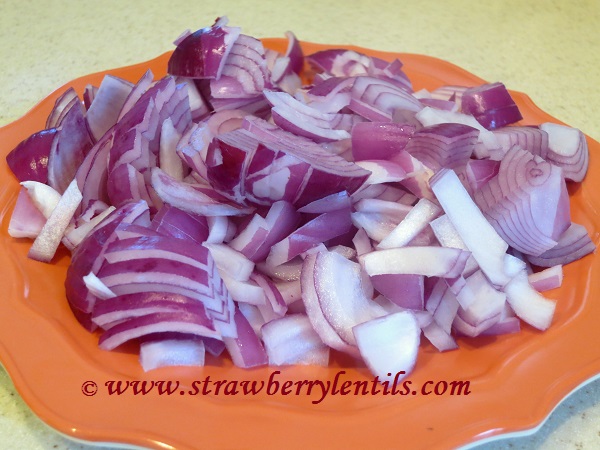
- In a big pot add 2 tbsp of oil and saute the onions.
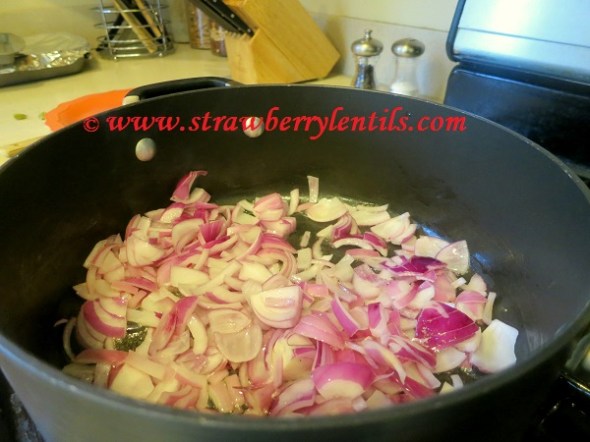
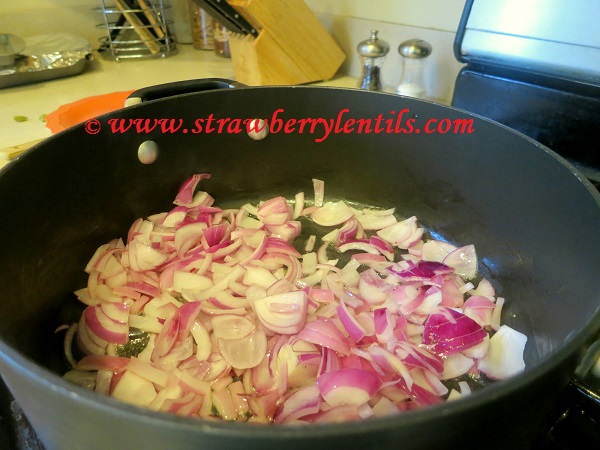
- The onions have to caramelize and turn brown. This will take approximately 8 – 10 mins in medium heat.

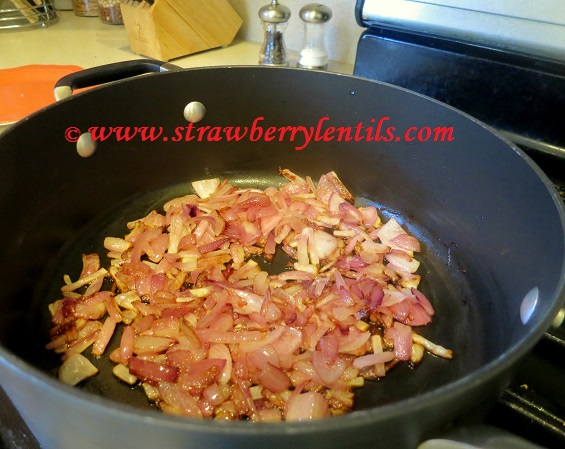
- Cool them down and grind to a thick paste. The paste has to be brown in color, if not , the onions have not caramelized enough and that will definitely affect the taste of the gravy.

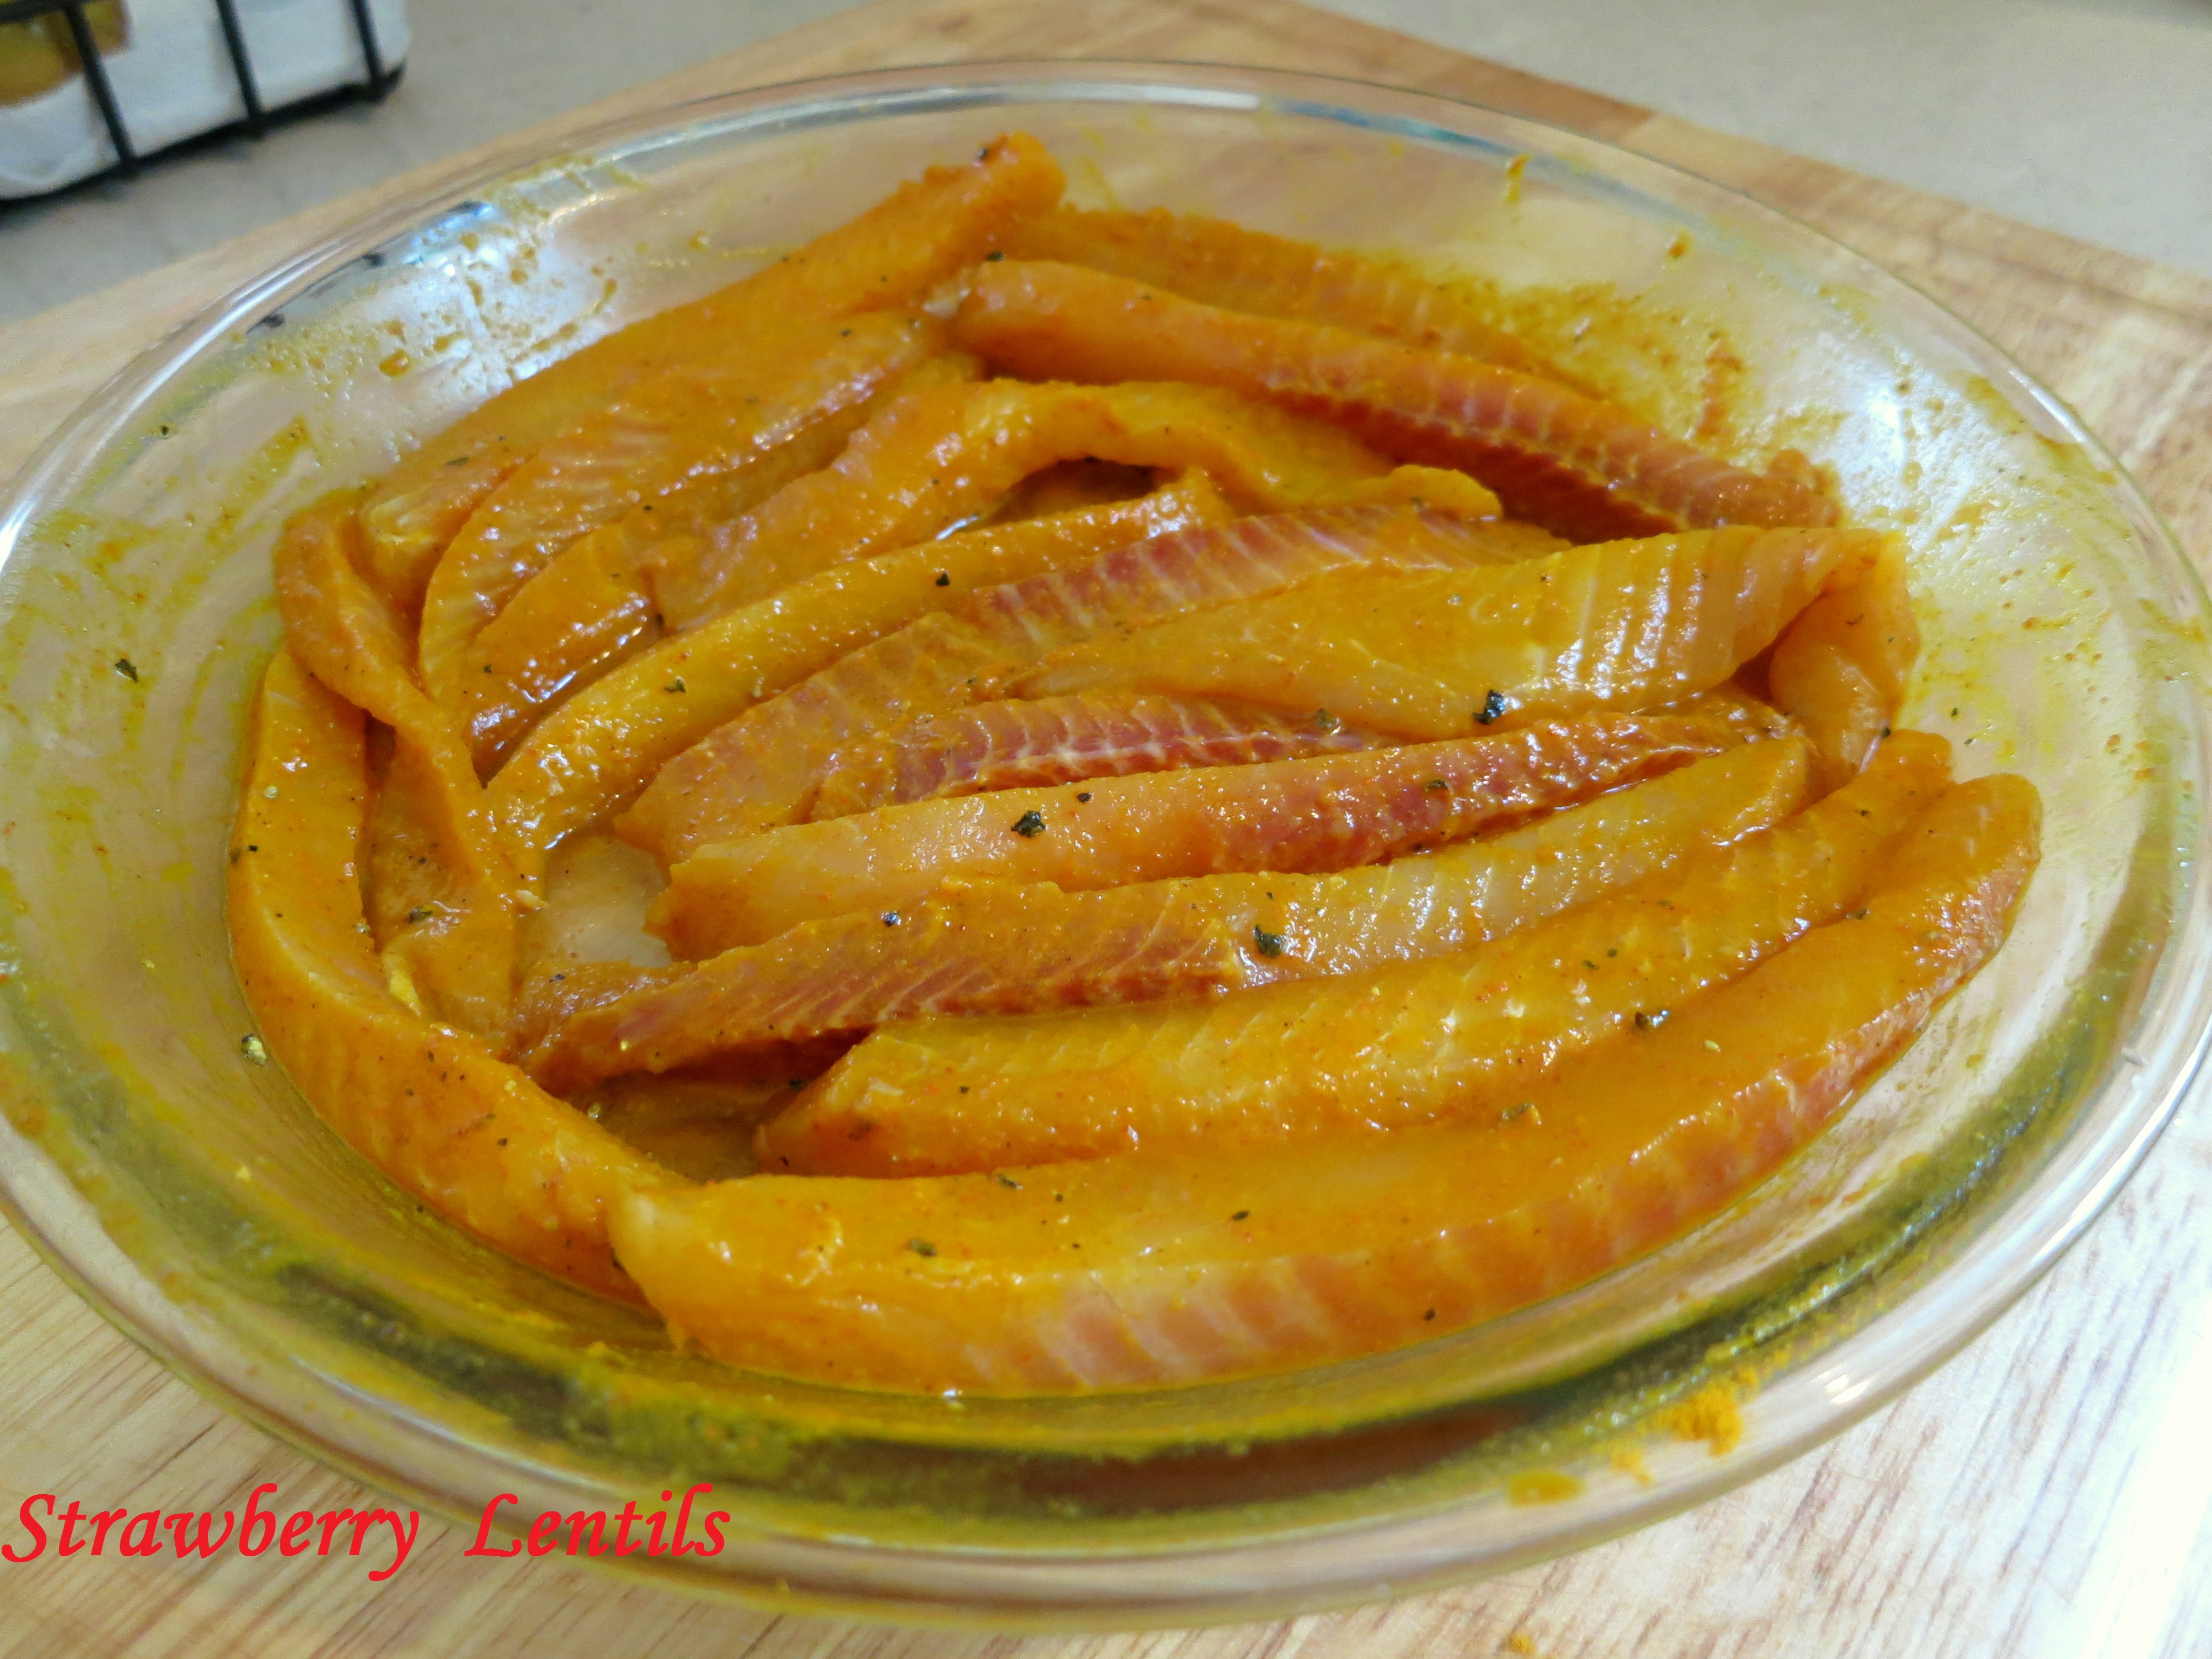
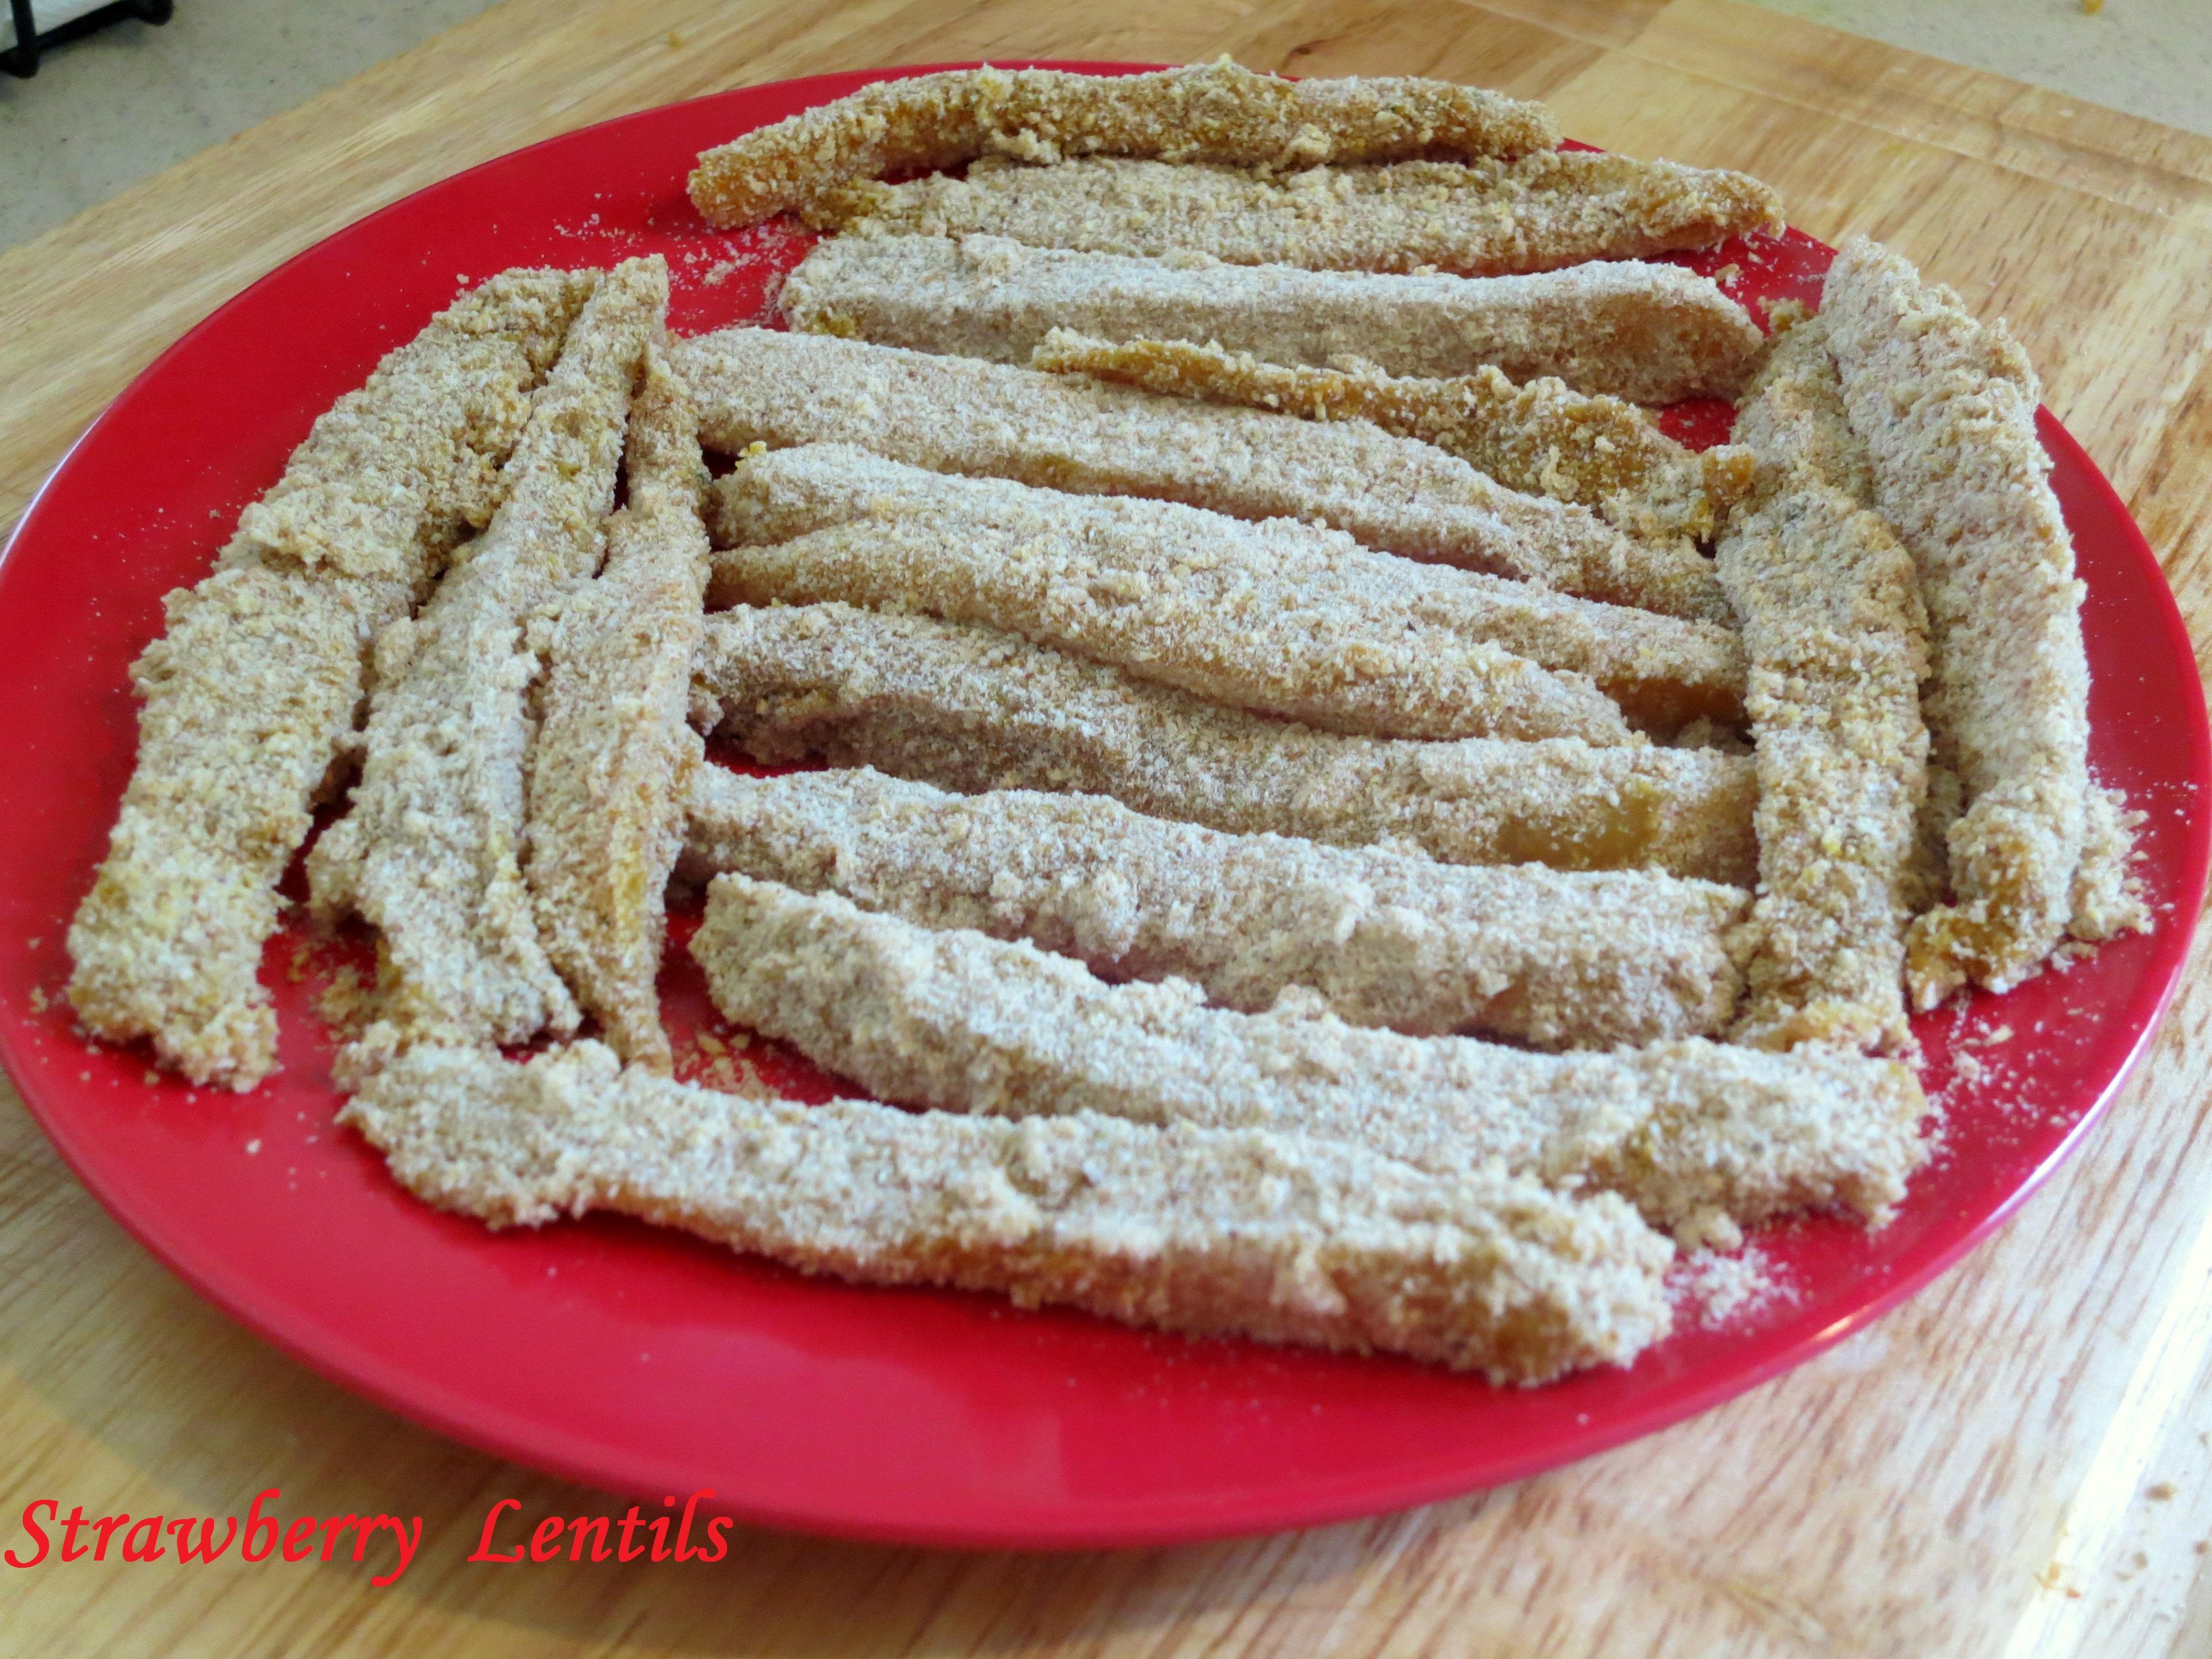
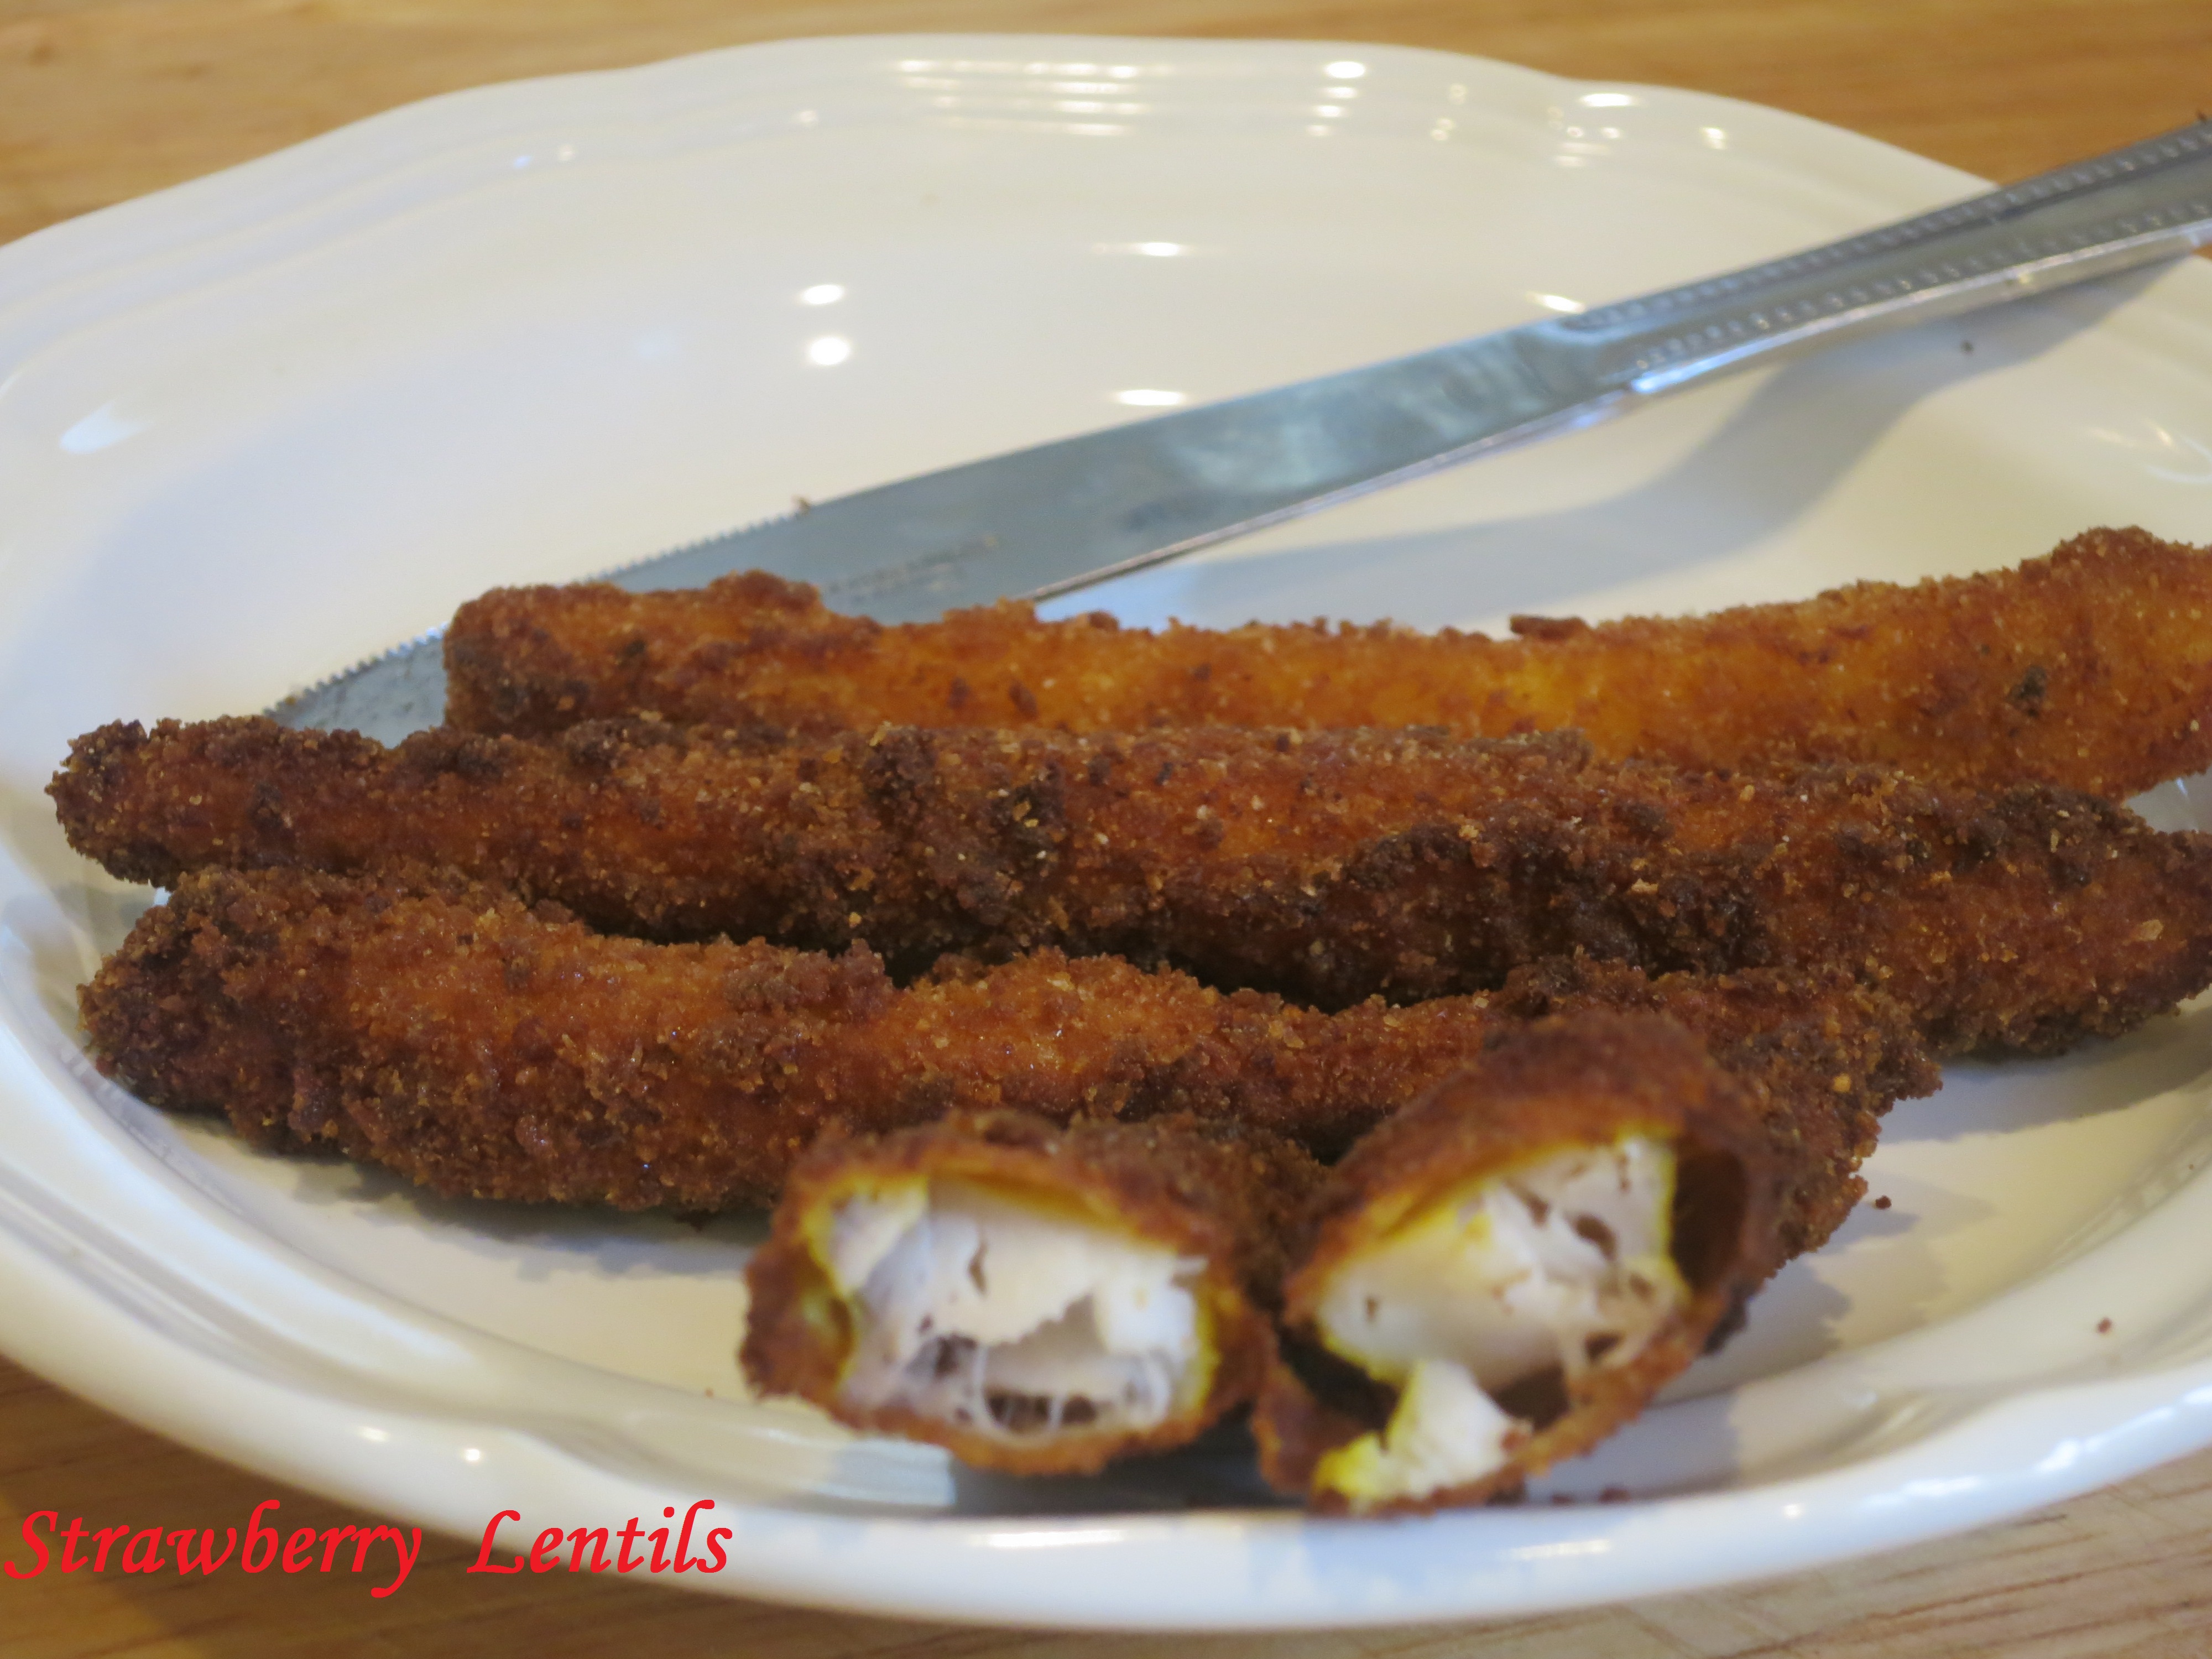
- Step 3 (Marinating the chicken)
Clean and cut the chicken into cubes (preferably boneless). Marinate the chicken with the spice blend (step 1) and the onion paste(step 2) and set aside for at least 30 minutes. 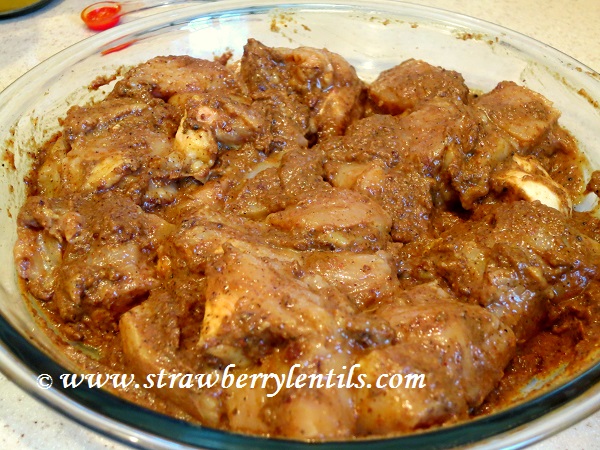
- Step 4 (Making the Vindaloo Gravy)
The rest is quite easy. To make the gravy you will need :
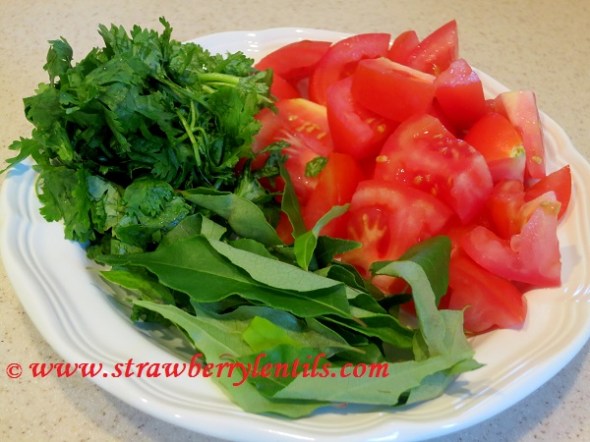
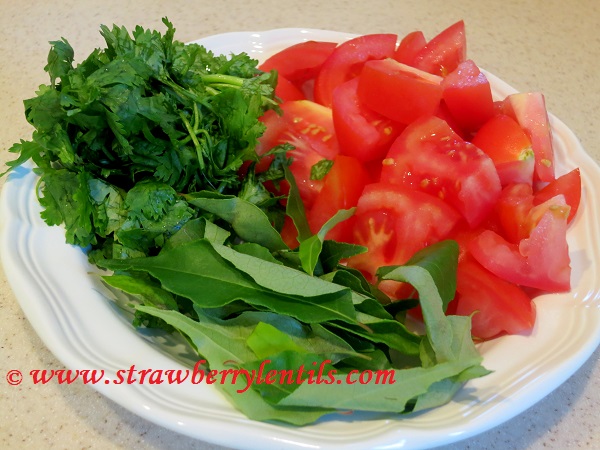
- Medium tomatoes – 2
- Cilantro – a generous bunch
- Curry leaves – few
- Ginger garlic paste – 1 tbsp
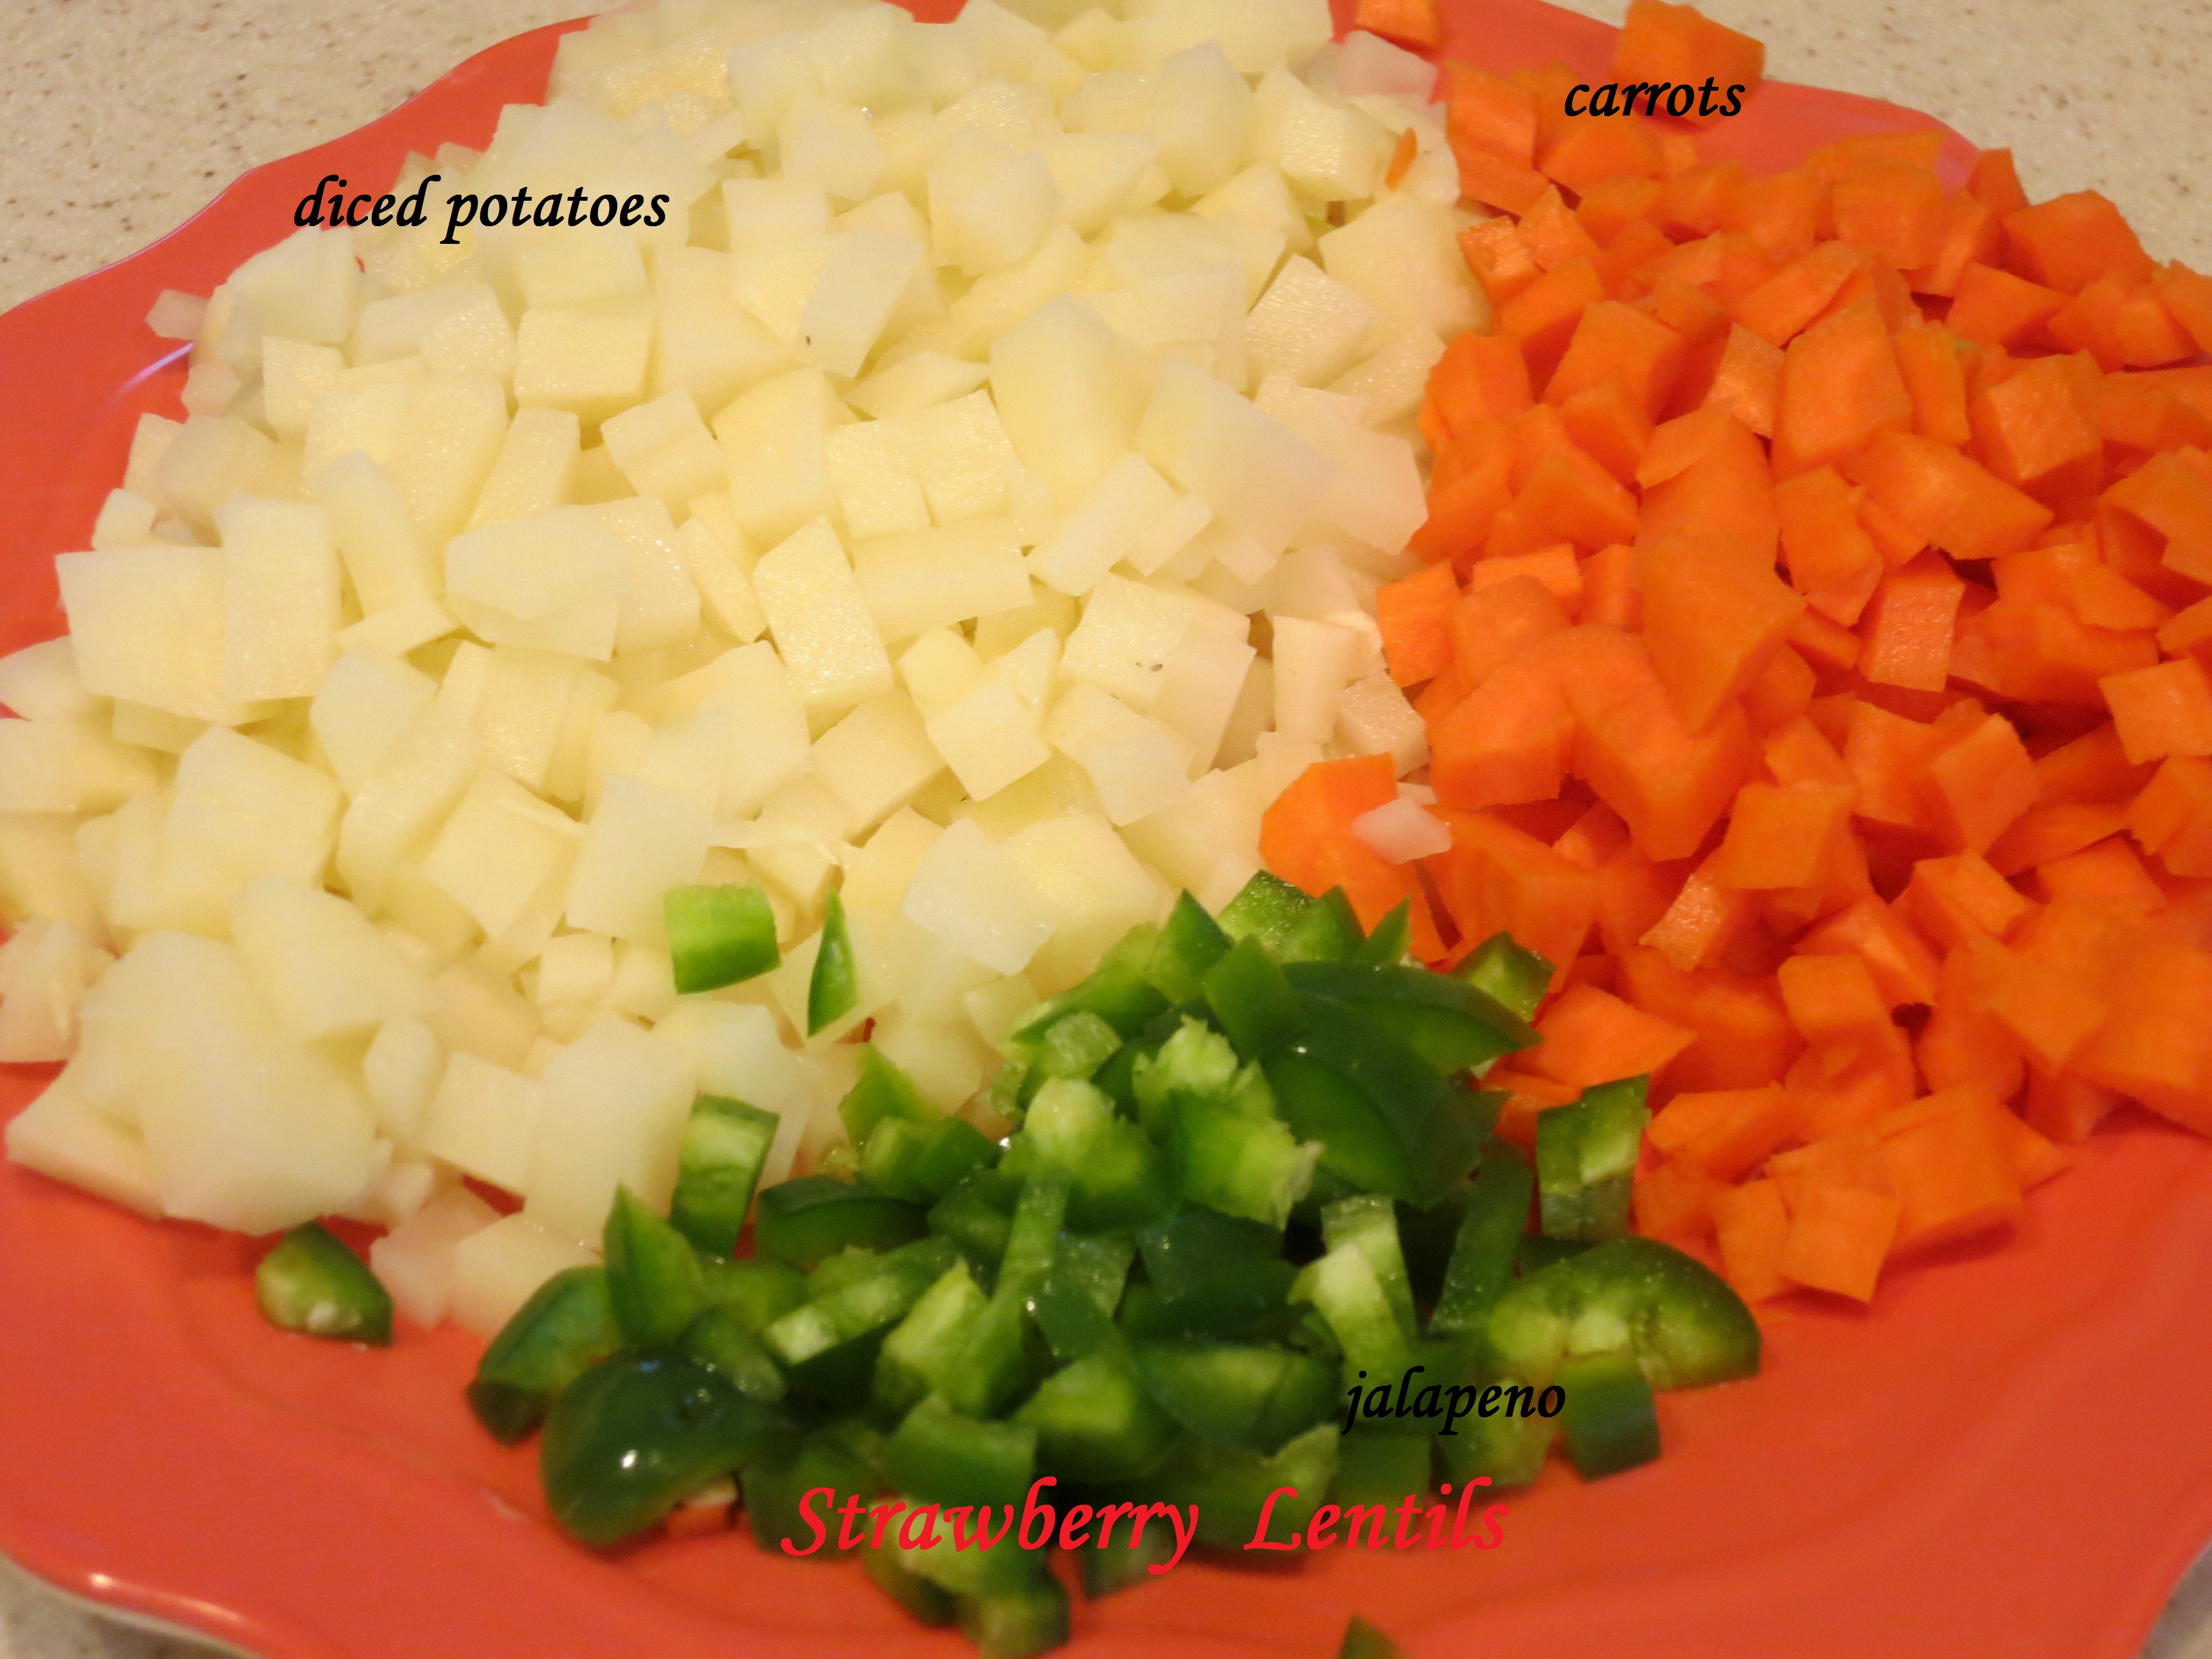
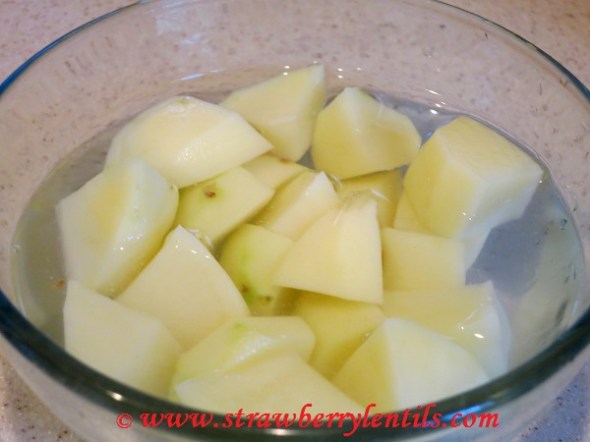
- You will also need 1 large or two medium potatoes. Peel and cut into big cubes and leave them in water until needed.
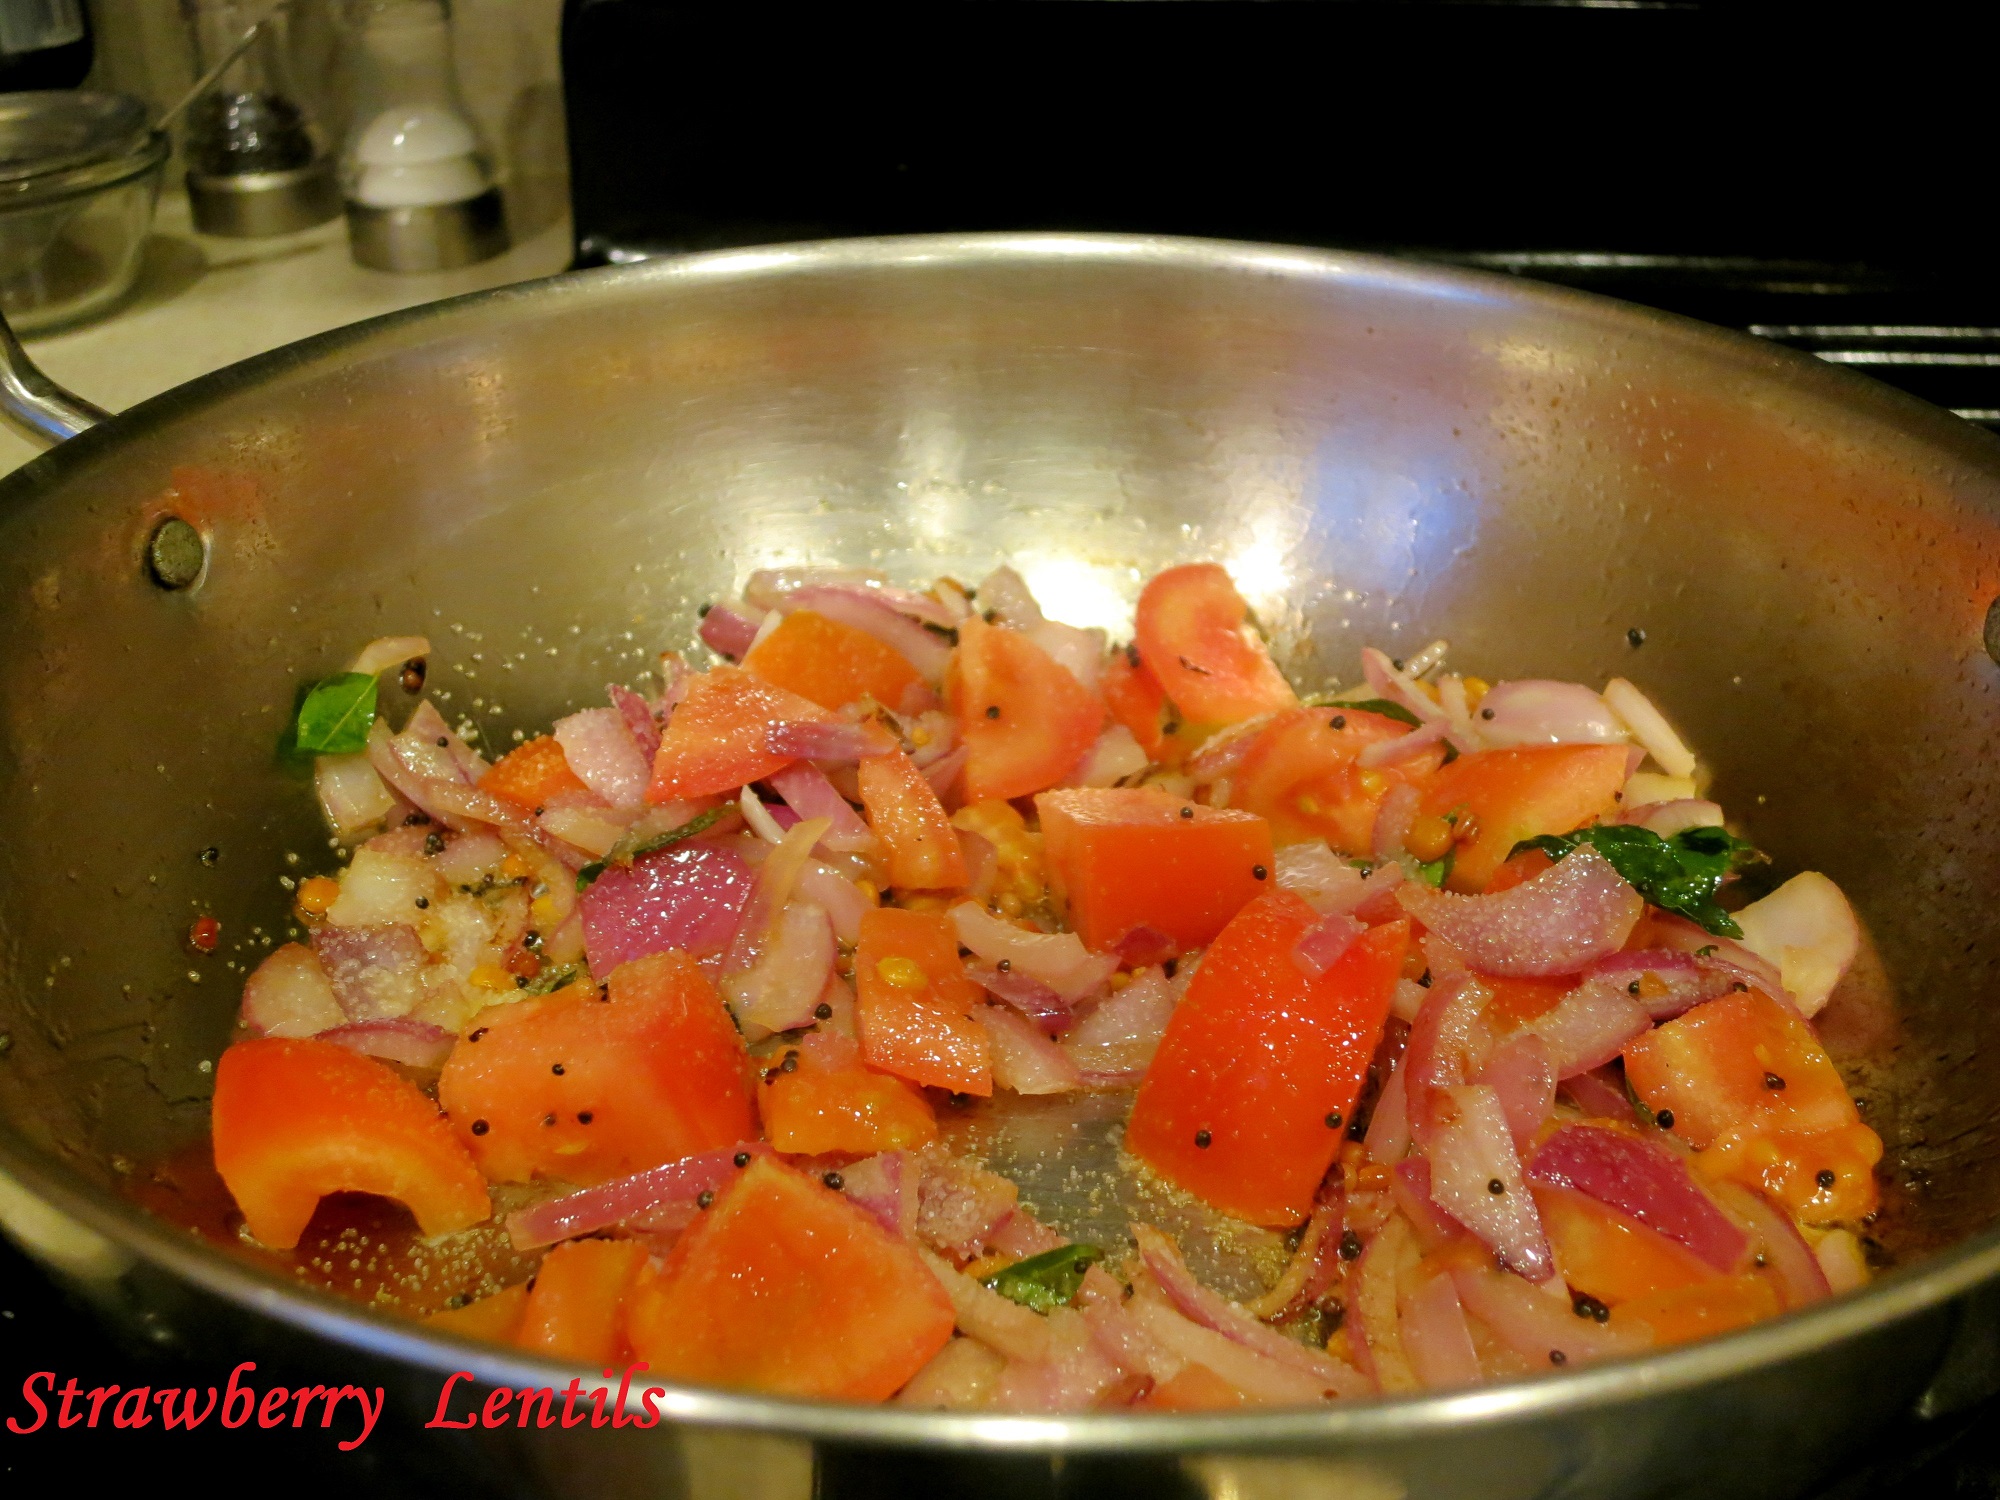
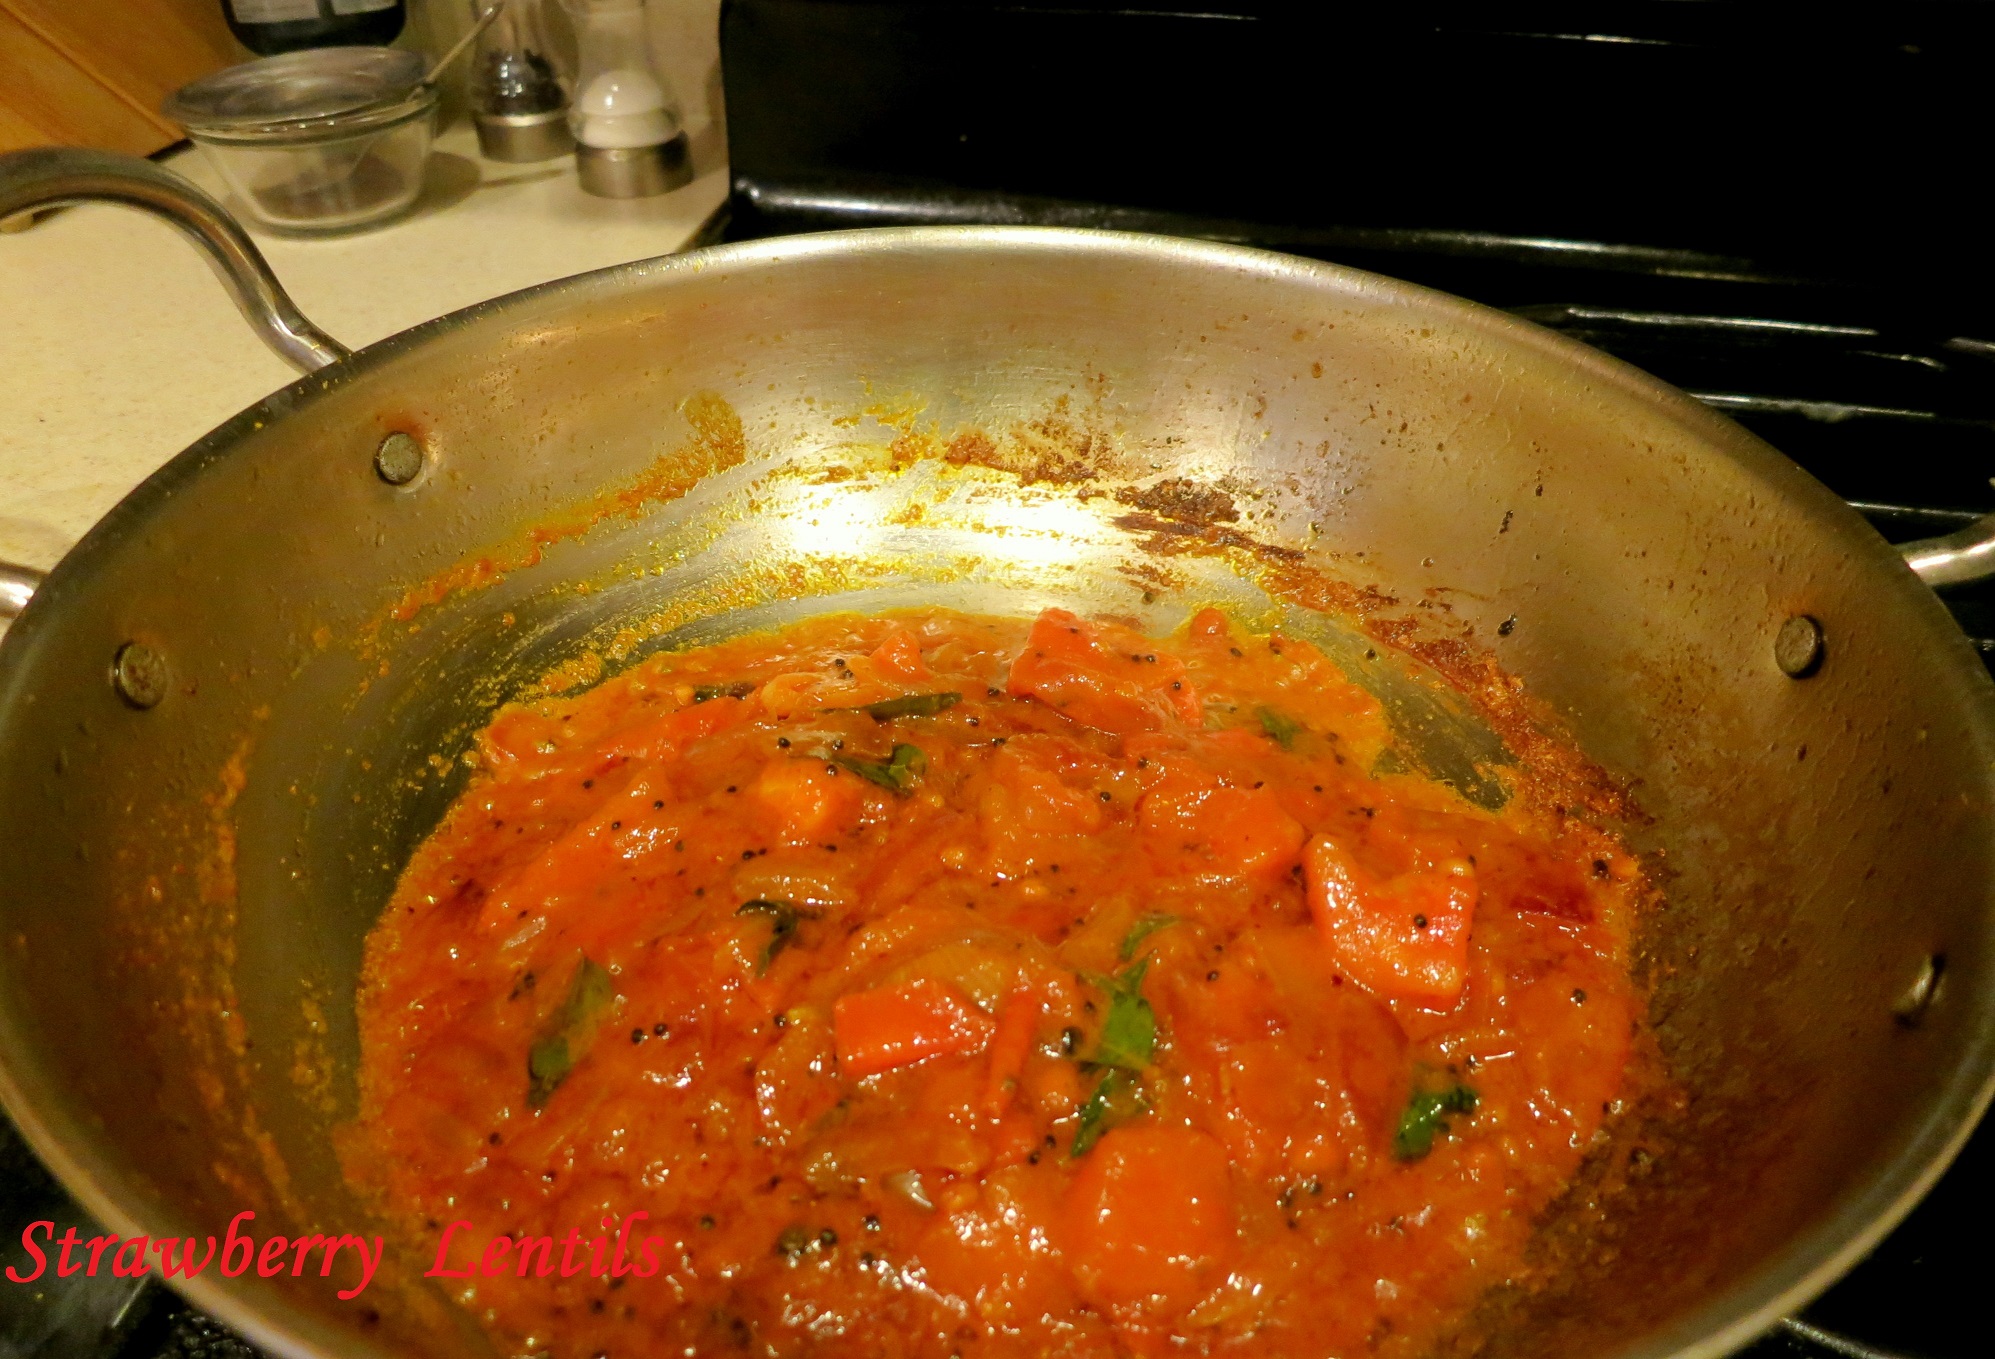
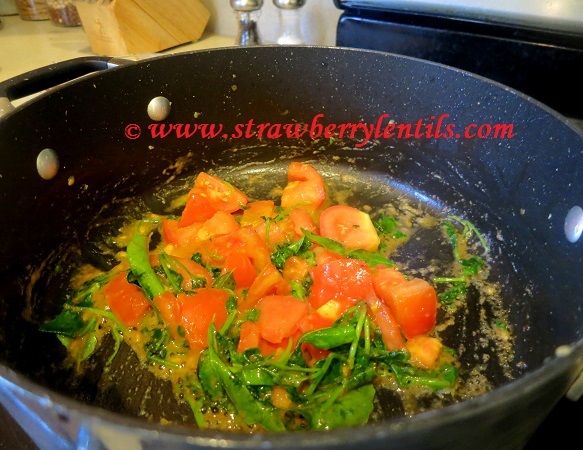
- In a big pot, add 2 tbsp of oil, and fry the ginger garlic paste.
- Add the tomatoes, cilantro and curry leaves. Sprinkle salt to sweat the tomatoes.

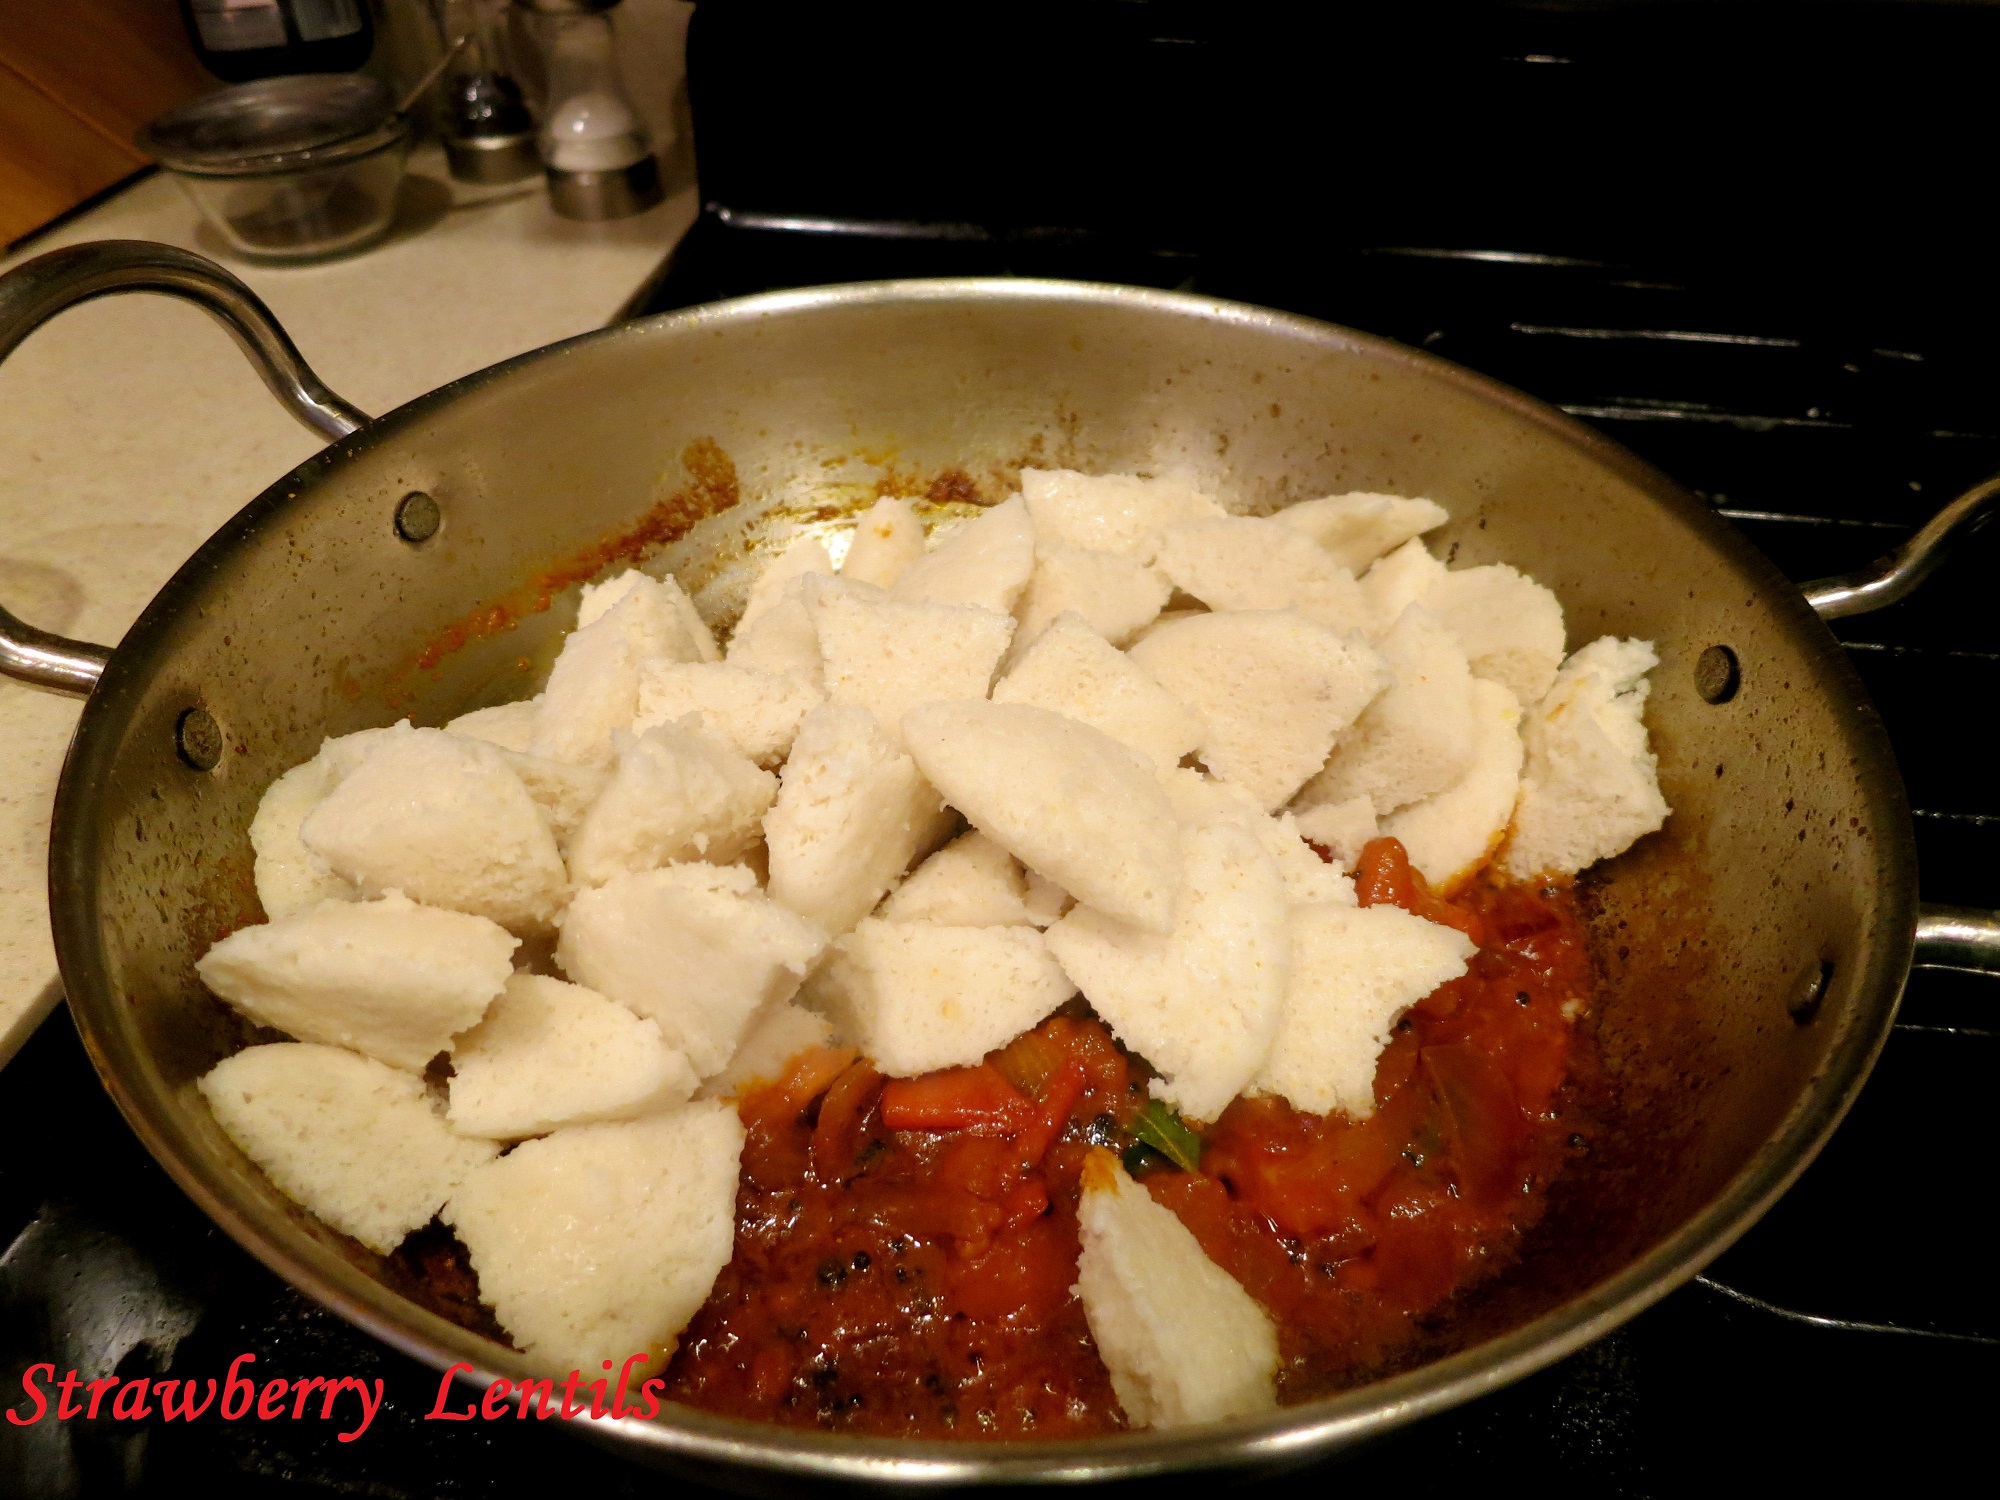
- When the tomatoes soften, add the marinated chicken.
- Add the potatoes.
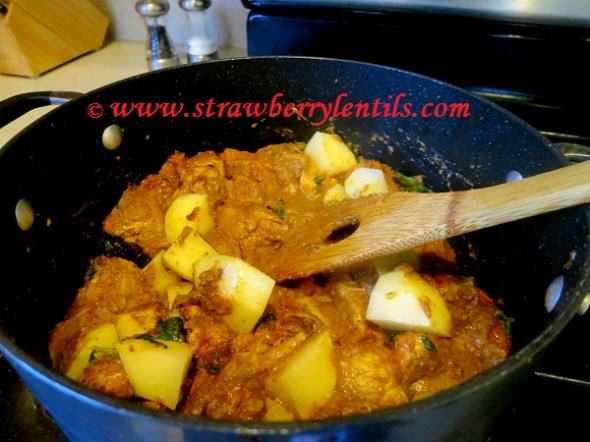
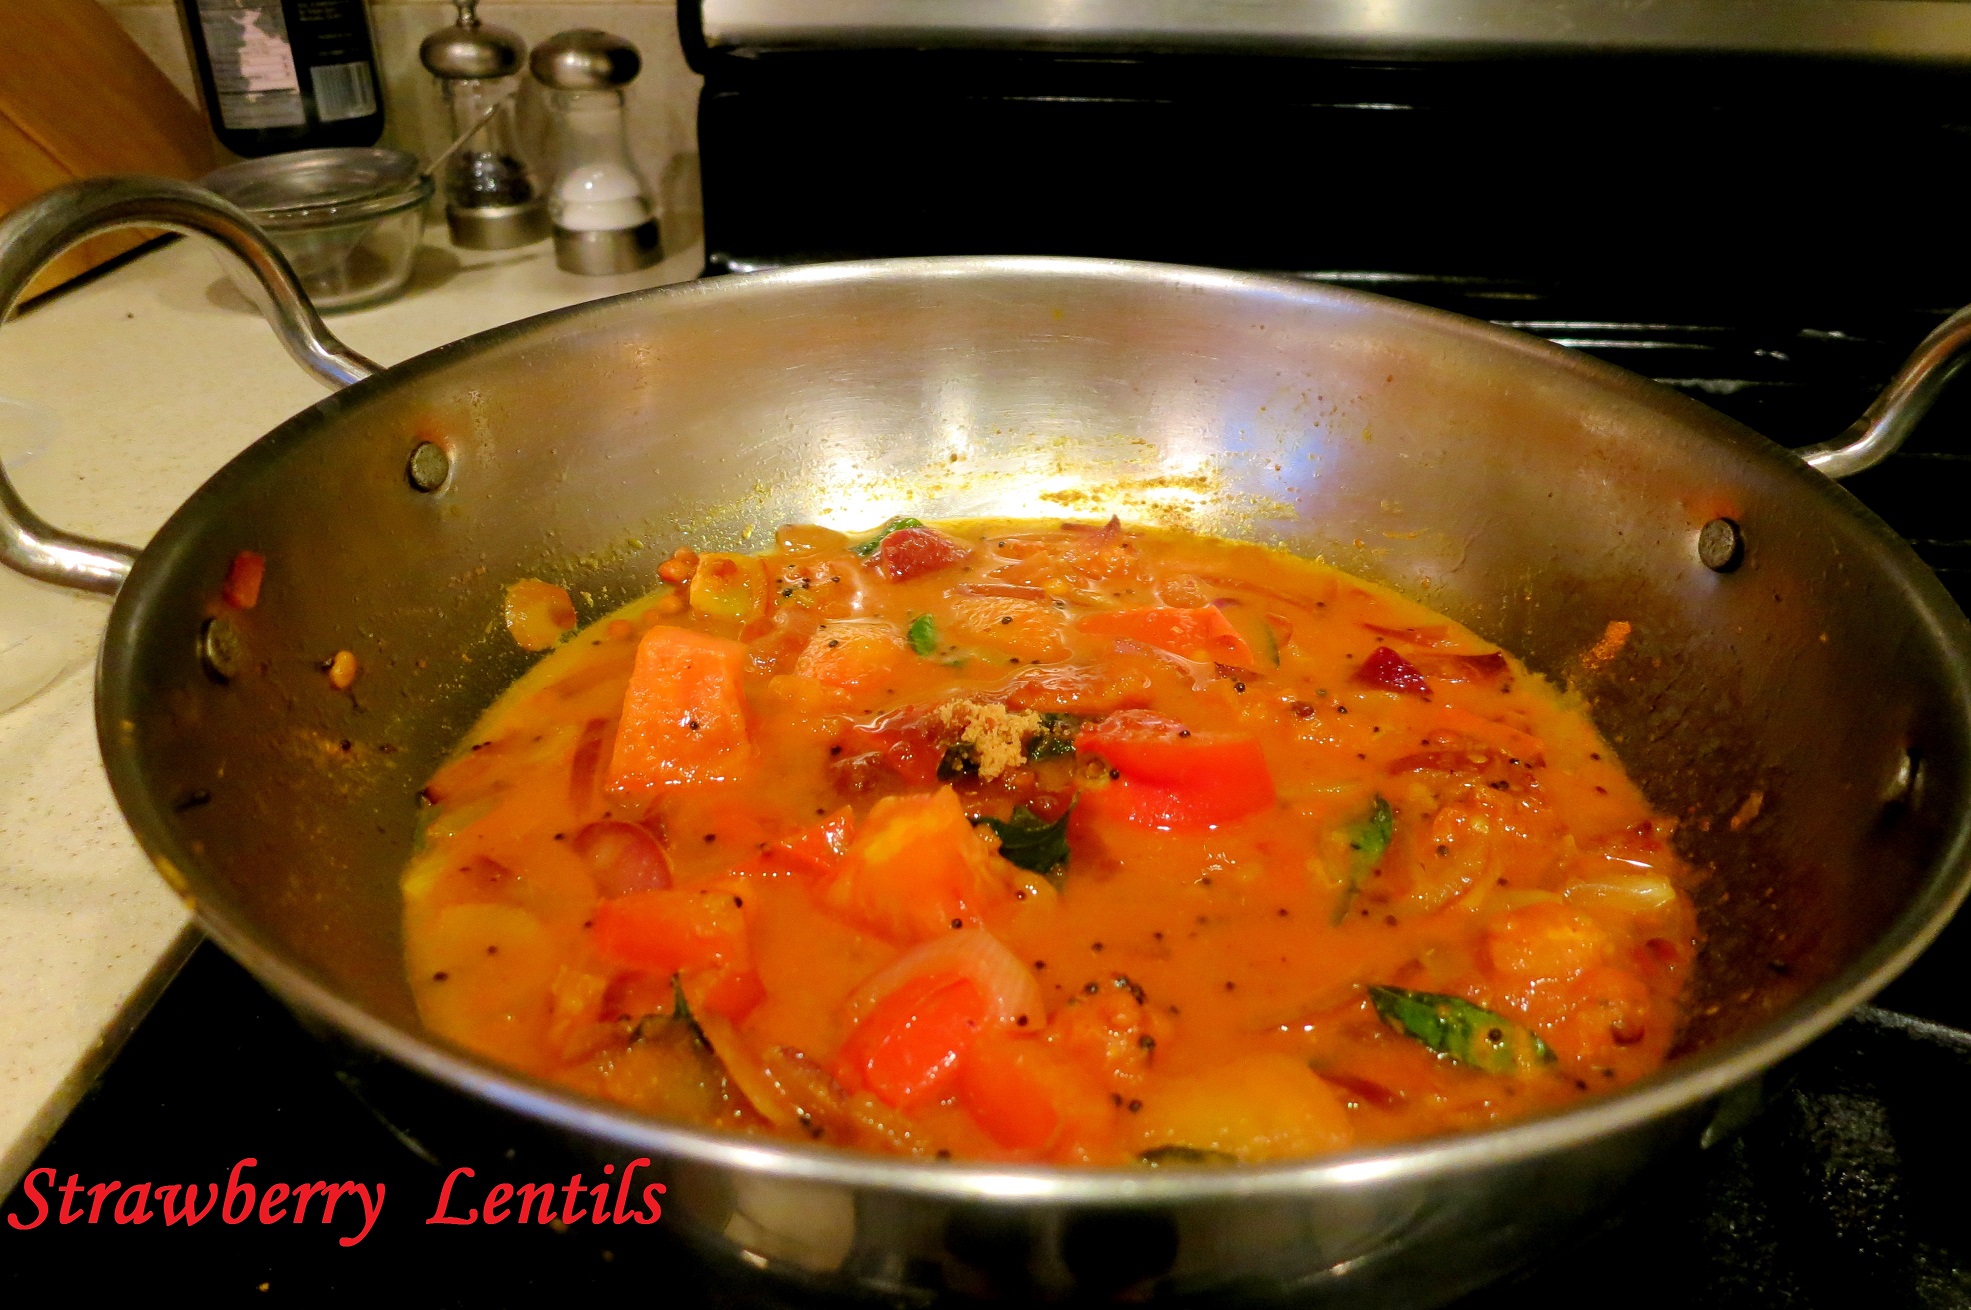
- Cover and cook. There is no need to add water.

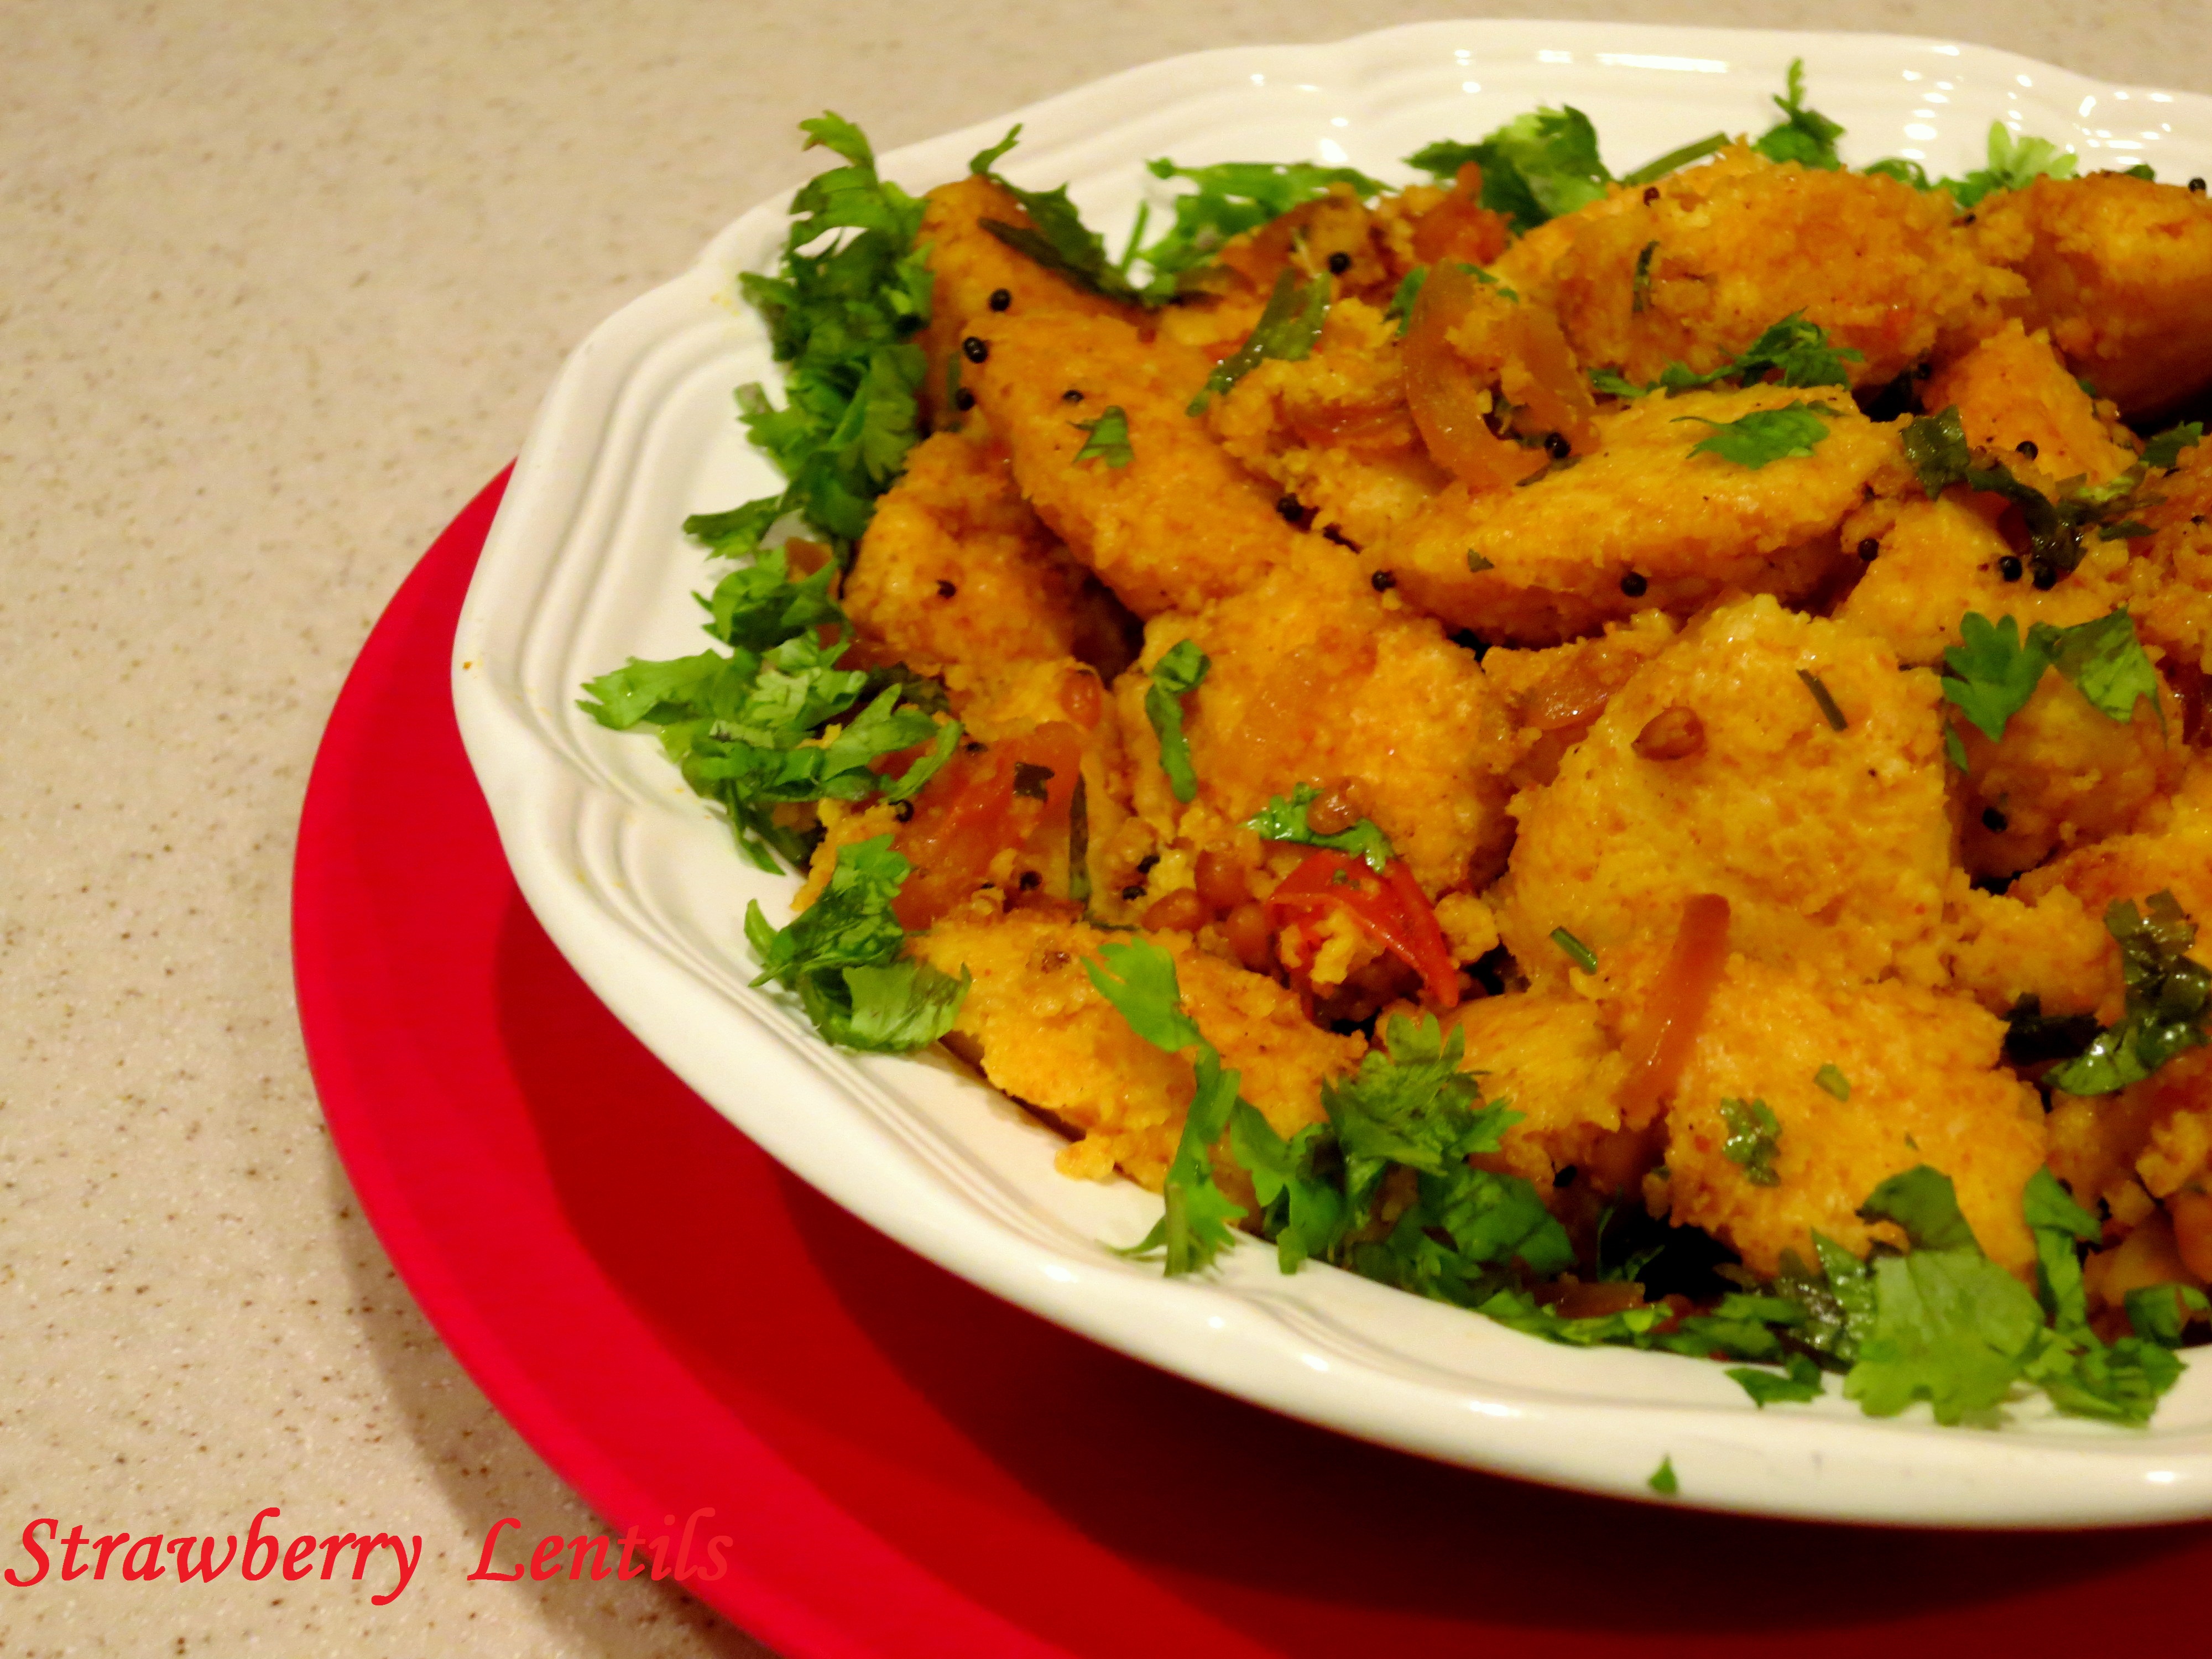
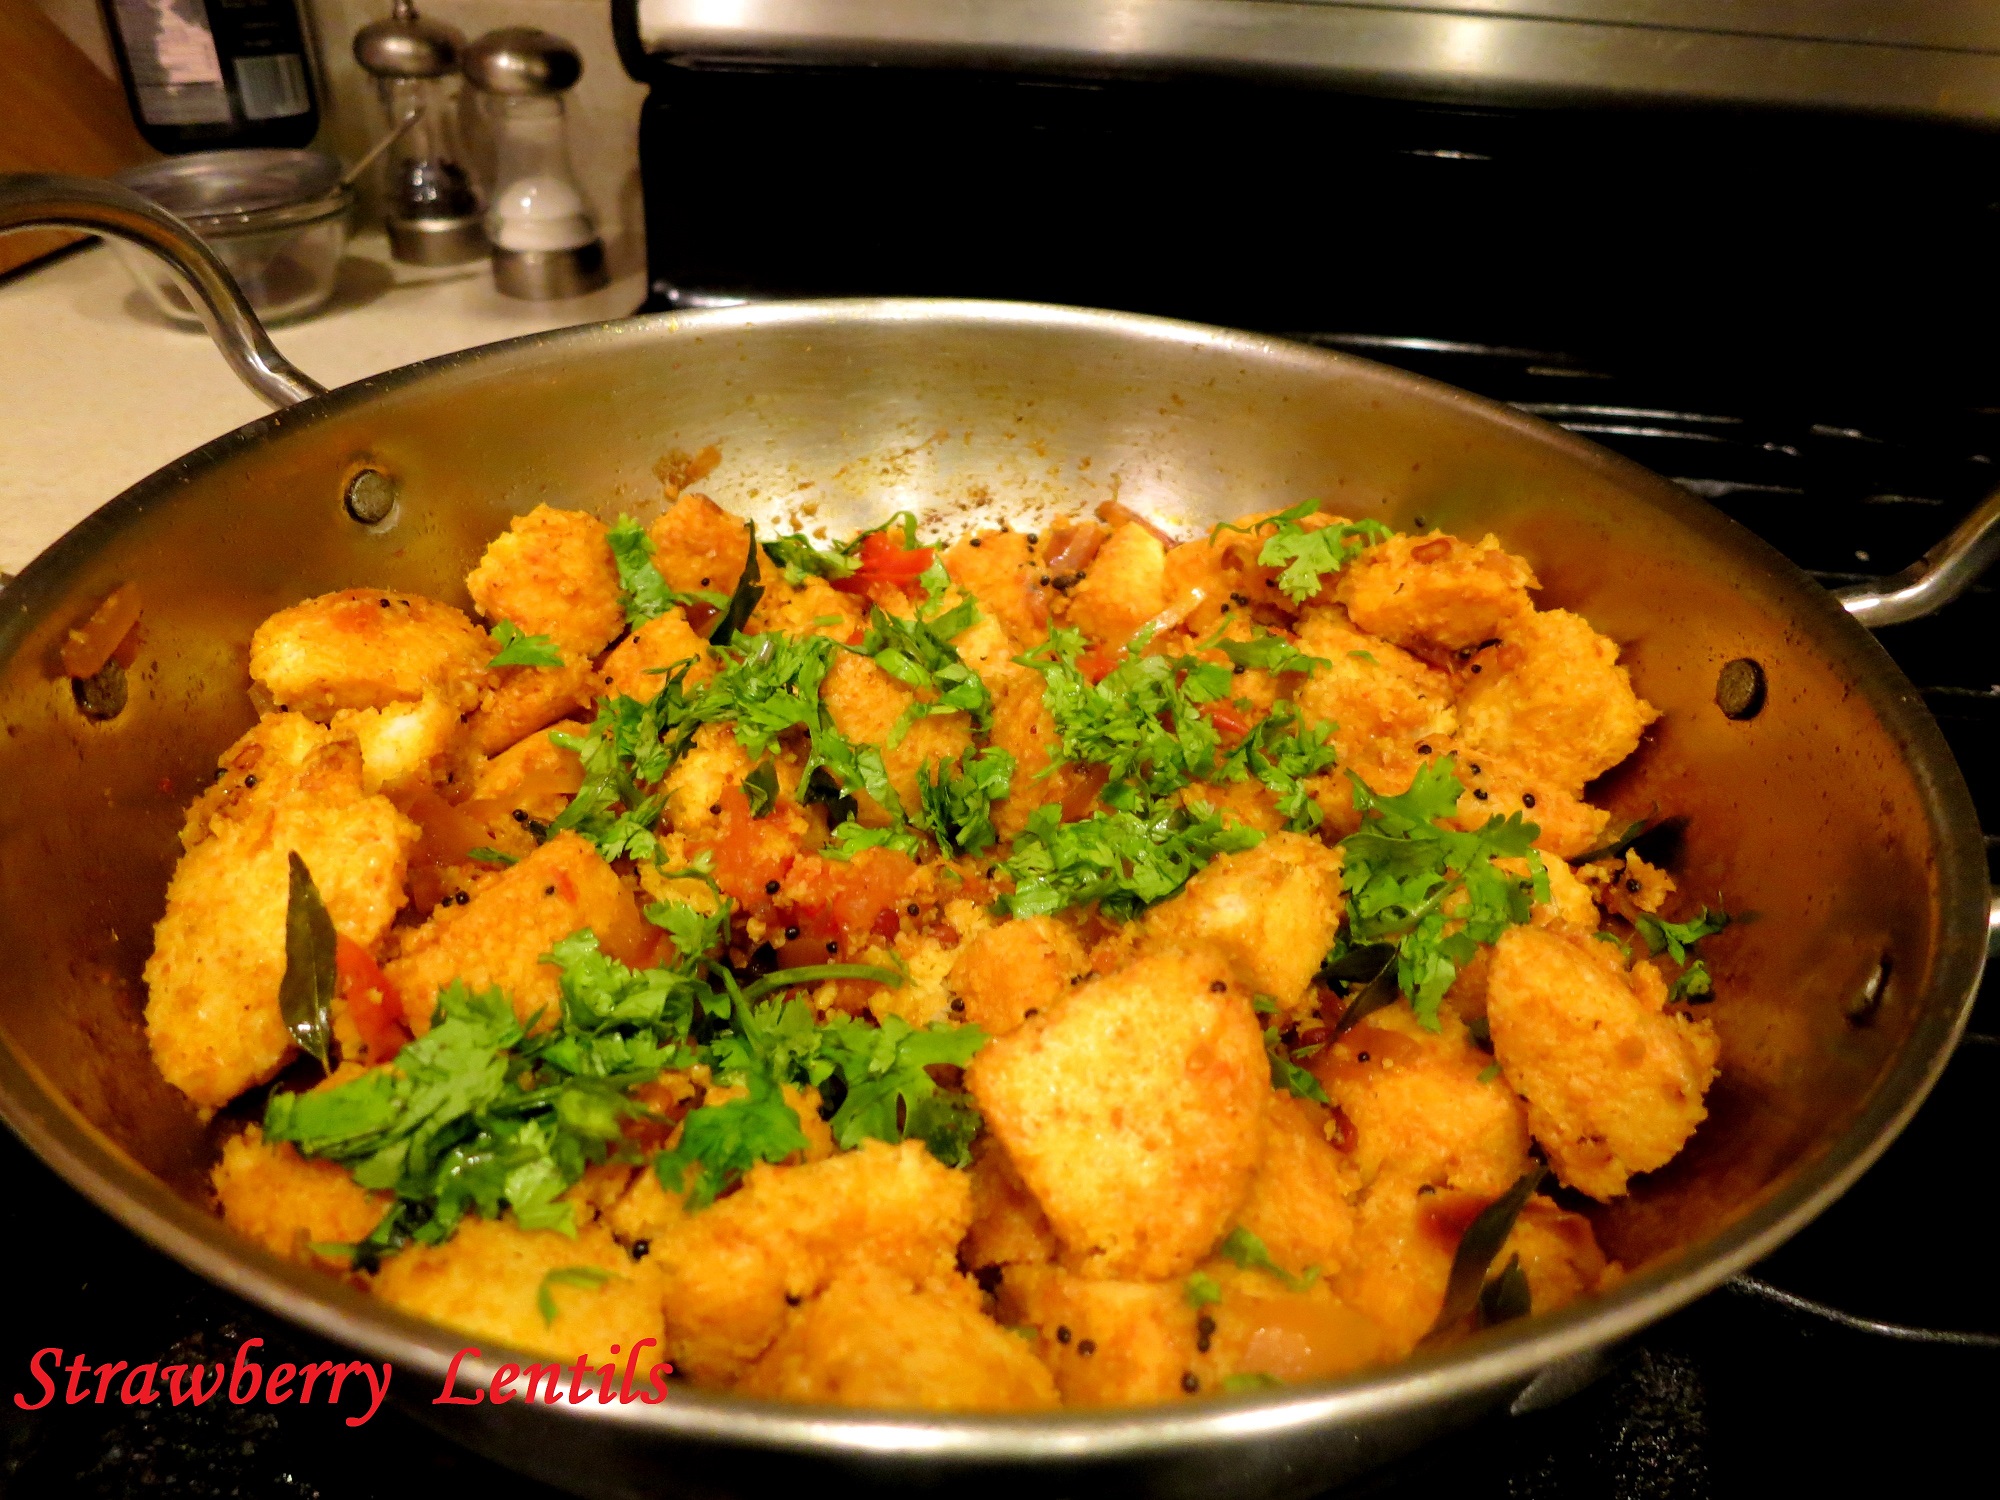
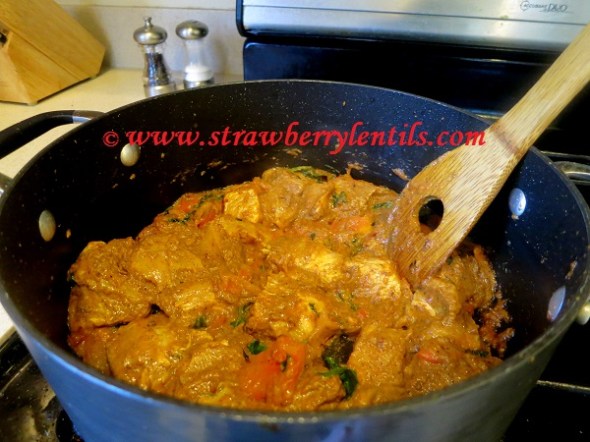
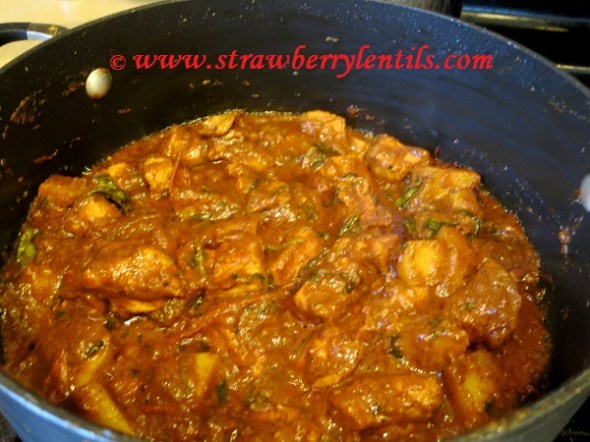
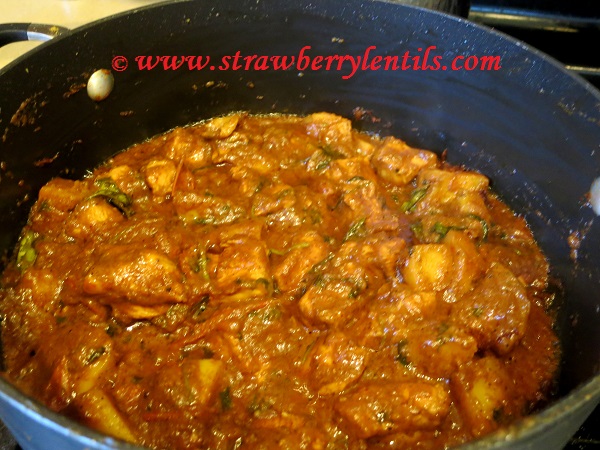
- Usually the restaurant vindaloos are more like thin curries. But I prefer a thick gravy. Remove from heat when the chicken is completely cooked and your preferred consistency is reached.

- For thicker gravy, cook until oil separates.


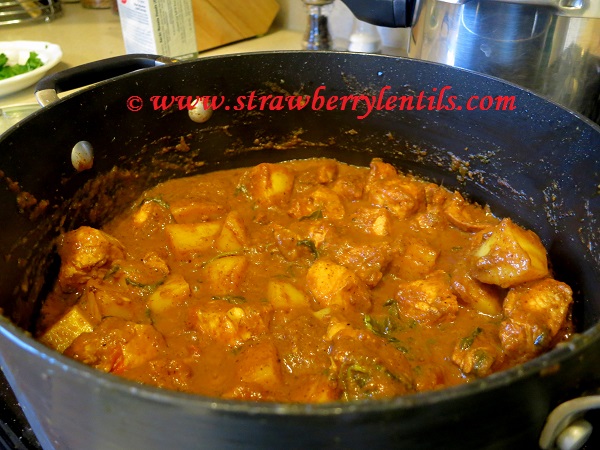
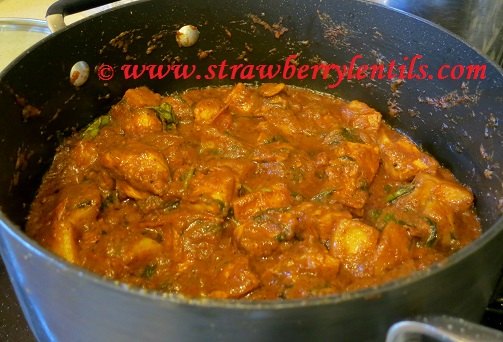
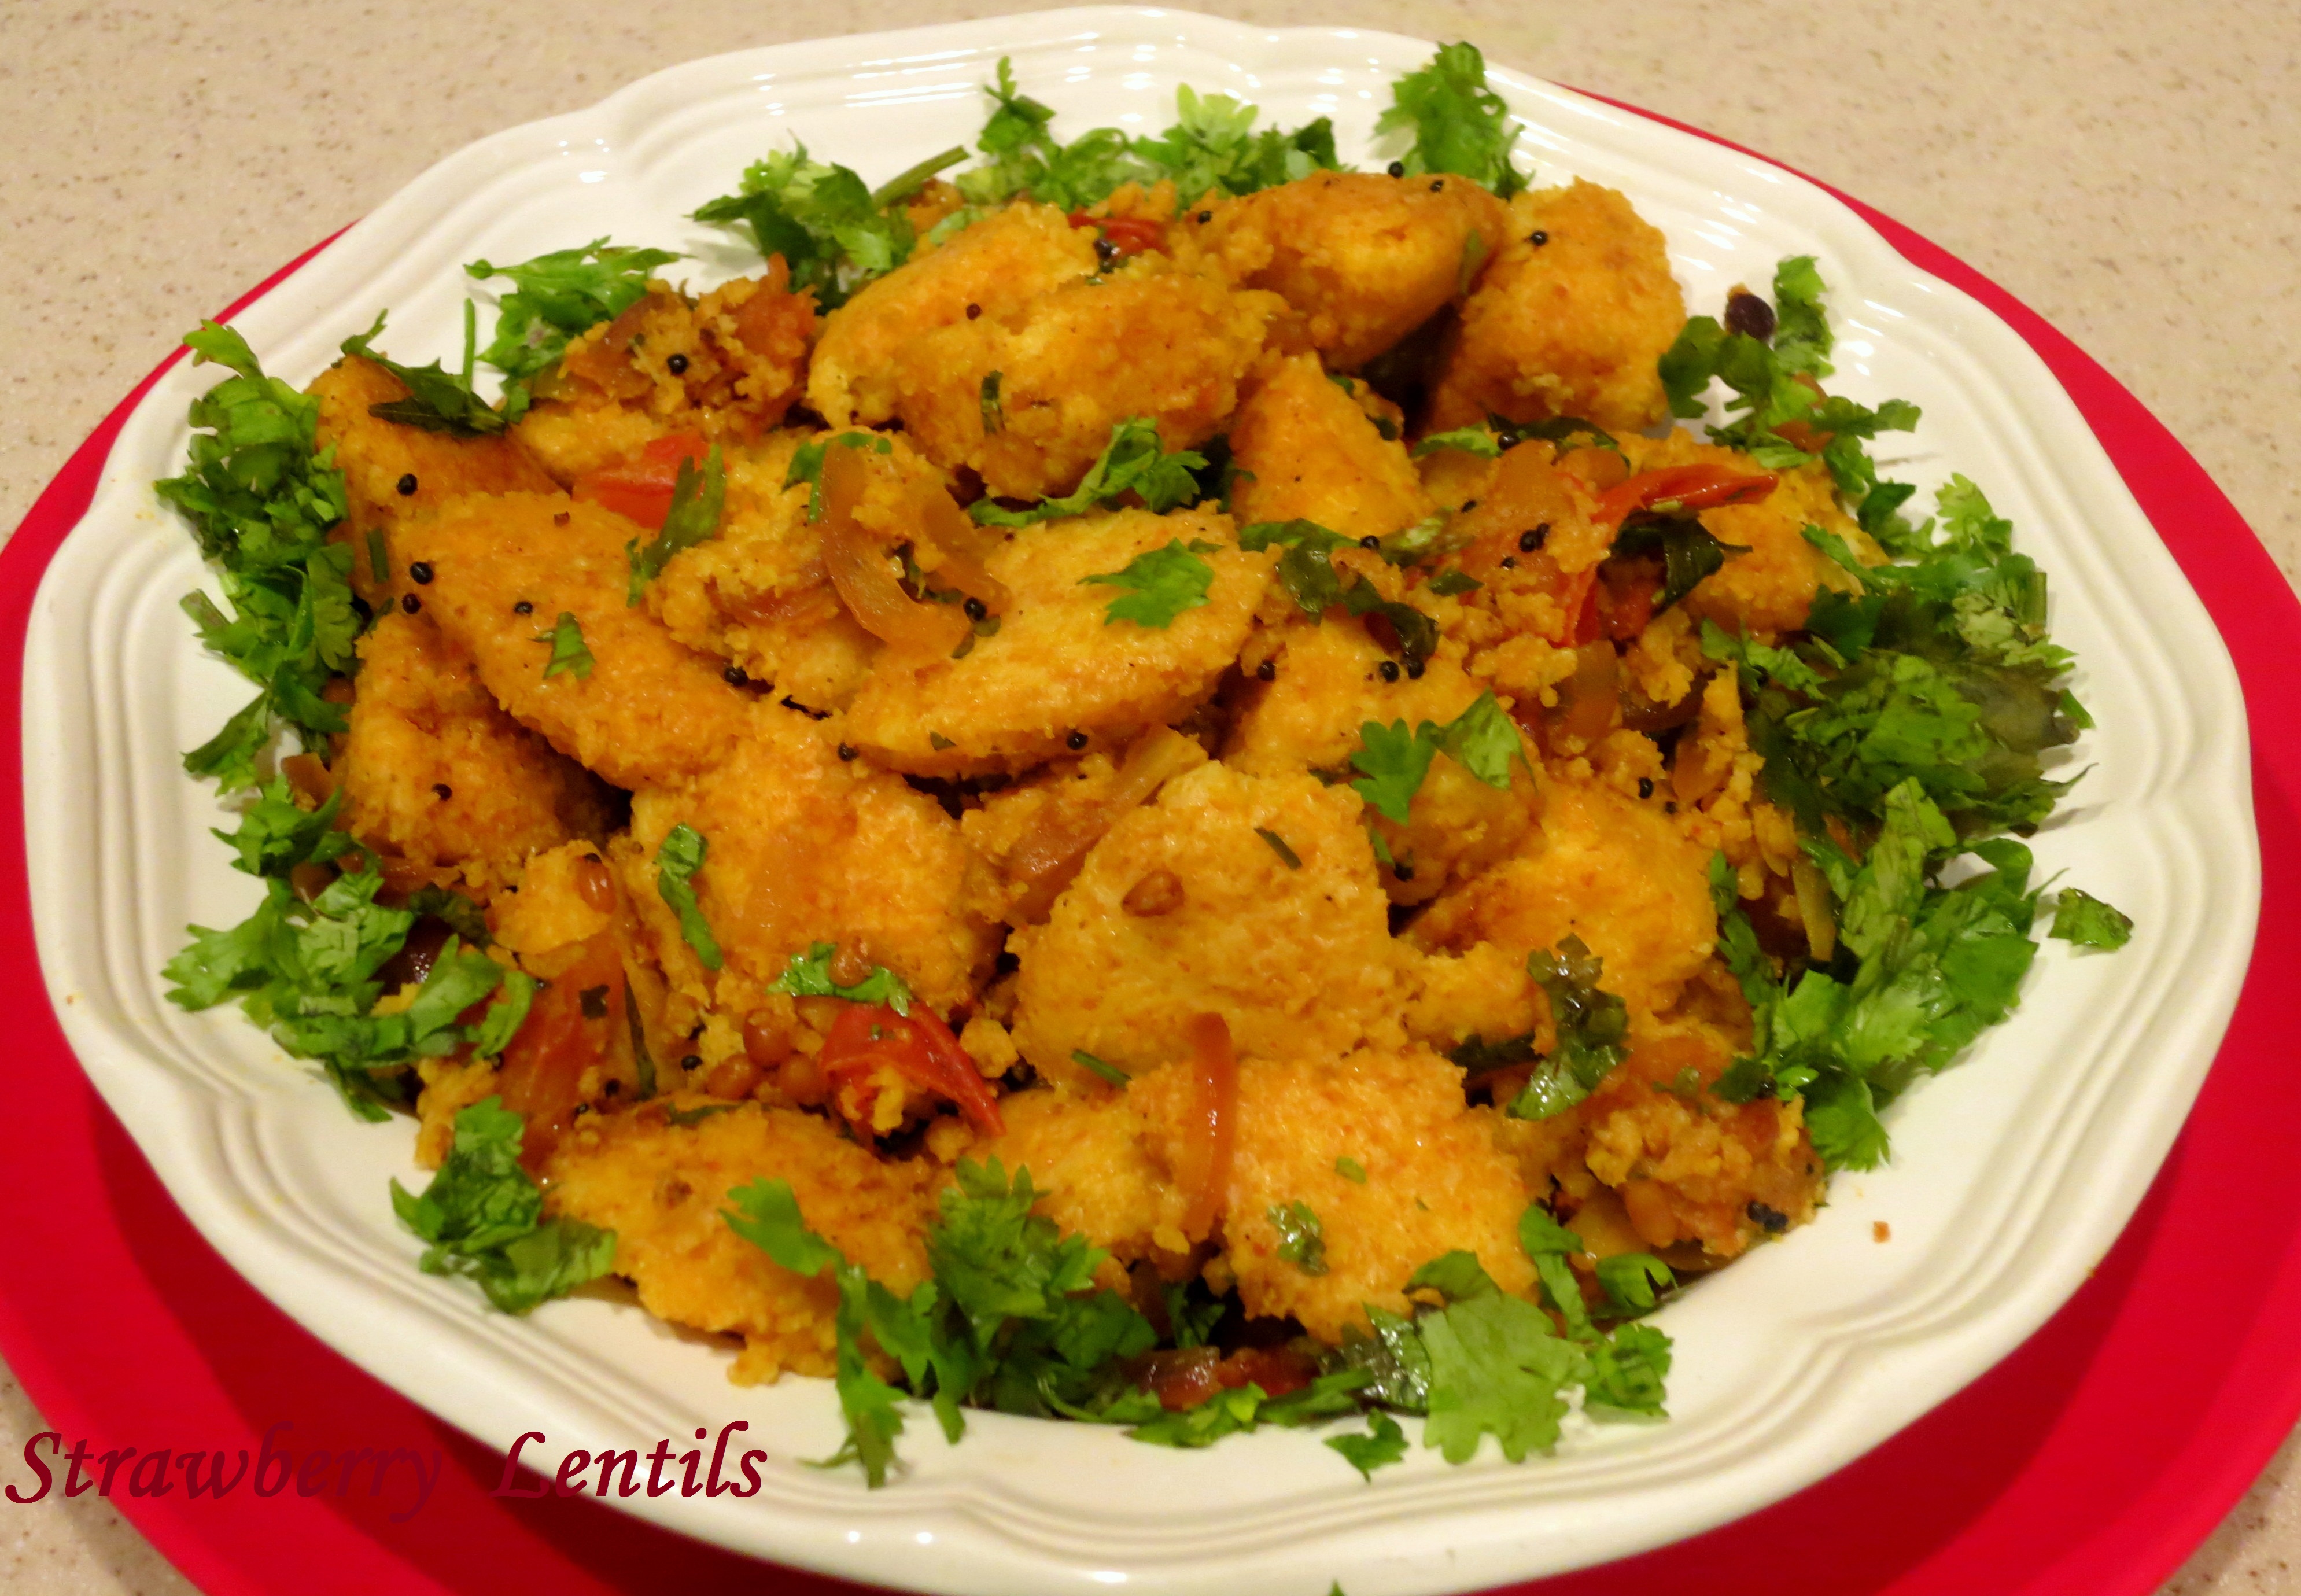
This goes extremely well with rice or naan. It is a flavor packed dish, so just this and rice makes a sumptuous meal.

Related articles
- Day 3: Chicken Vindaloo and Hello To You Too! (liliandroses.wordpress.com)
- Pork Vindaloo (thebittenword.com)