Wonton Samosas (Spicy vegetable samosa)


Image

Here is an easy ‘shortcut’ recipe for the national snack of India. I am a big time samosa fan , right from school days. Hot samosas, freshly delivered to the school tuck shop at 4 p.m. every day..yummmmmm….Along with homeworks, record note books and tests, it was also a daily chore to make sure I had 65 paisa with me to buy samosa 🙂

The fillings are made different in different places. I am a little disappointed that most samosas available these days in the grocery stores and restaurants are the standard potato and peas samosas. While I love any filling, I crave for the spicy and crunchy onion and cabbage filling as we get in my hometown in India.

With rainy evenings forecast  fora week (NJ) , sounds like the perfect time to enjoy these samosas with a hot cup of tea 🙂

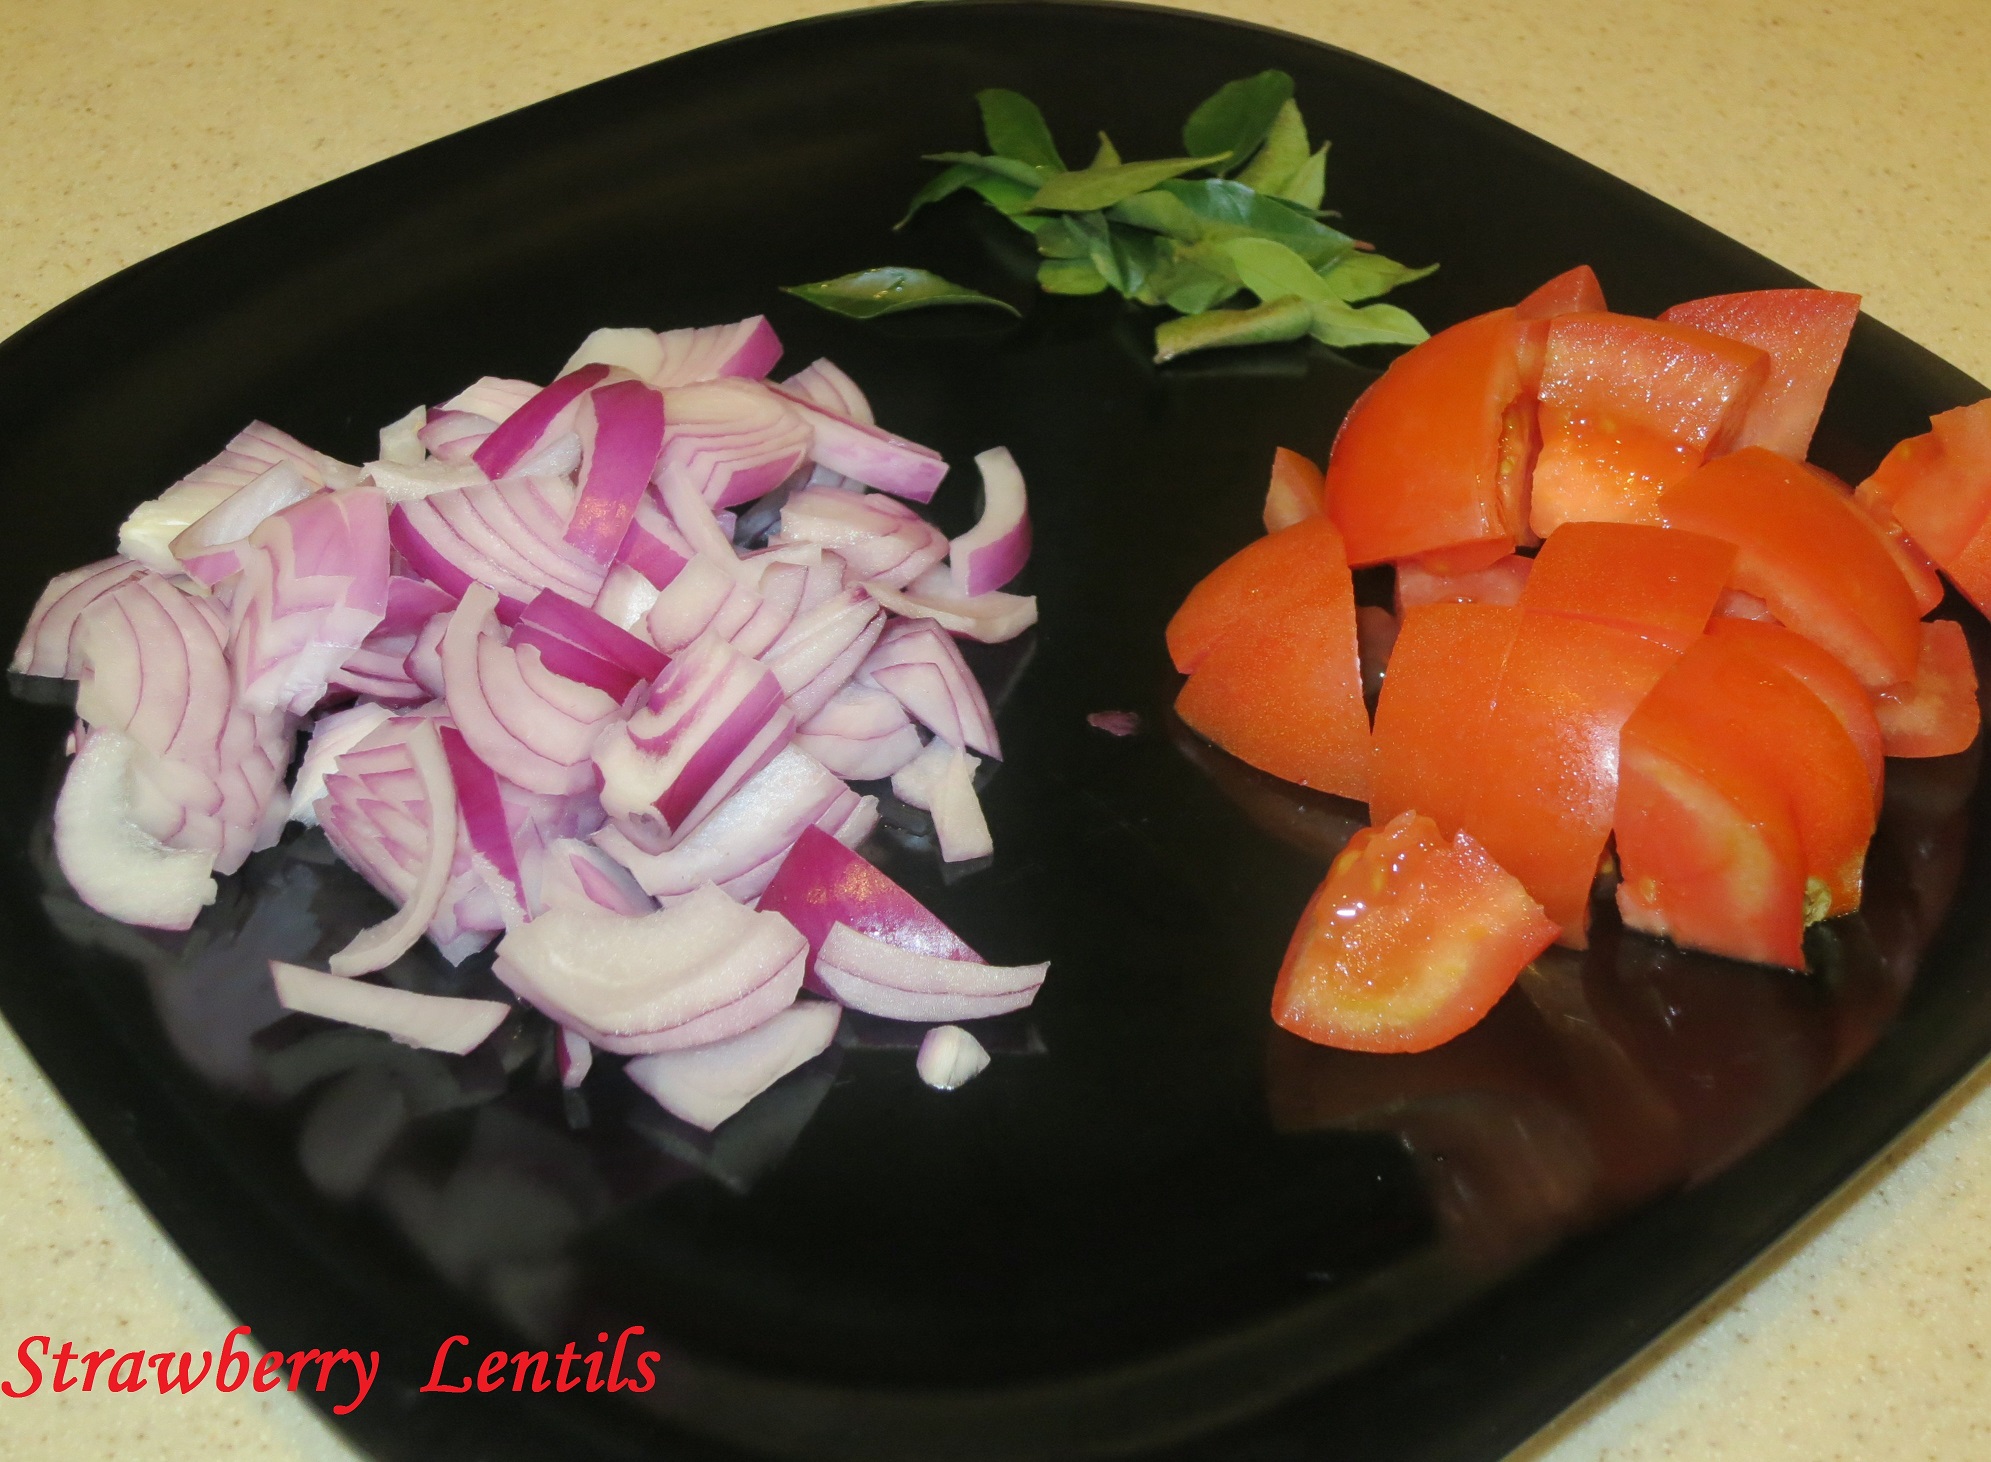
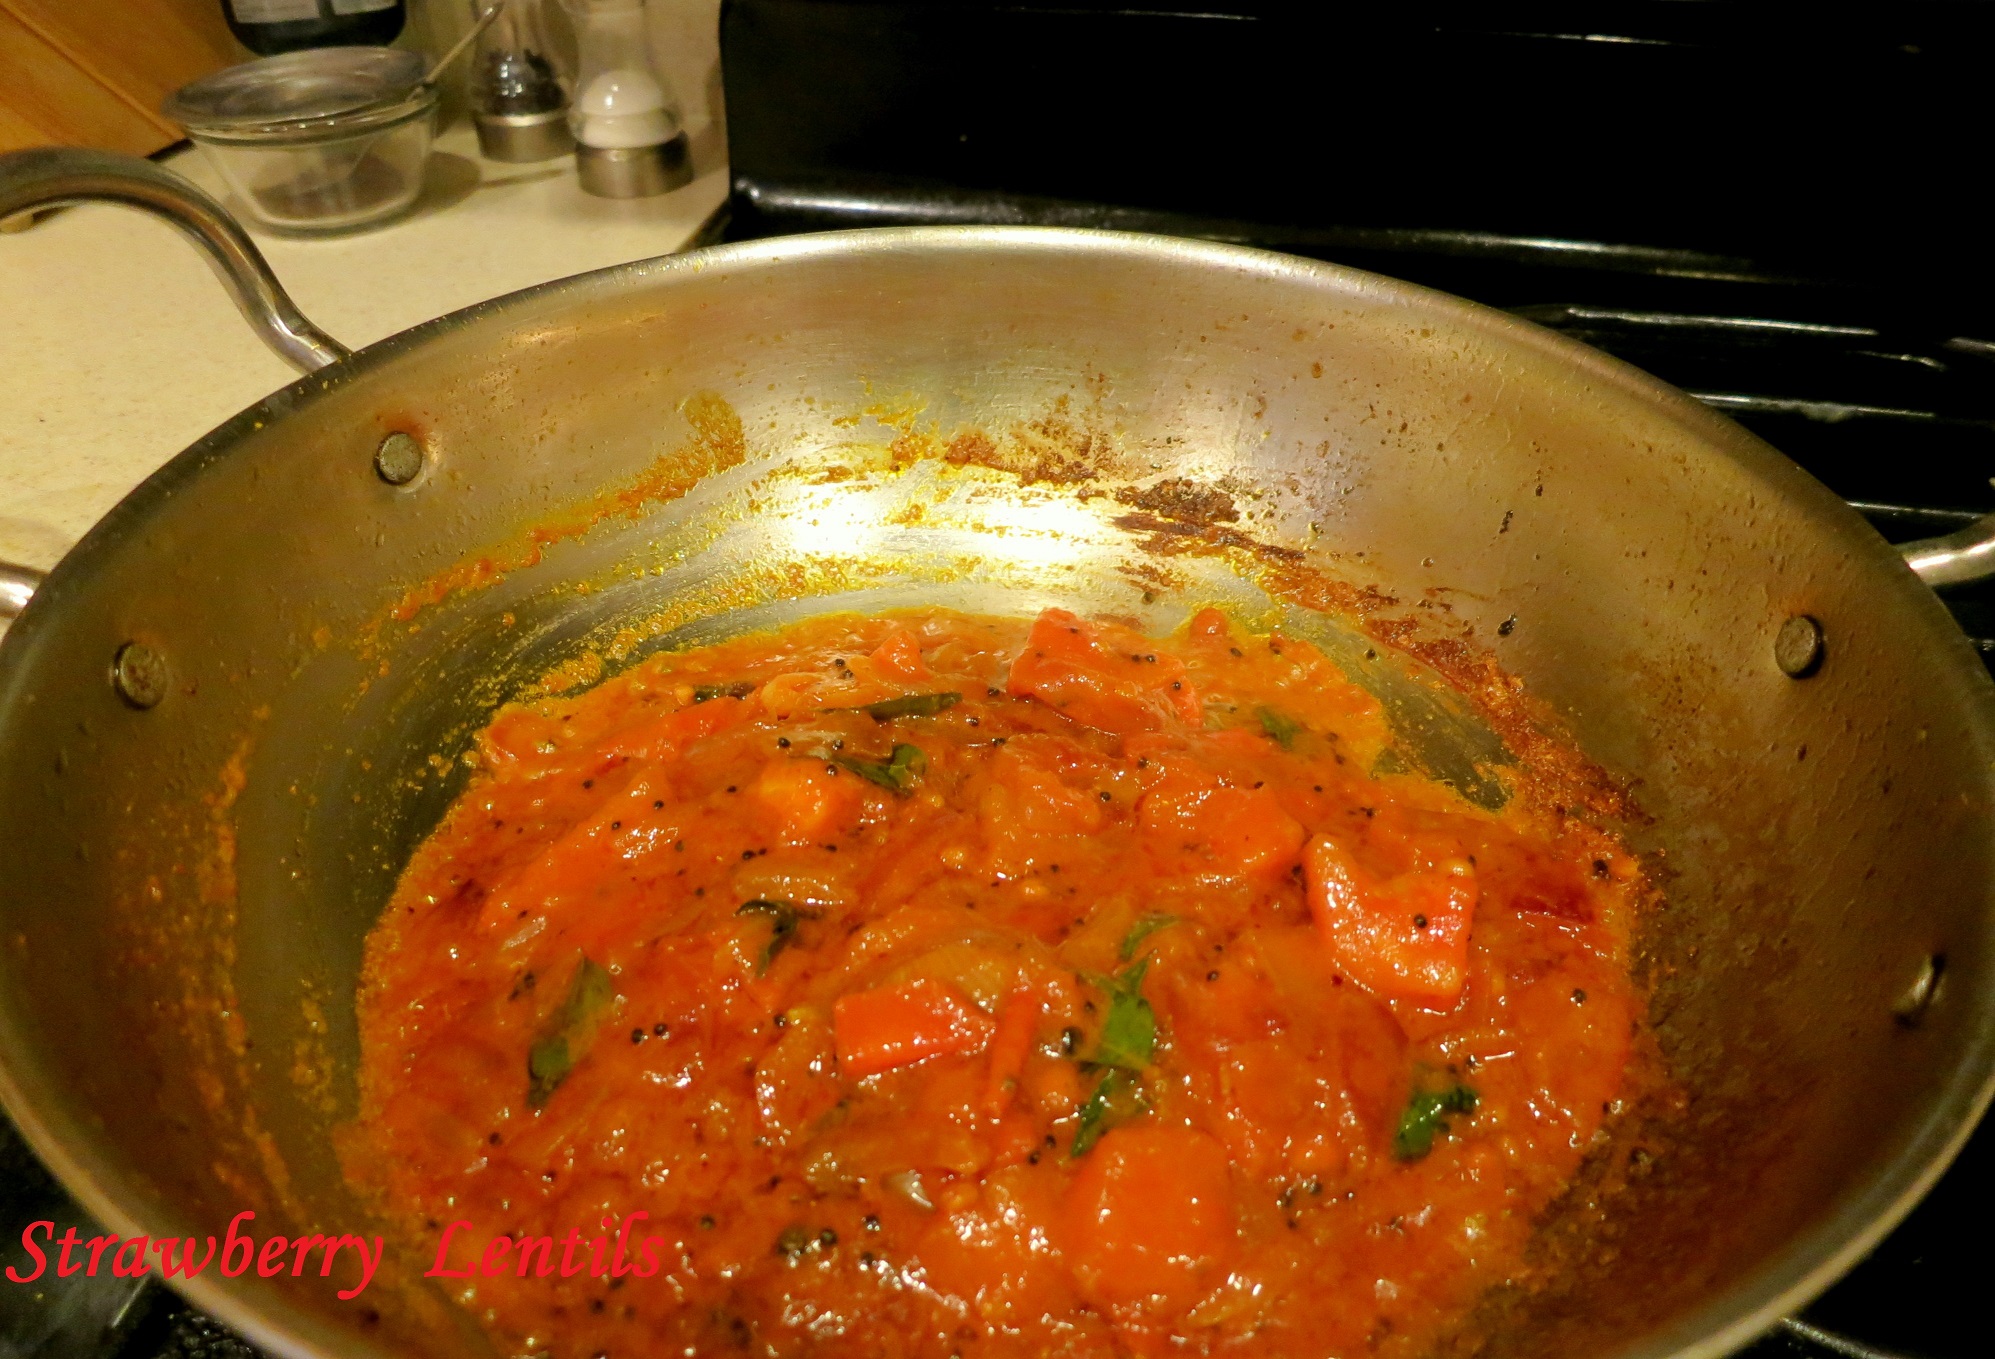
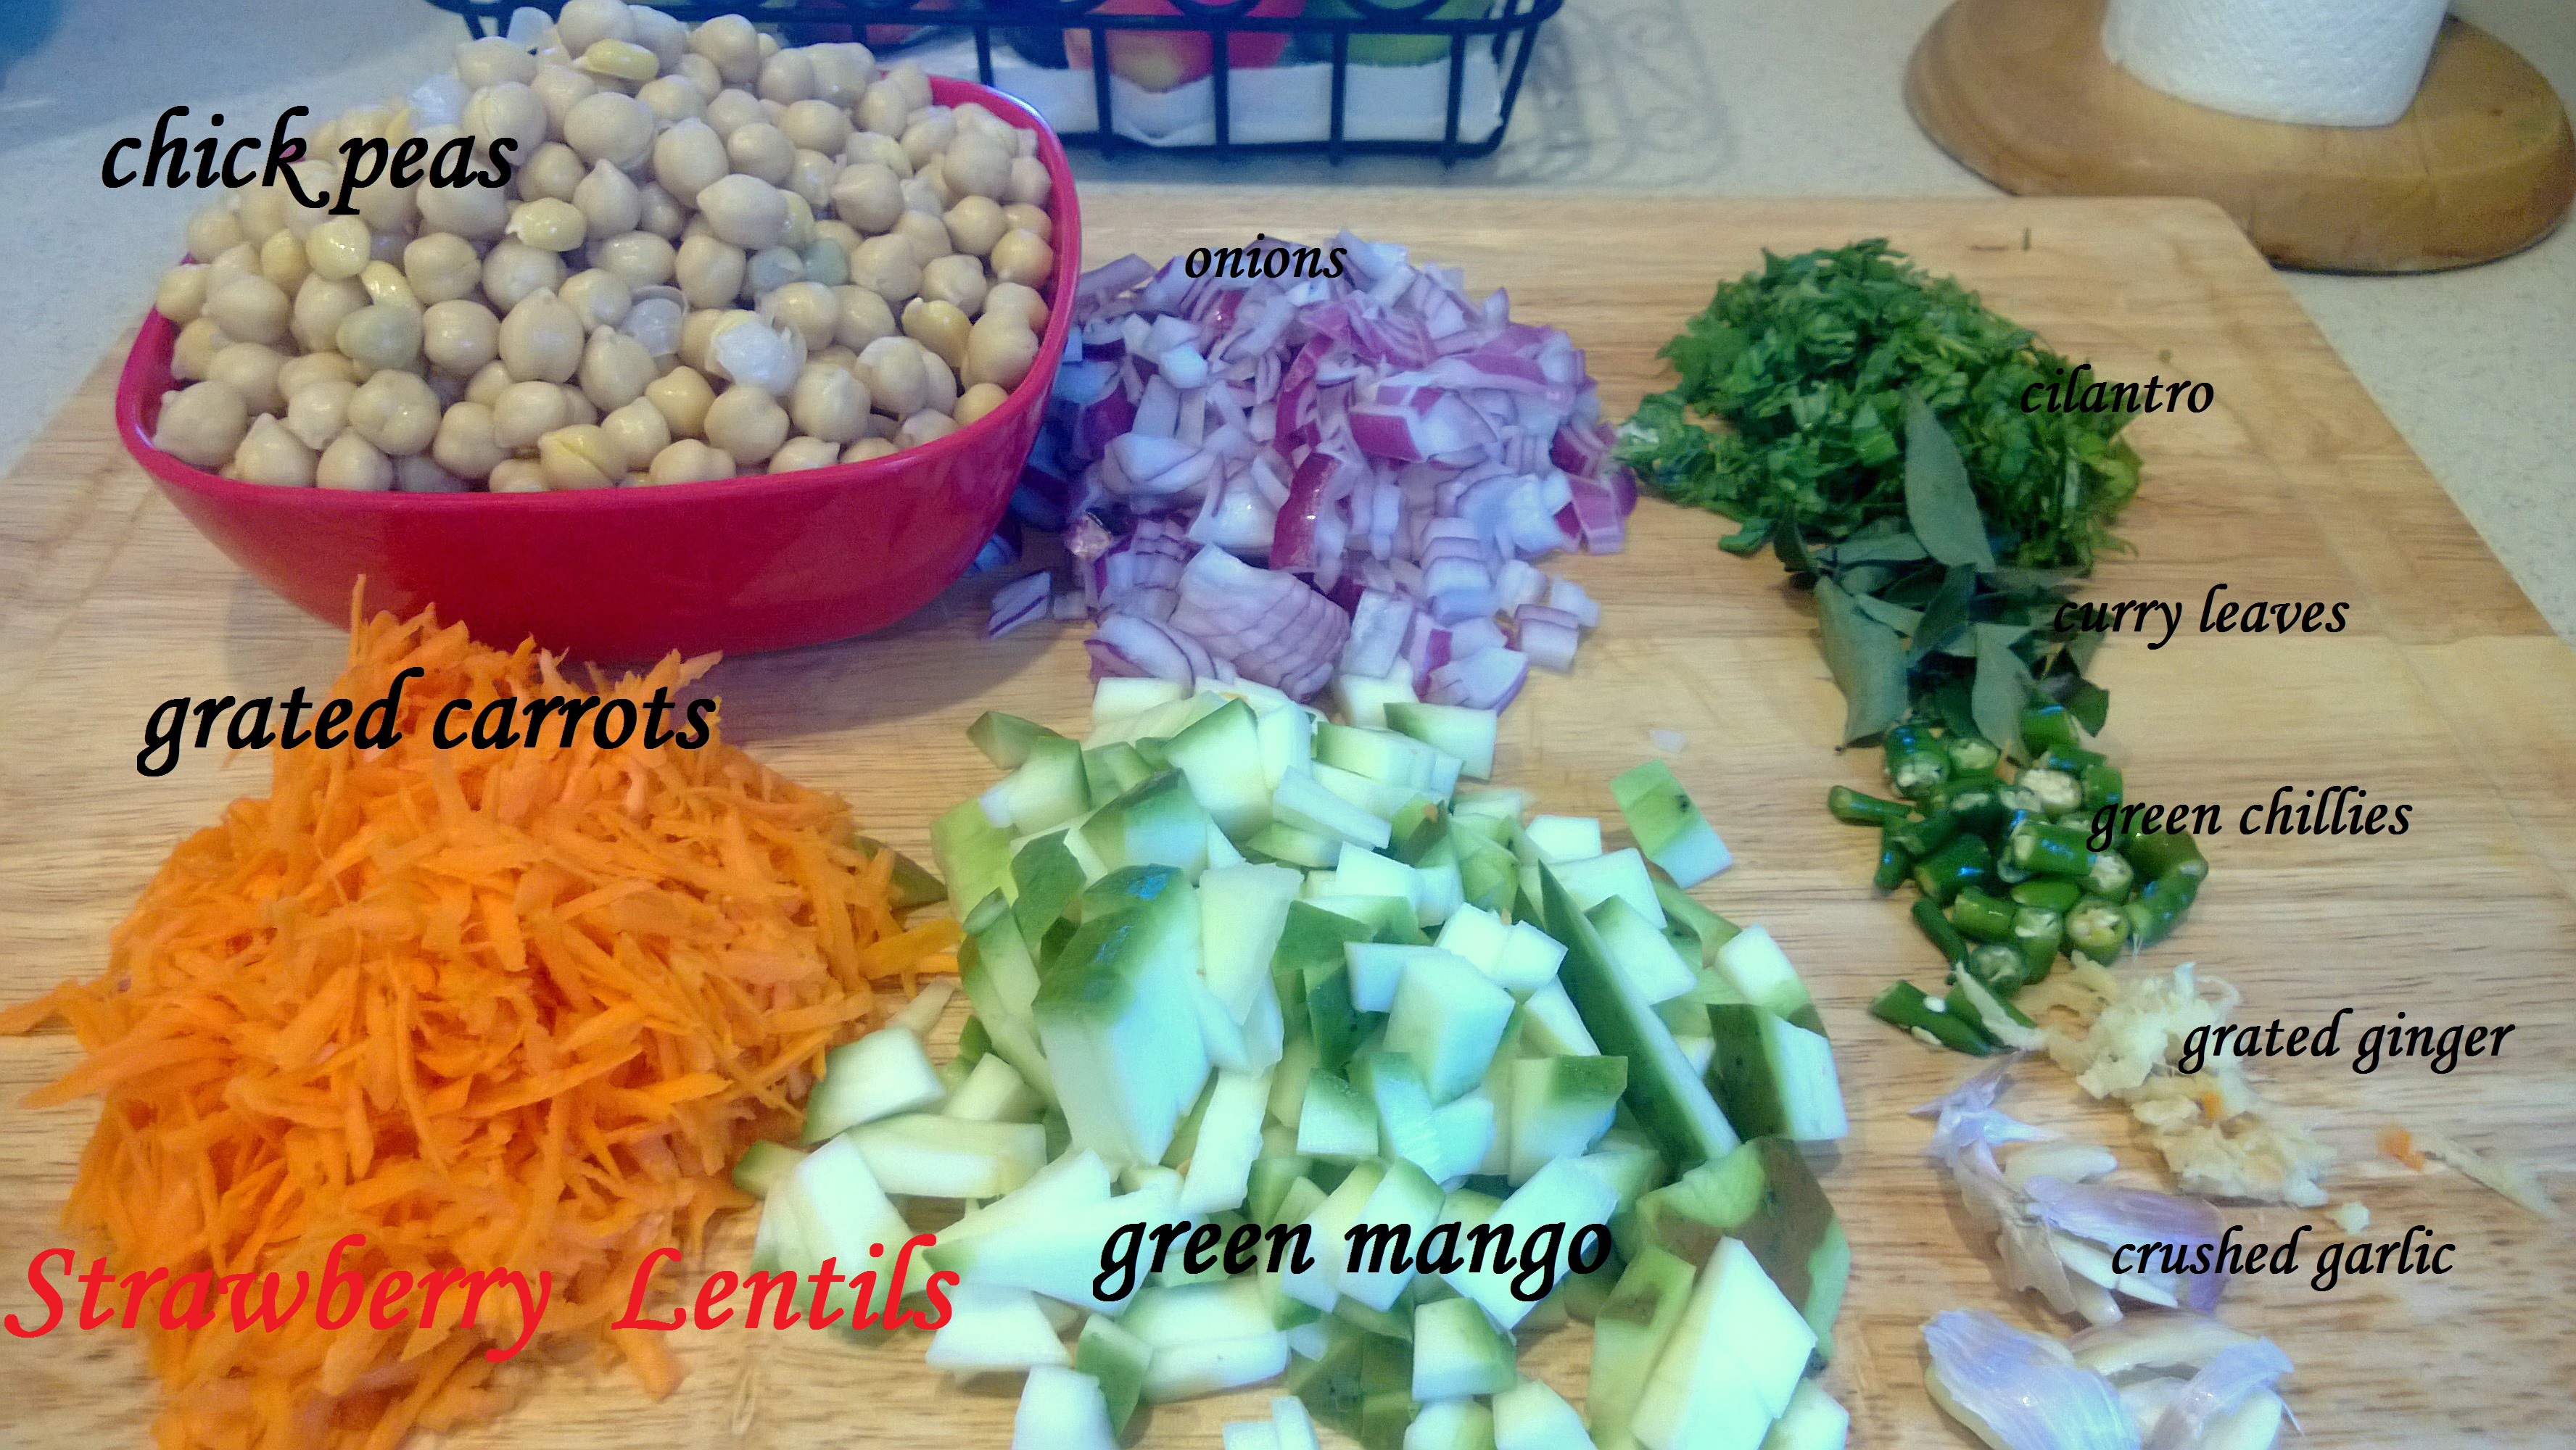
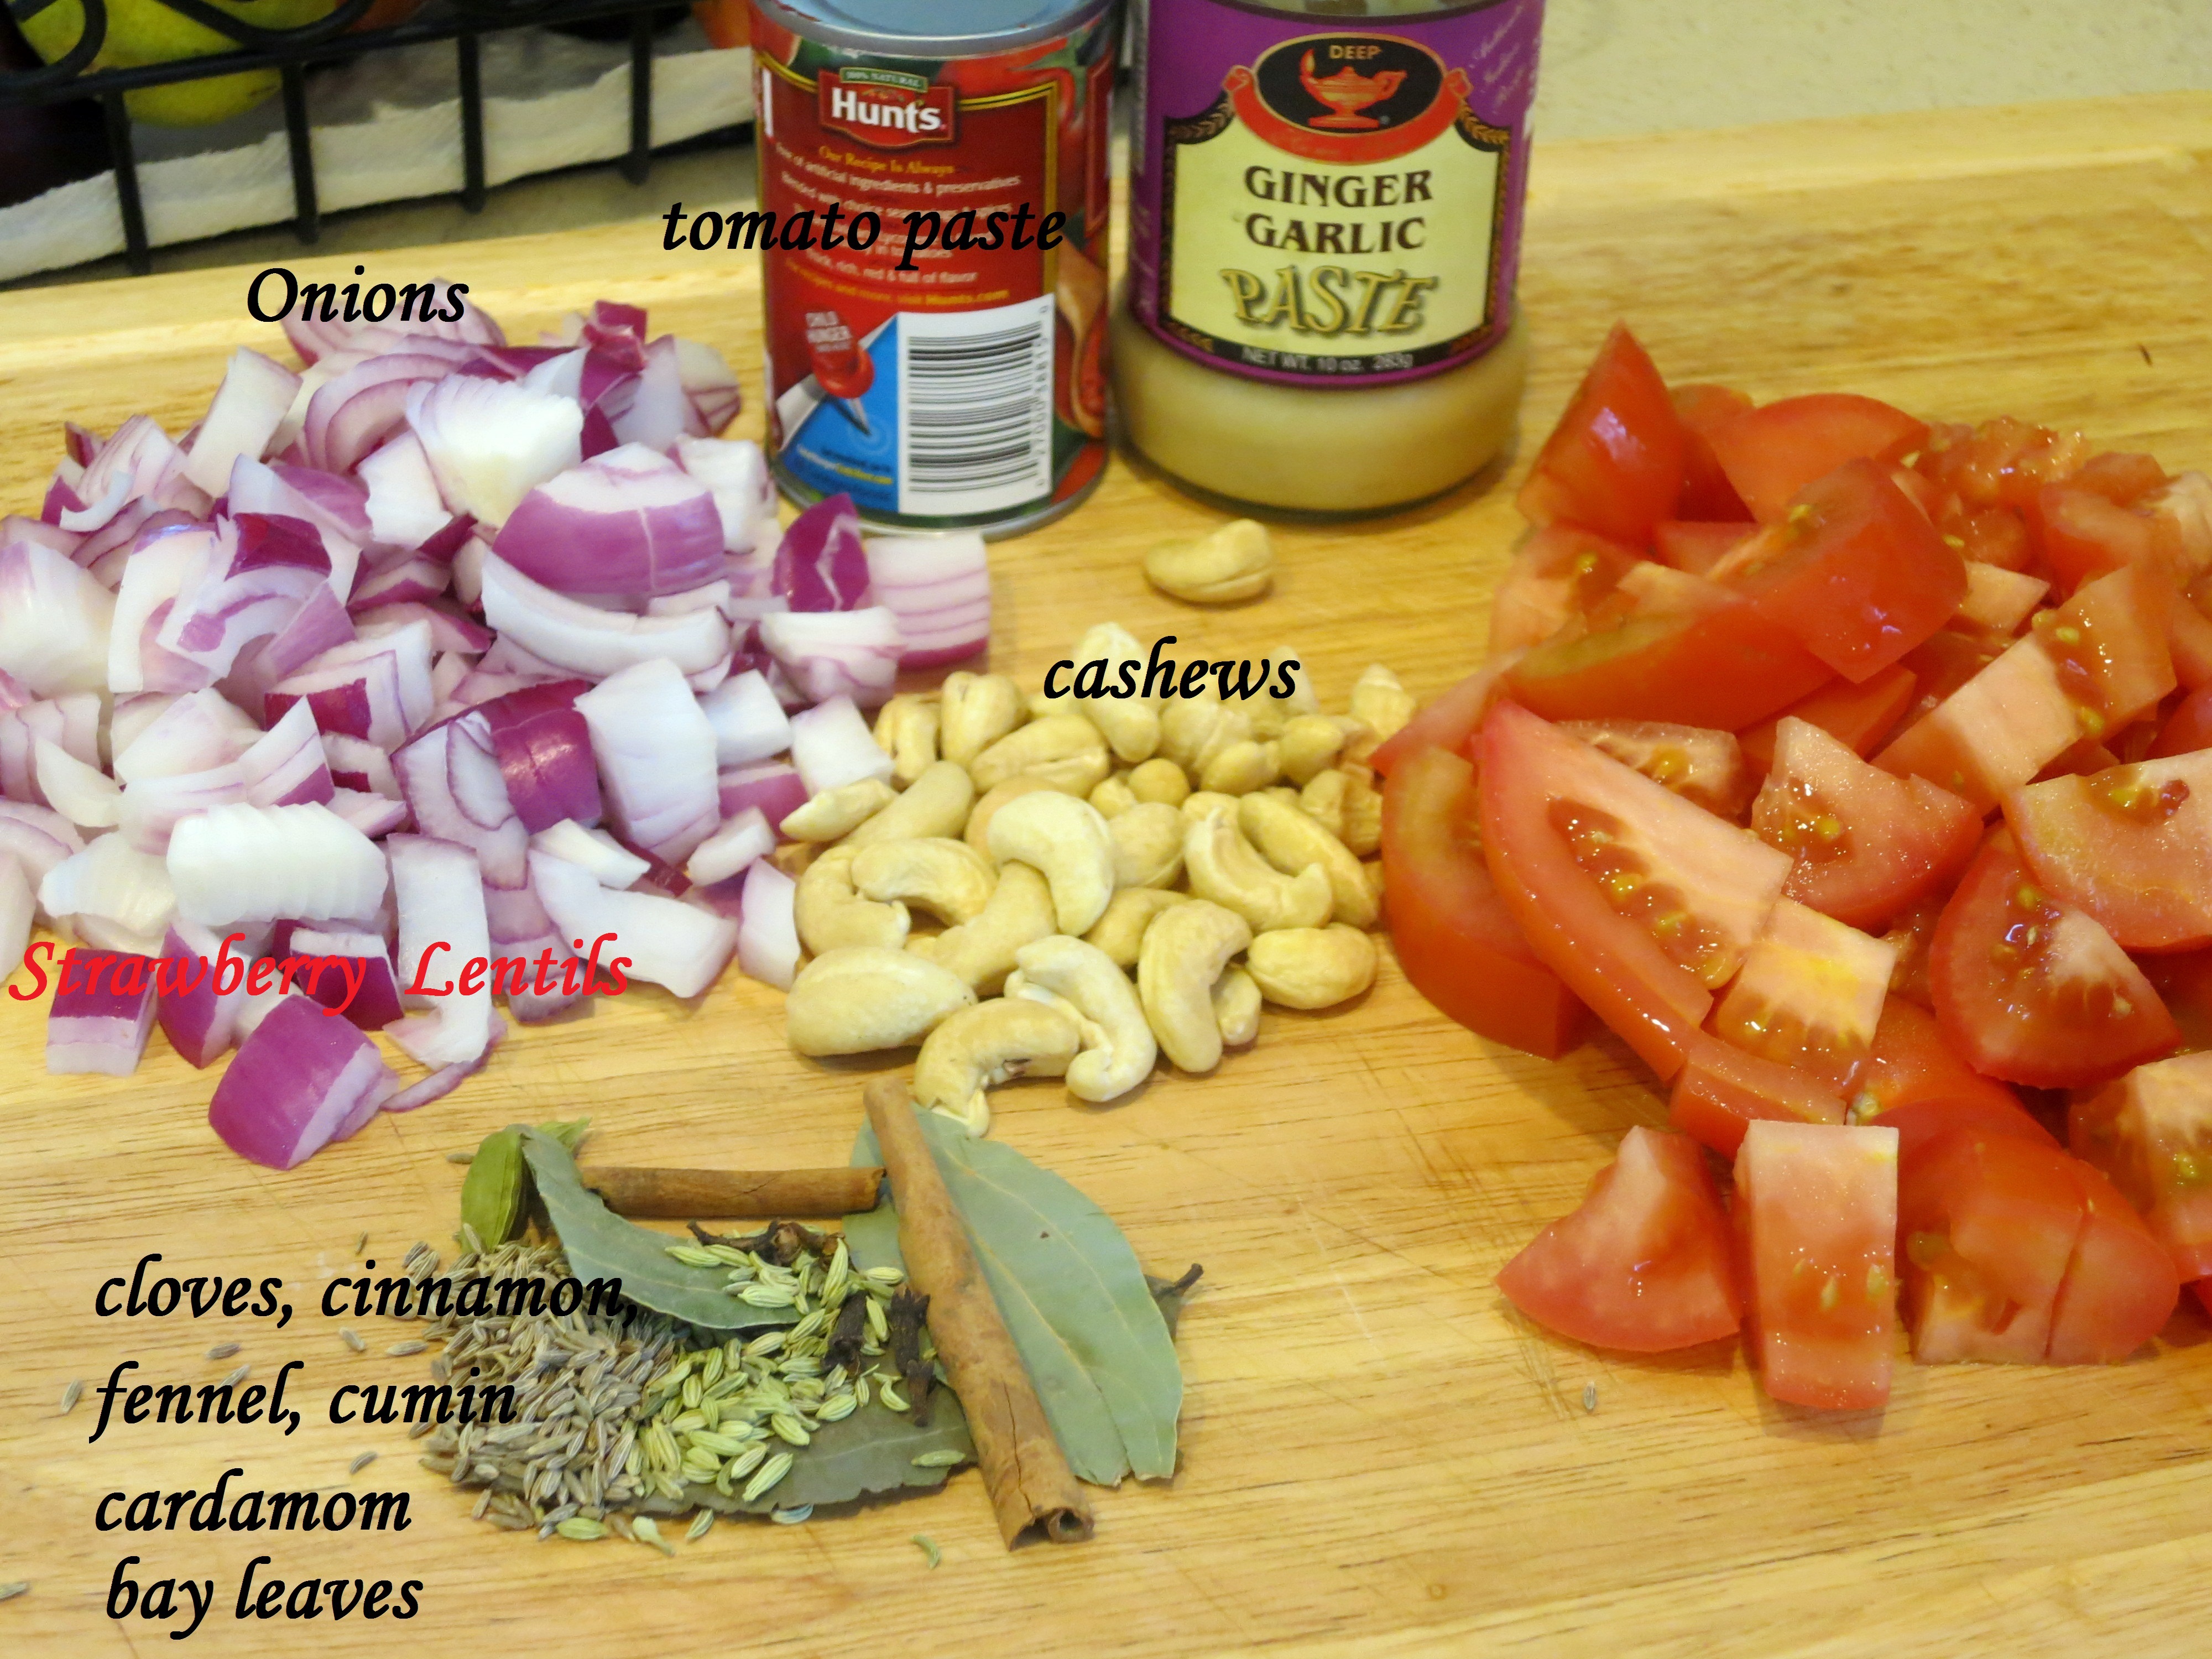
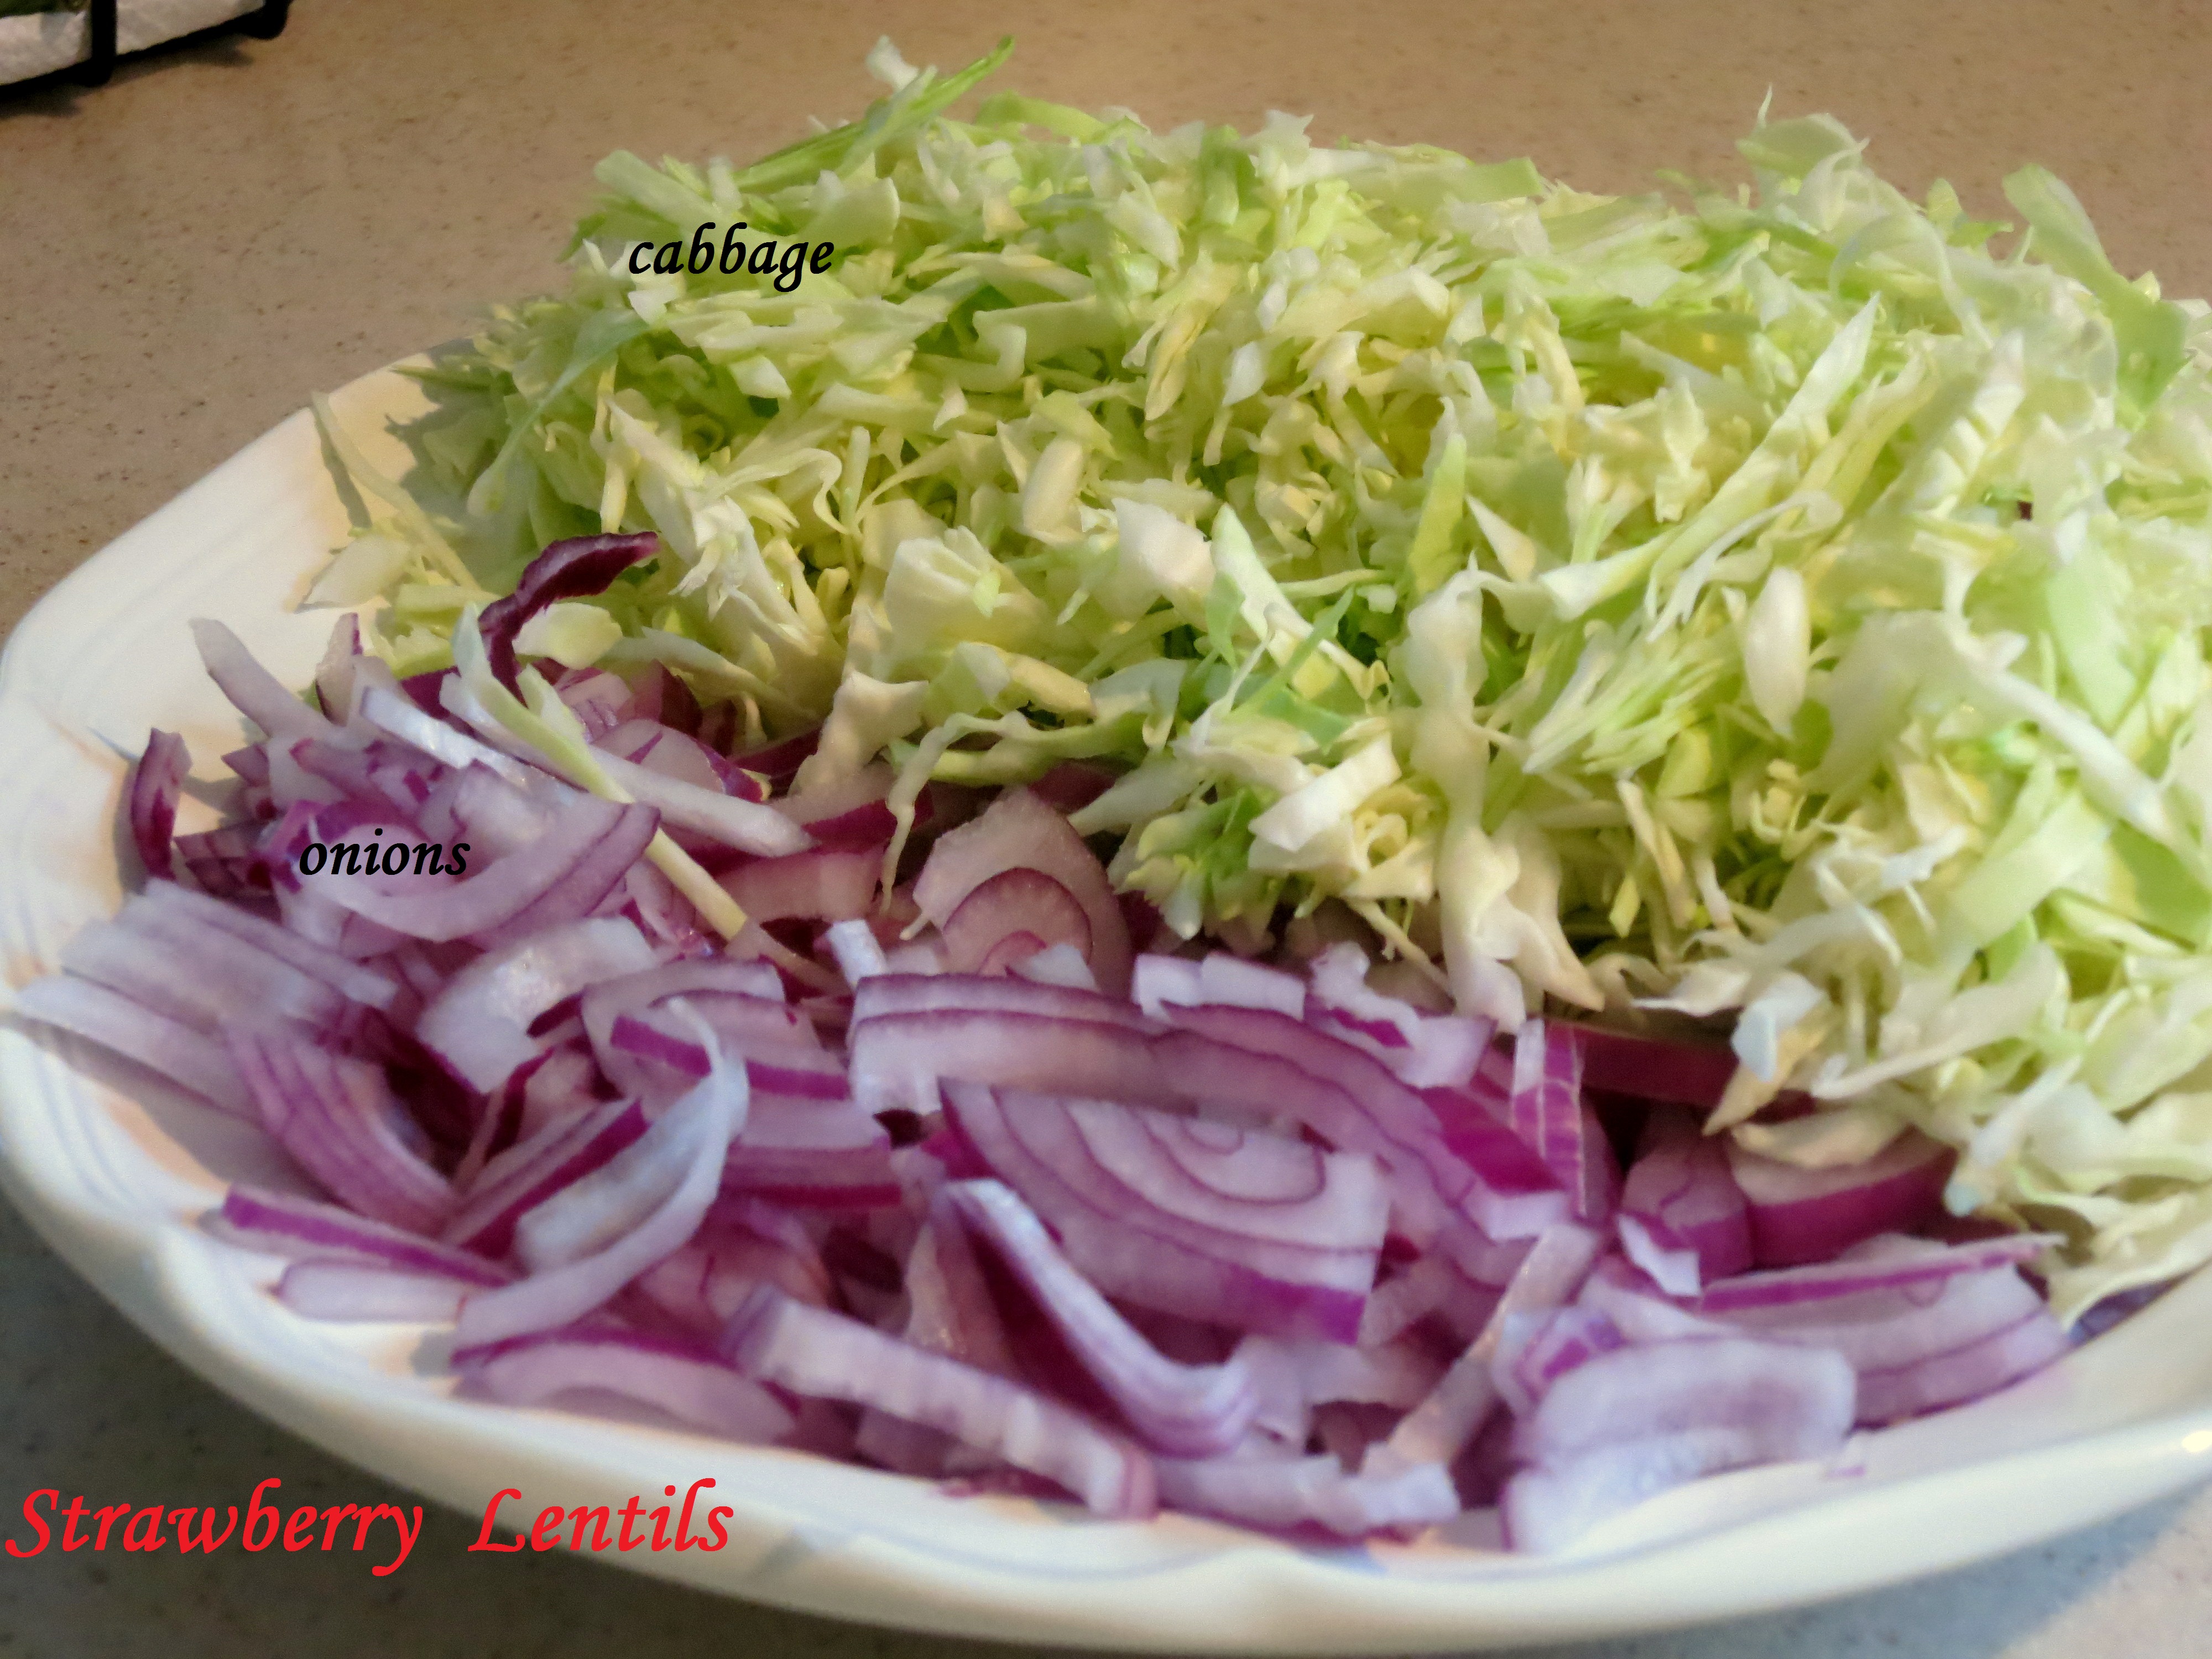
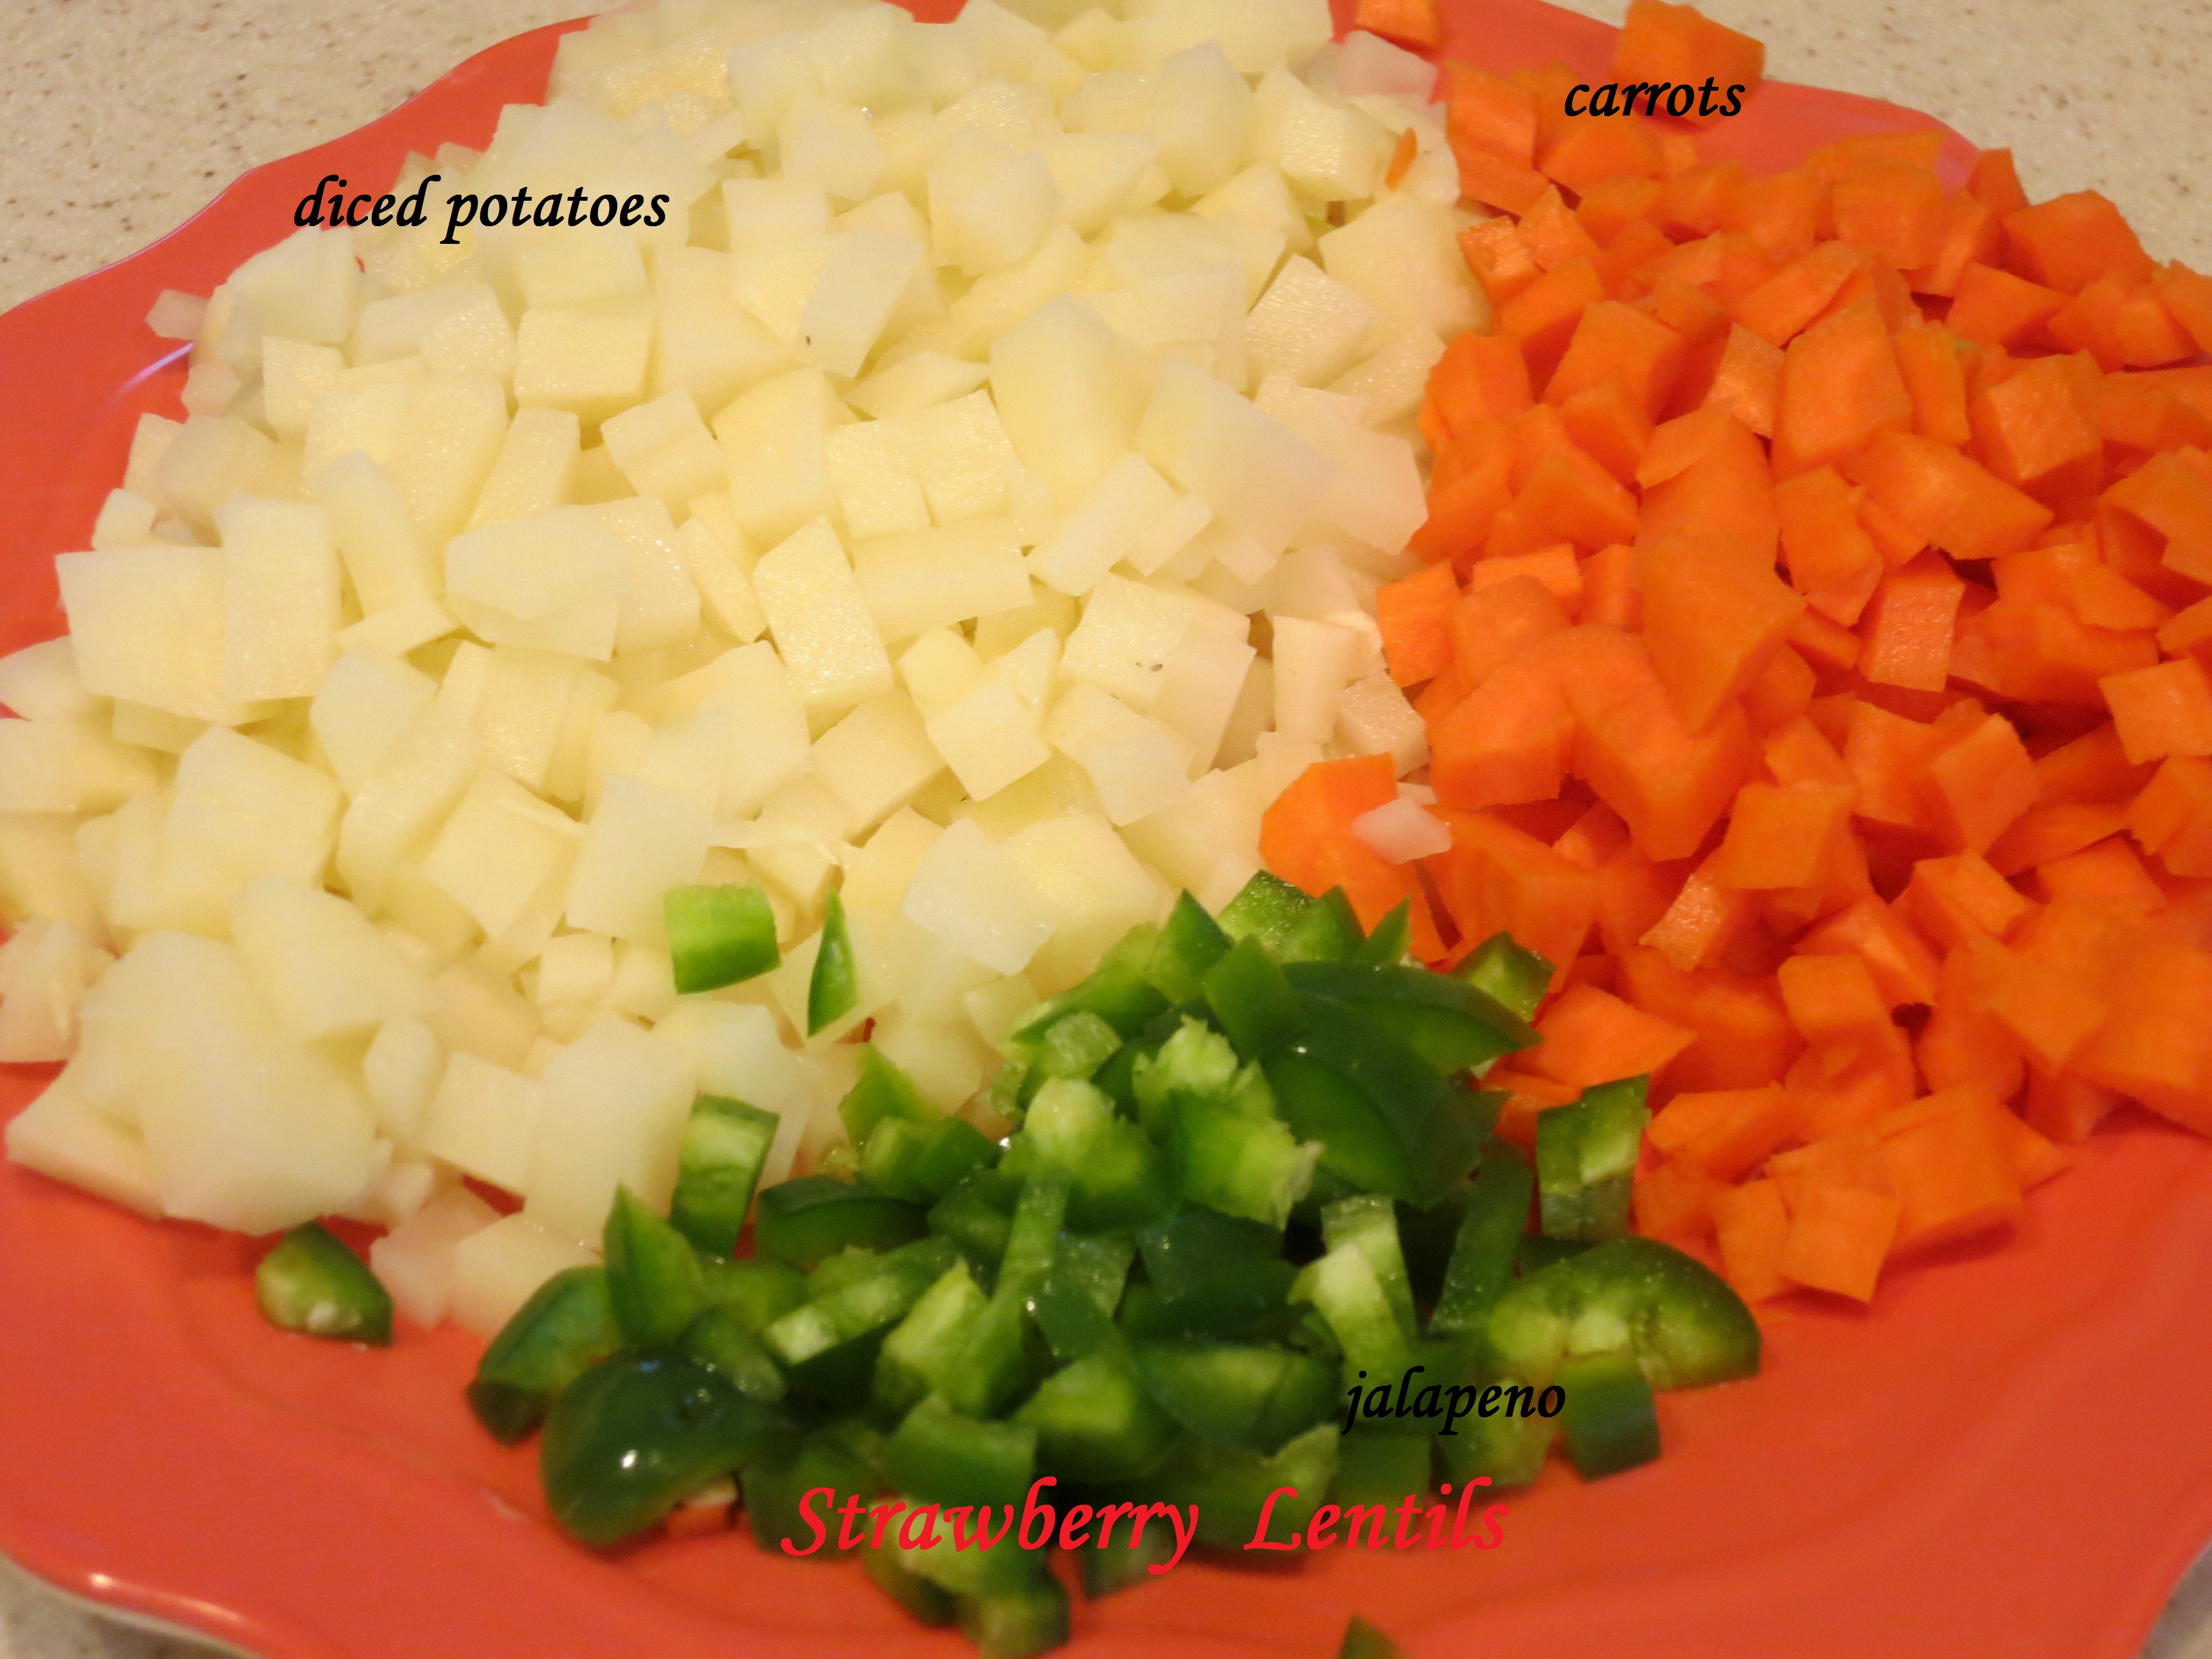
  • First step is to make the filling. Slice the onions and cabbage thin and long.

Image

  • Also dice one potato and two carrots. I have one jalapeno (seeds removed) chopped for an extra kick.

Image

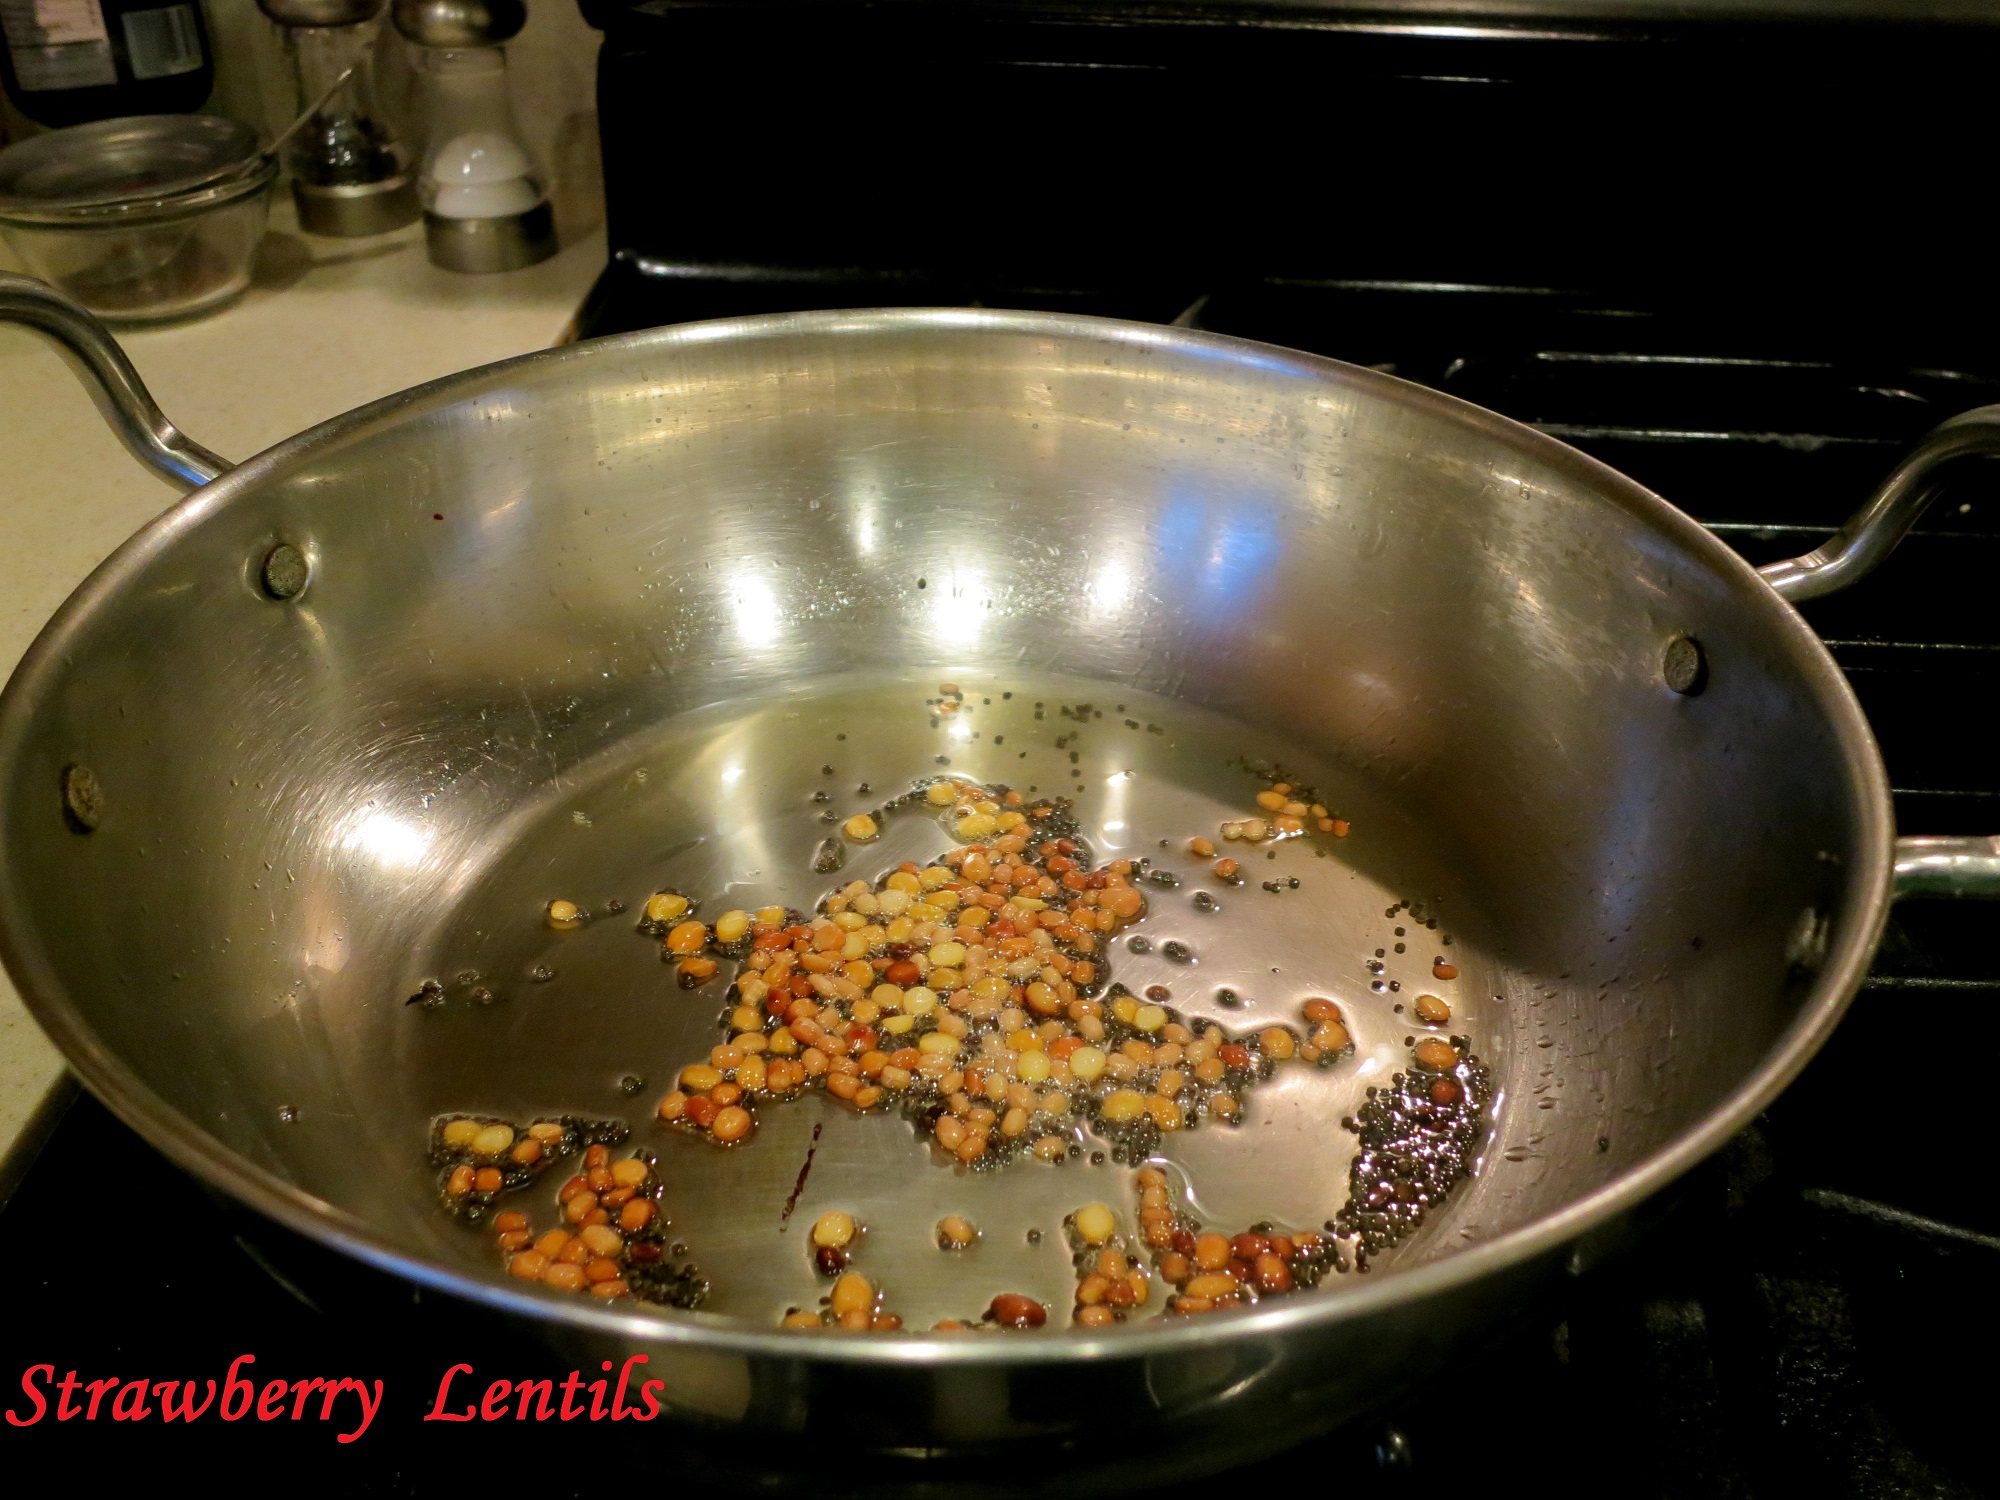
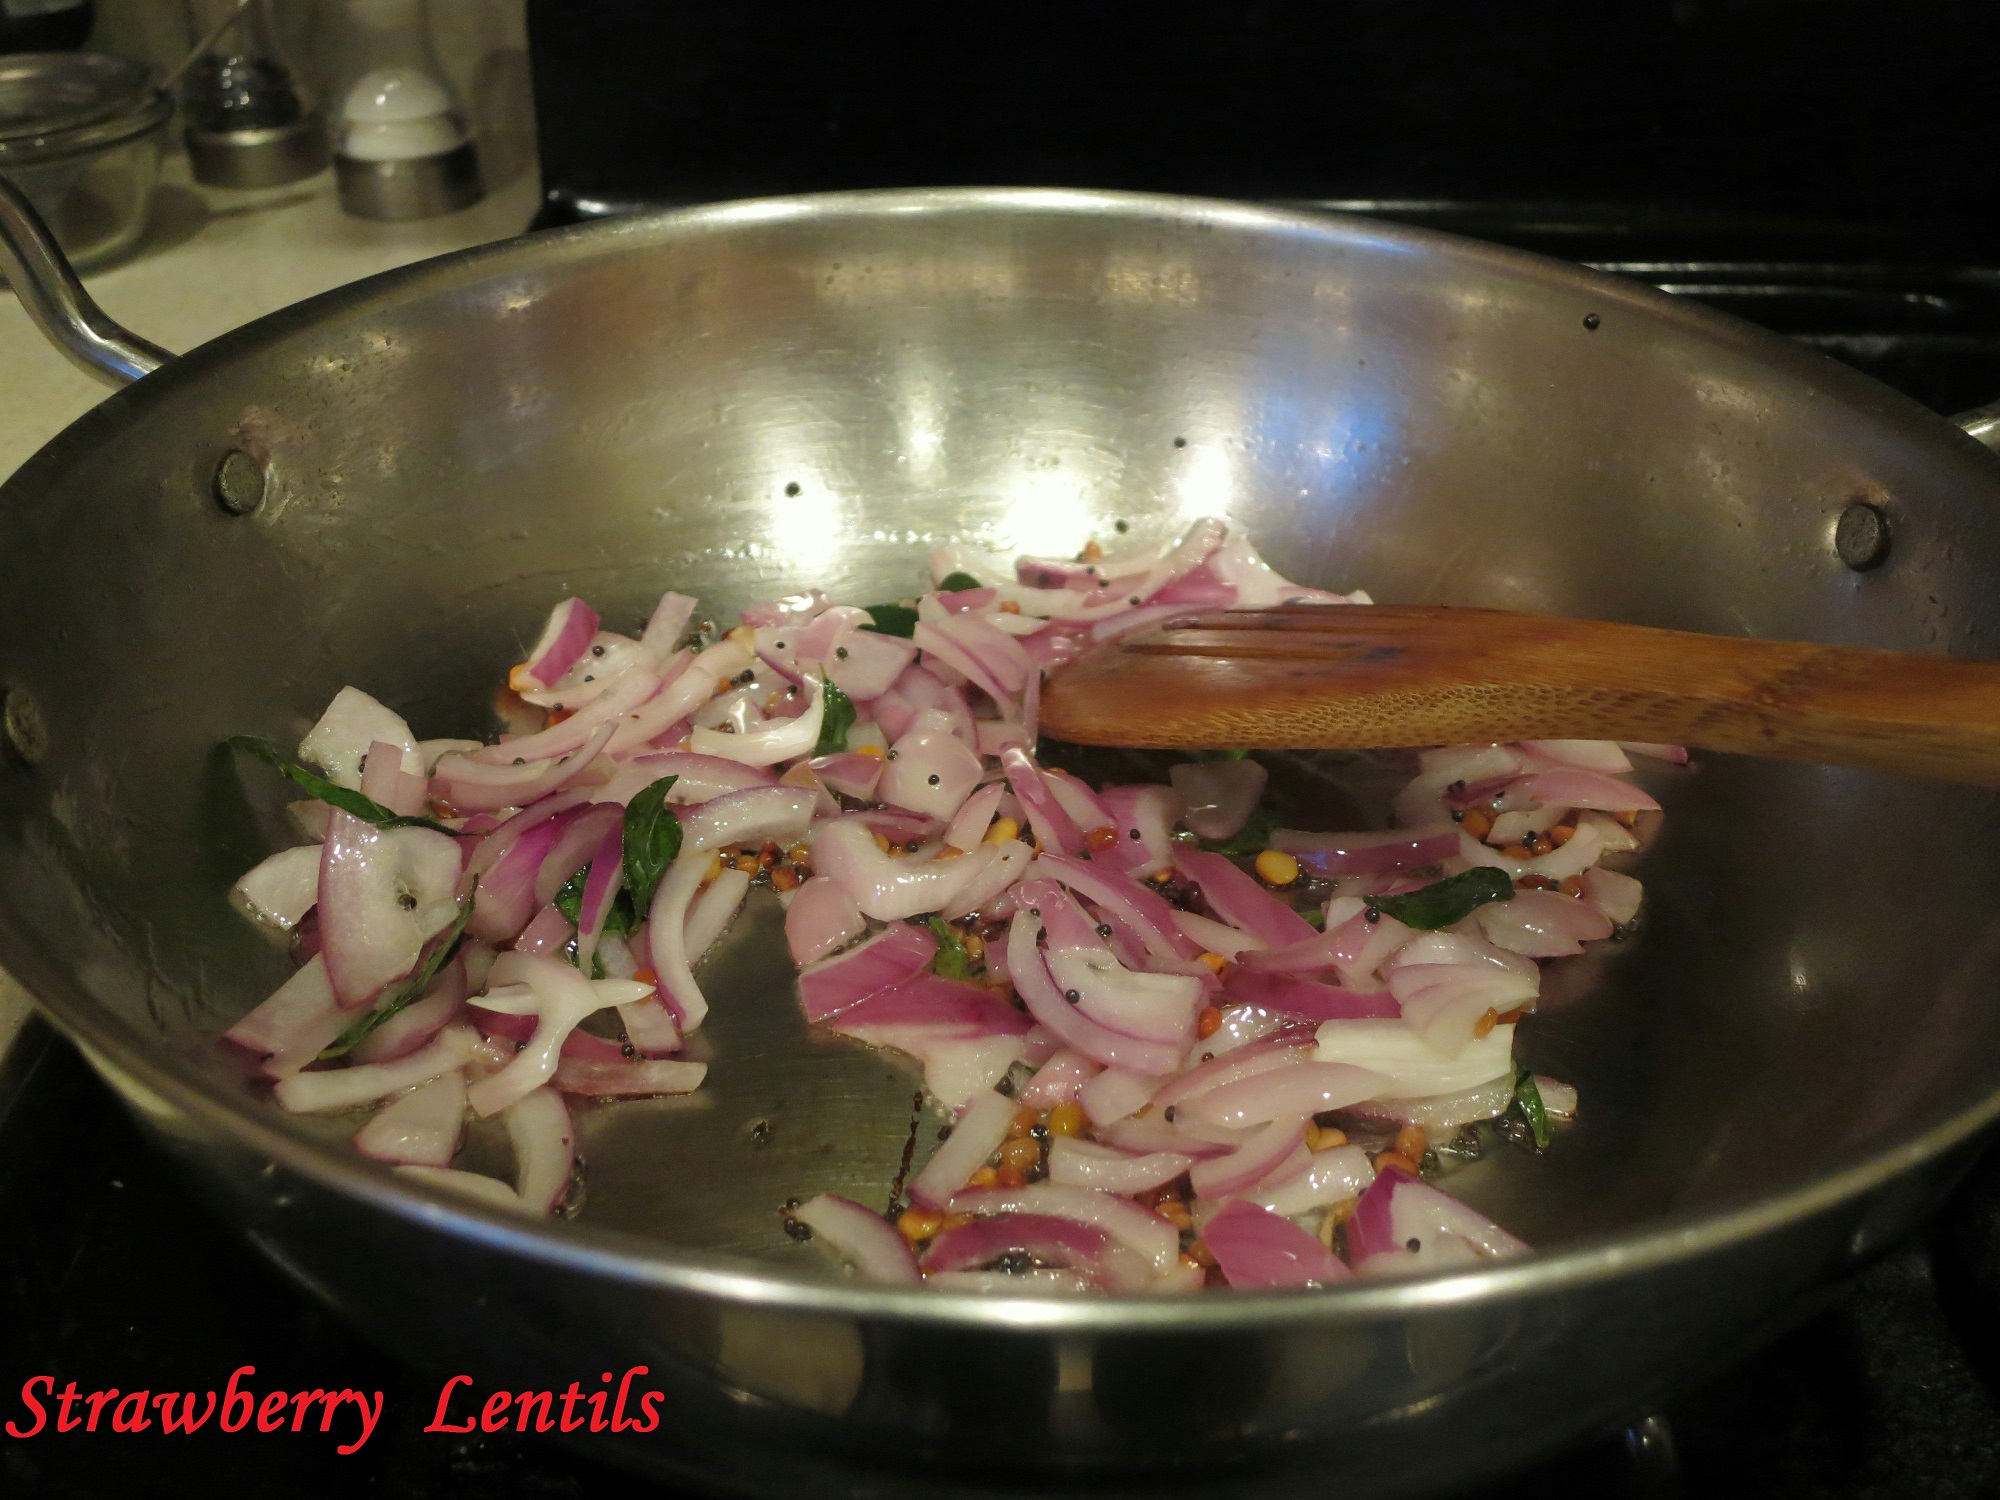
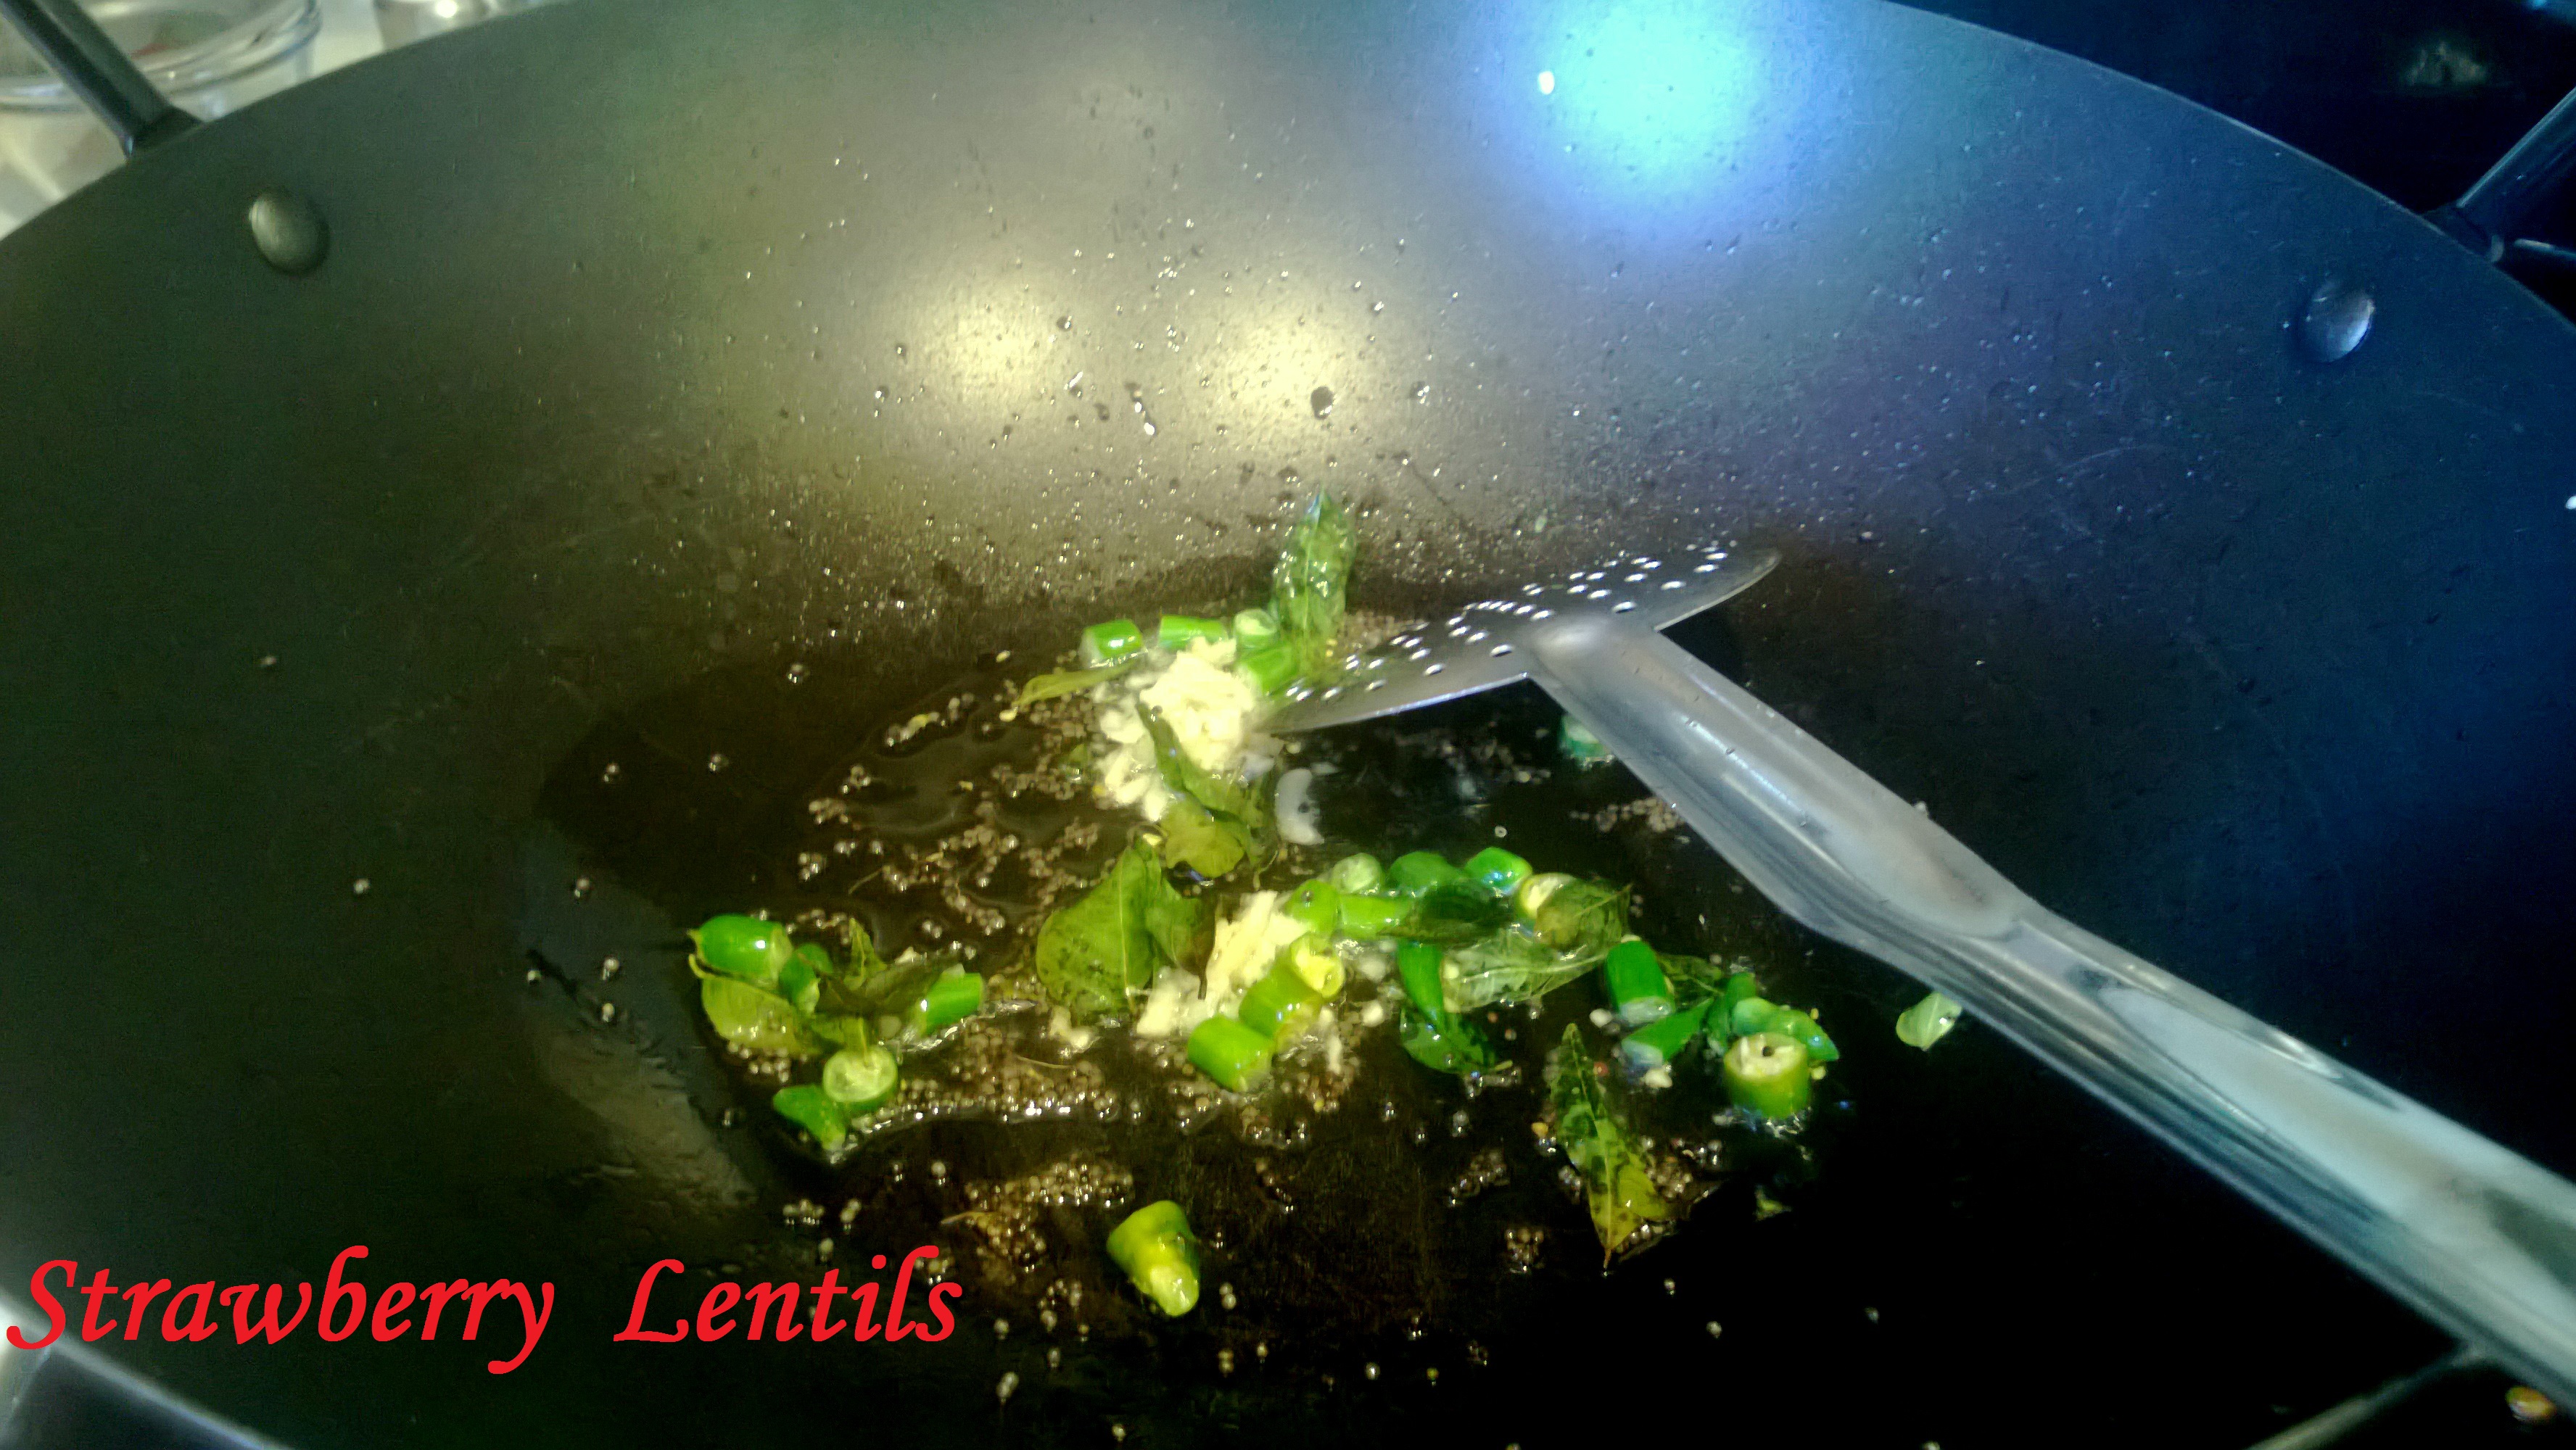
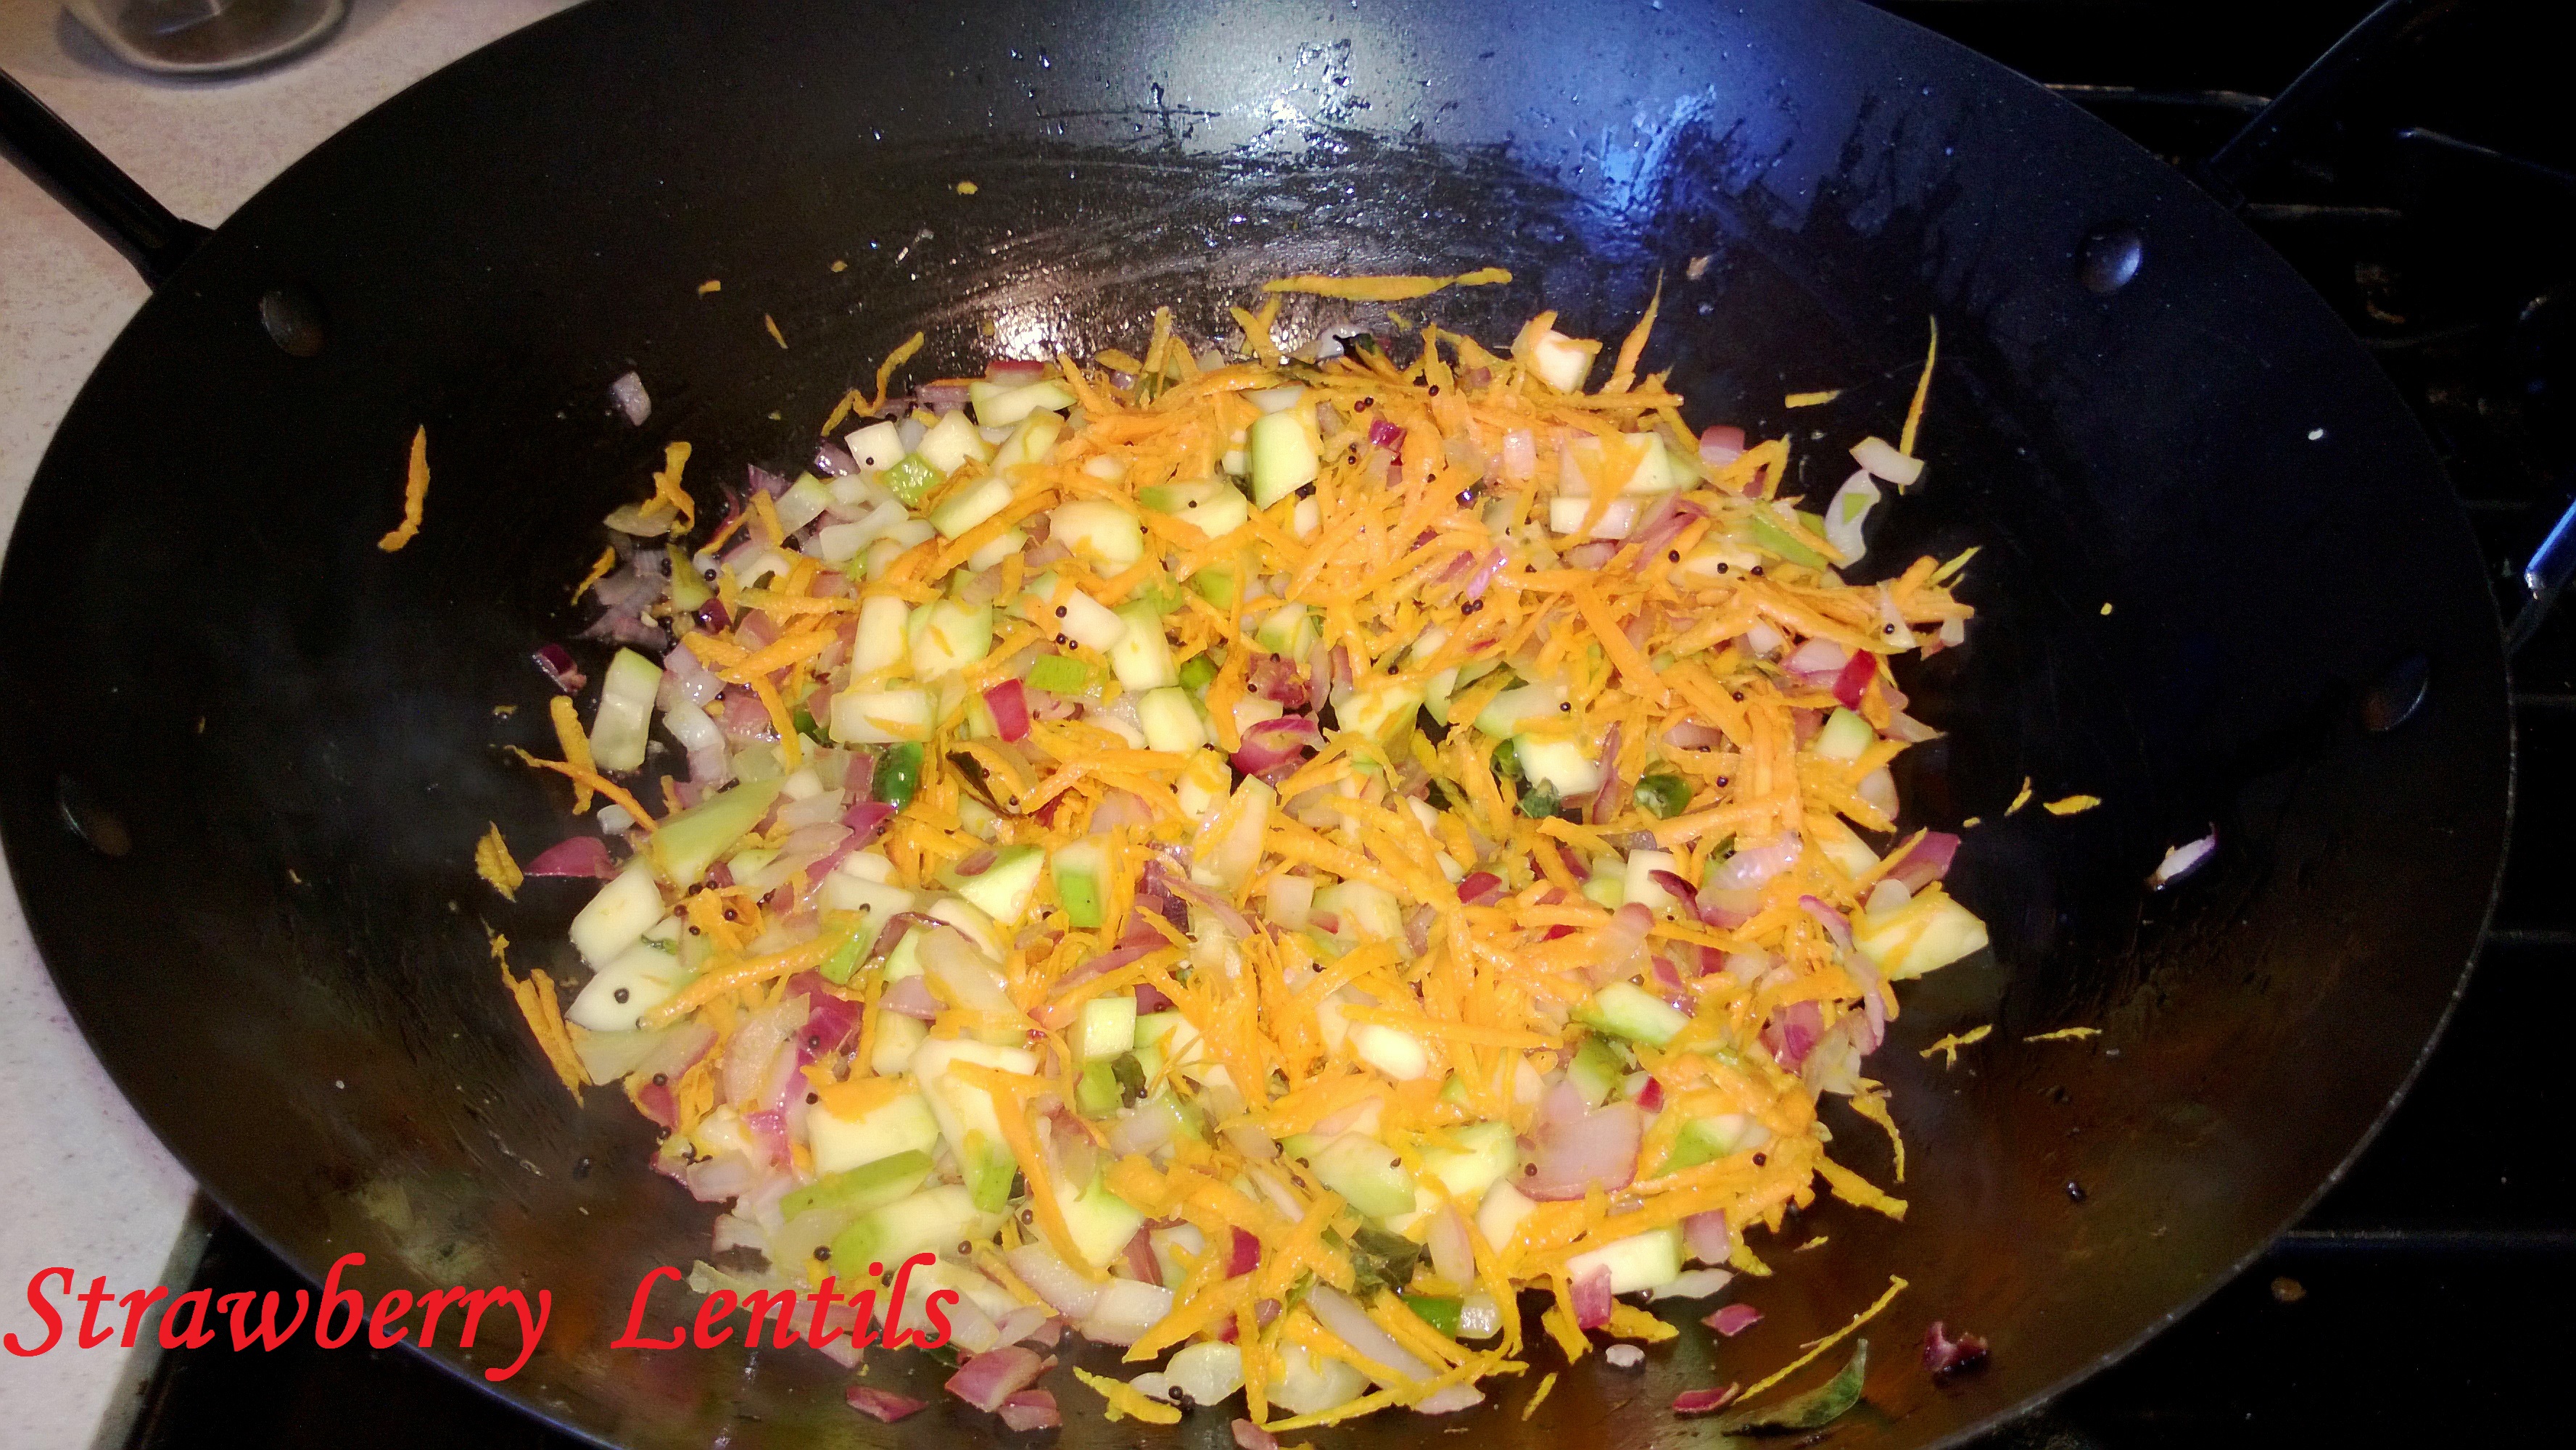
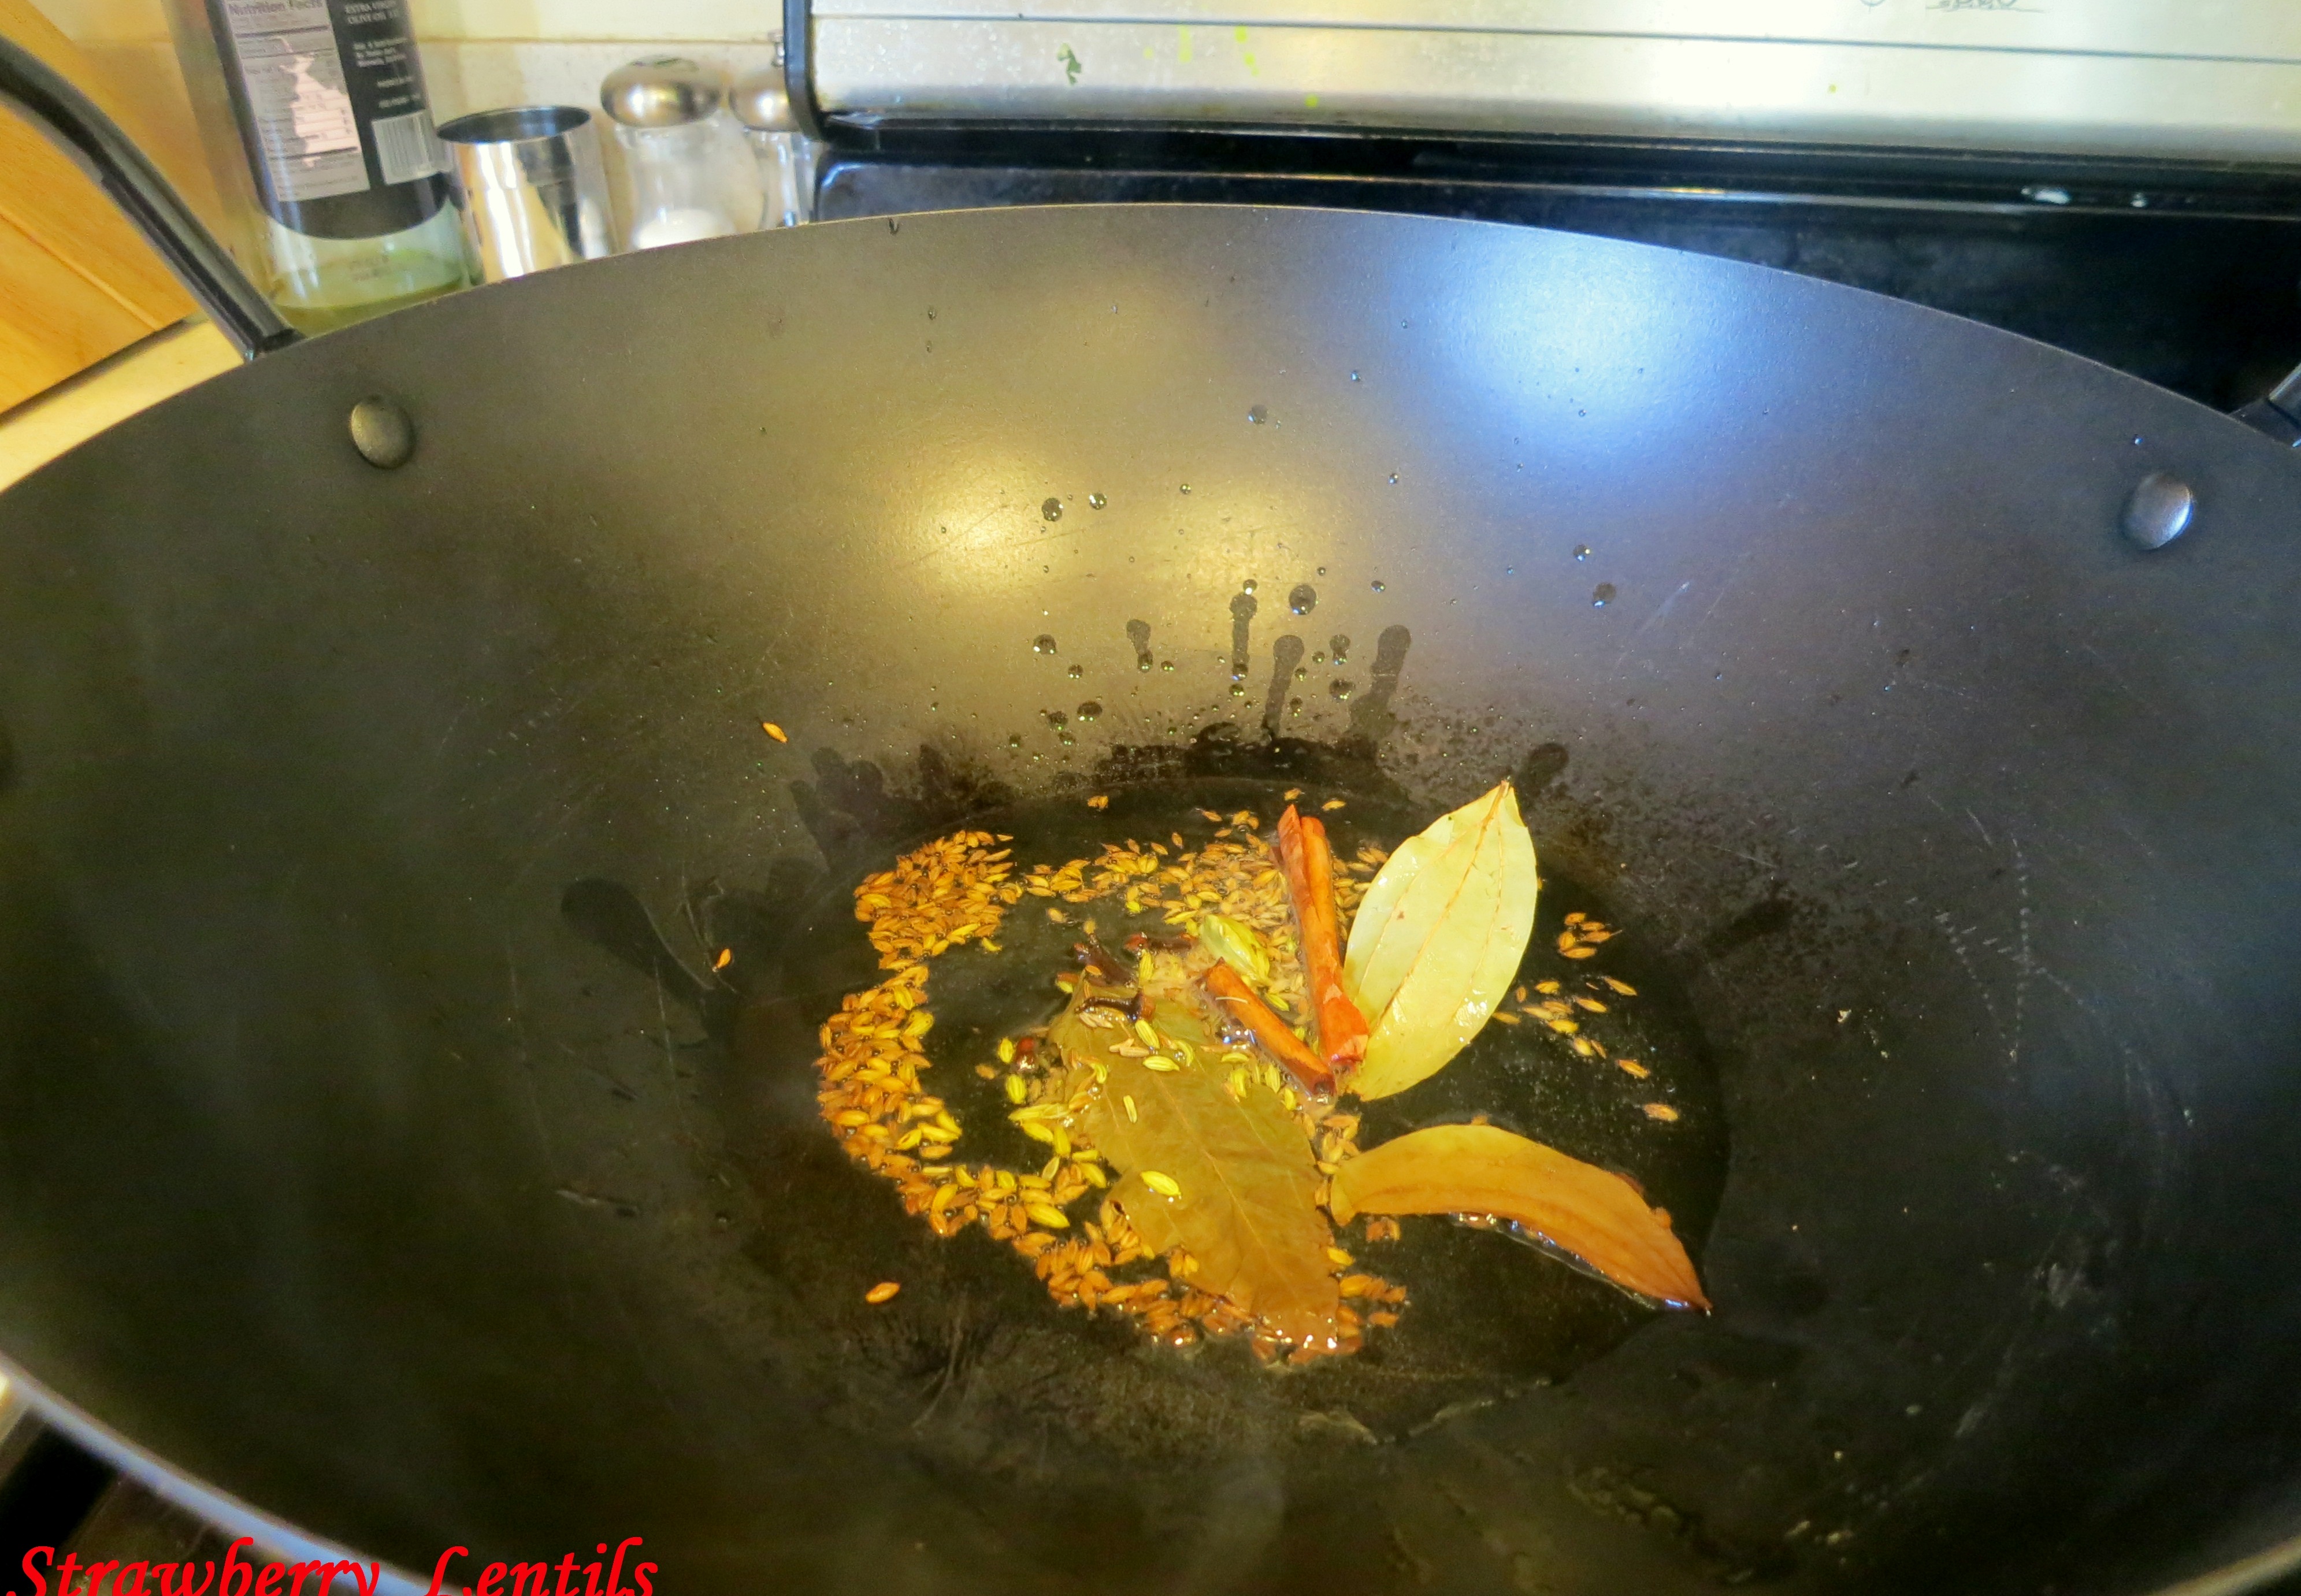
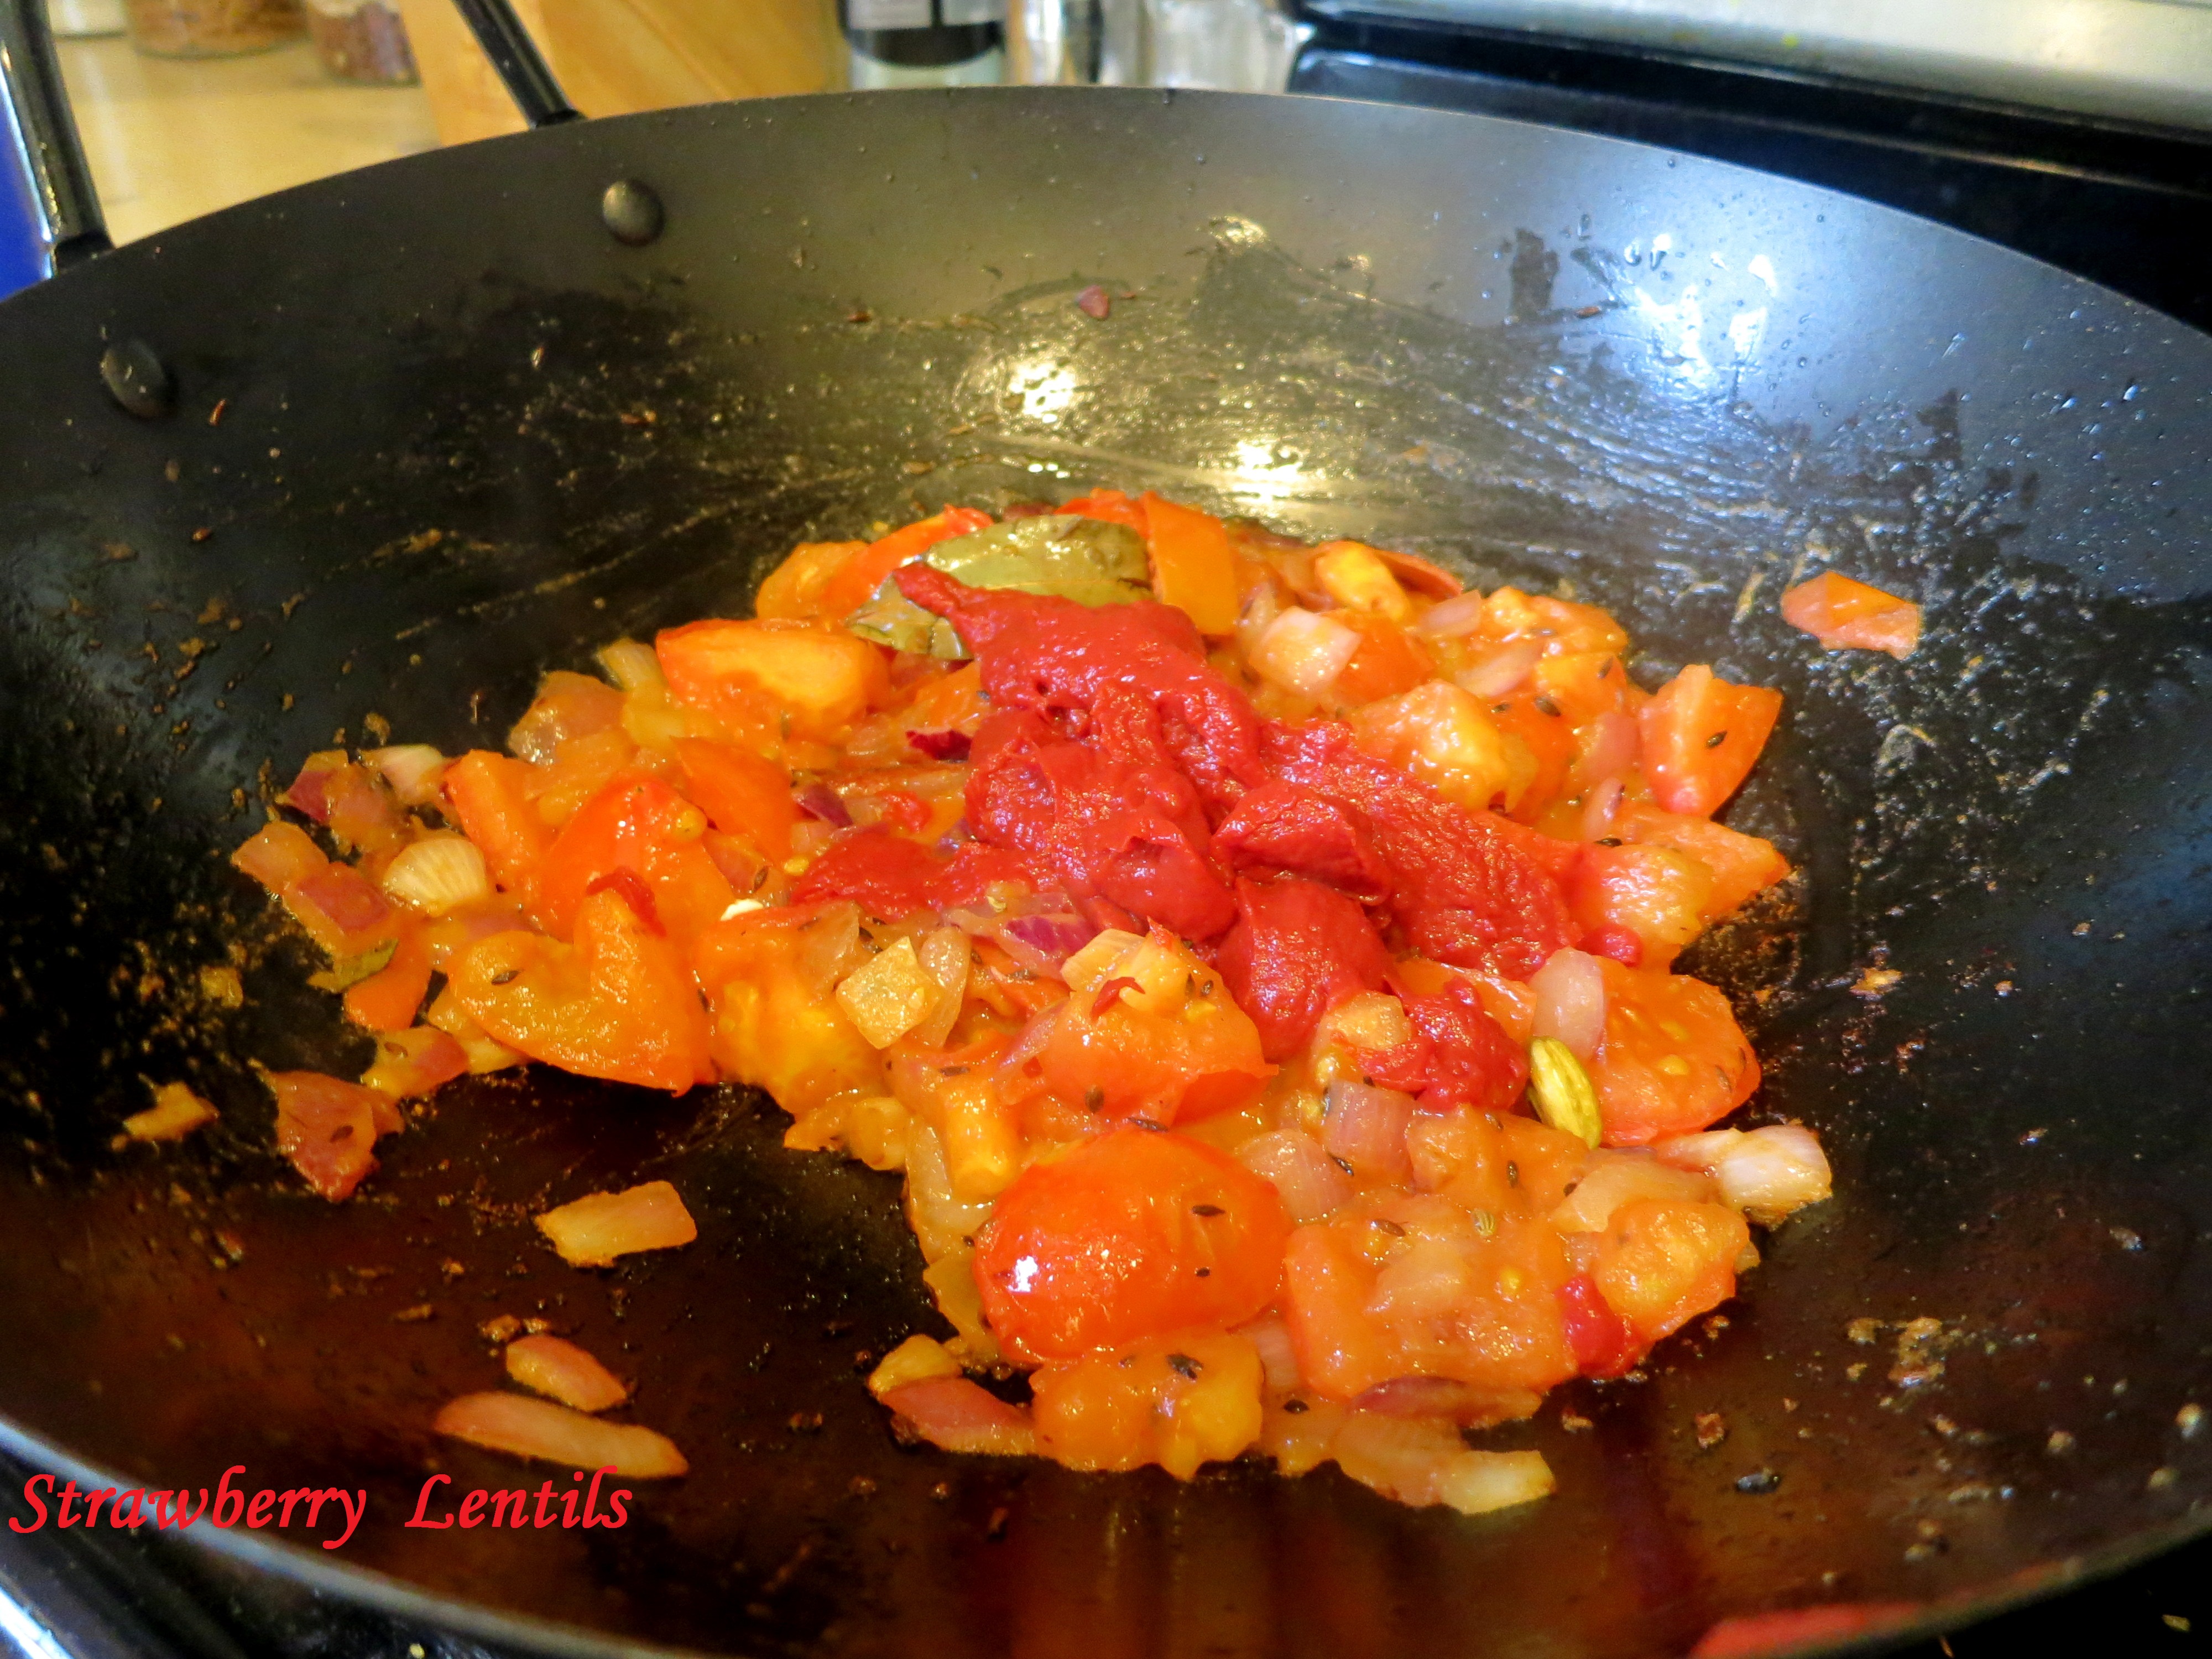
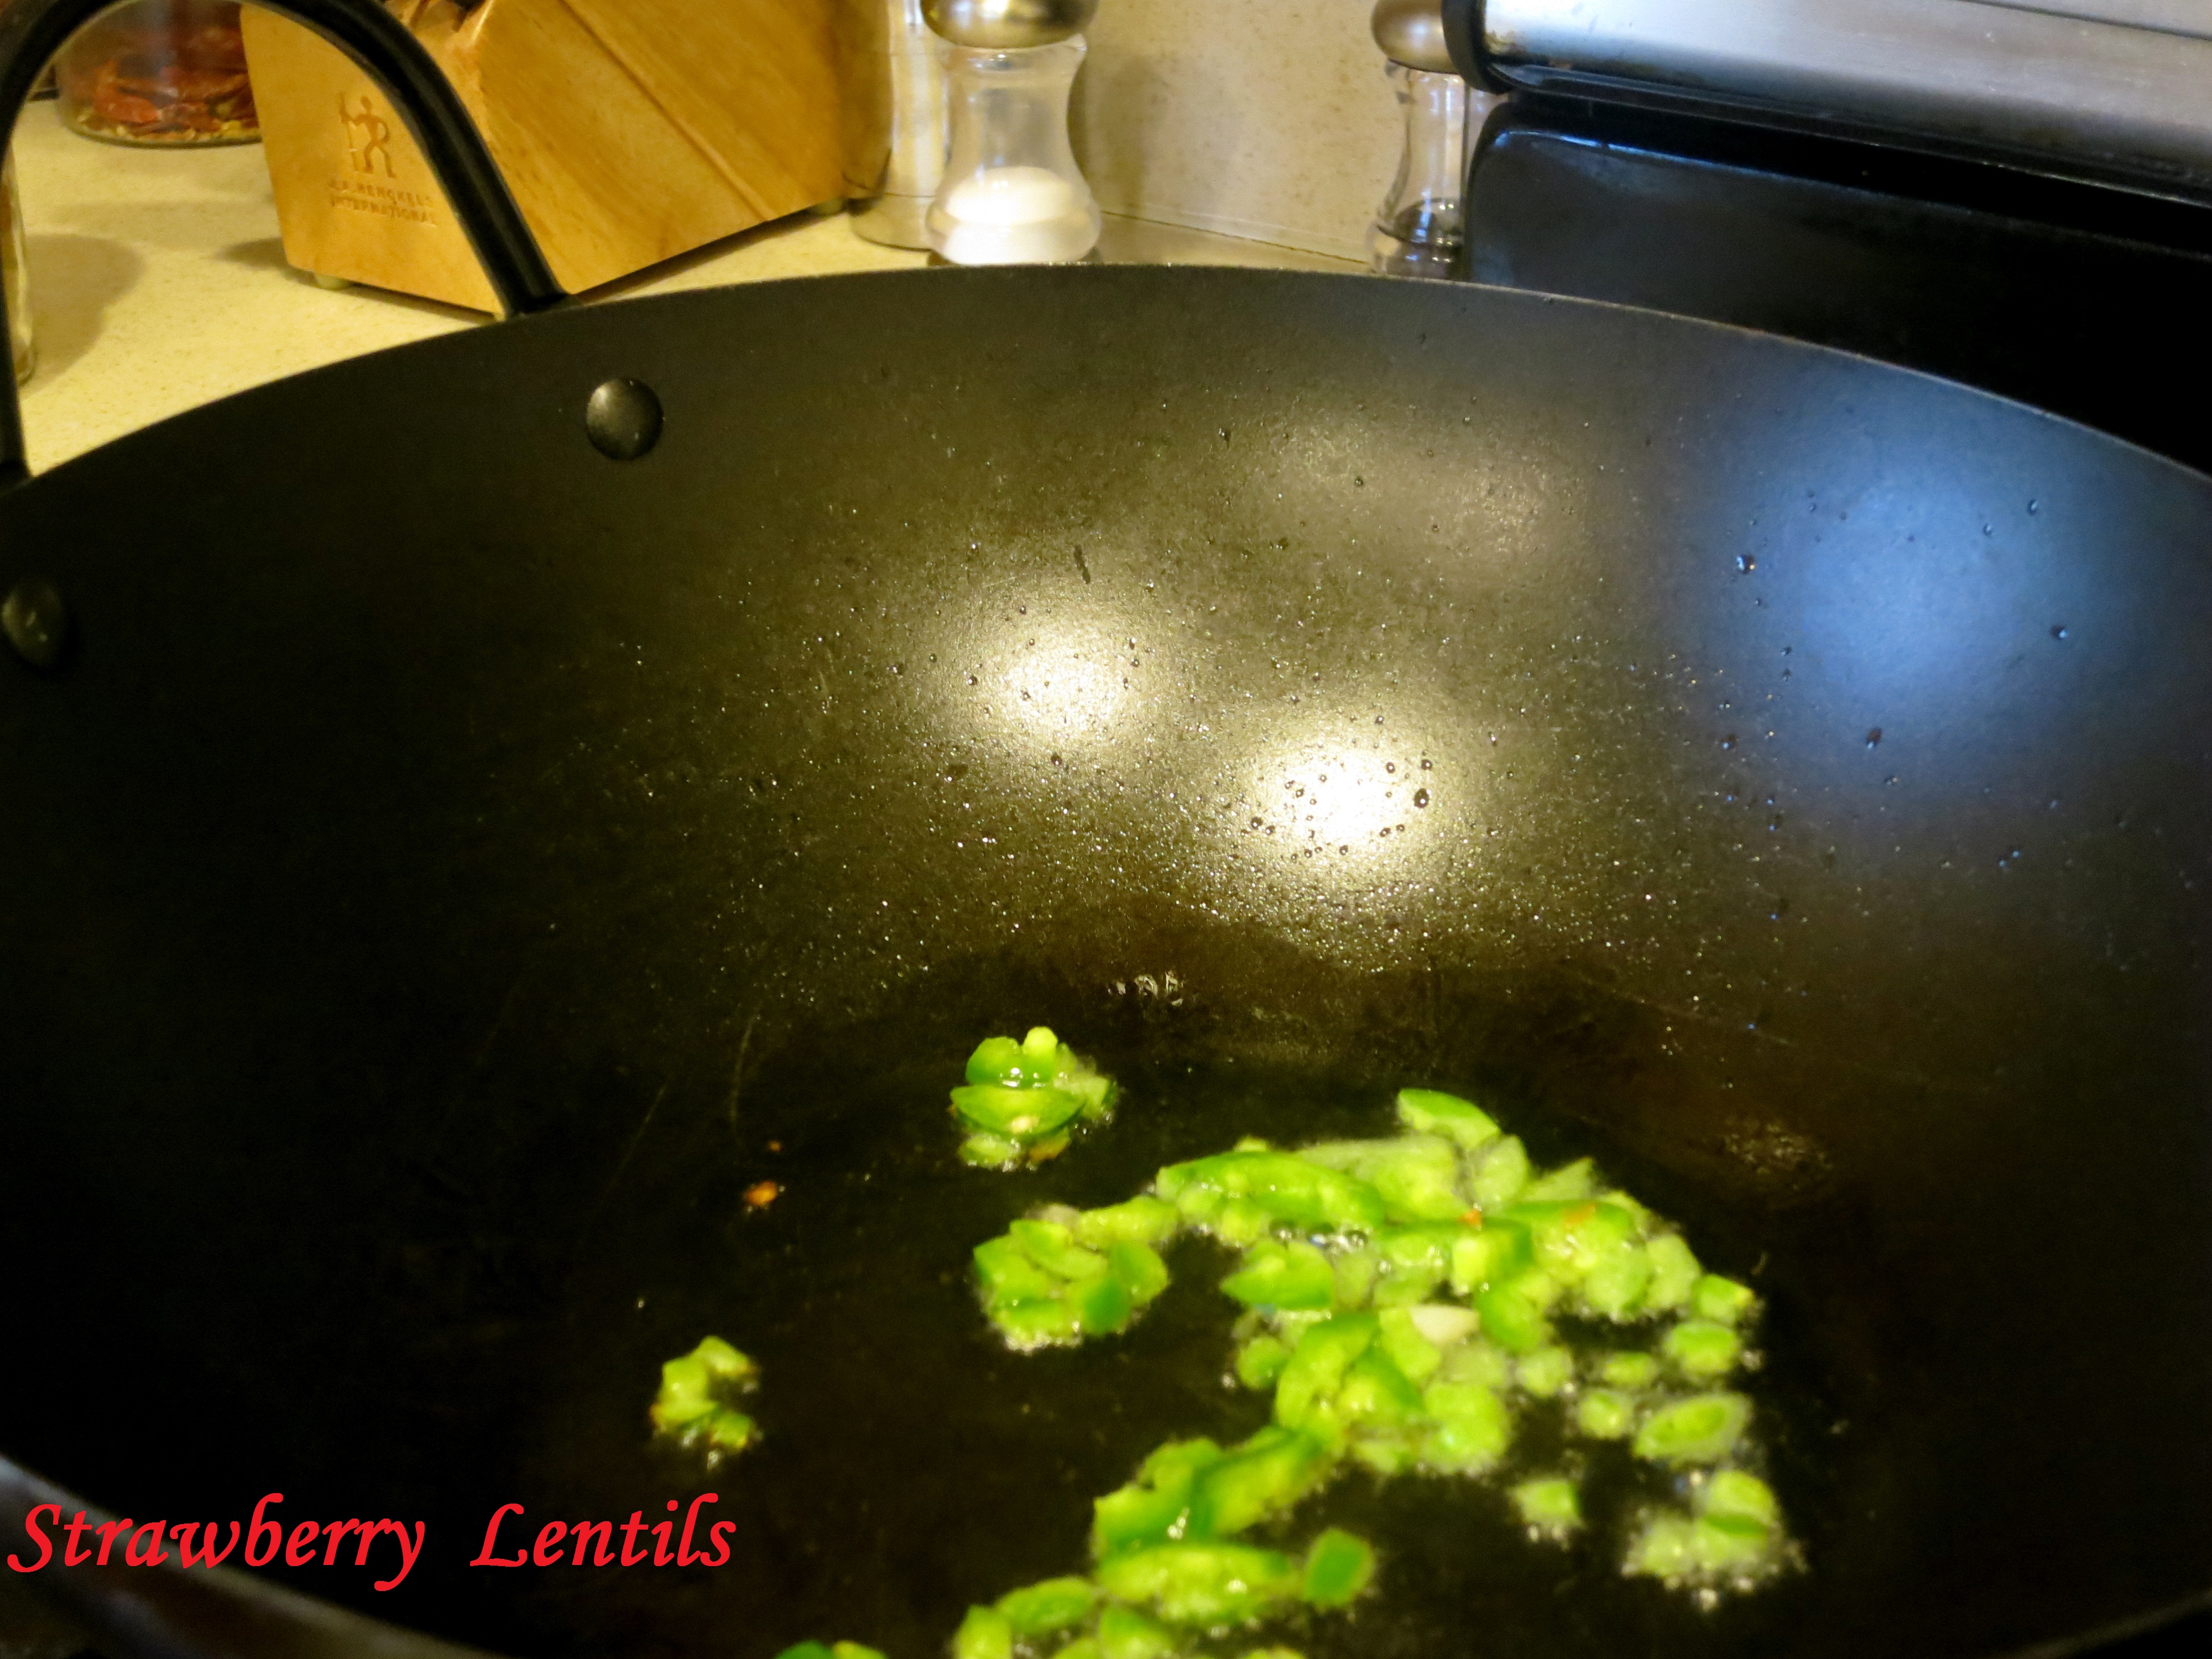
  • Heat  1 tbsp of oil in a wok and saute the jalapeno.

Image

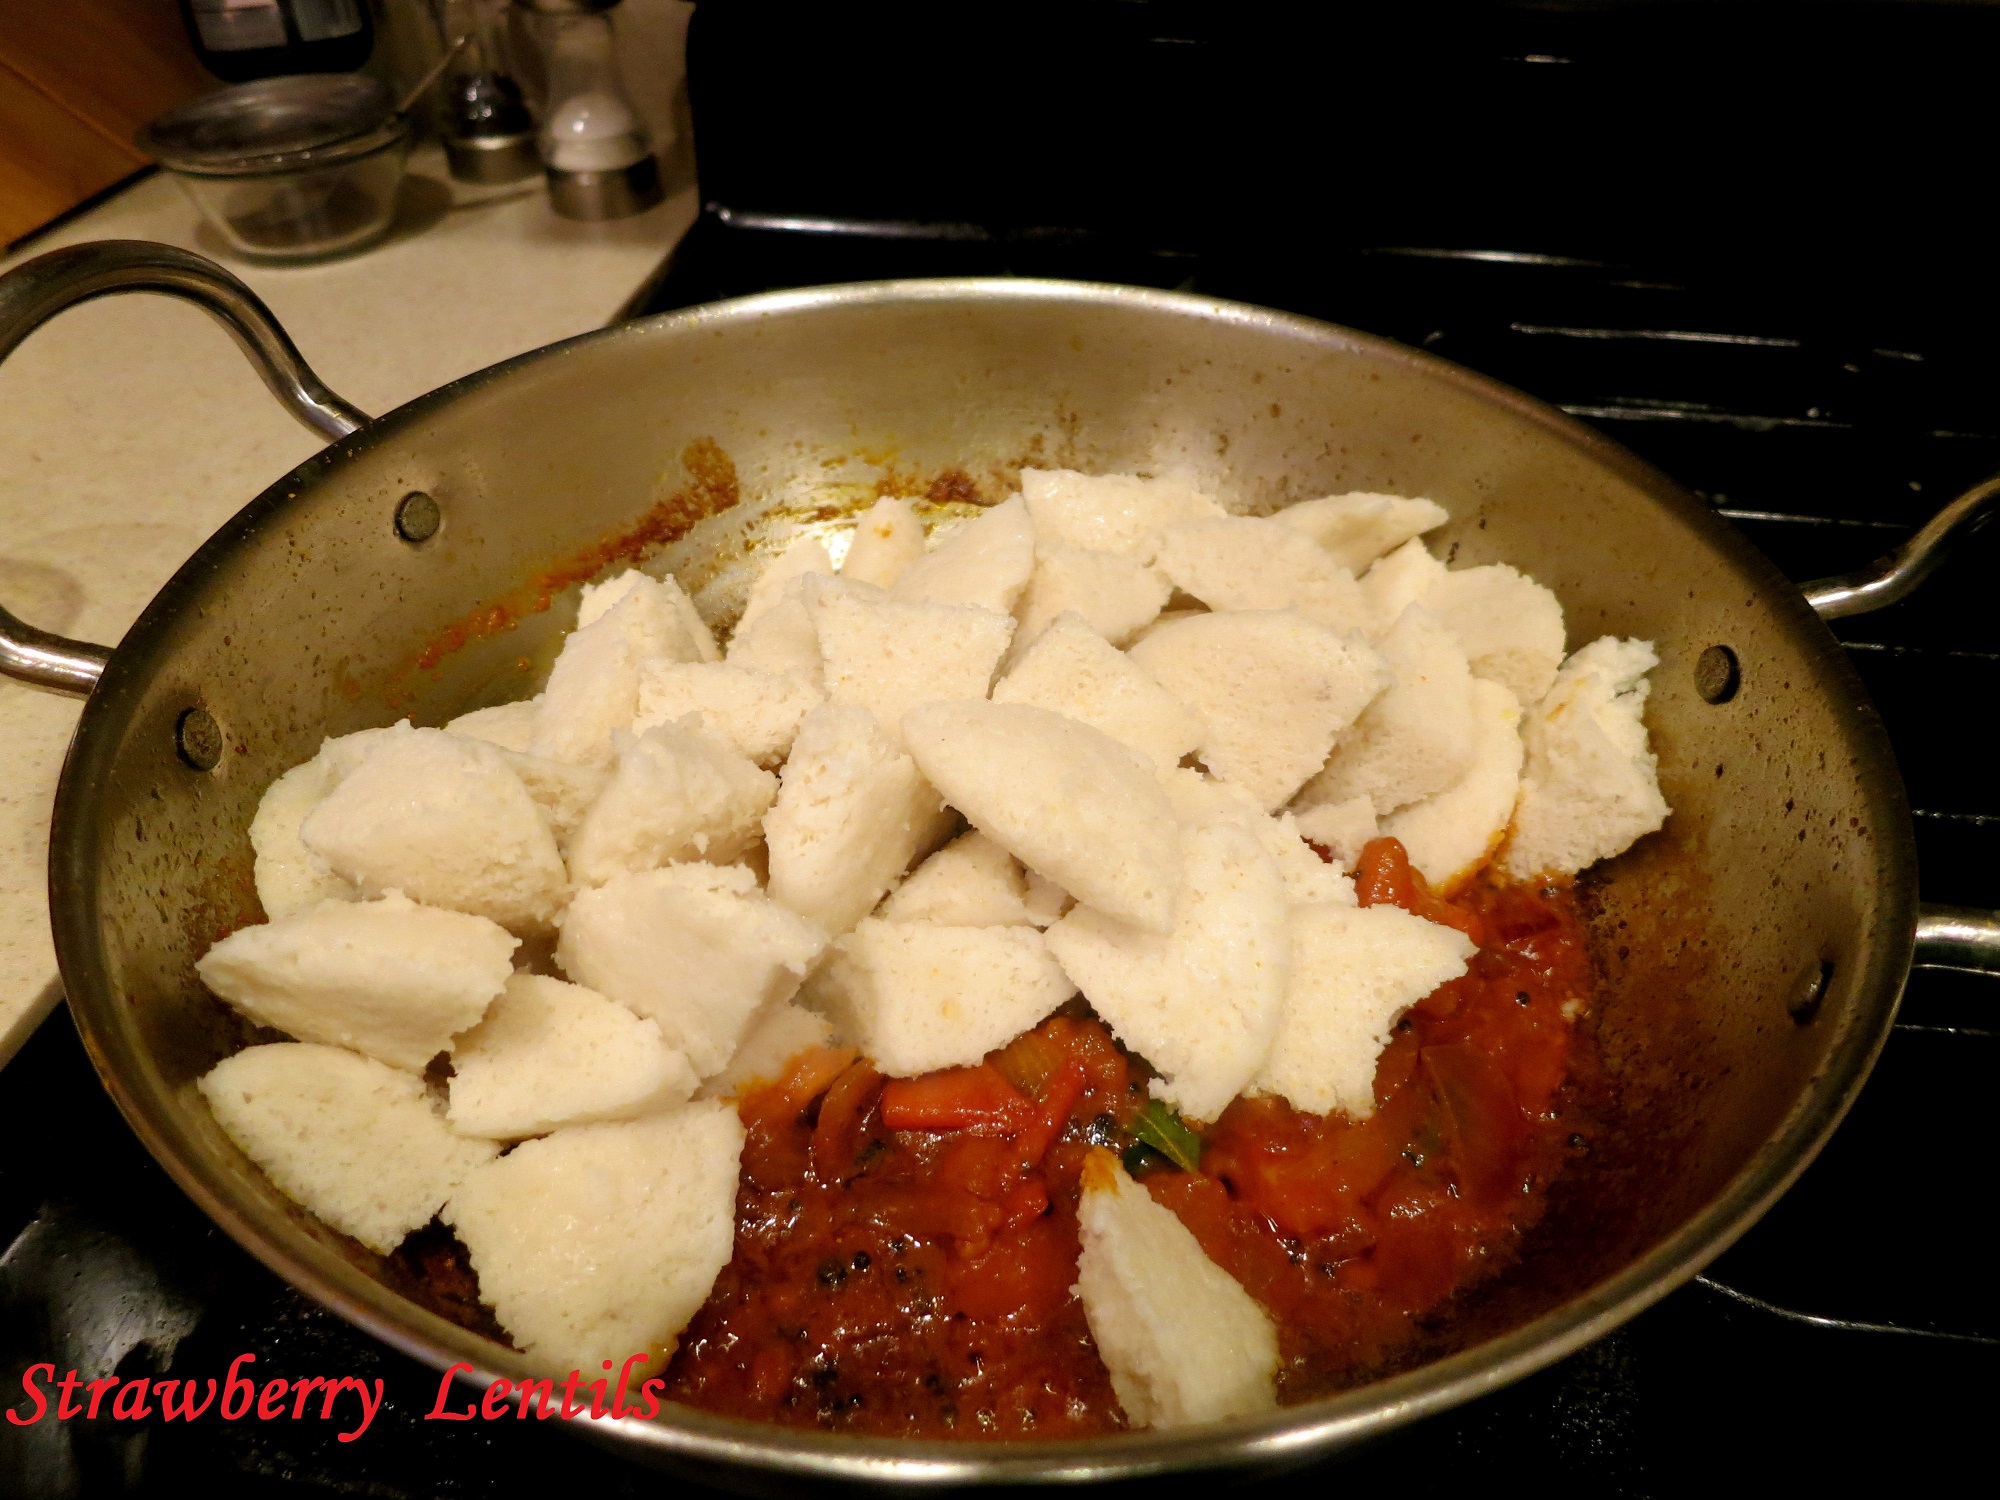
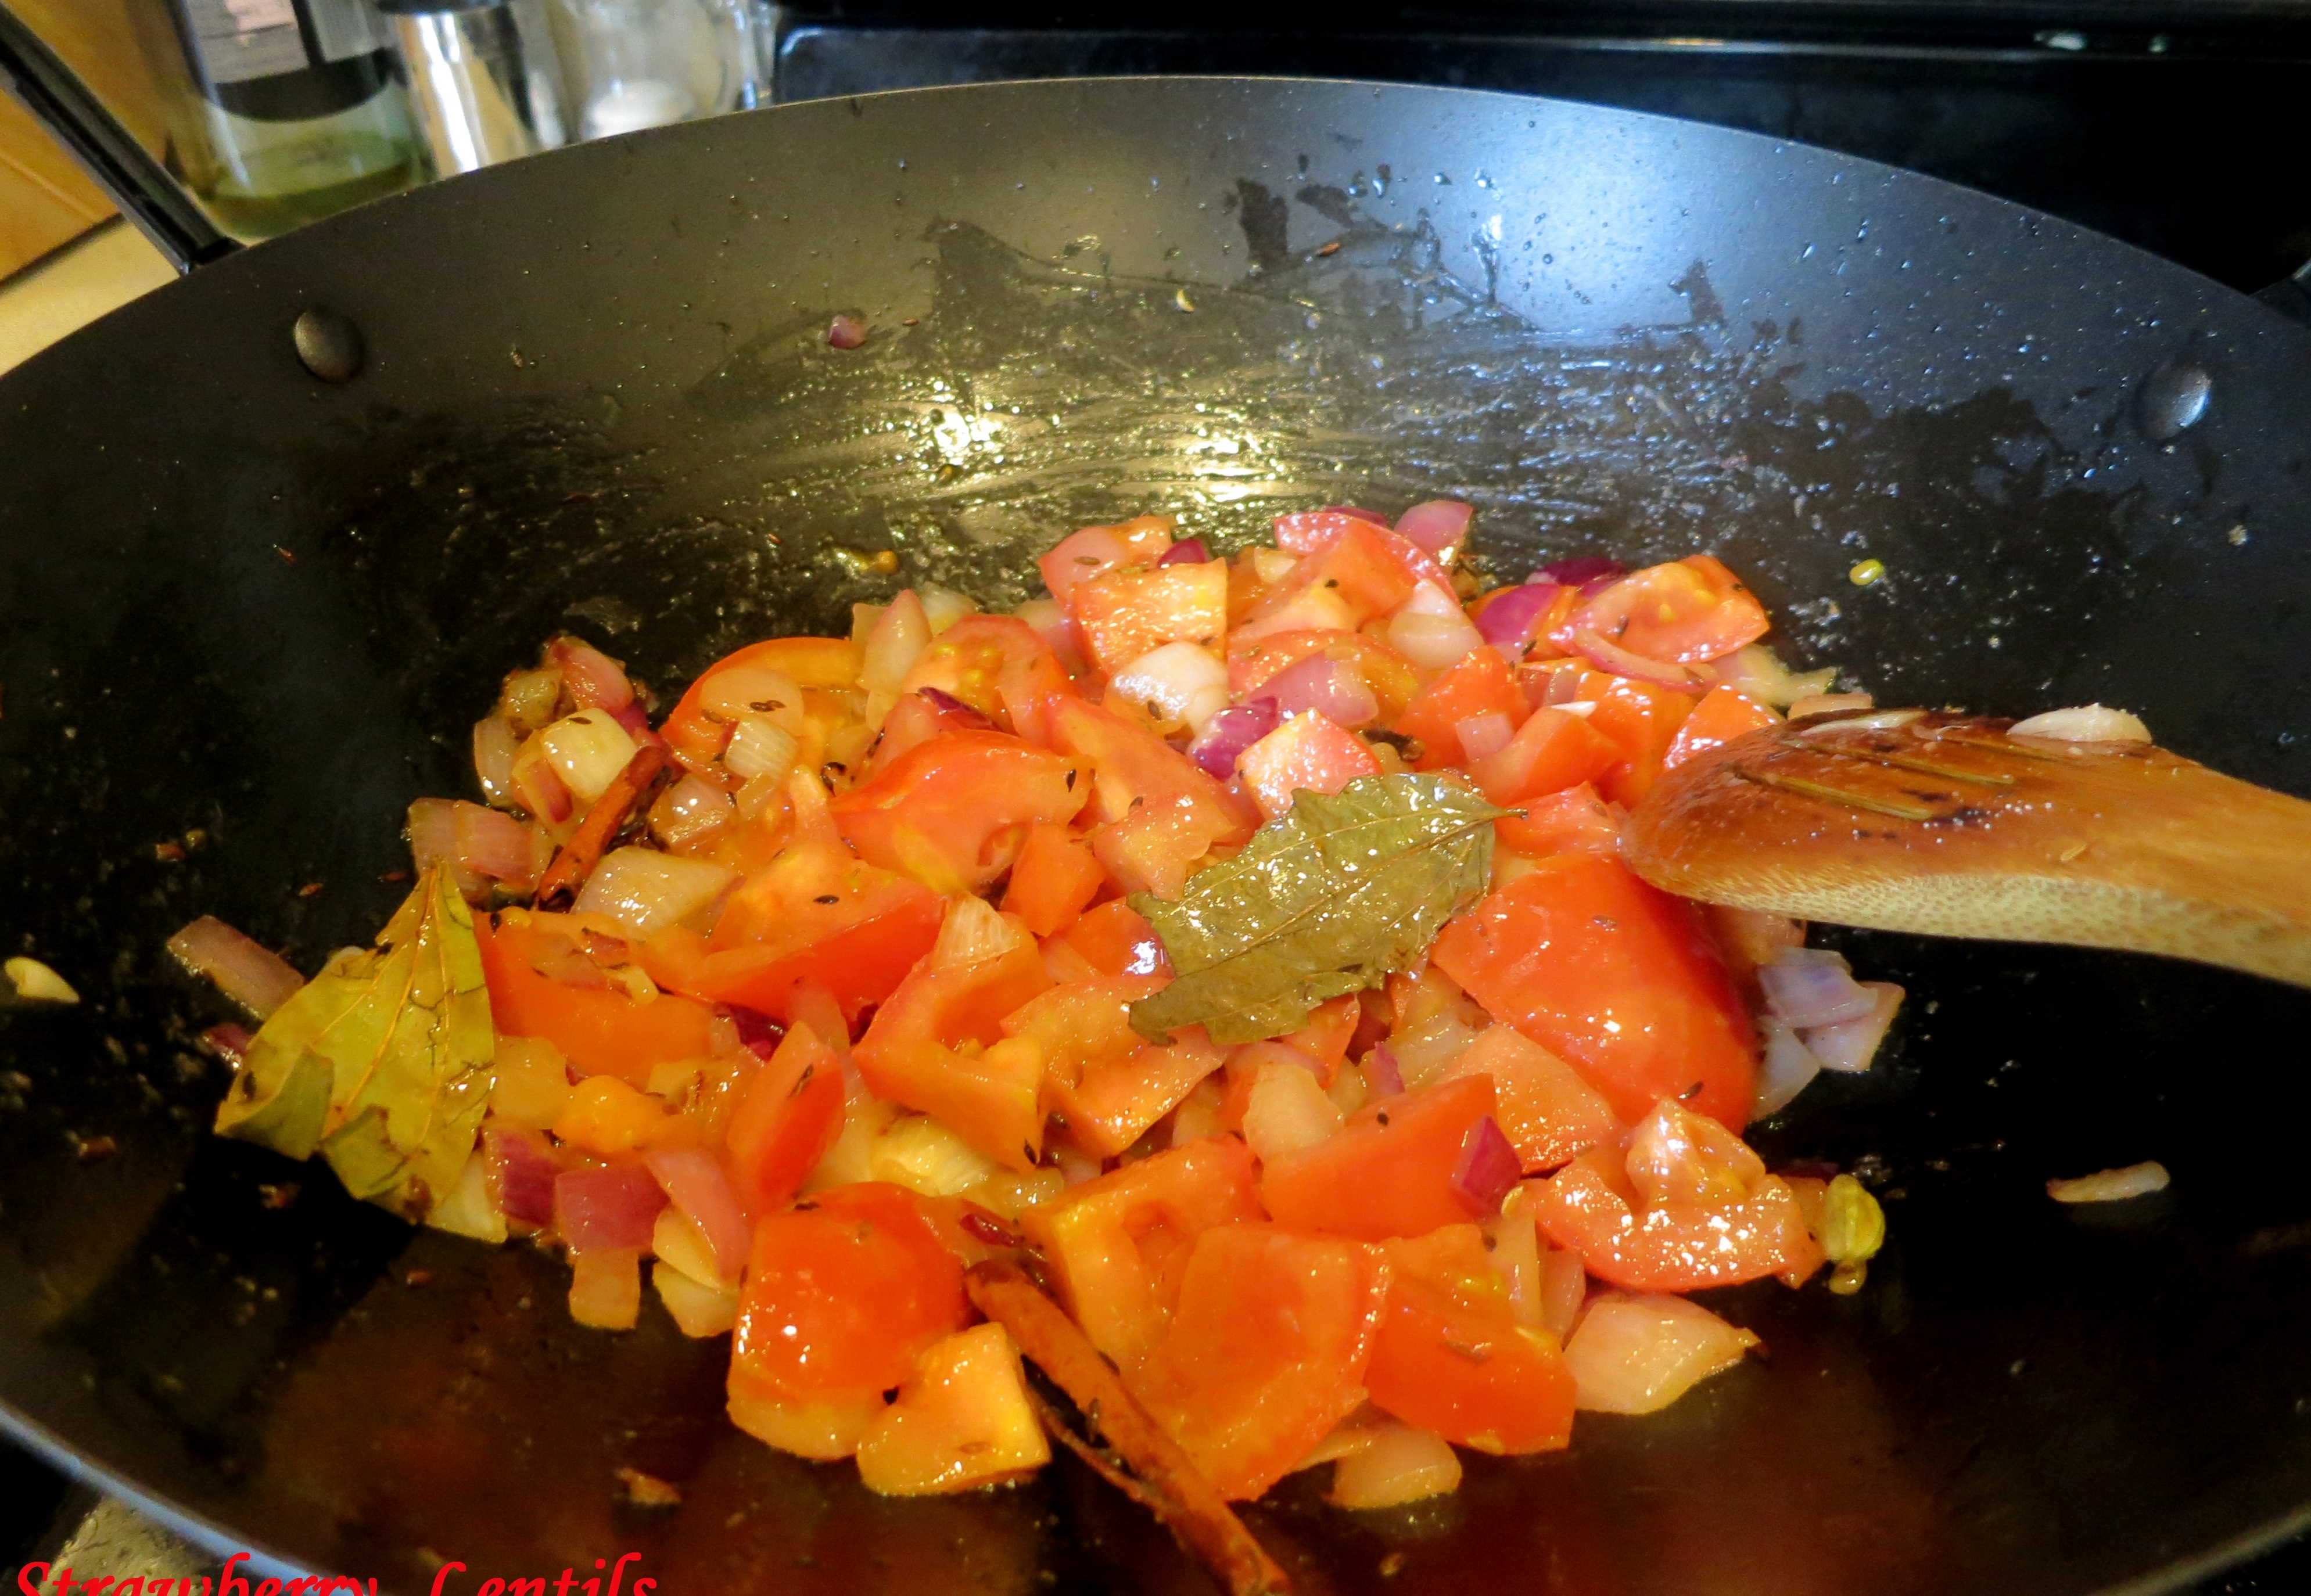
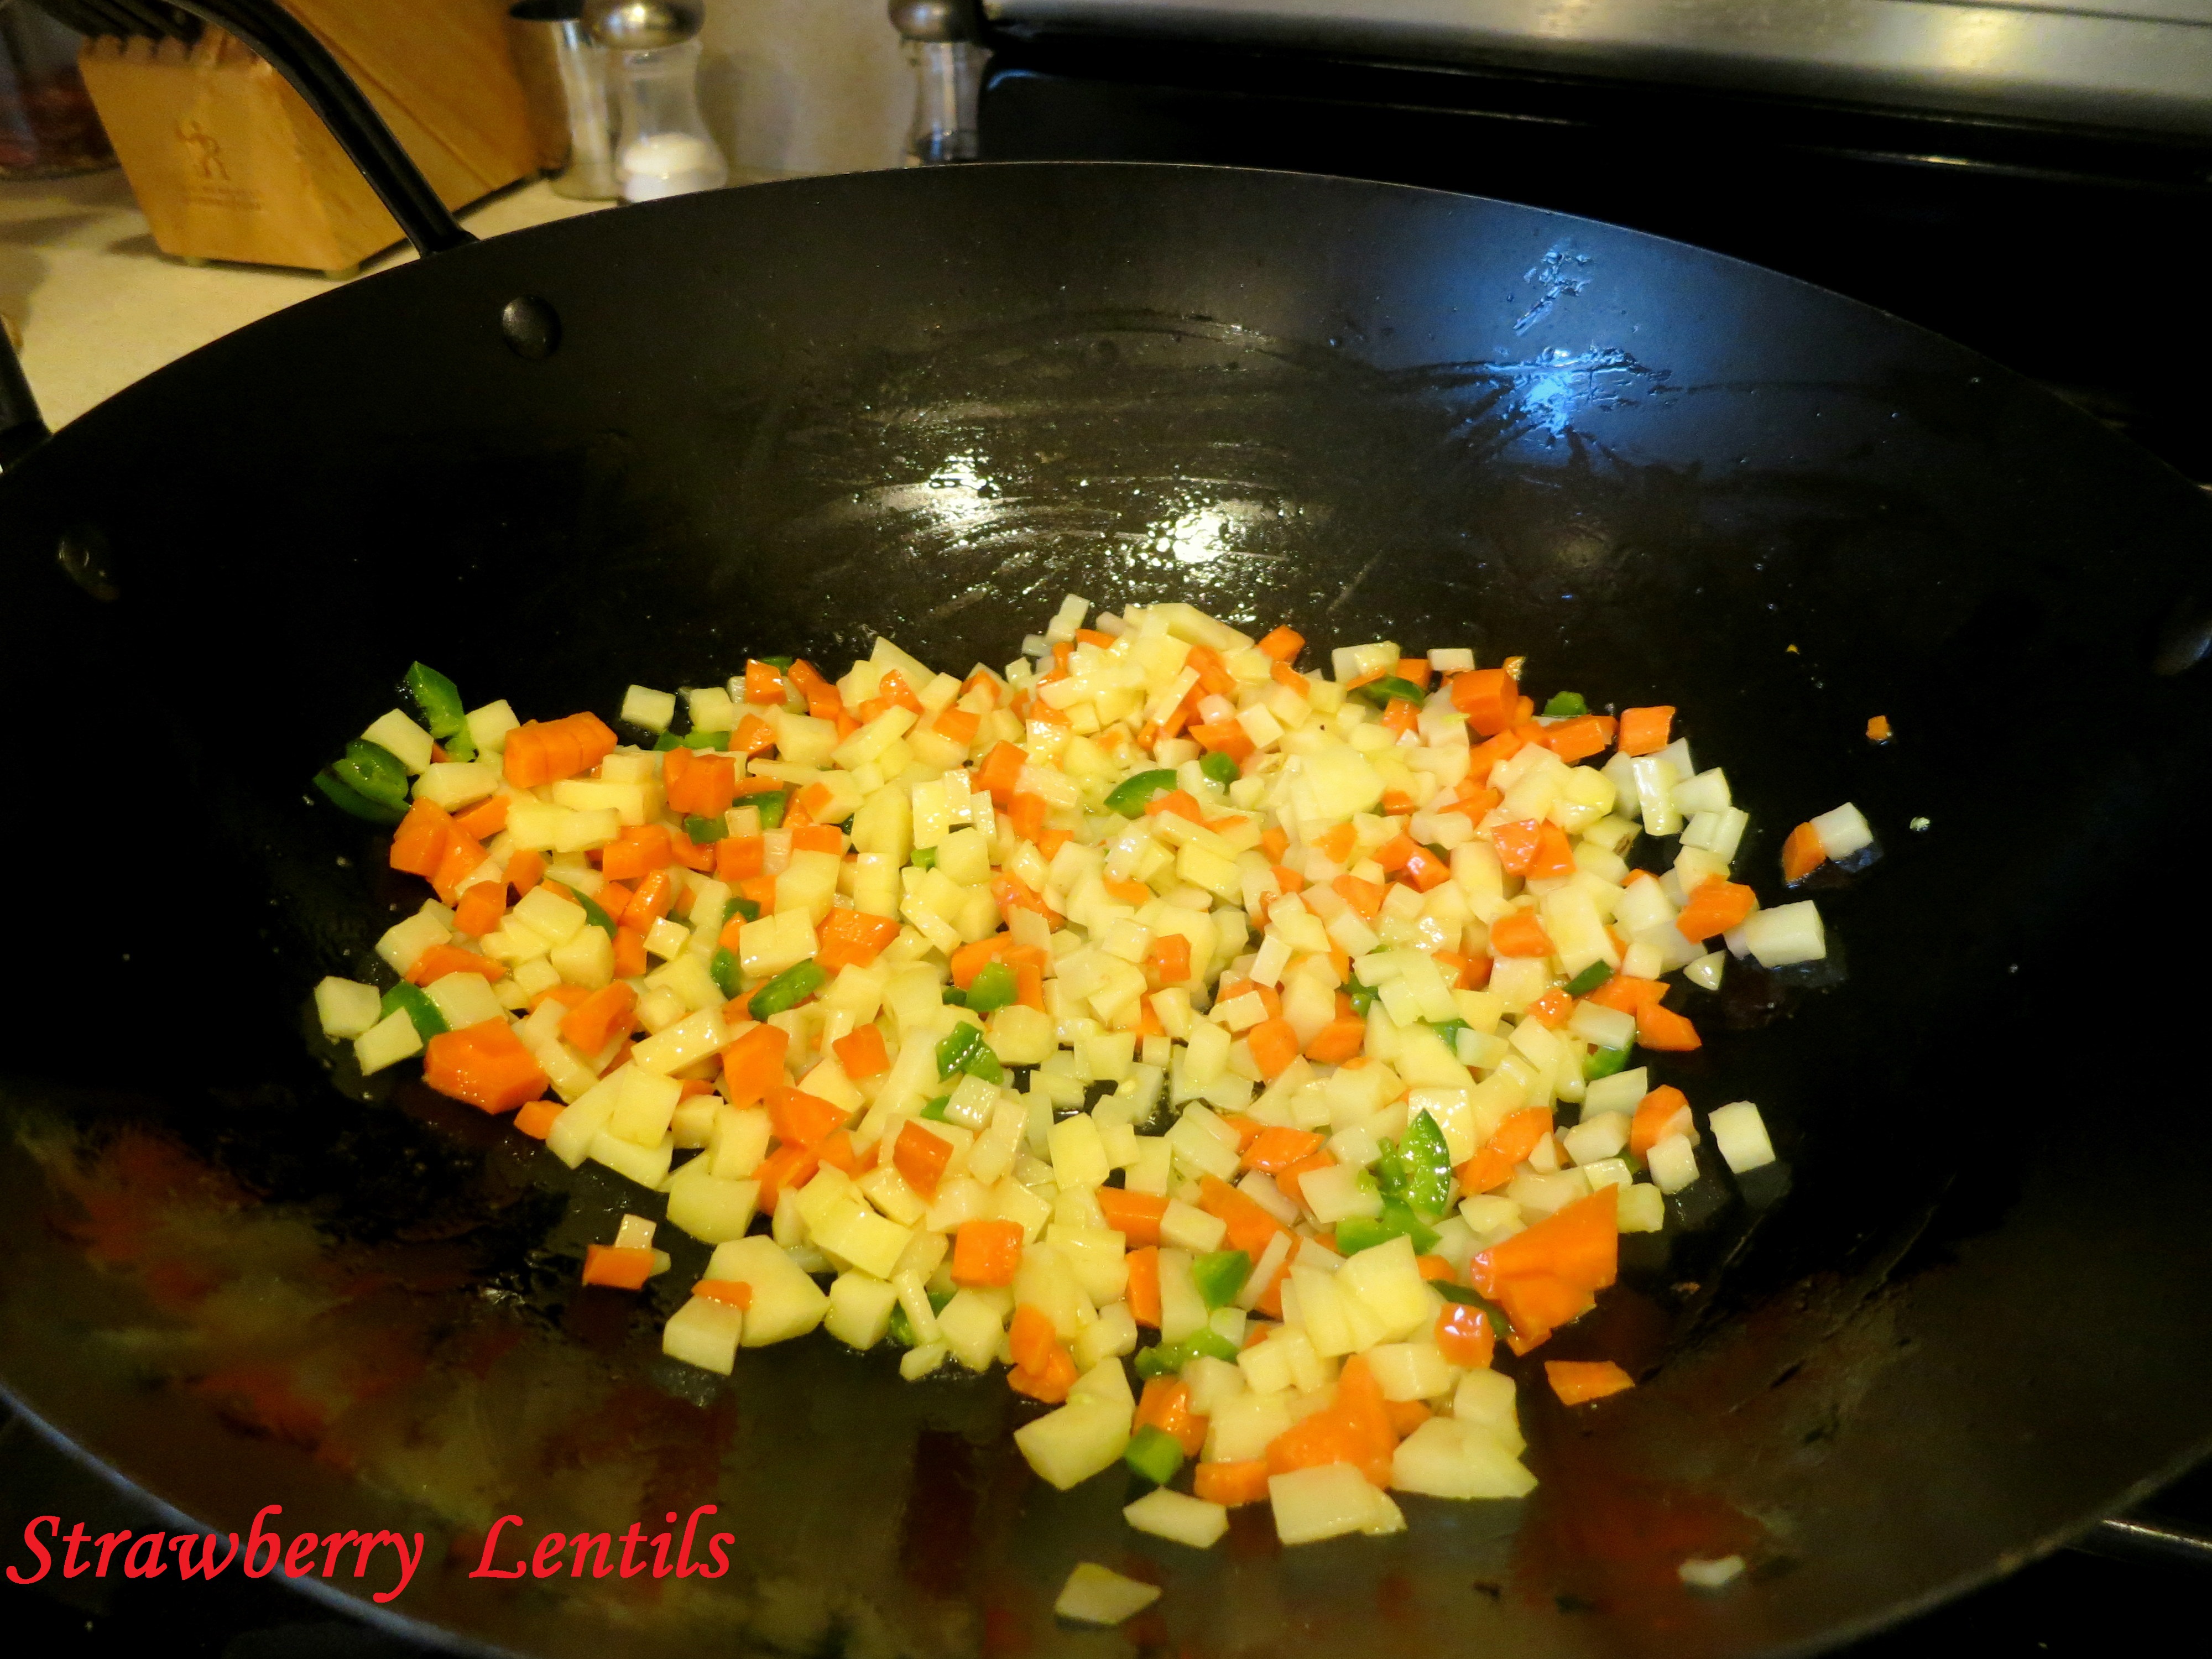
  • Now add the potatoes and carrots. Sprinkle some salt and cook for a couple of minutes.

Image

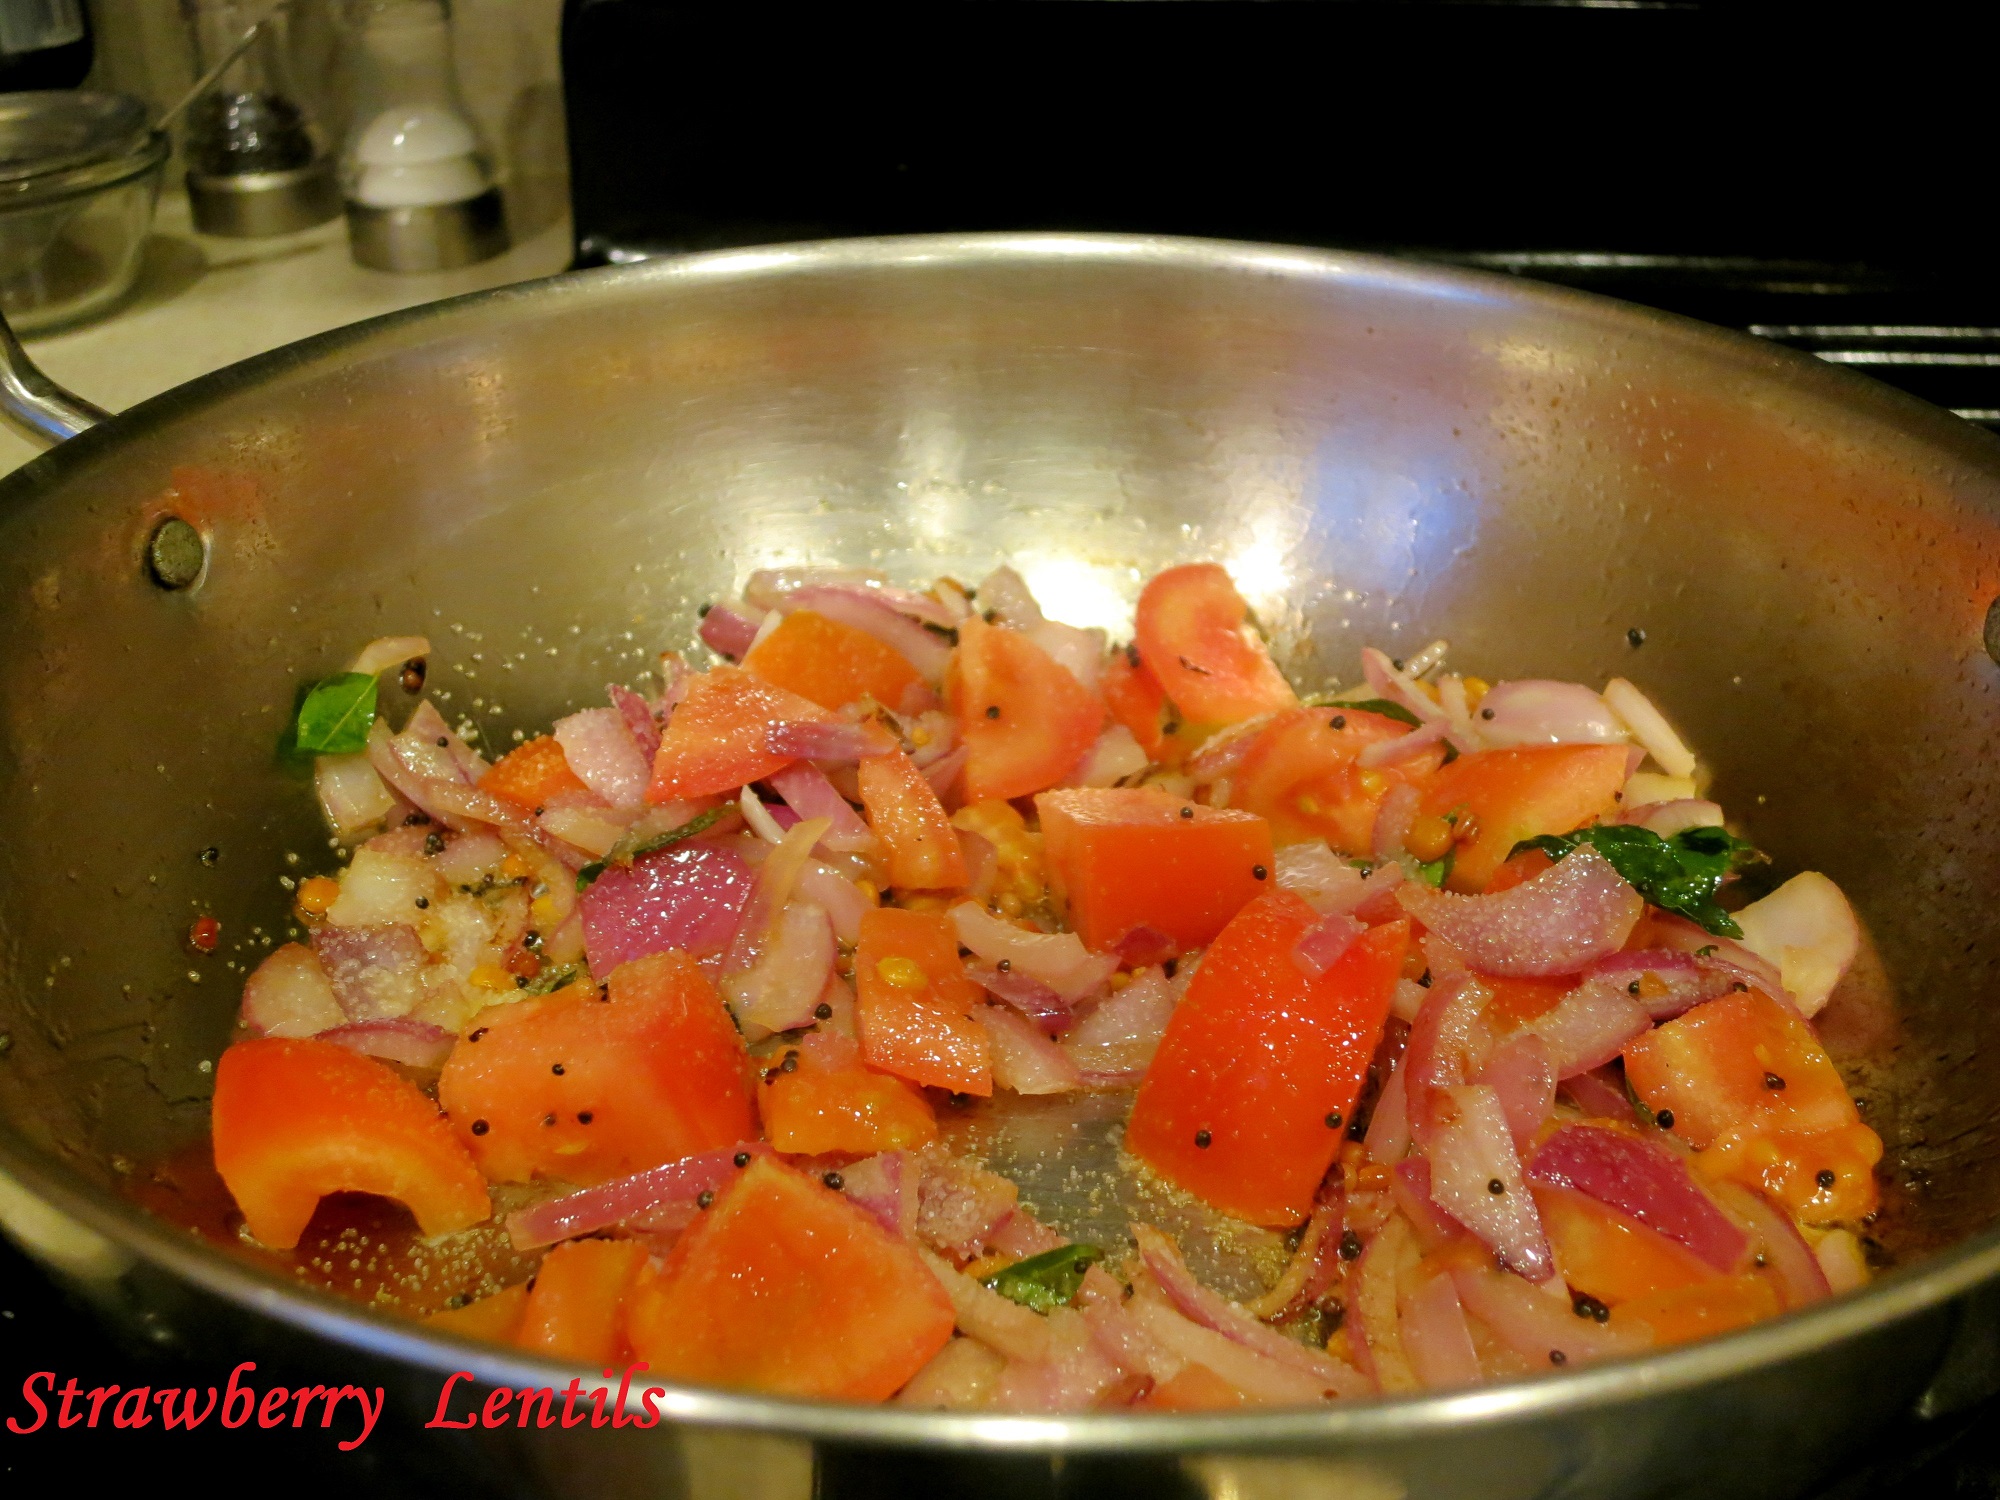
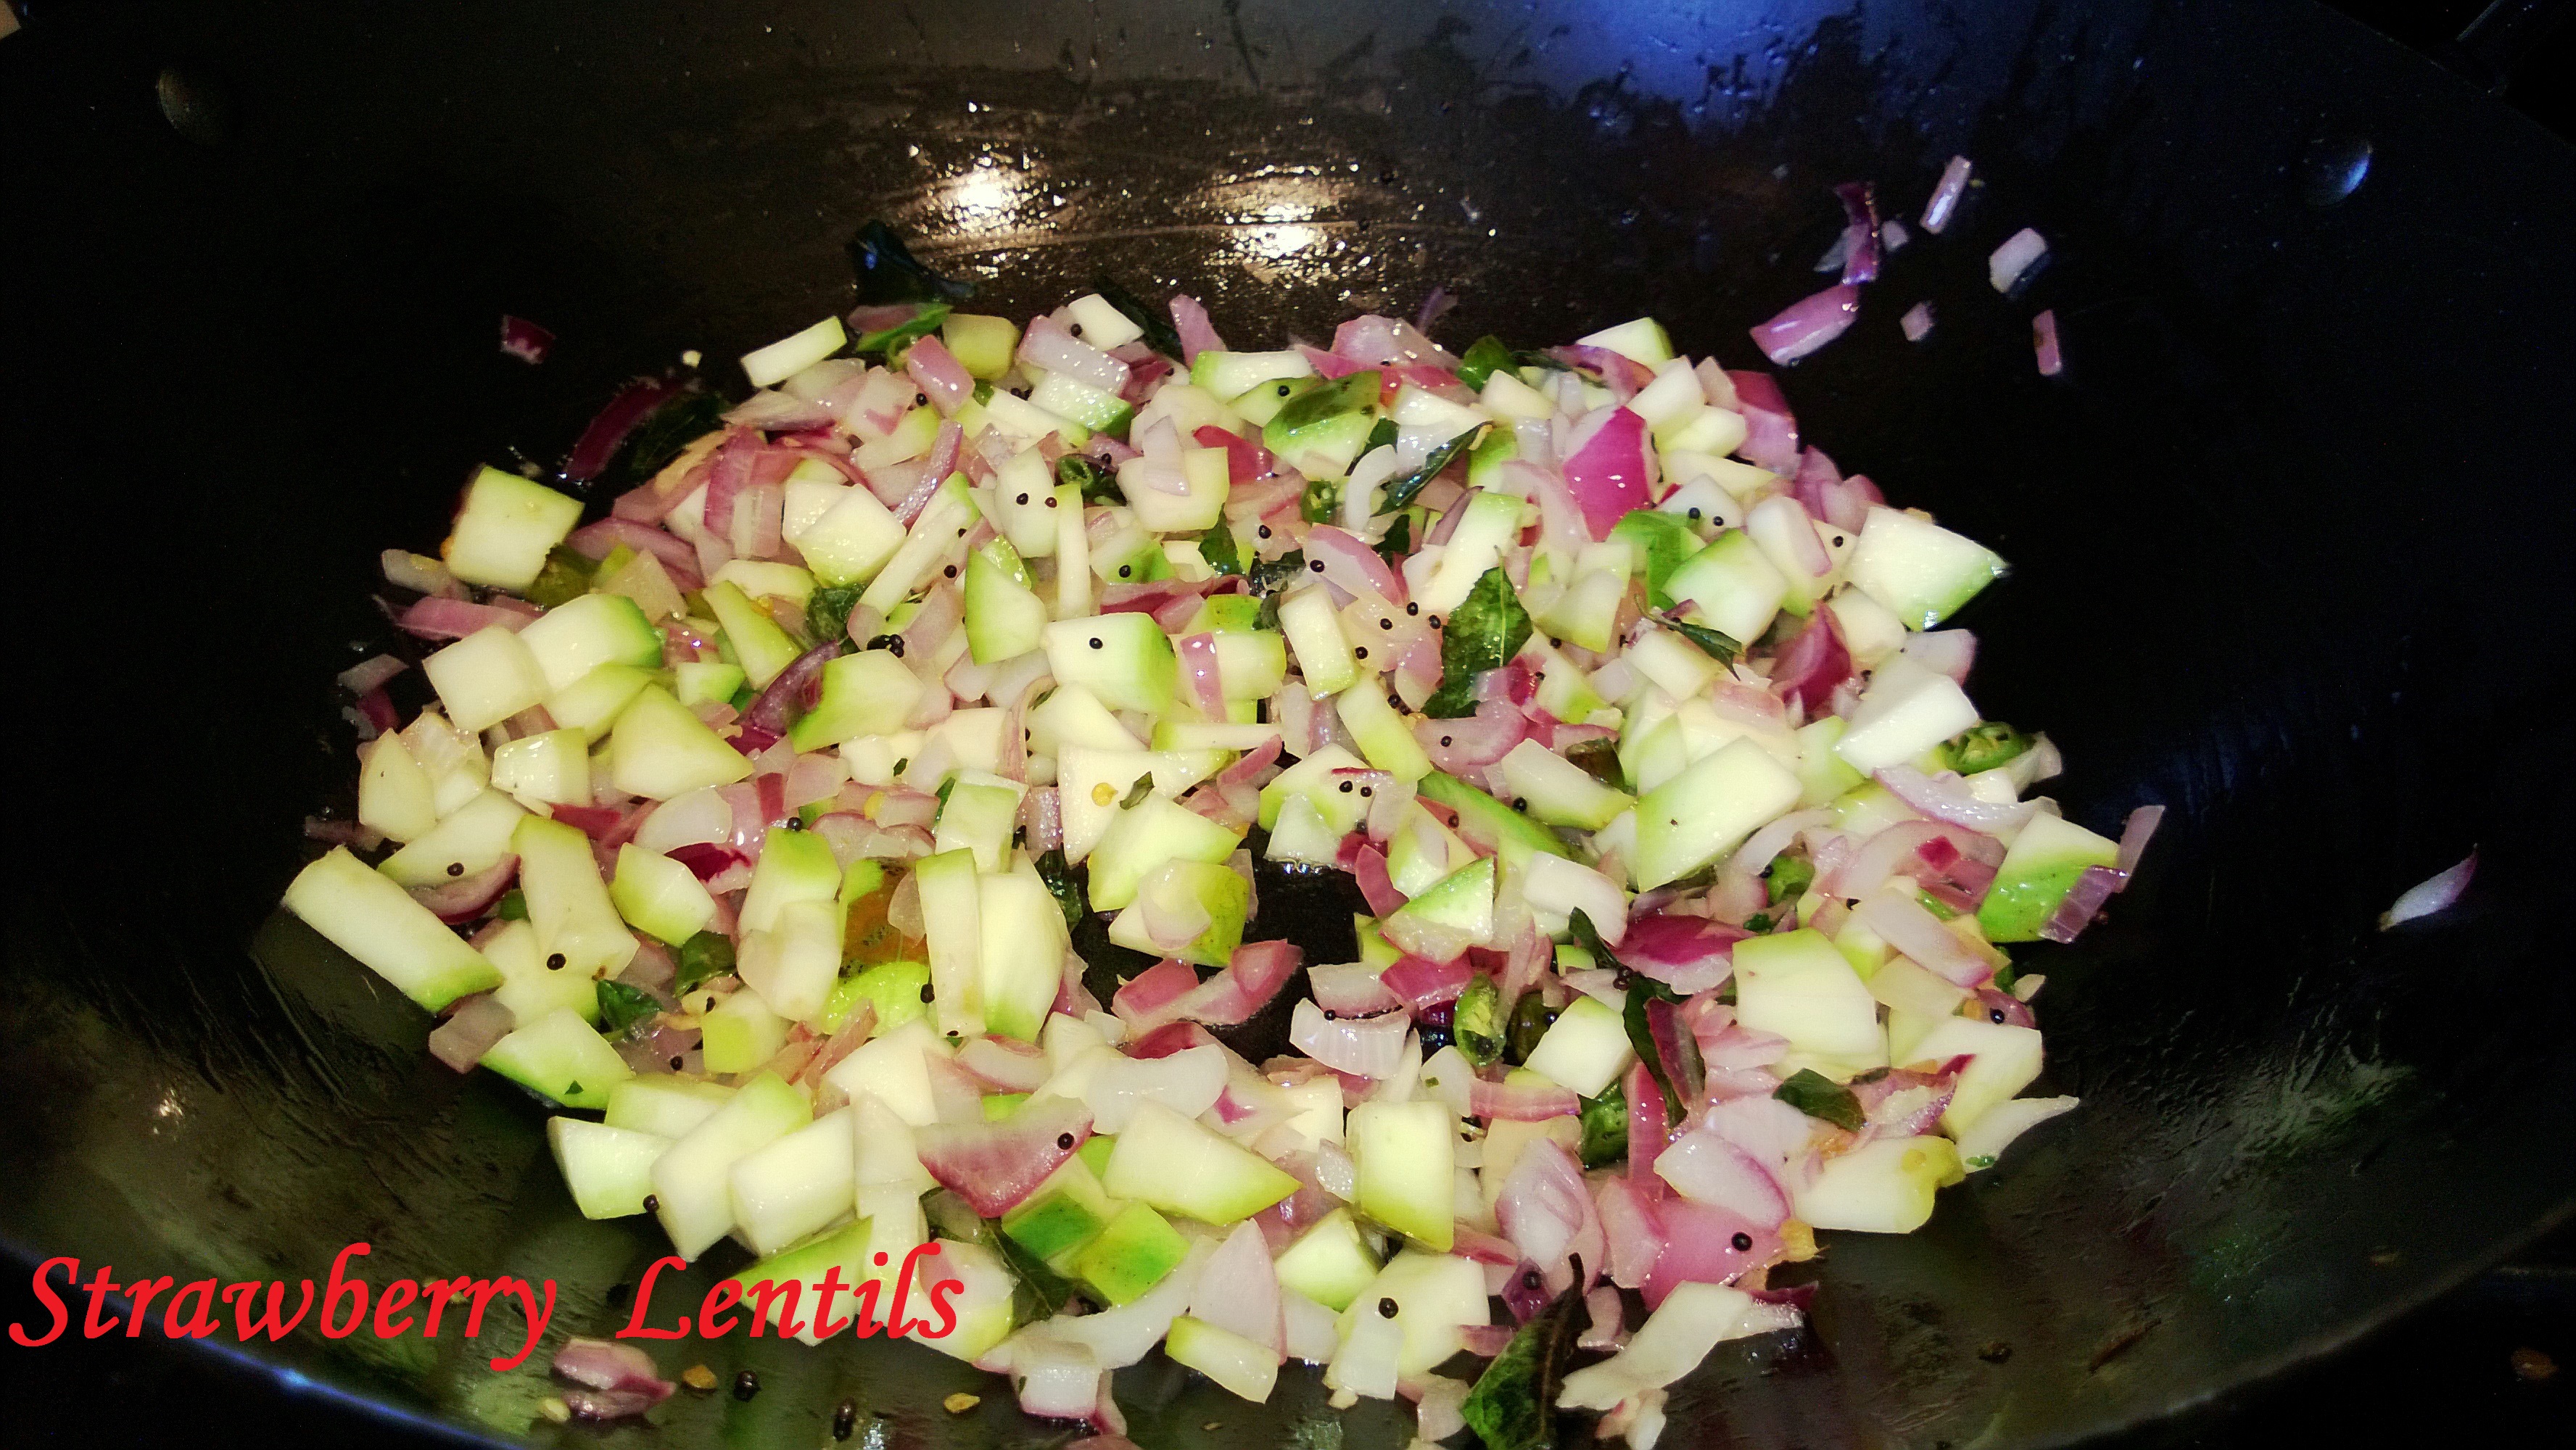
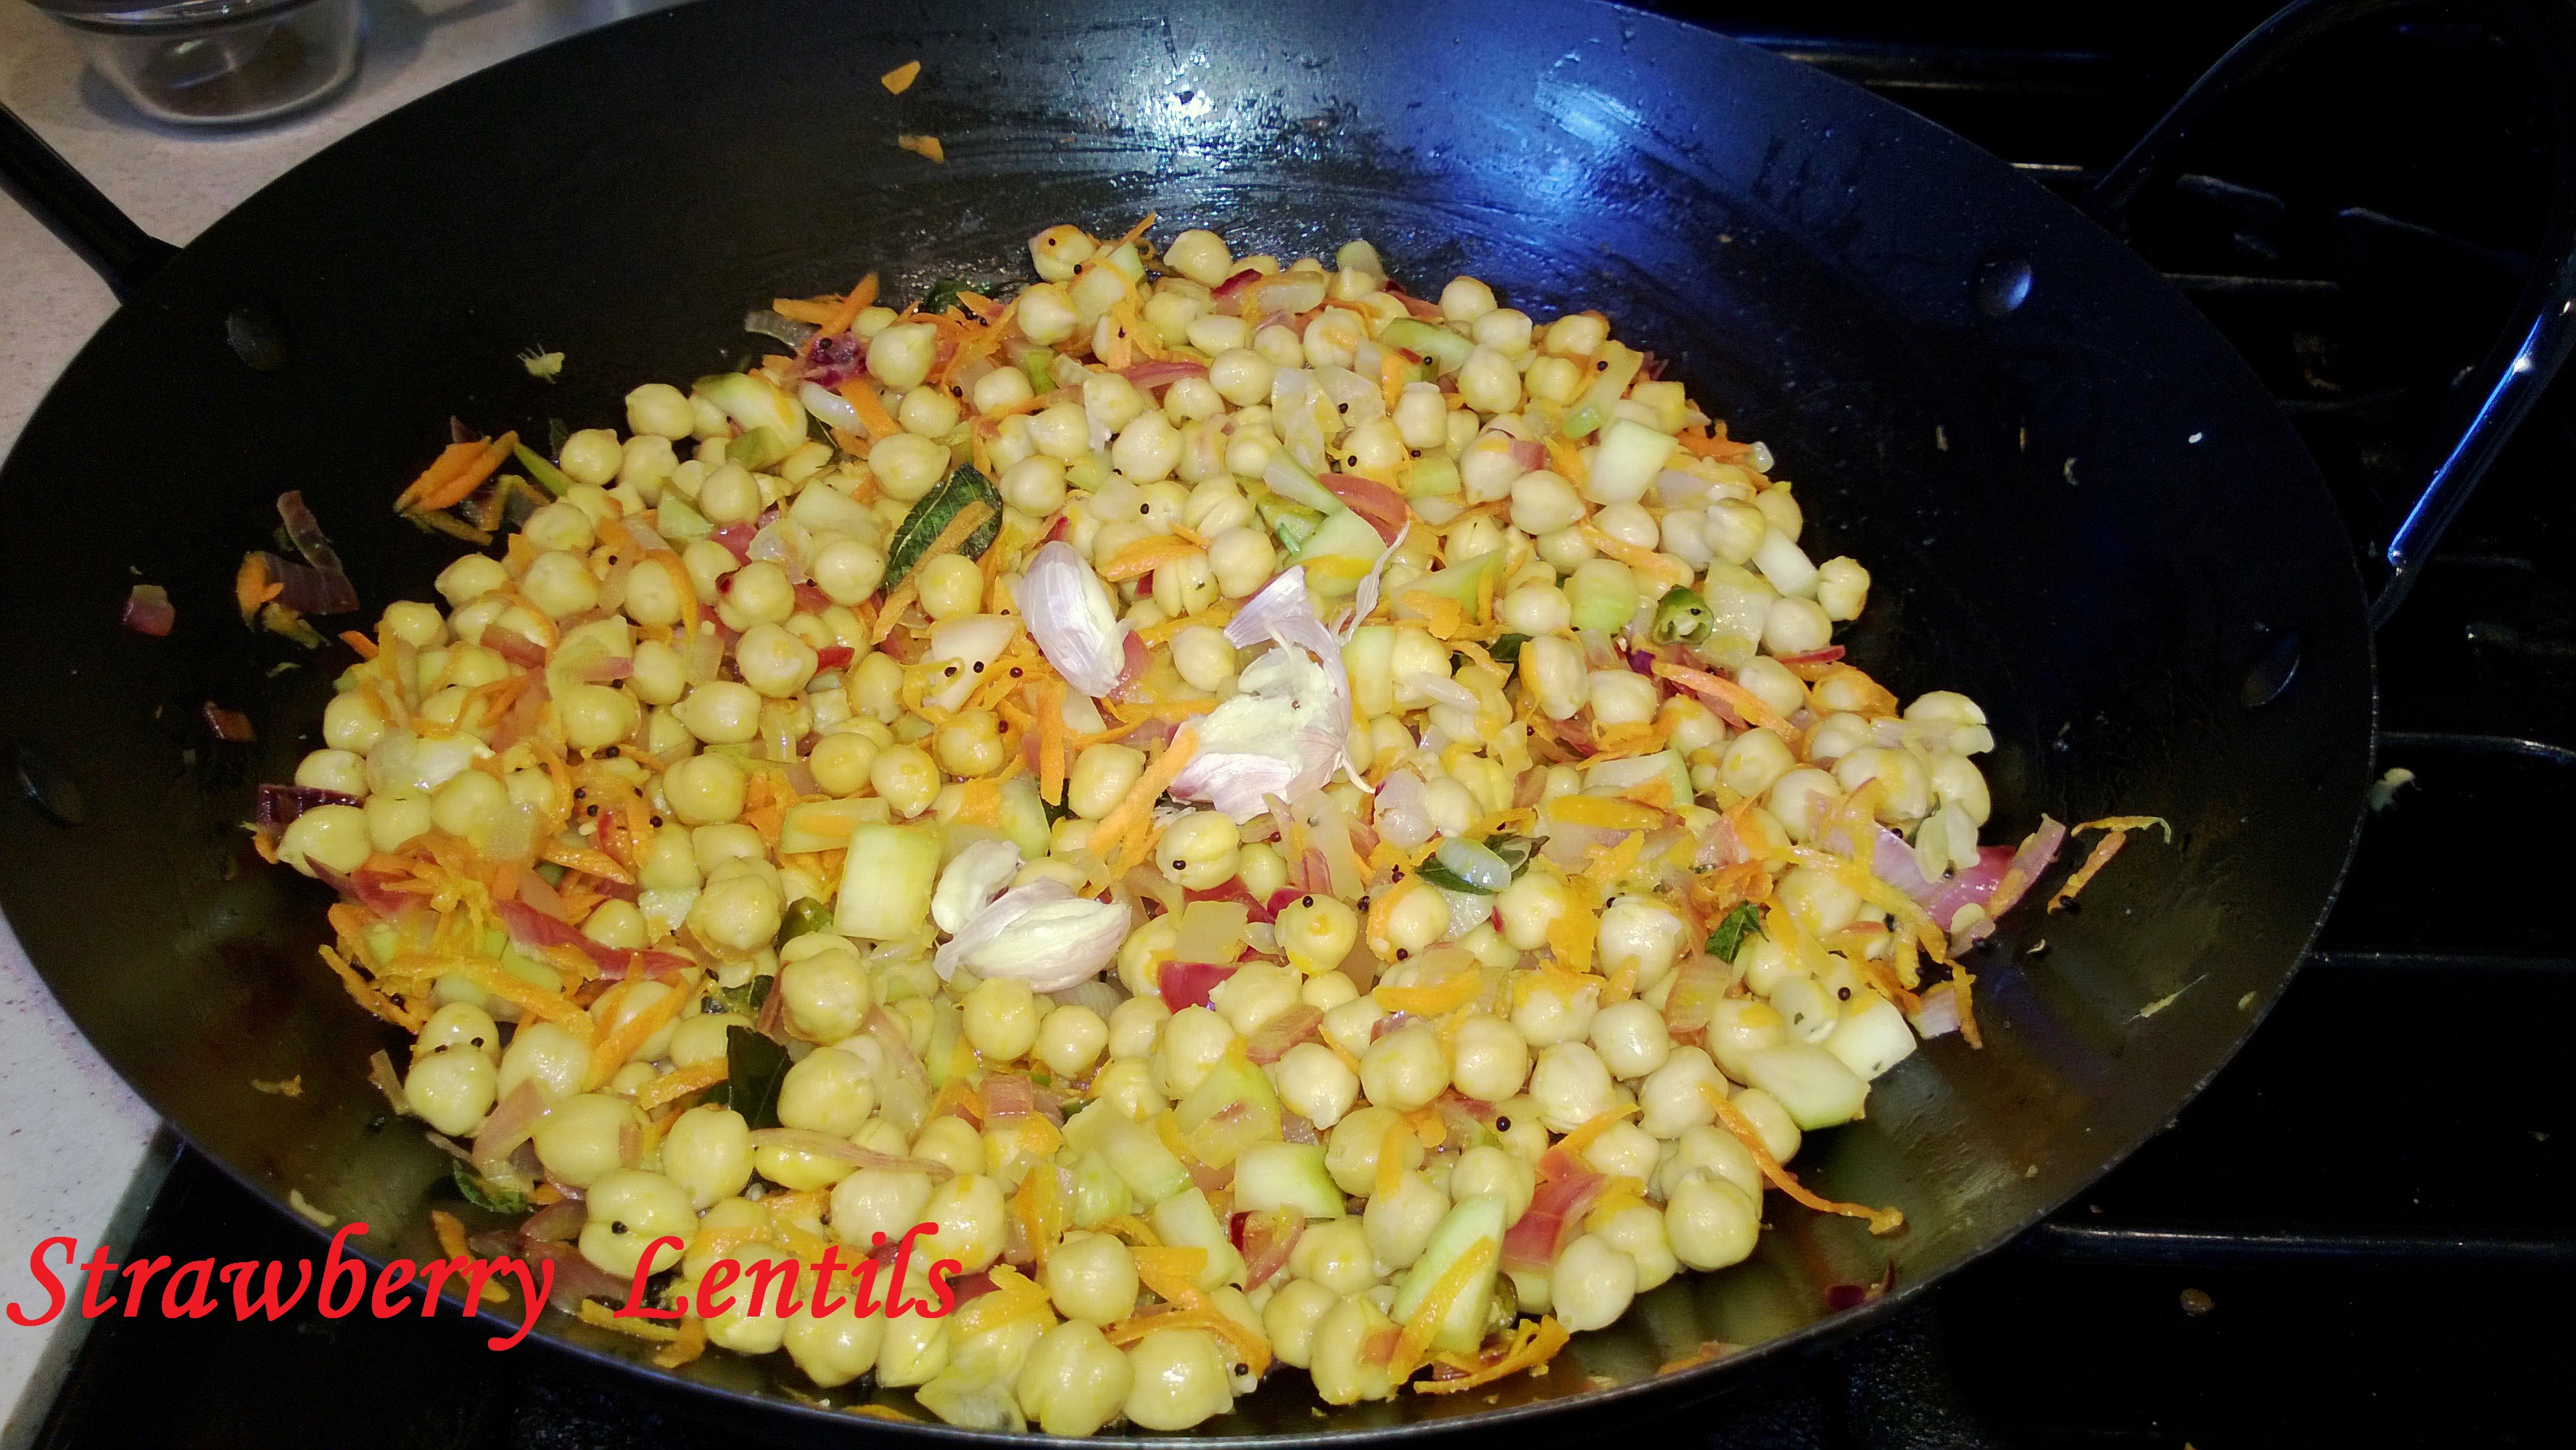
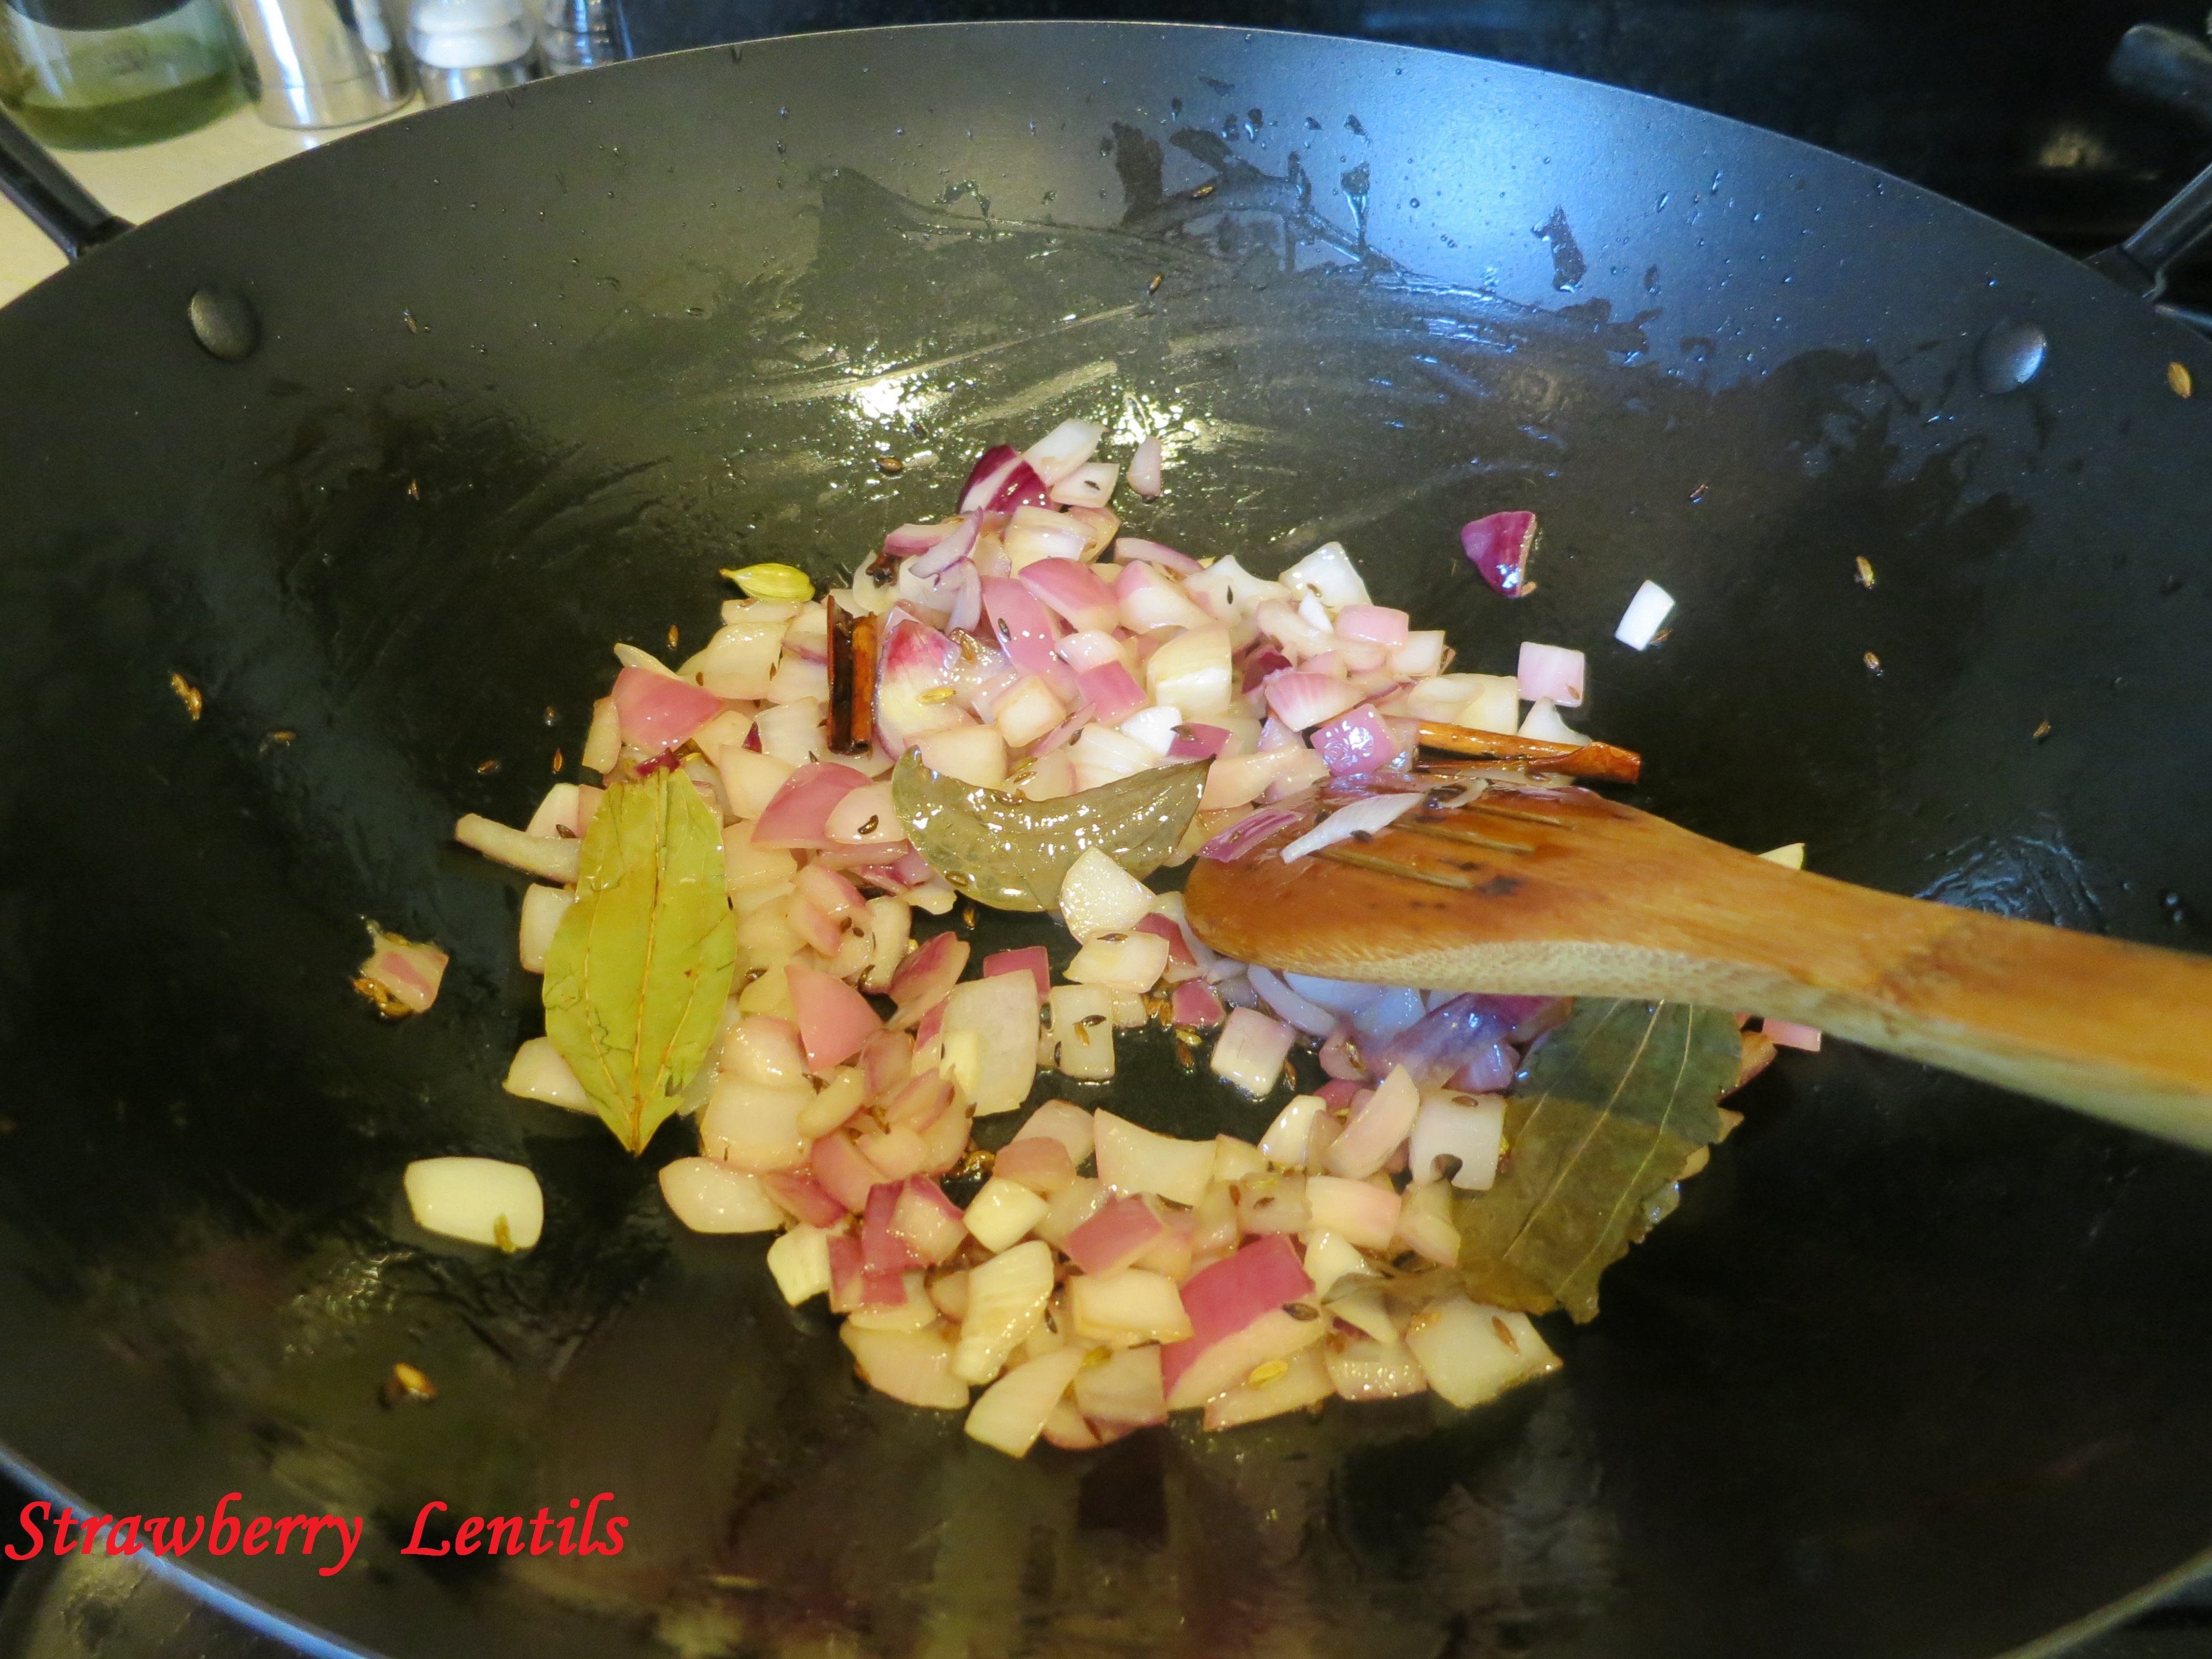
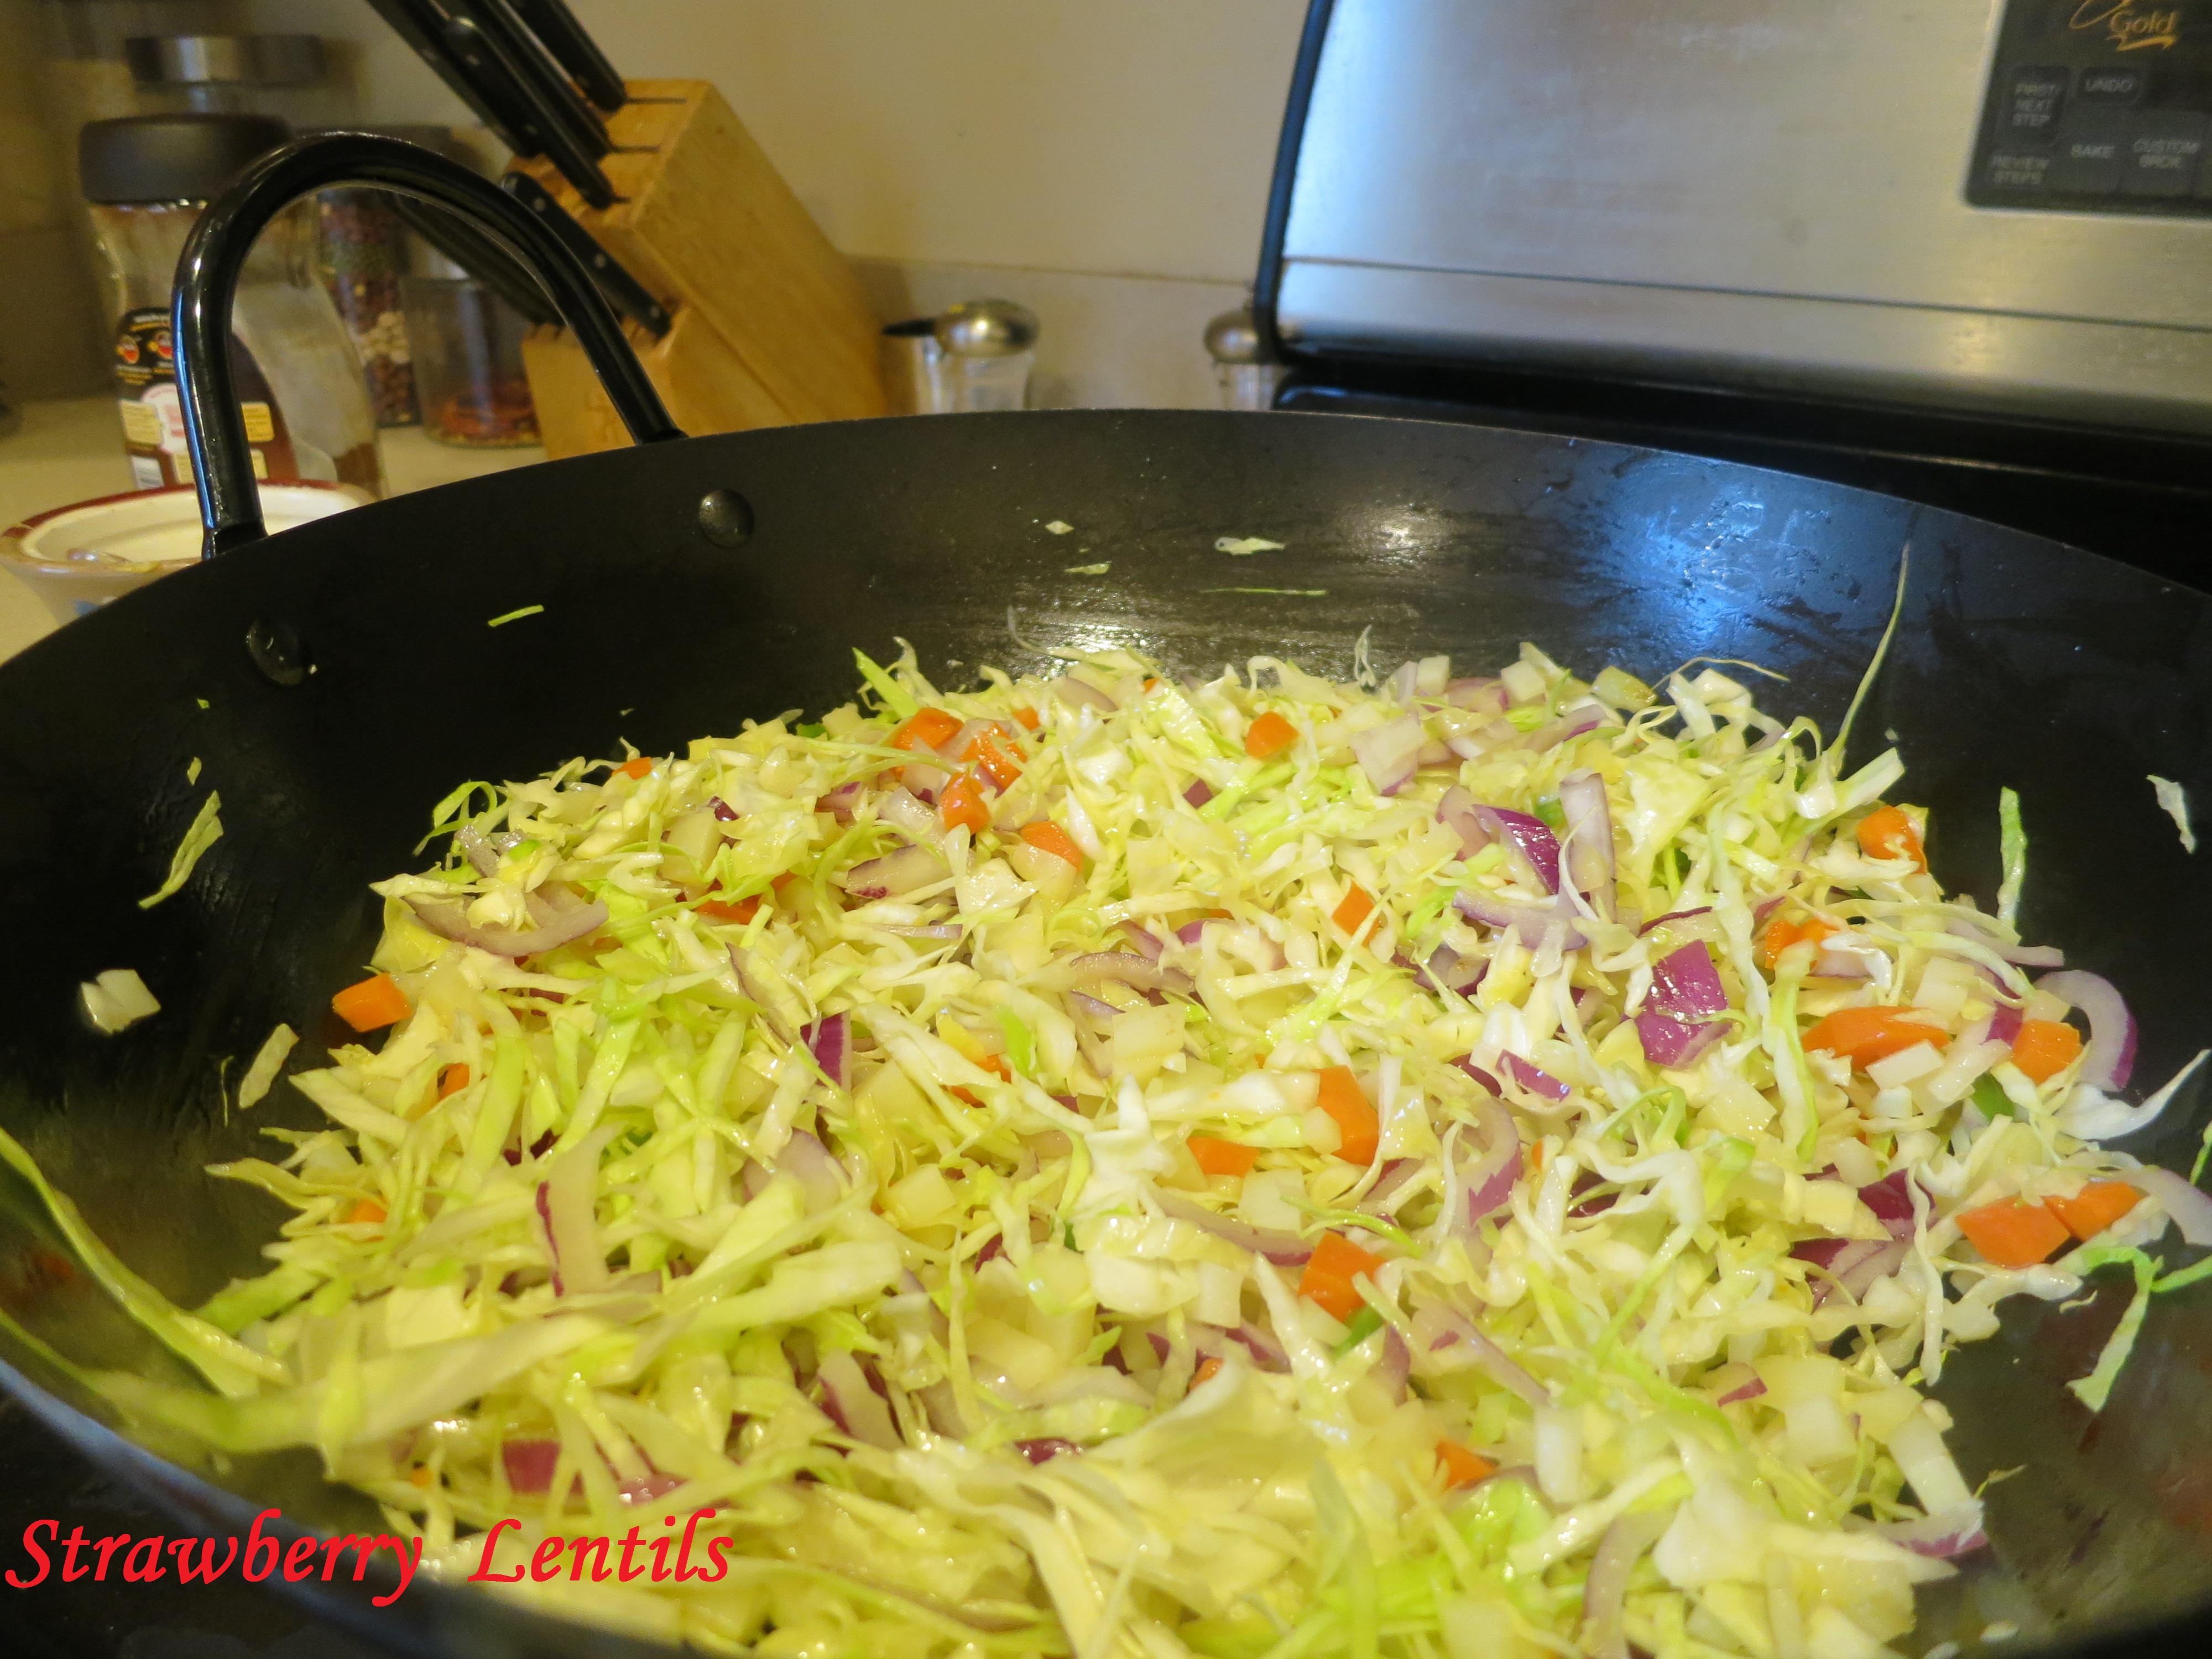
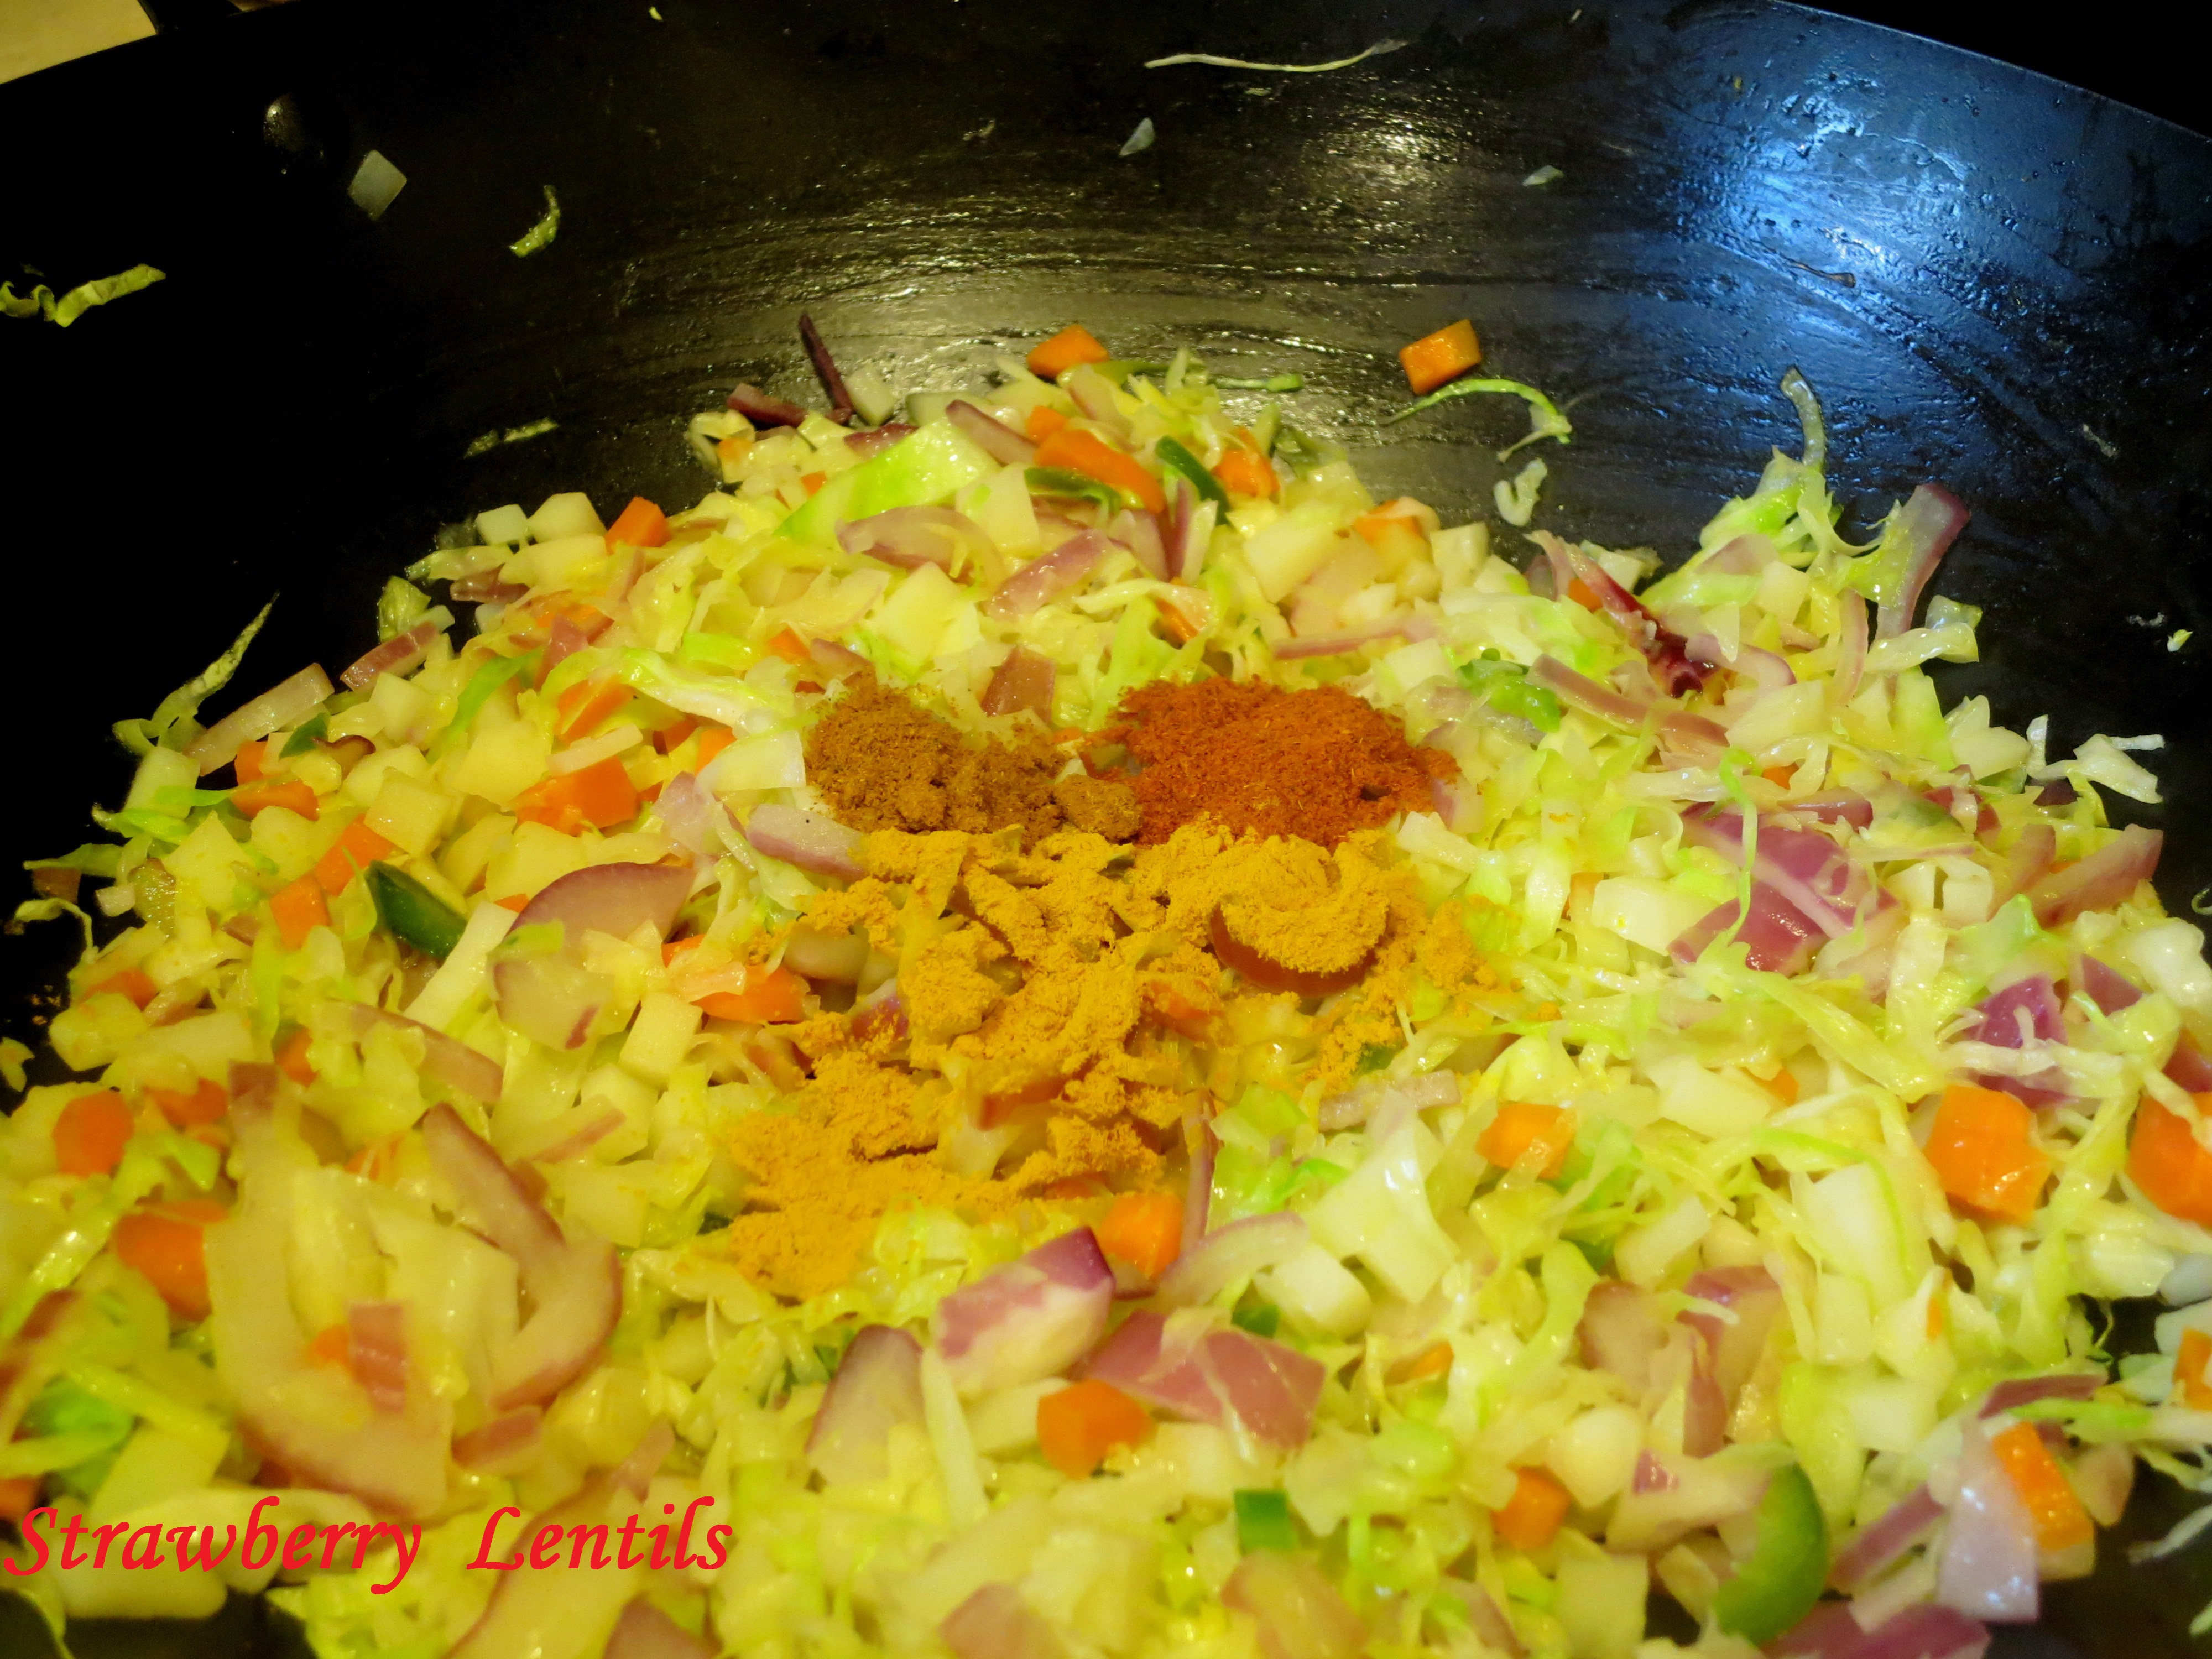
  • Add the cabbage and onion together. It is very important to have the crunchiness of the onions and cabbage until the very end, so a quick stir fry for a minute is all the cooking that is needed.Image
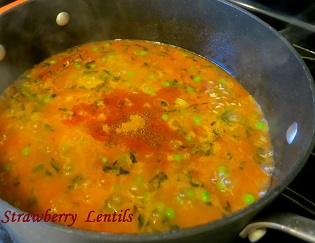
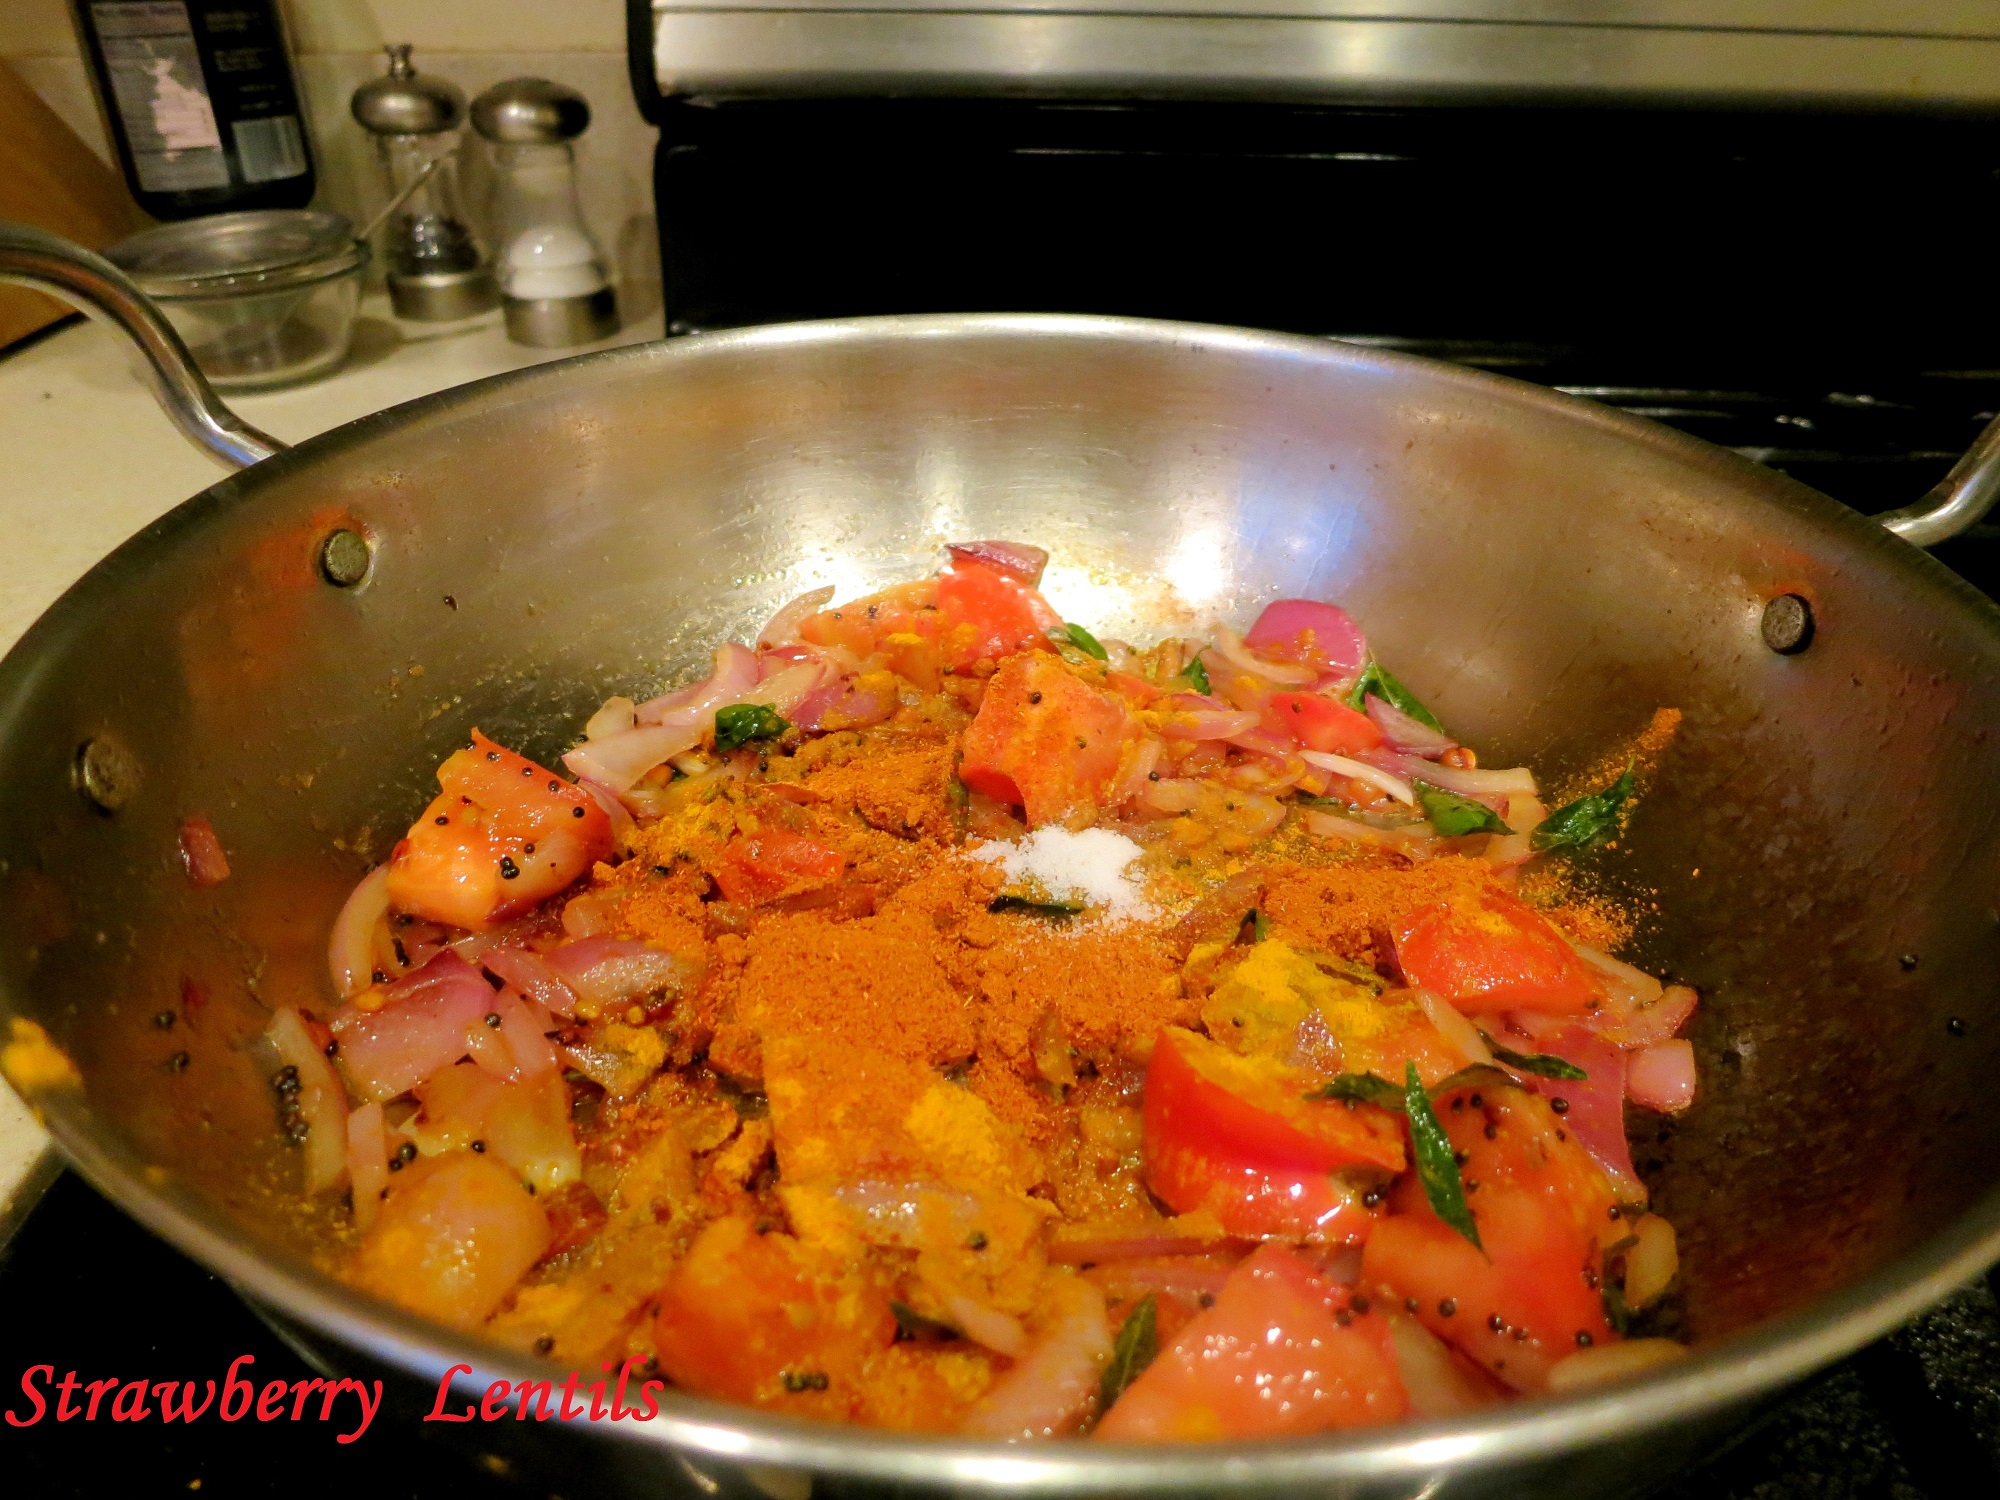
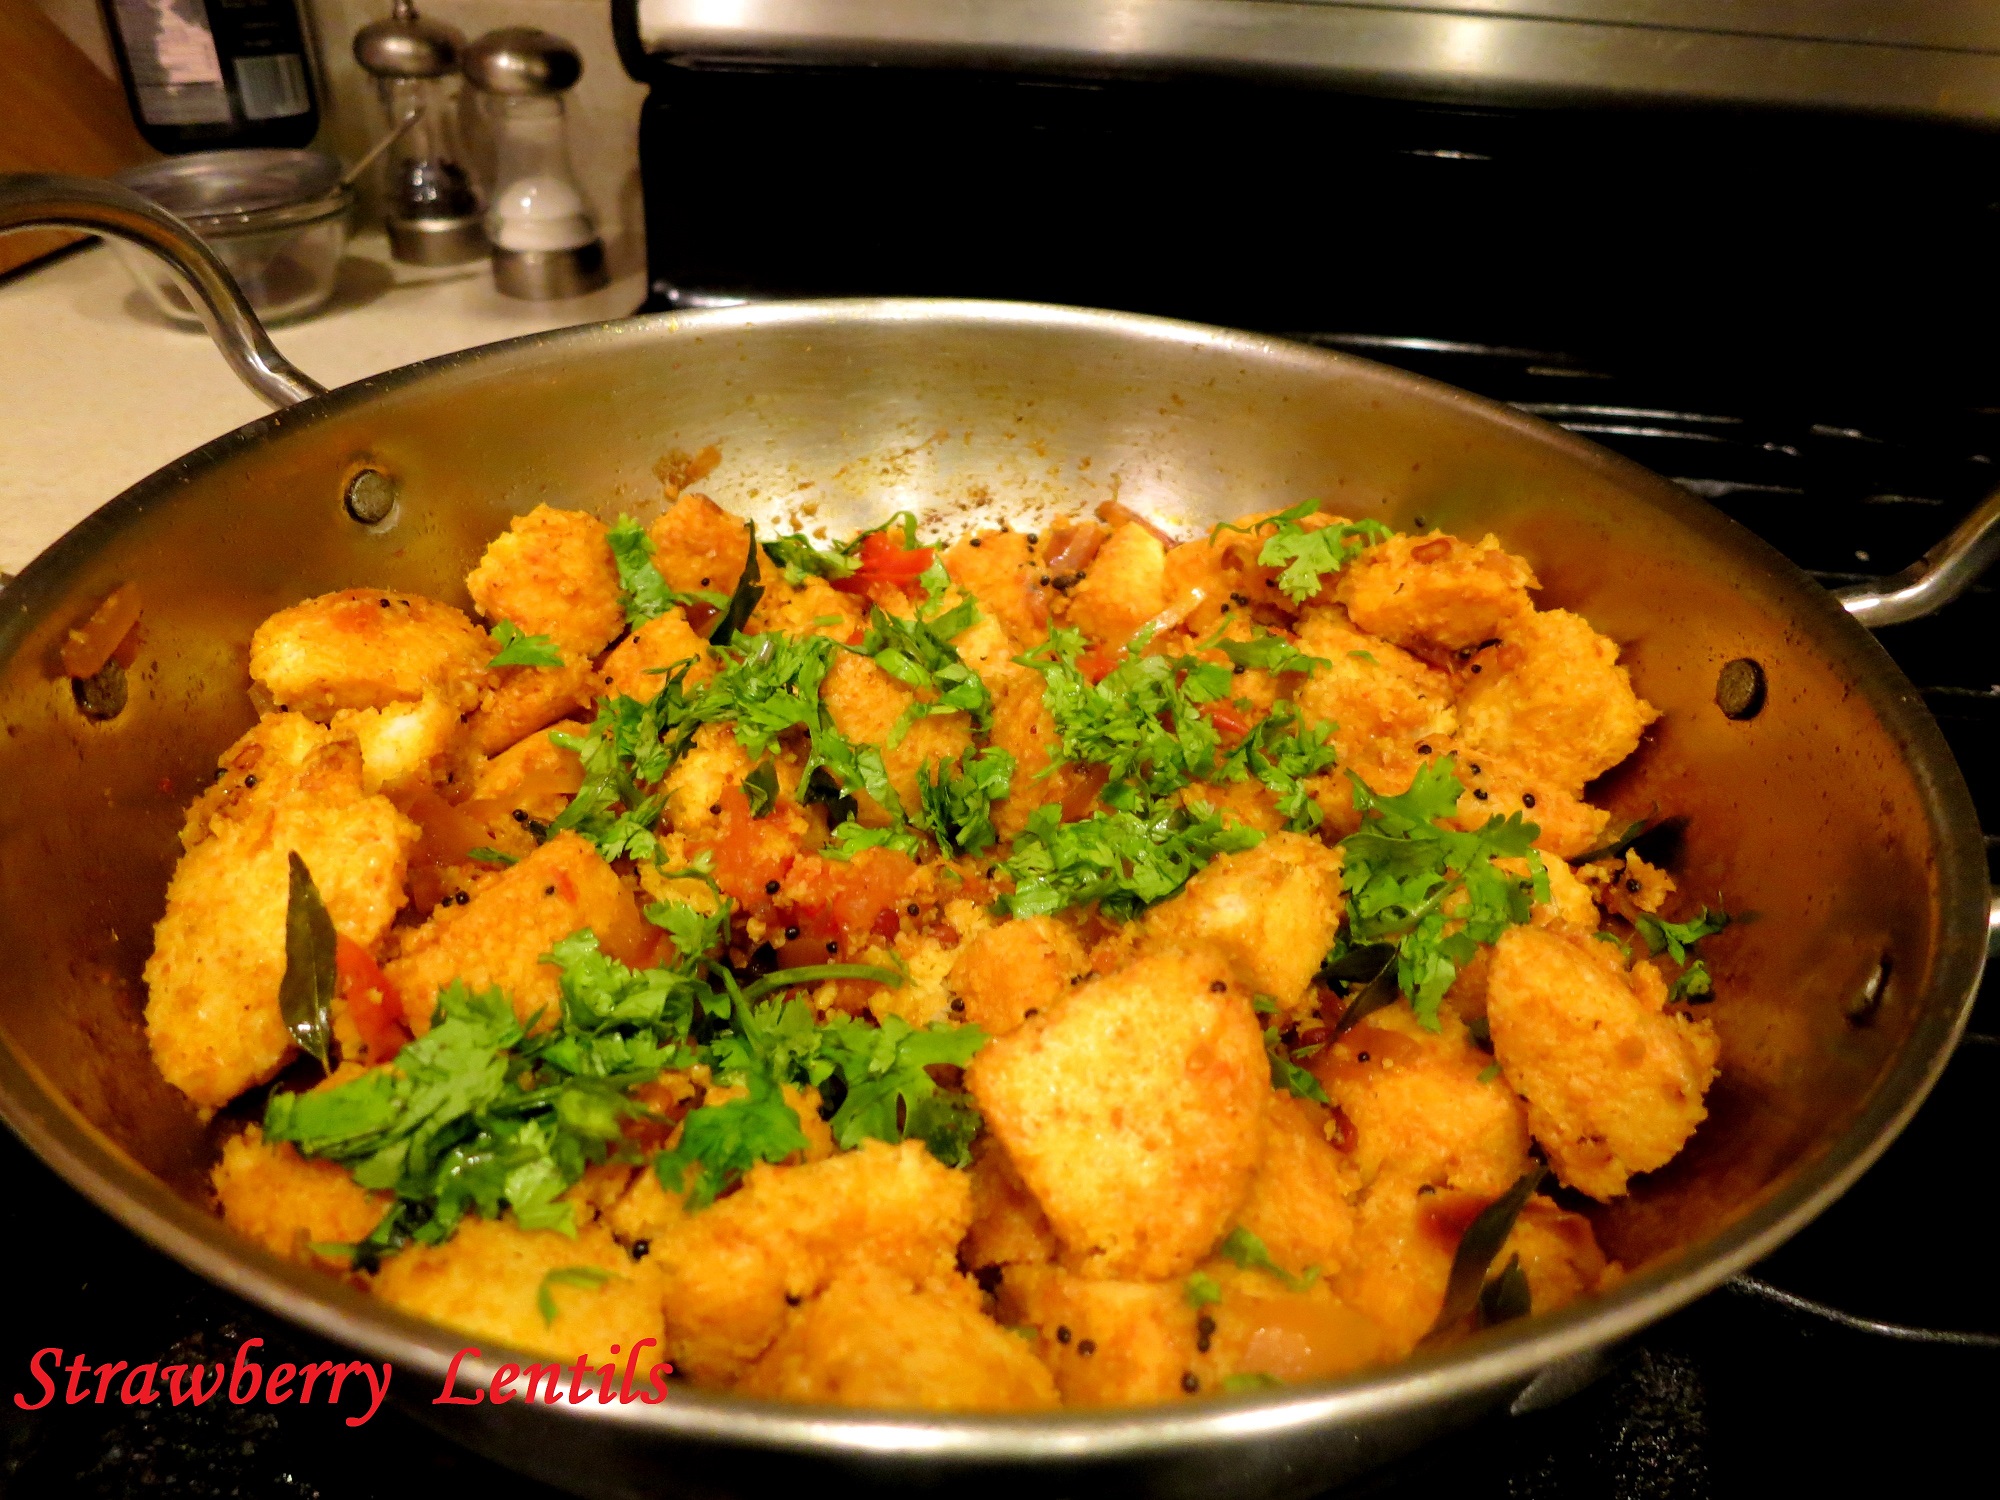
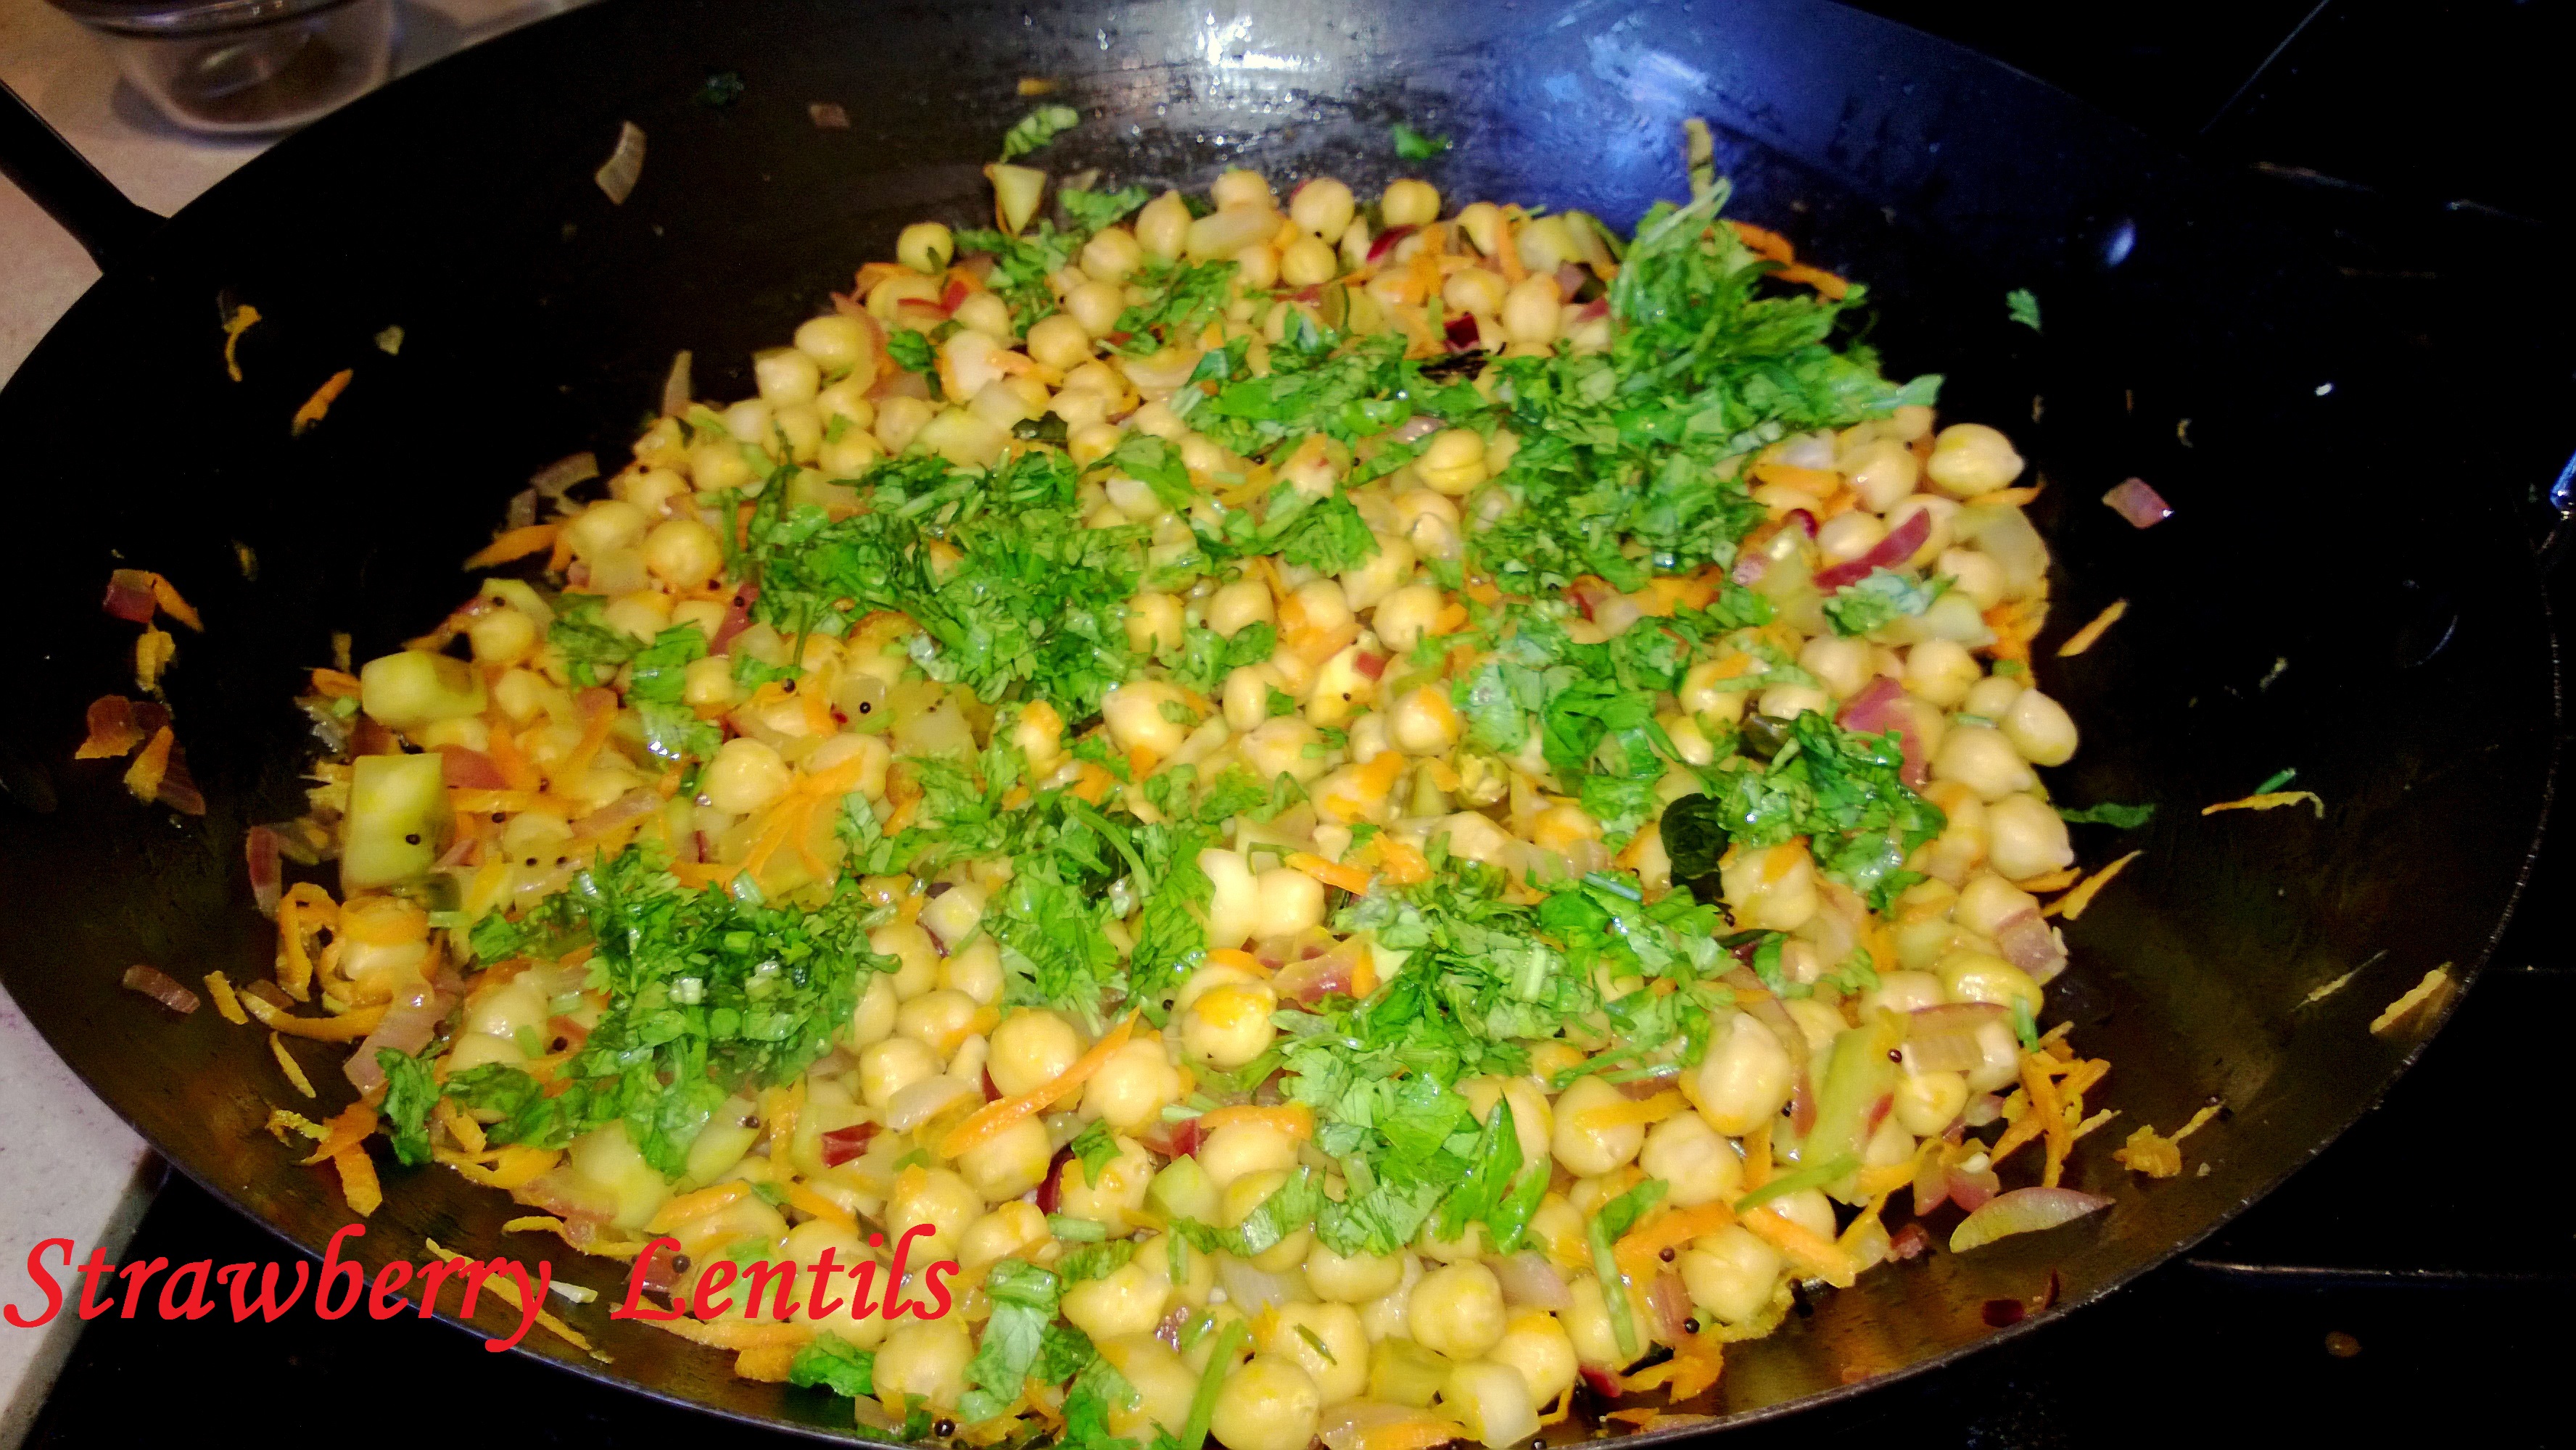
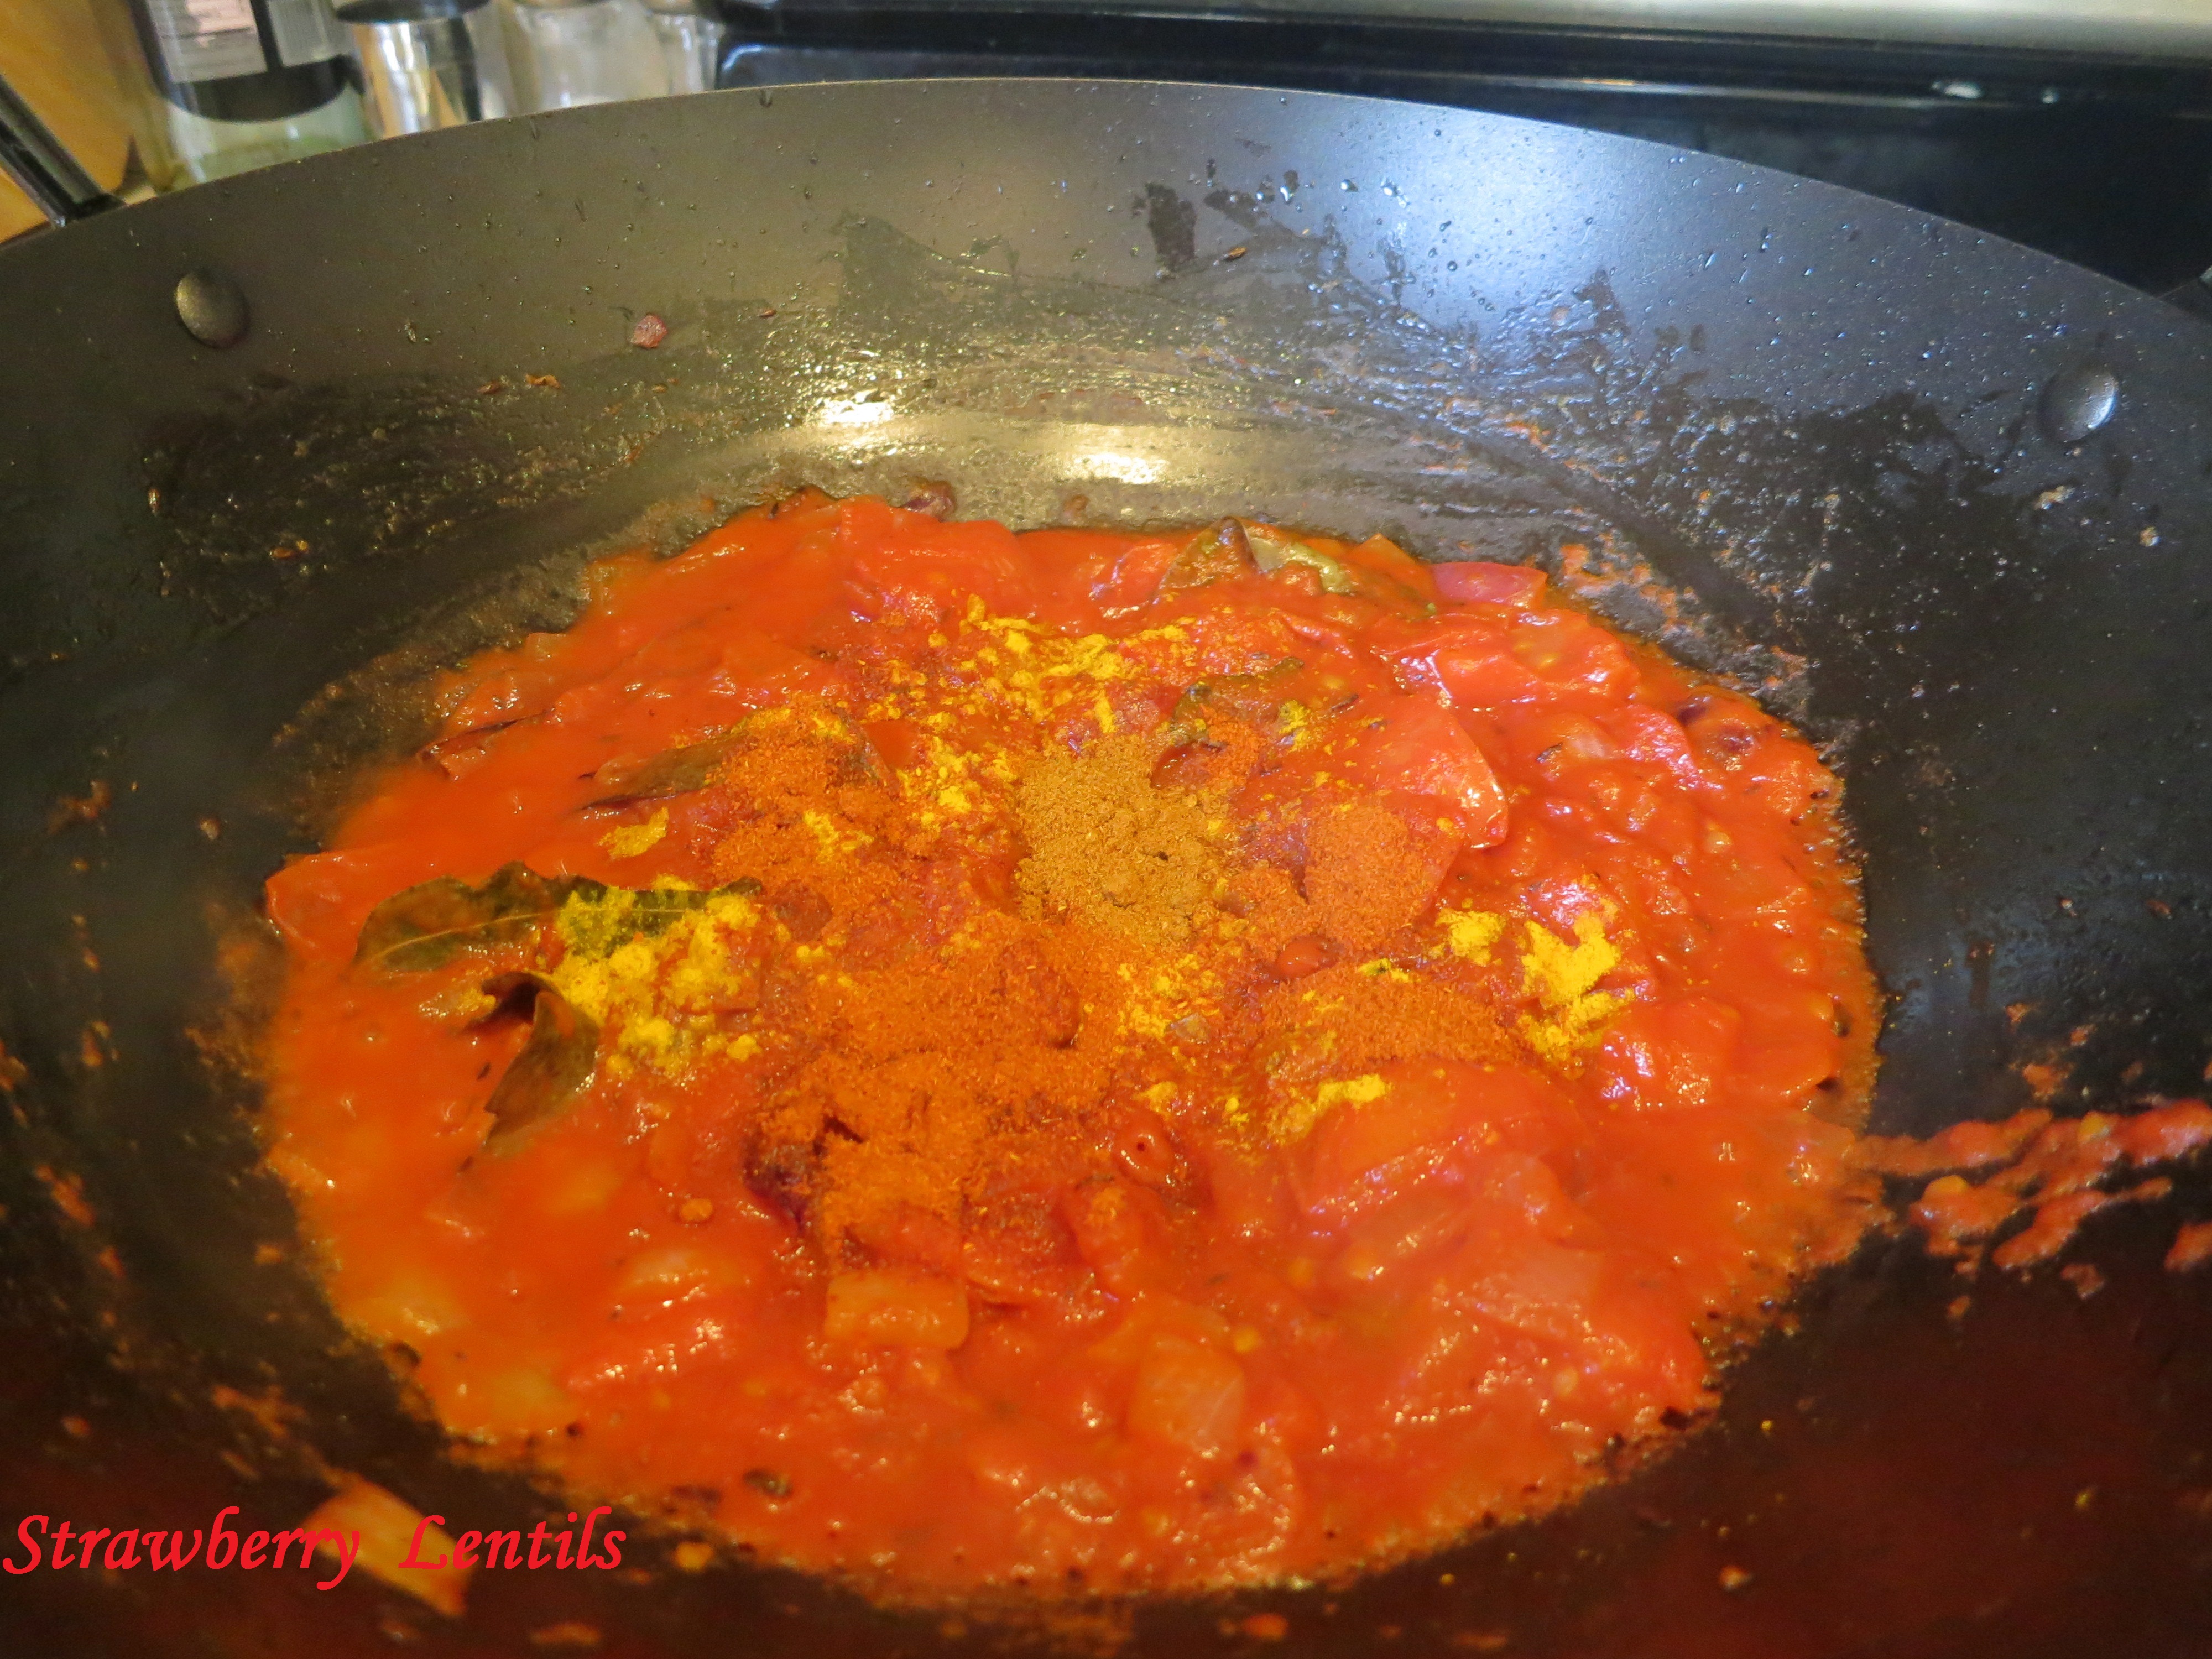
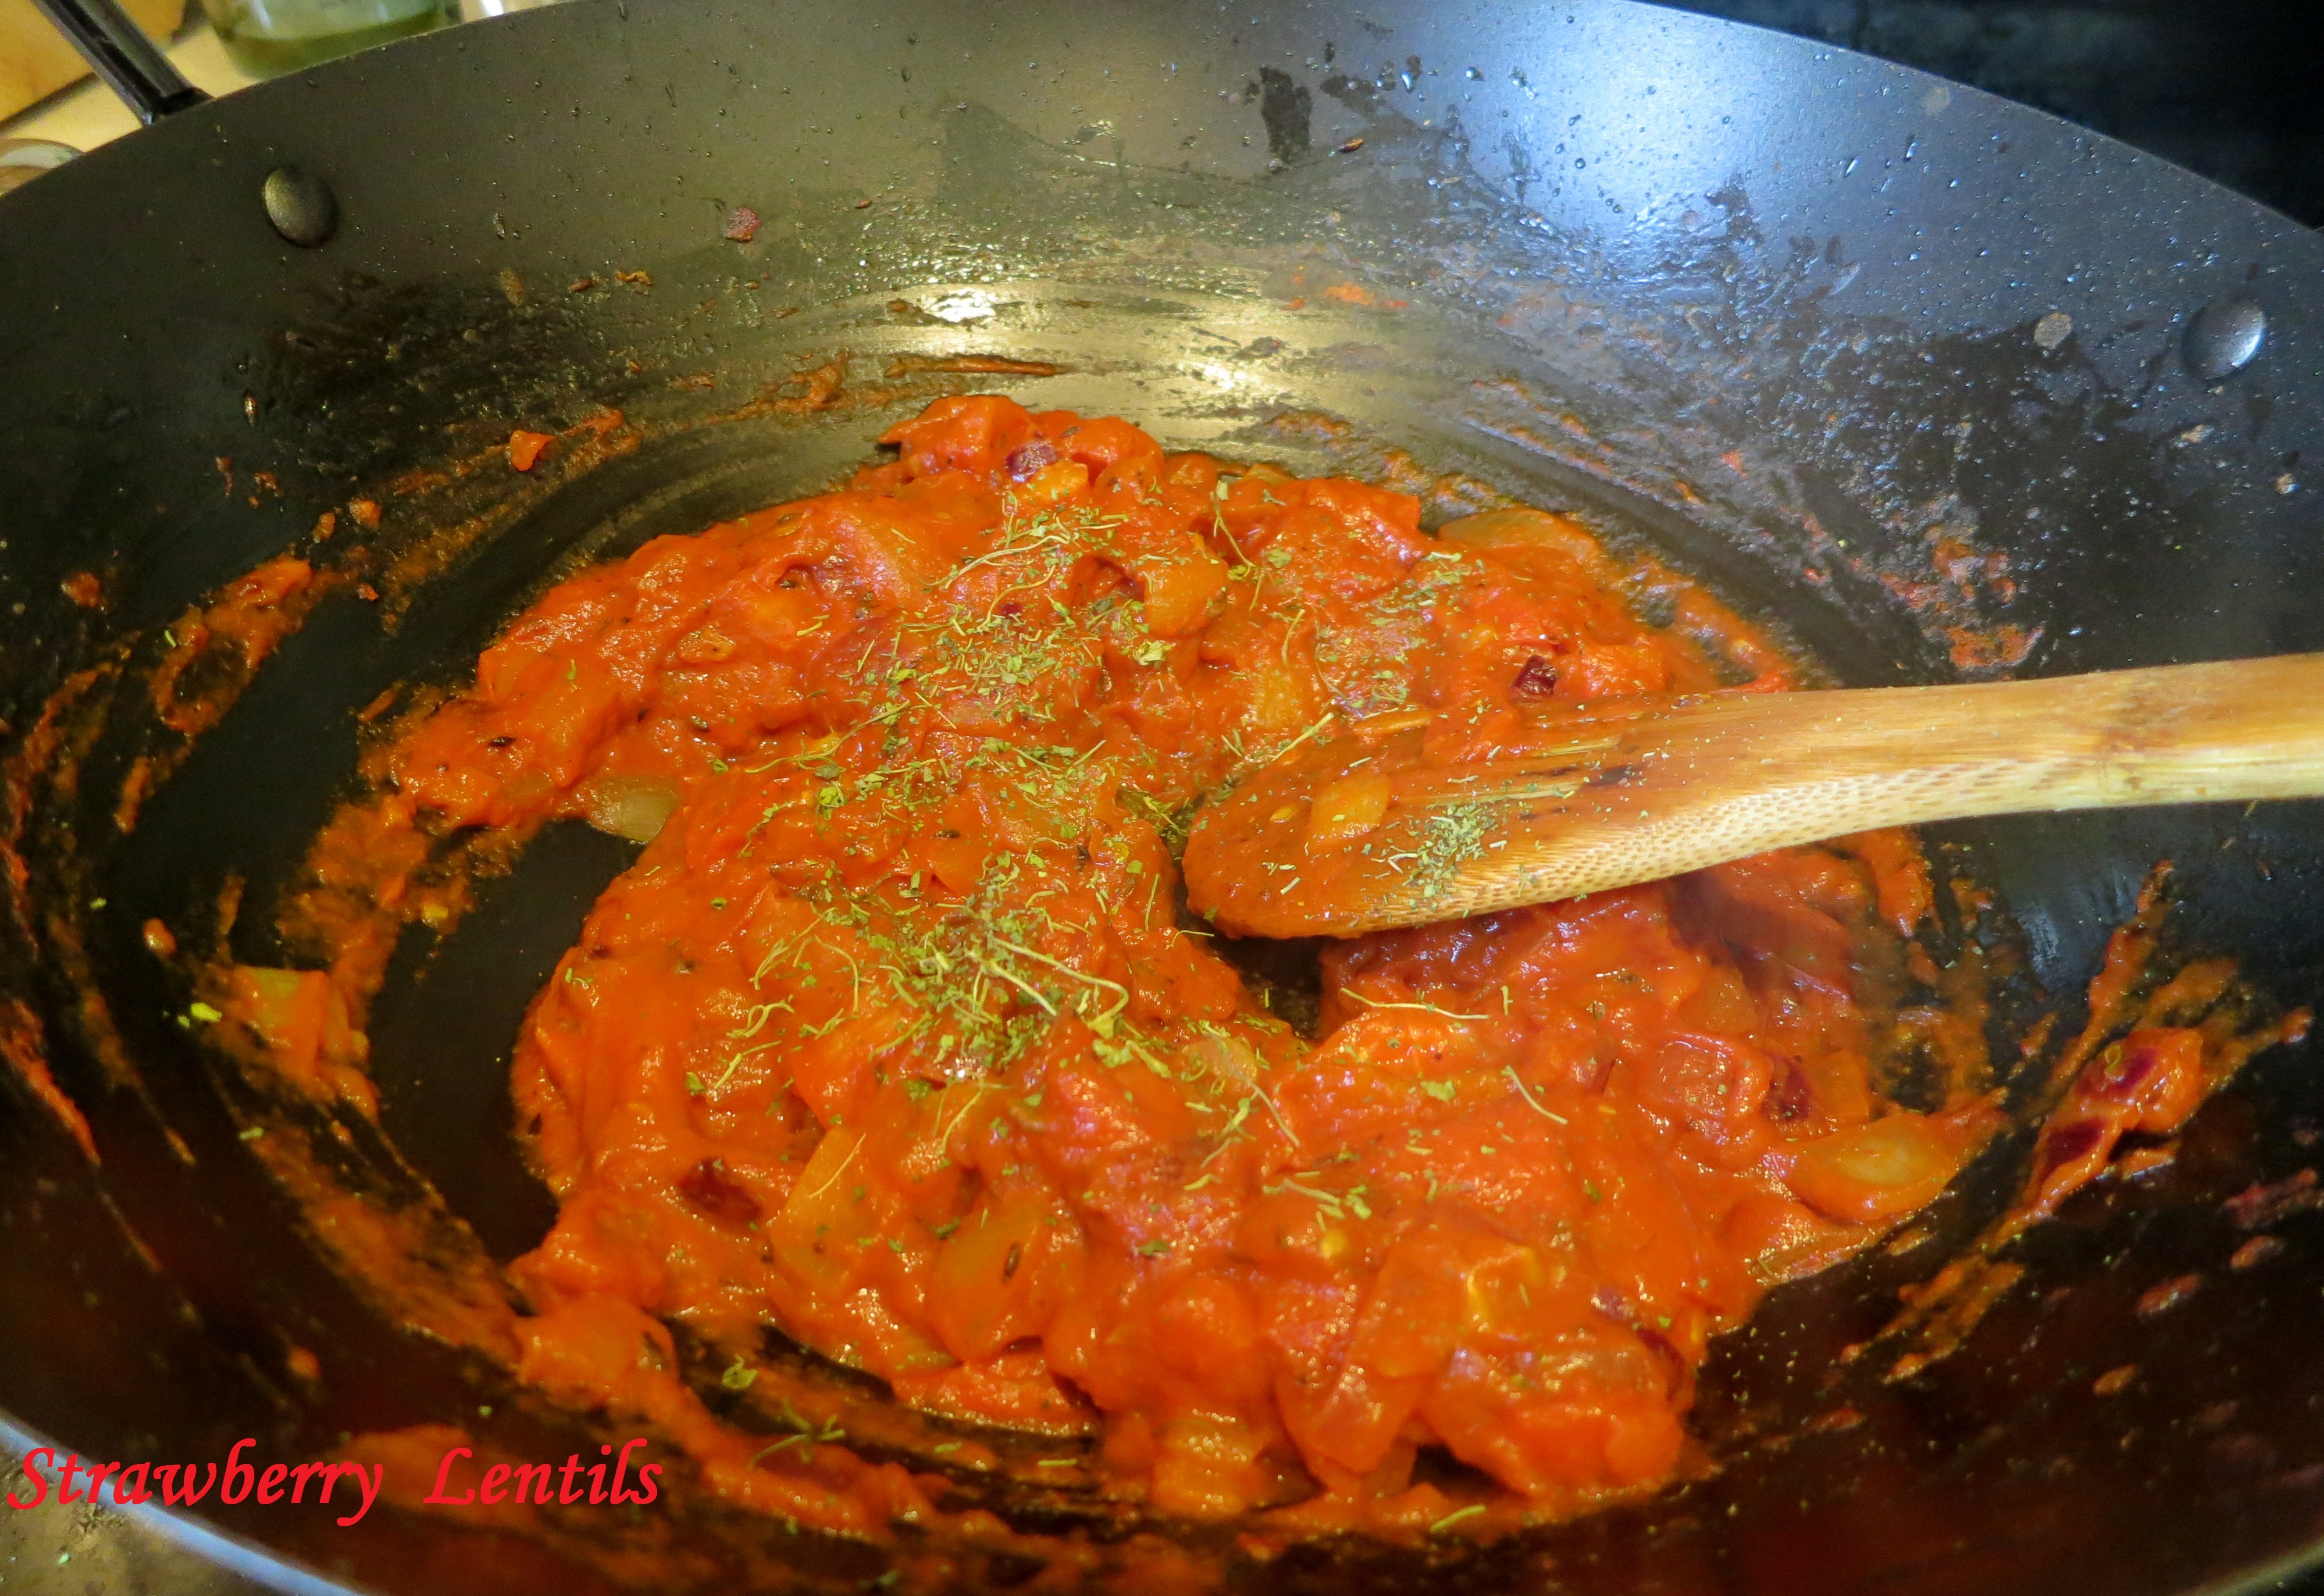
  • Add 1 tsp. of turmeric powder, 2 tsp of red chilli powder and 1/2 tsp of garam masala. Add more salt if needed.

Image

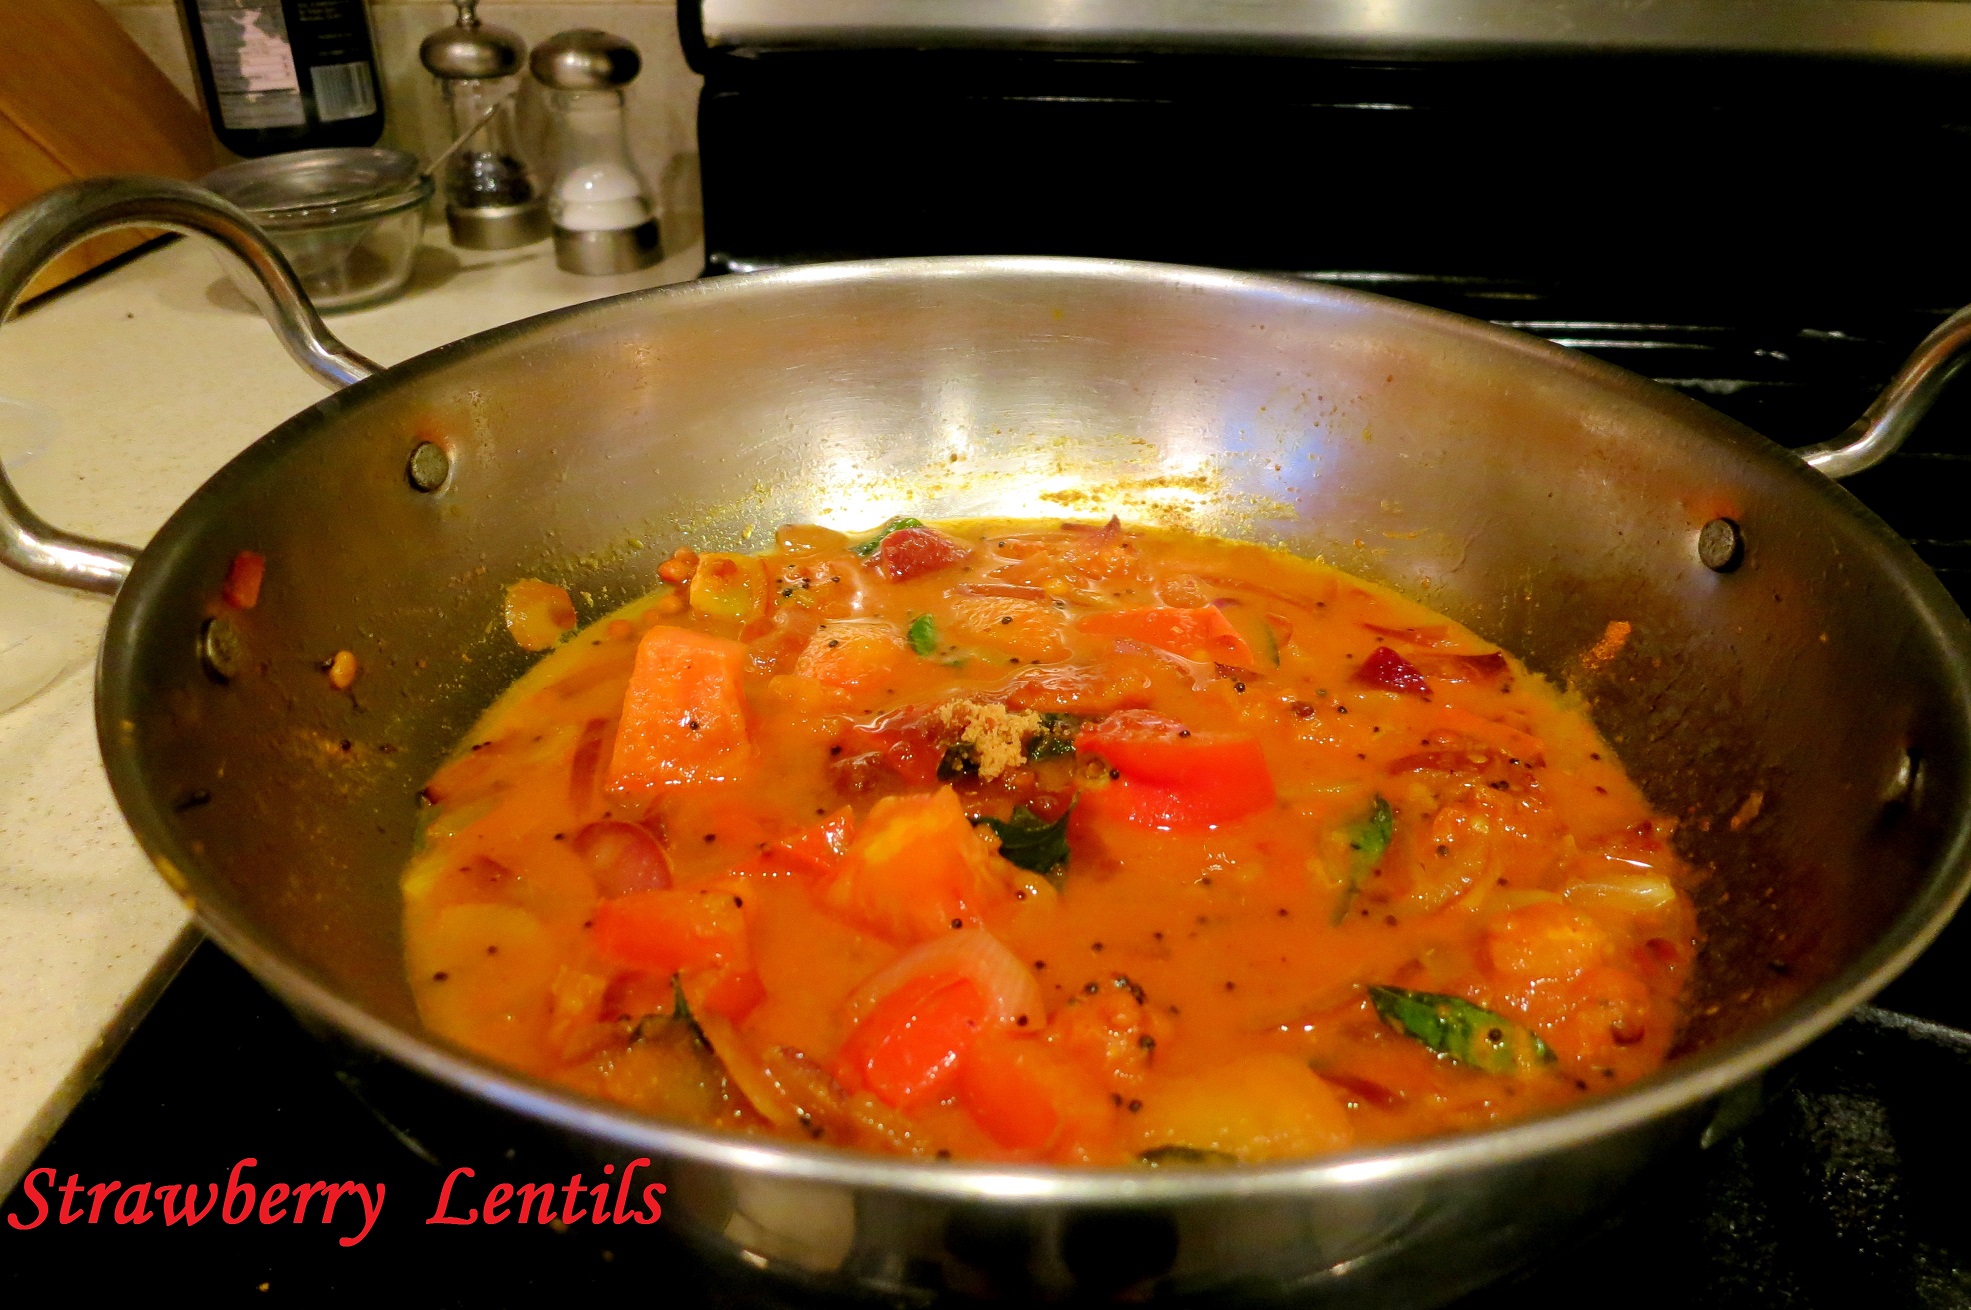
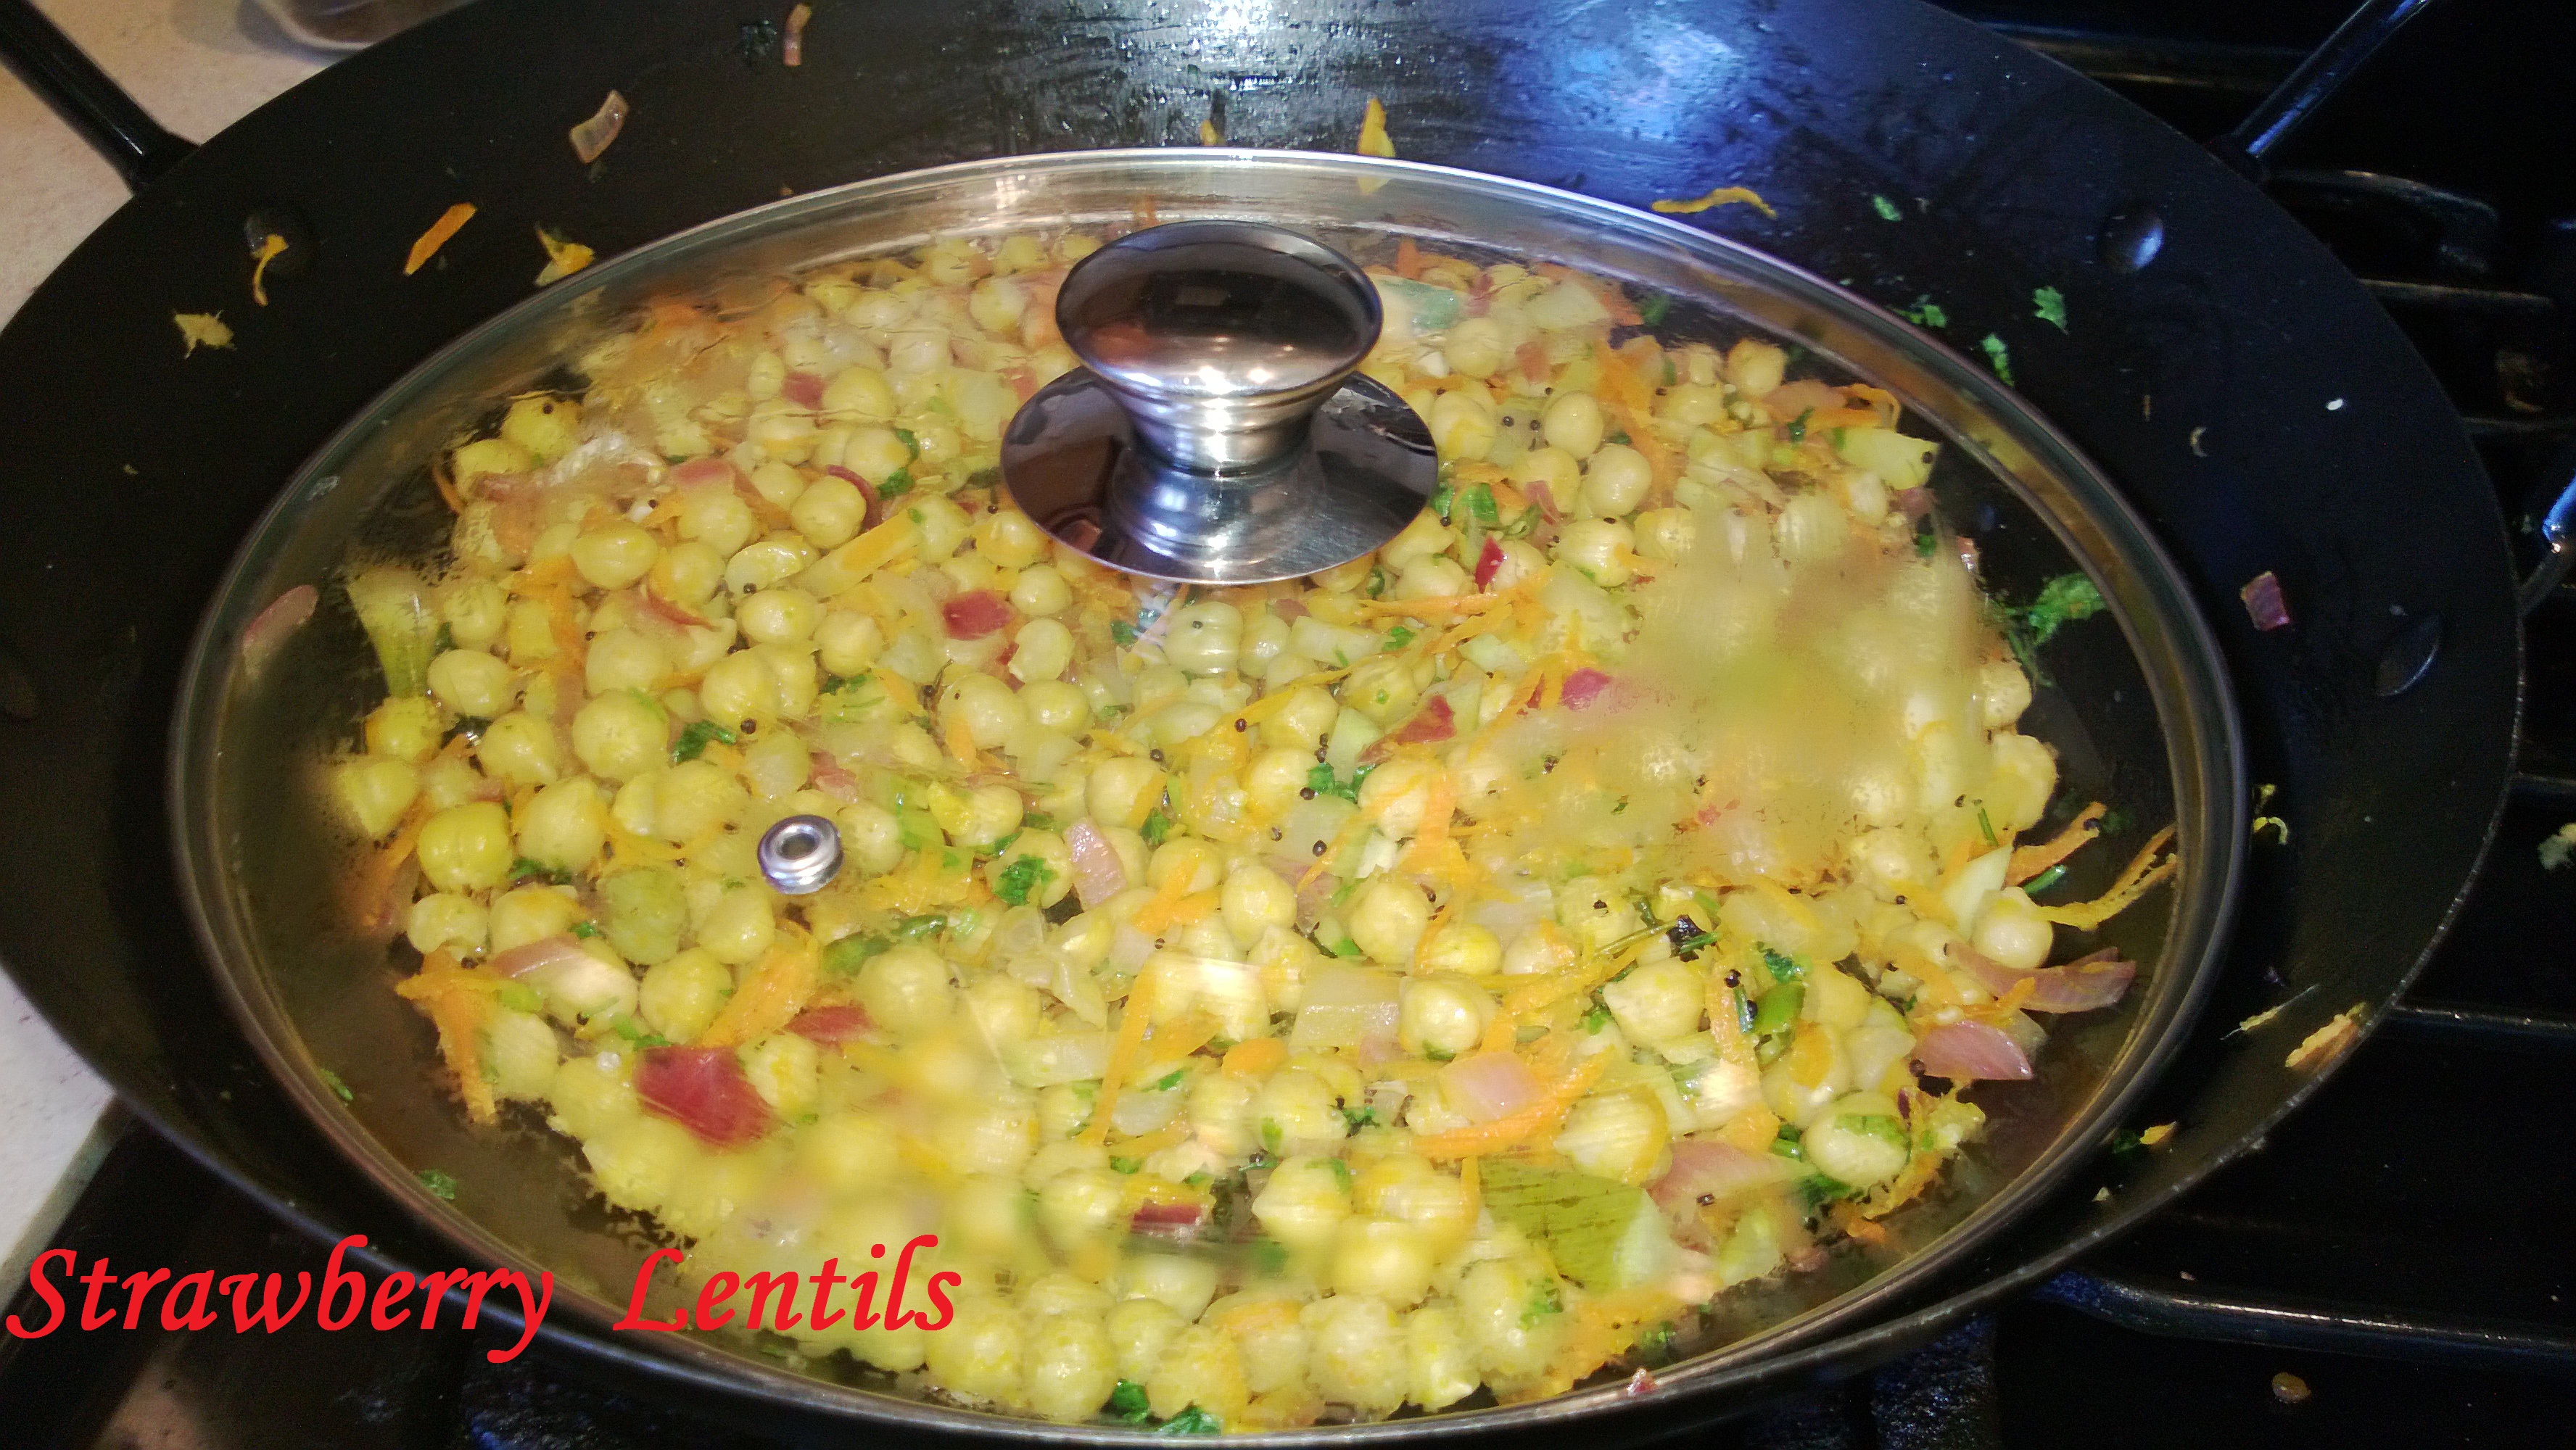
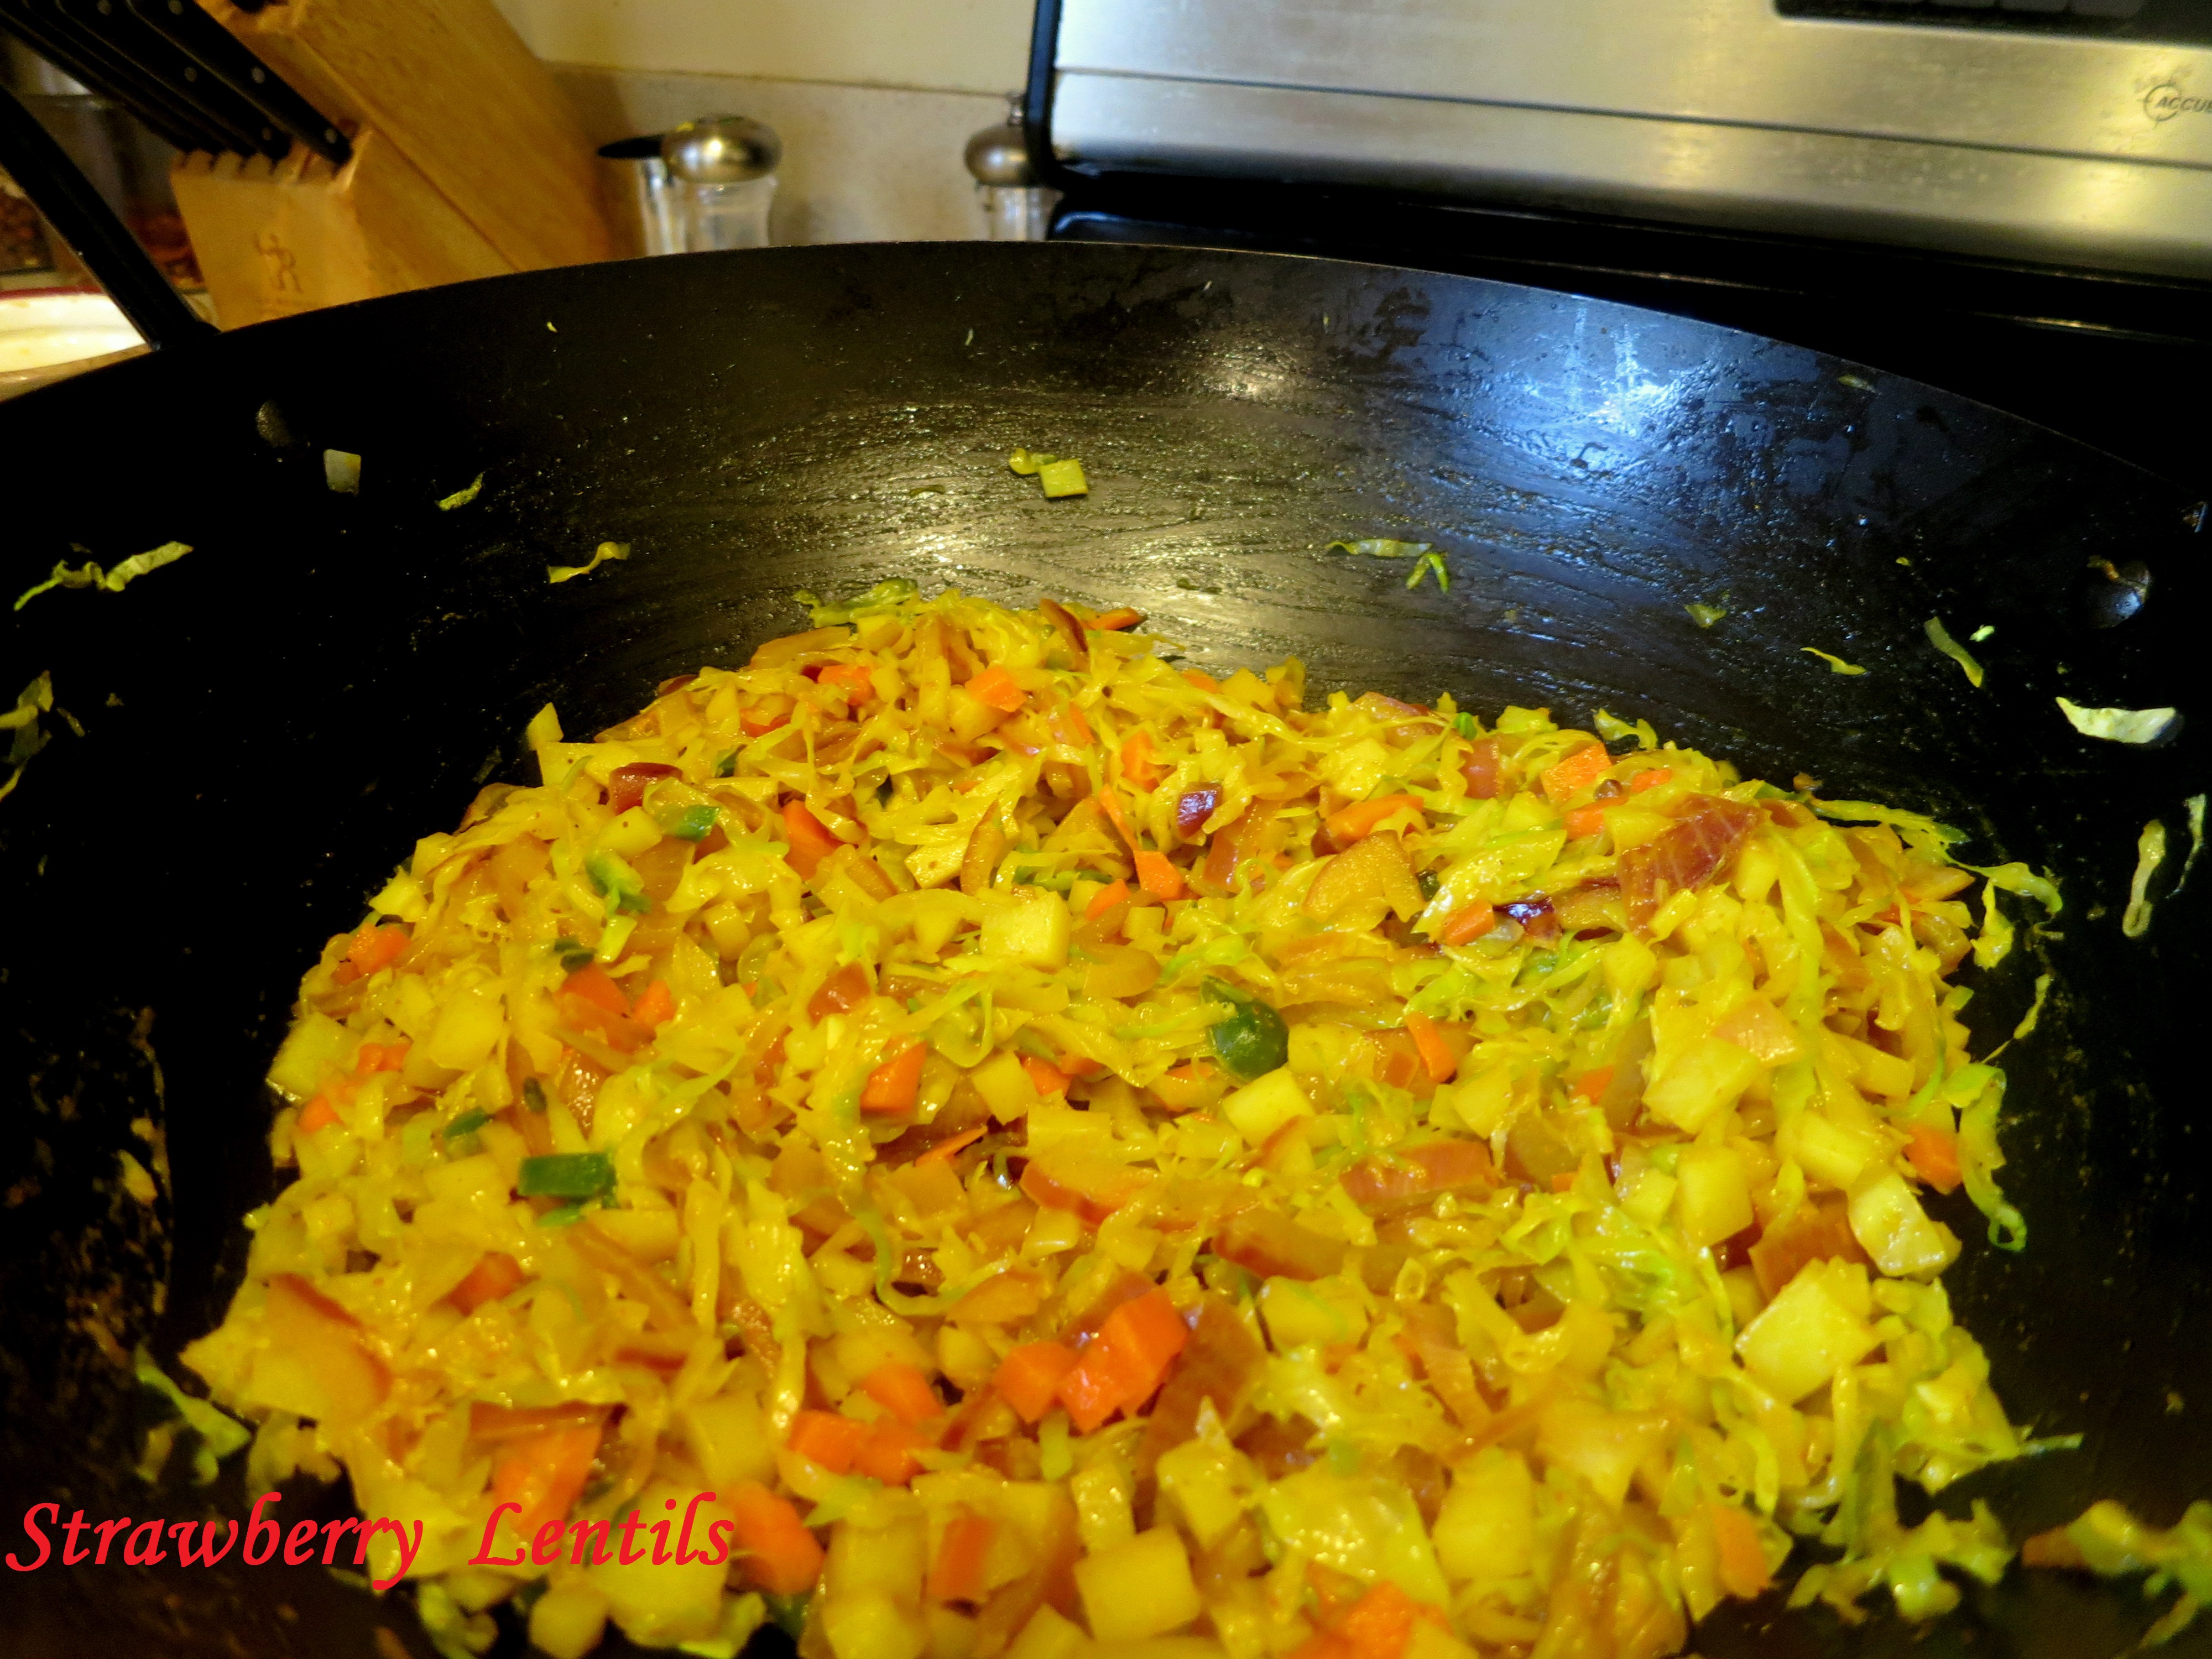
  • Mix well and cook for 2 minutes until the raw smell of the powders go away. Remove from heat and allow it to cool for sometime. That makes the filling.

Image

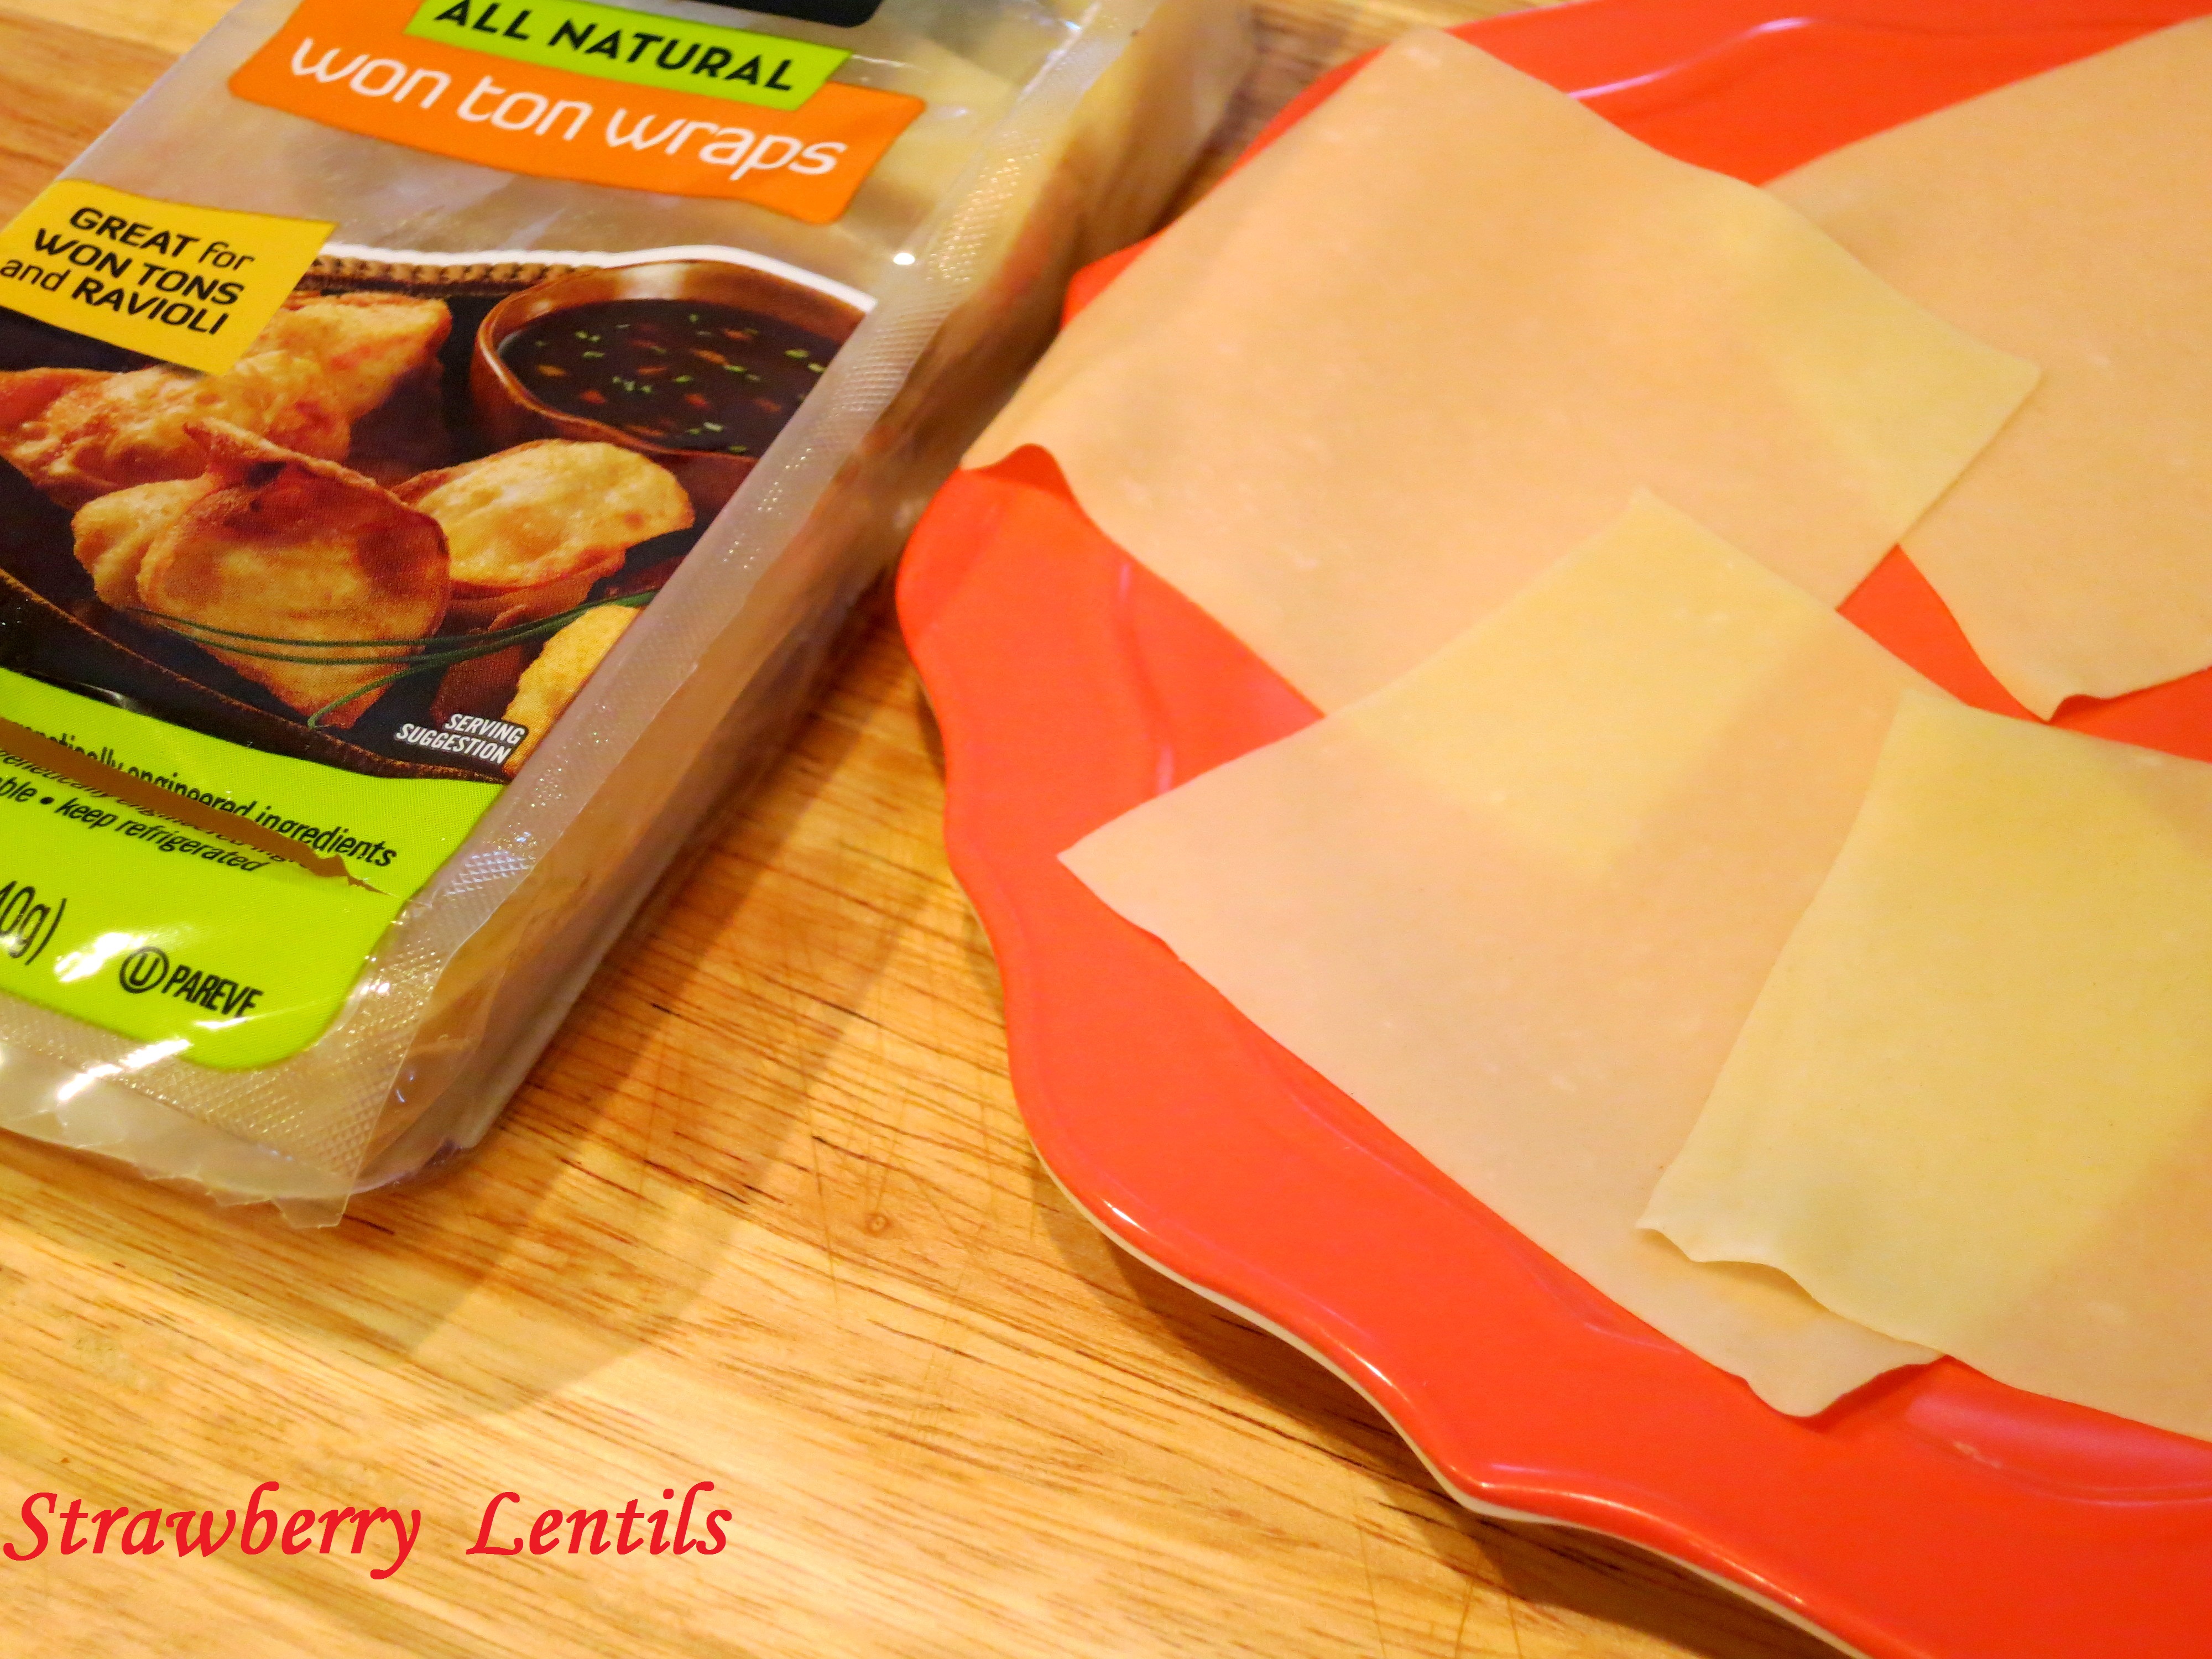
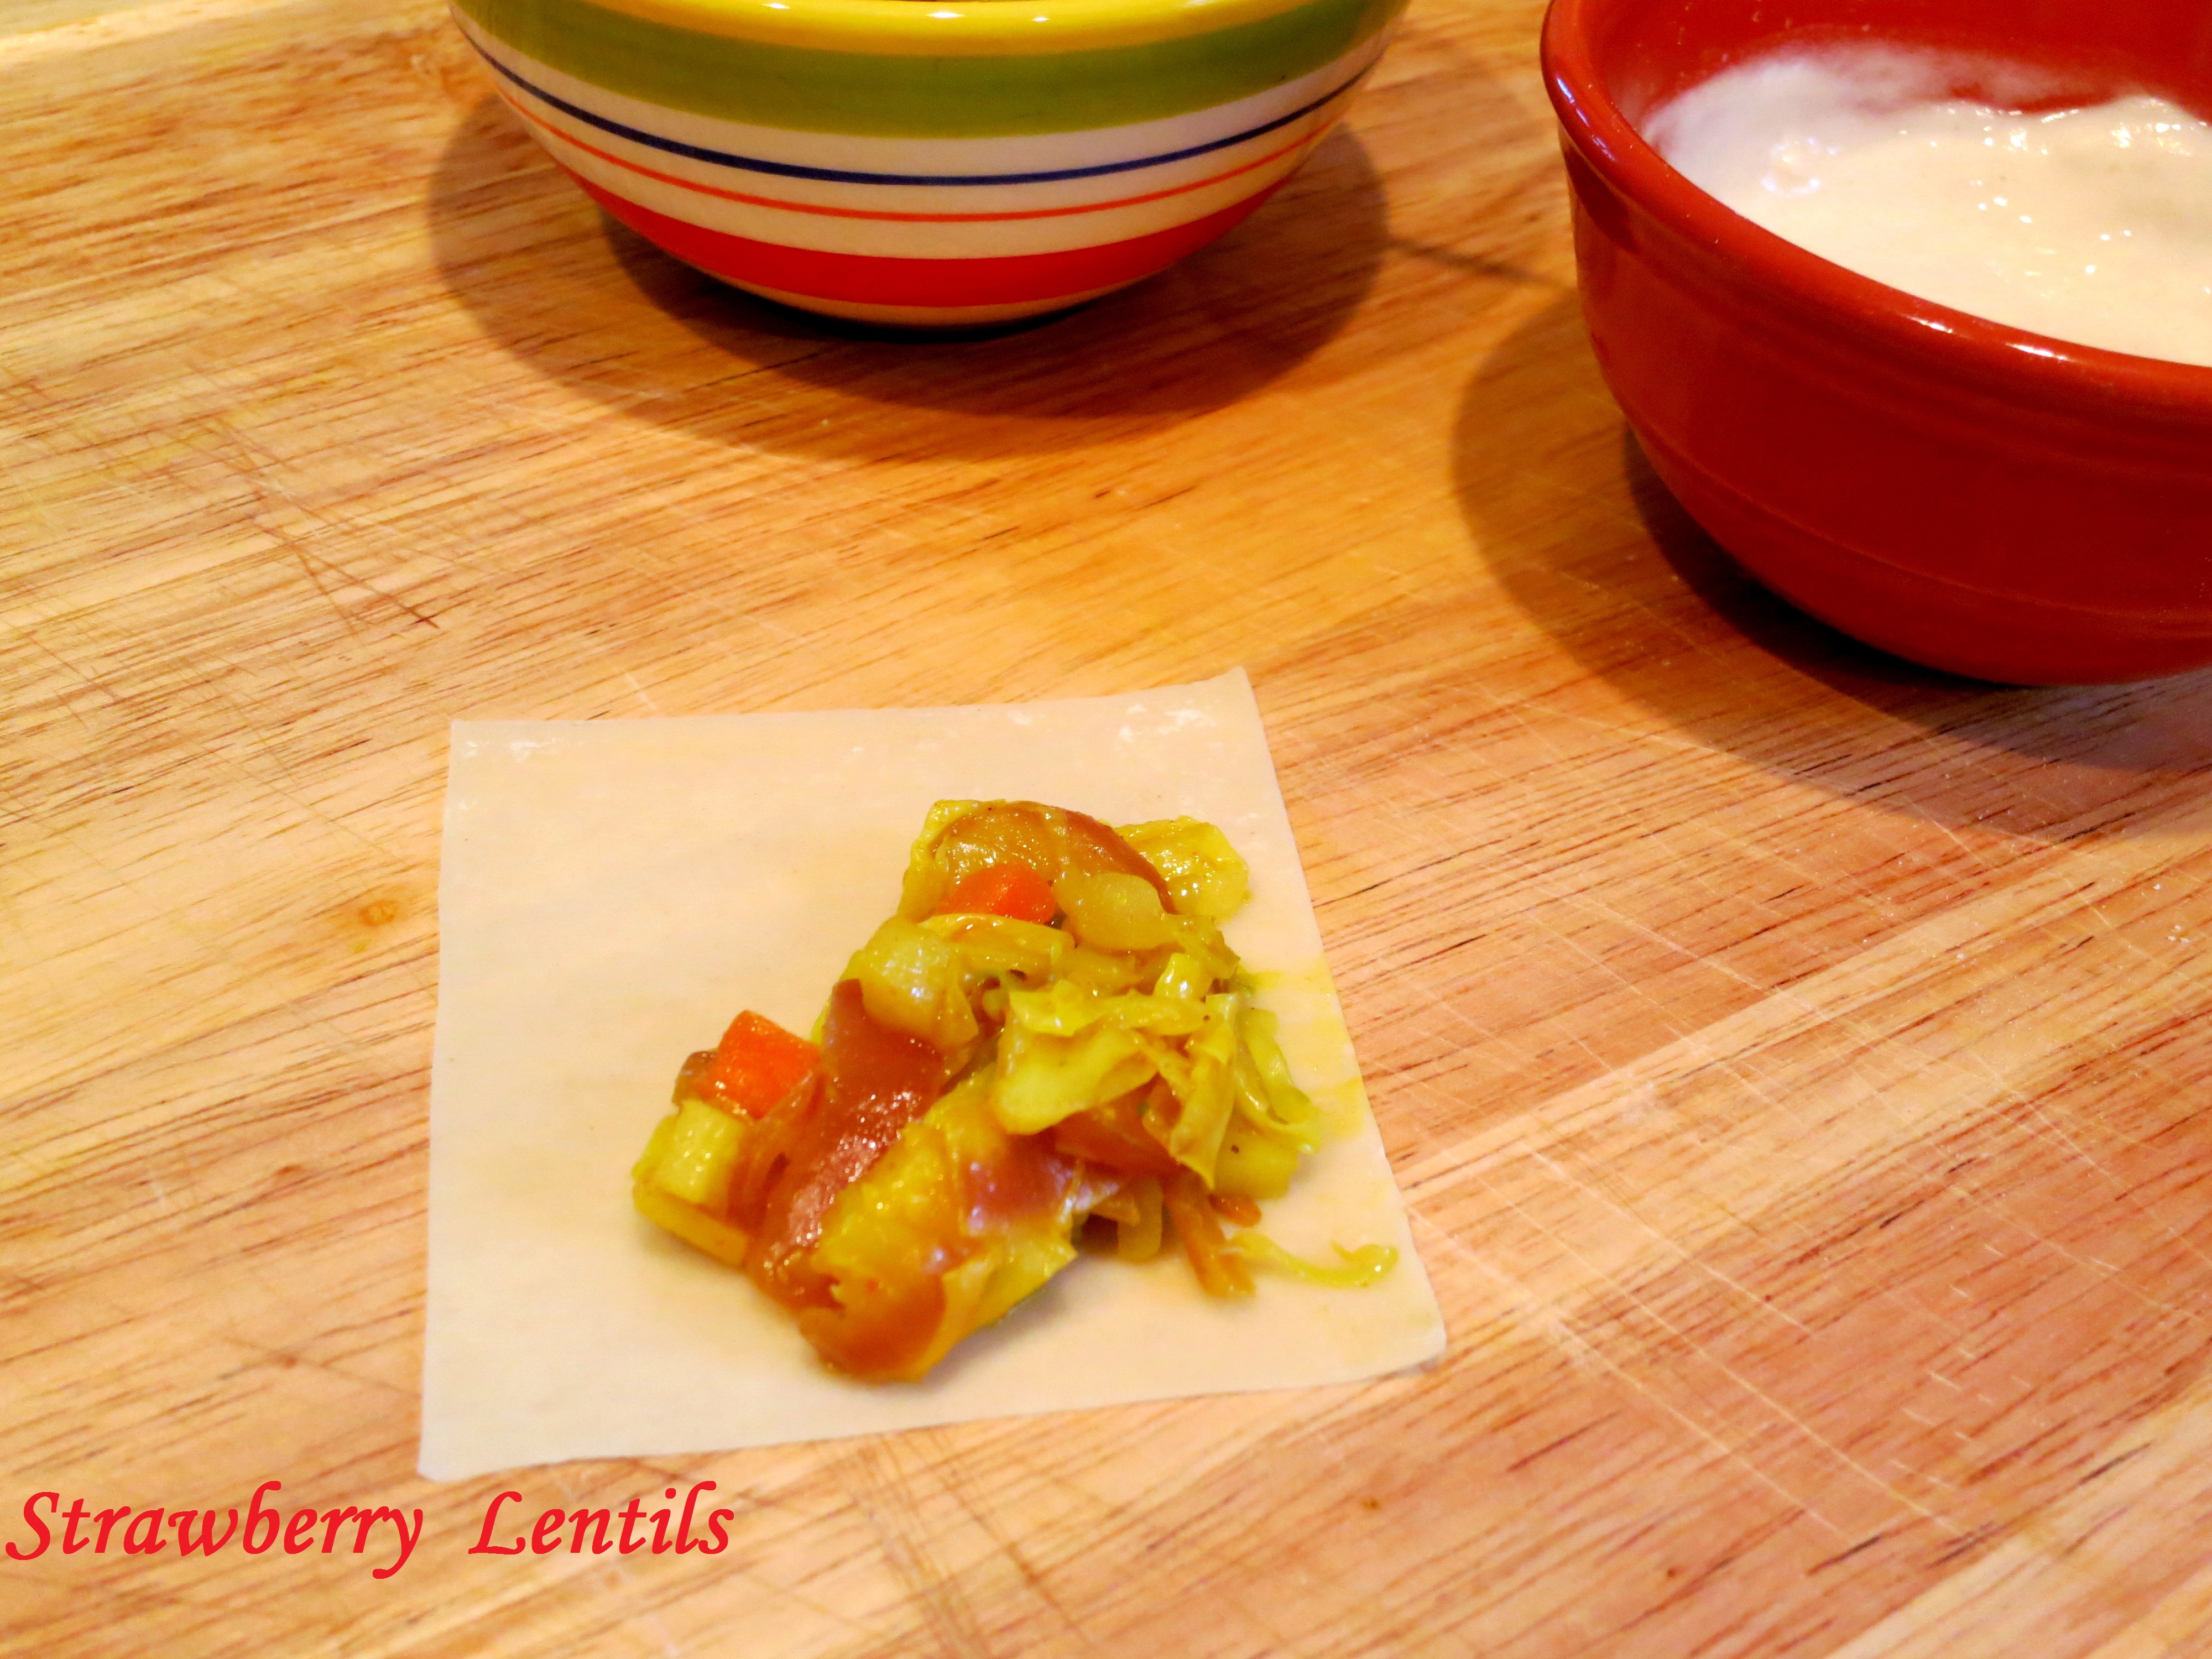
  • For the outer covering, I am taking a shortcut by using wonton wrappers. I find these in the vegan section of my grocer right next to Tofu.

Image

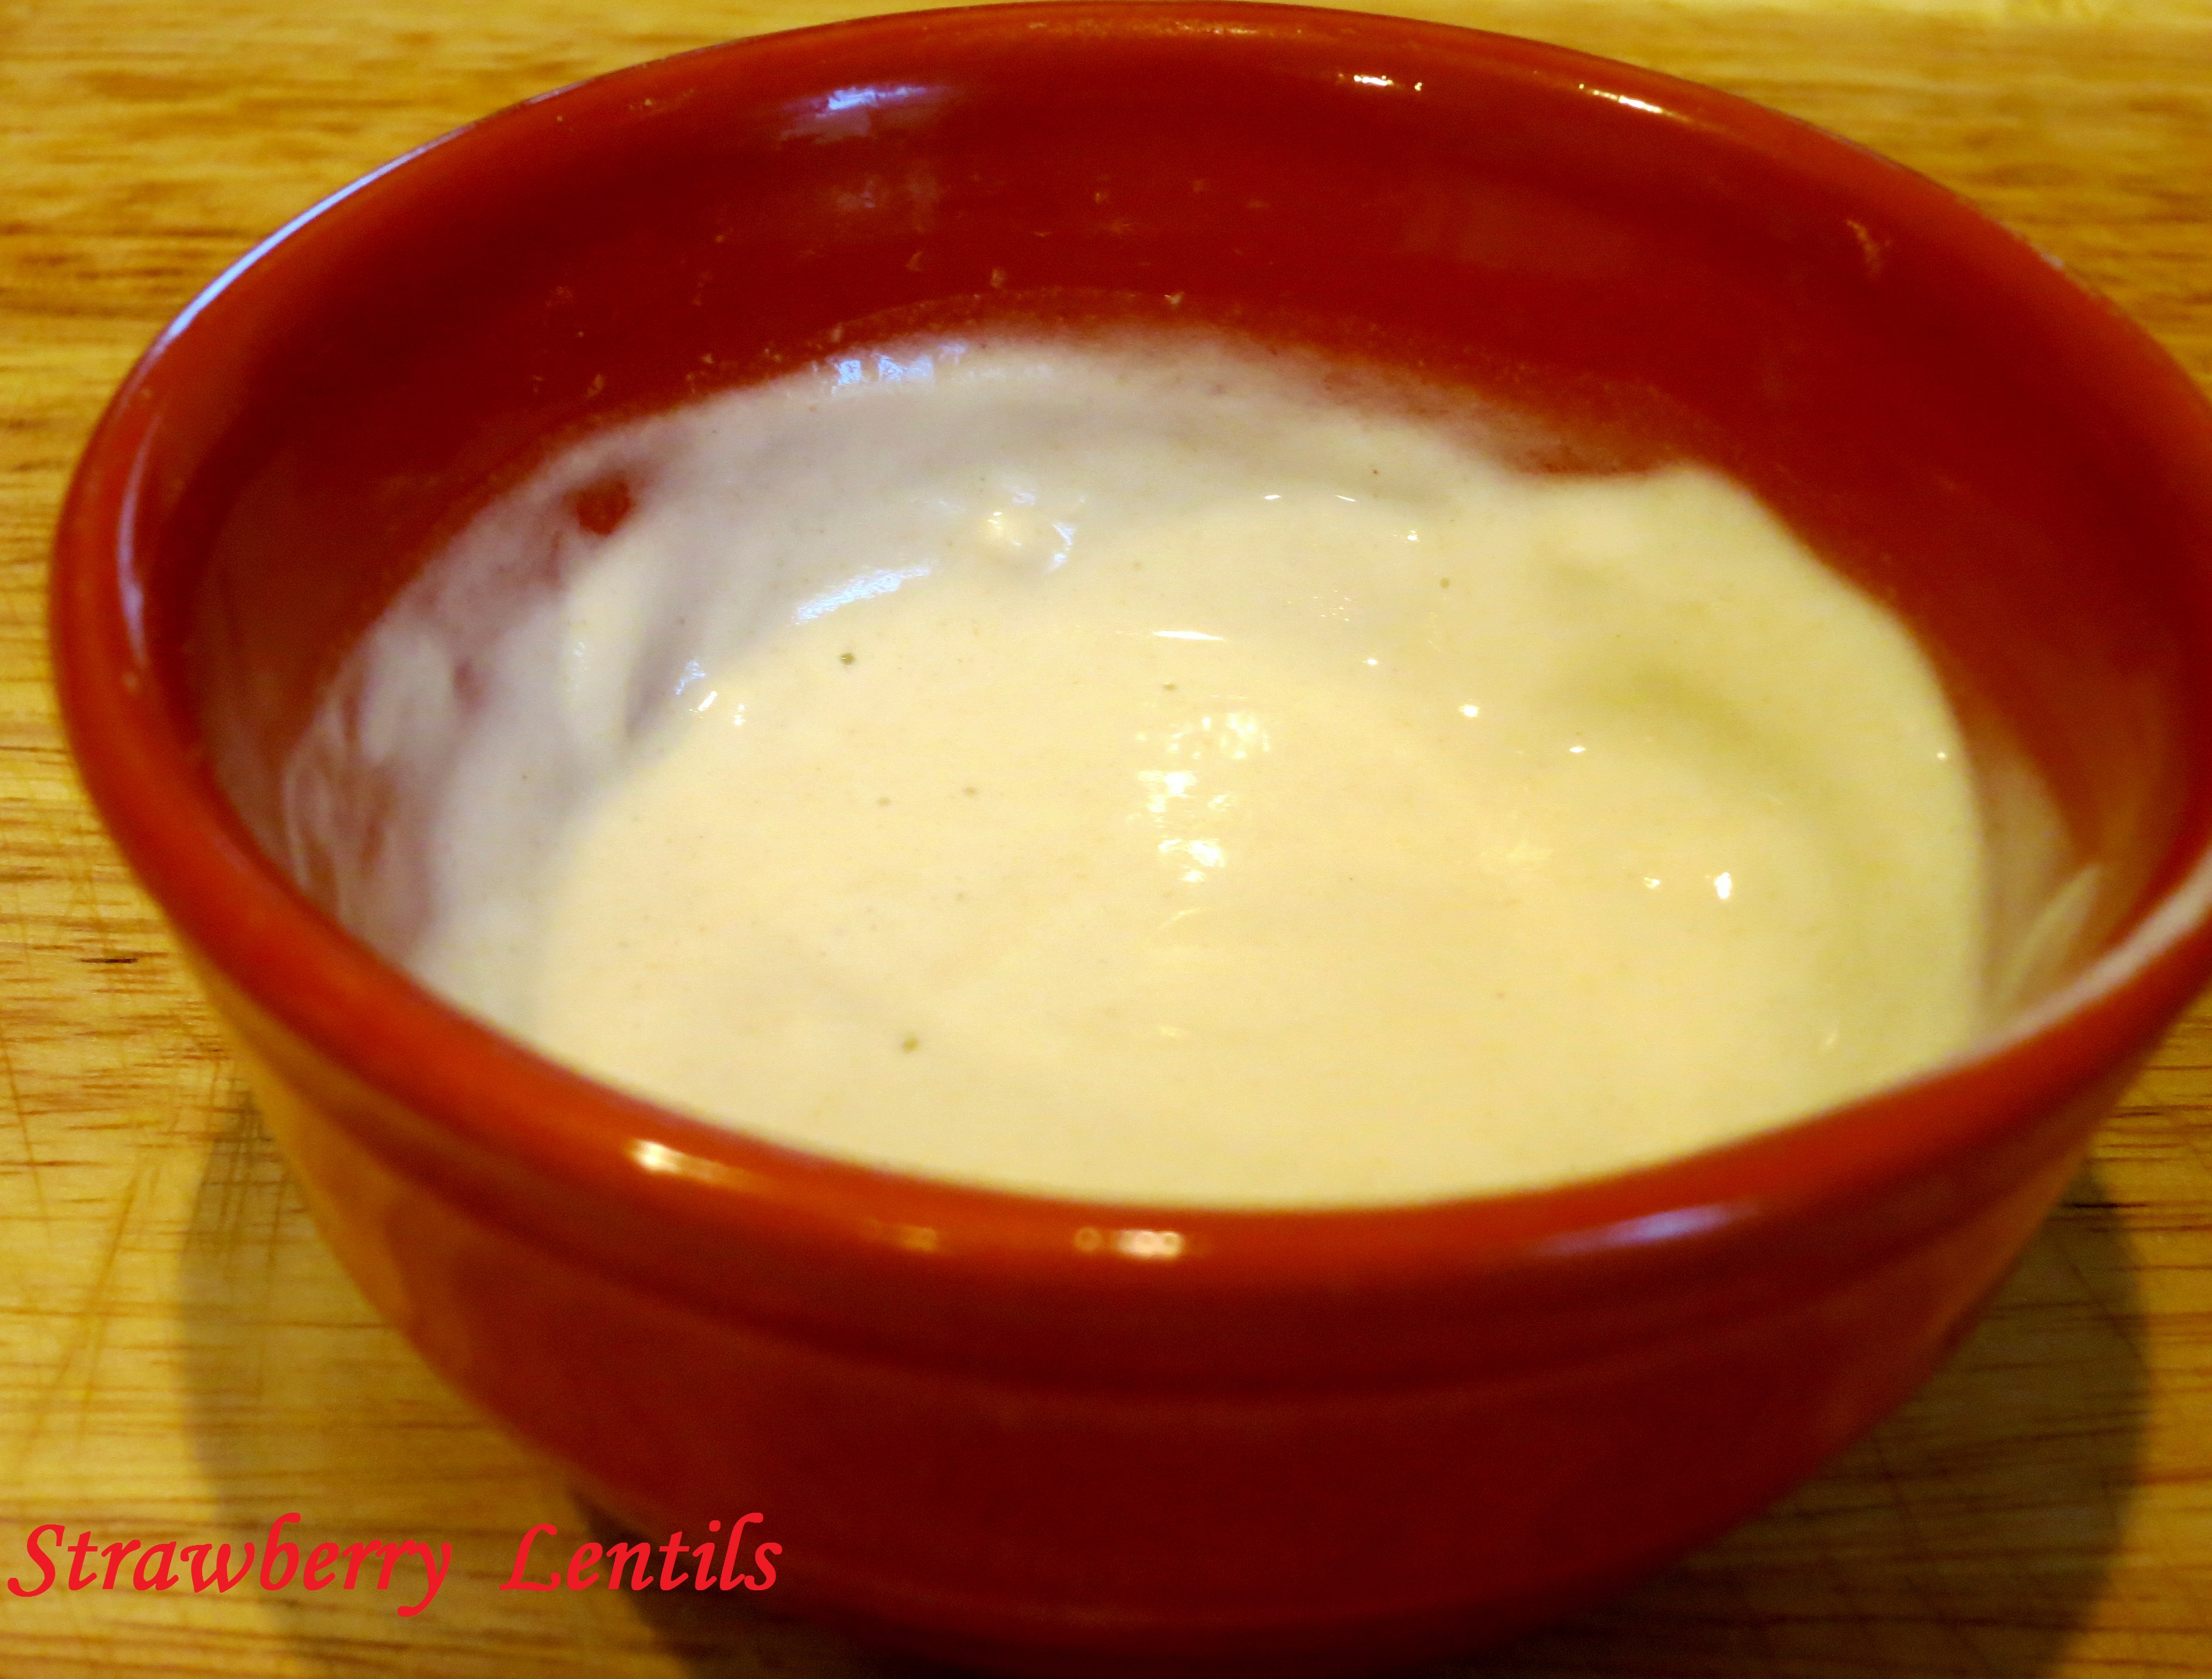
  • Mix 2 tbsp of all purpose flour with little water to make a paste which will be used as a glue to seal the samosas.

Image

  • In the wrapper, place the filling in one half (diagonally). If you place too much filling, the wrapper will rip, and too little filling makes for a tasteless samosa. But I assure you that you will find your happy medium by the time you are making your third samosa 🙂

Image

  • Apply the flour glue to the two edges and fold the wrapper over. If possible, tuck the edges to secure the filling.

Image

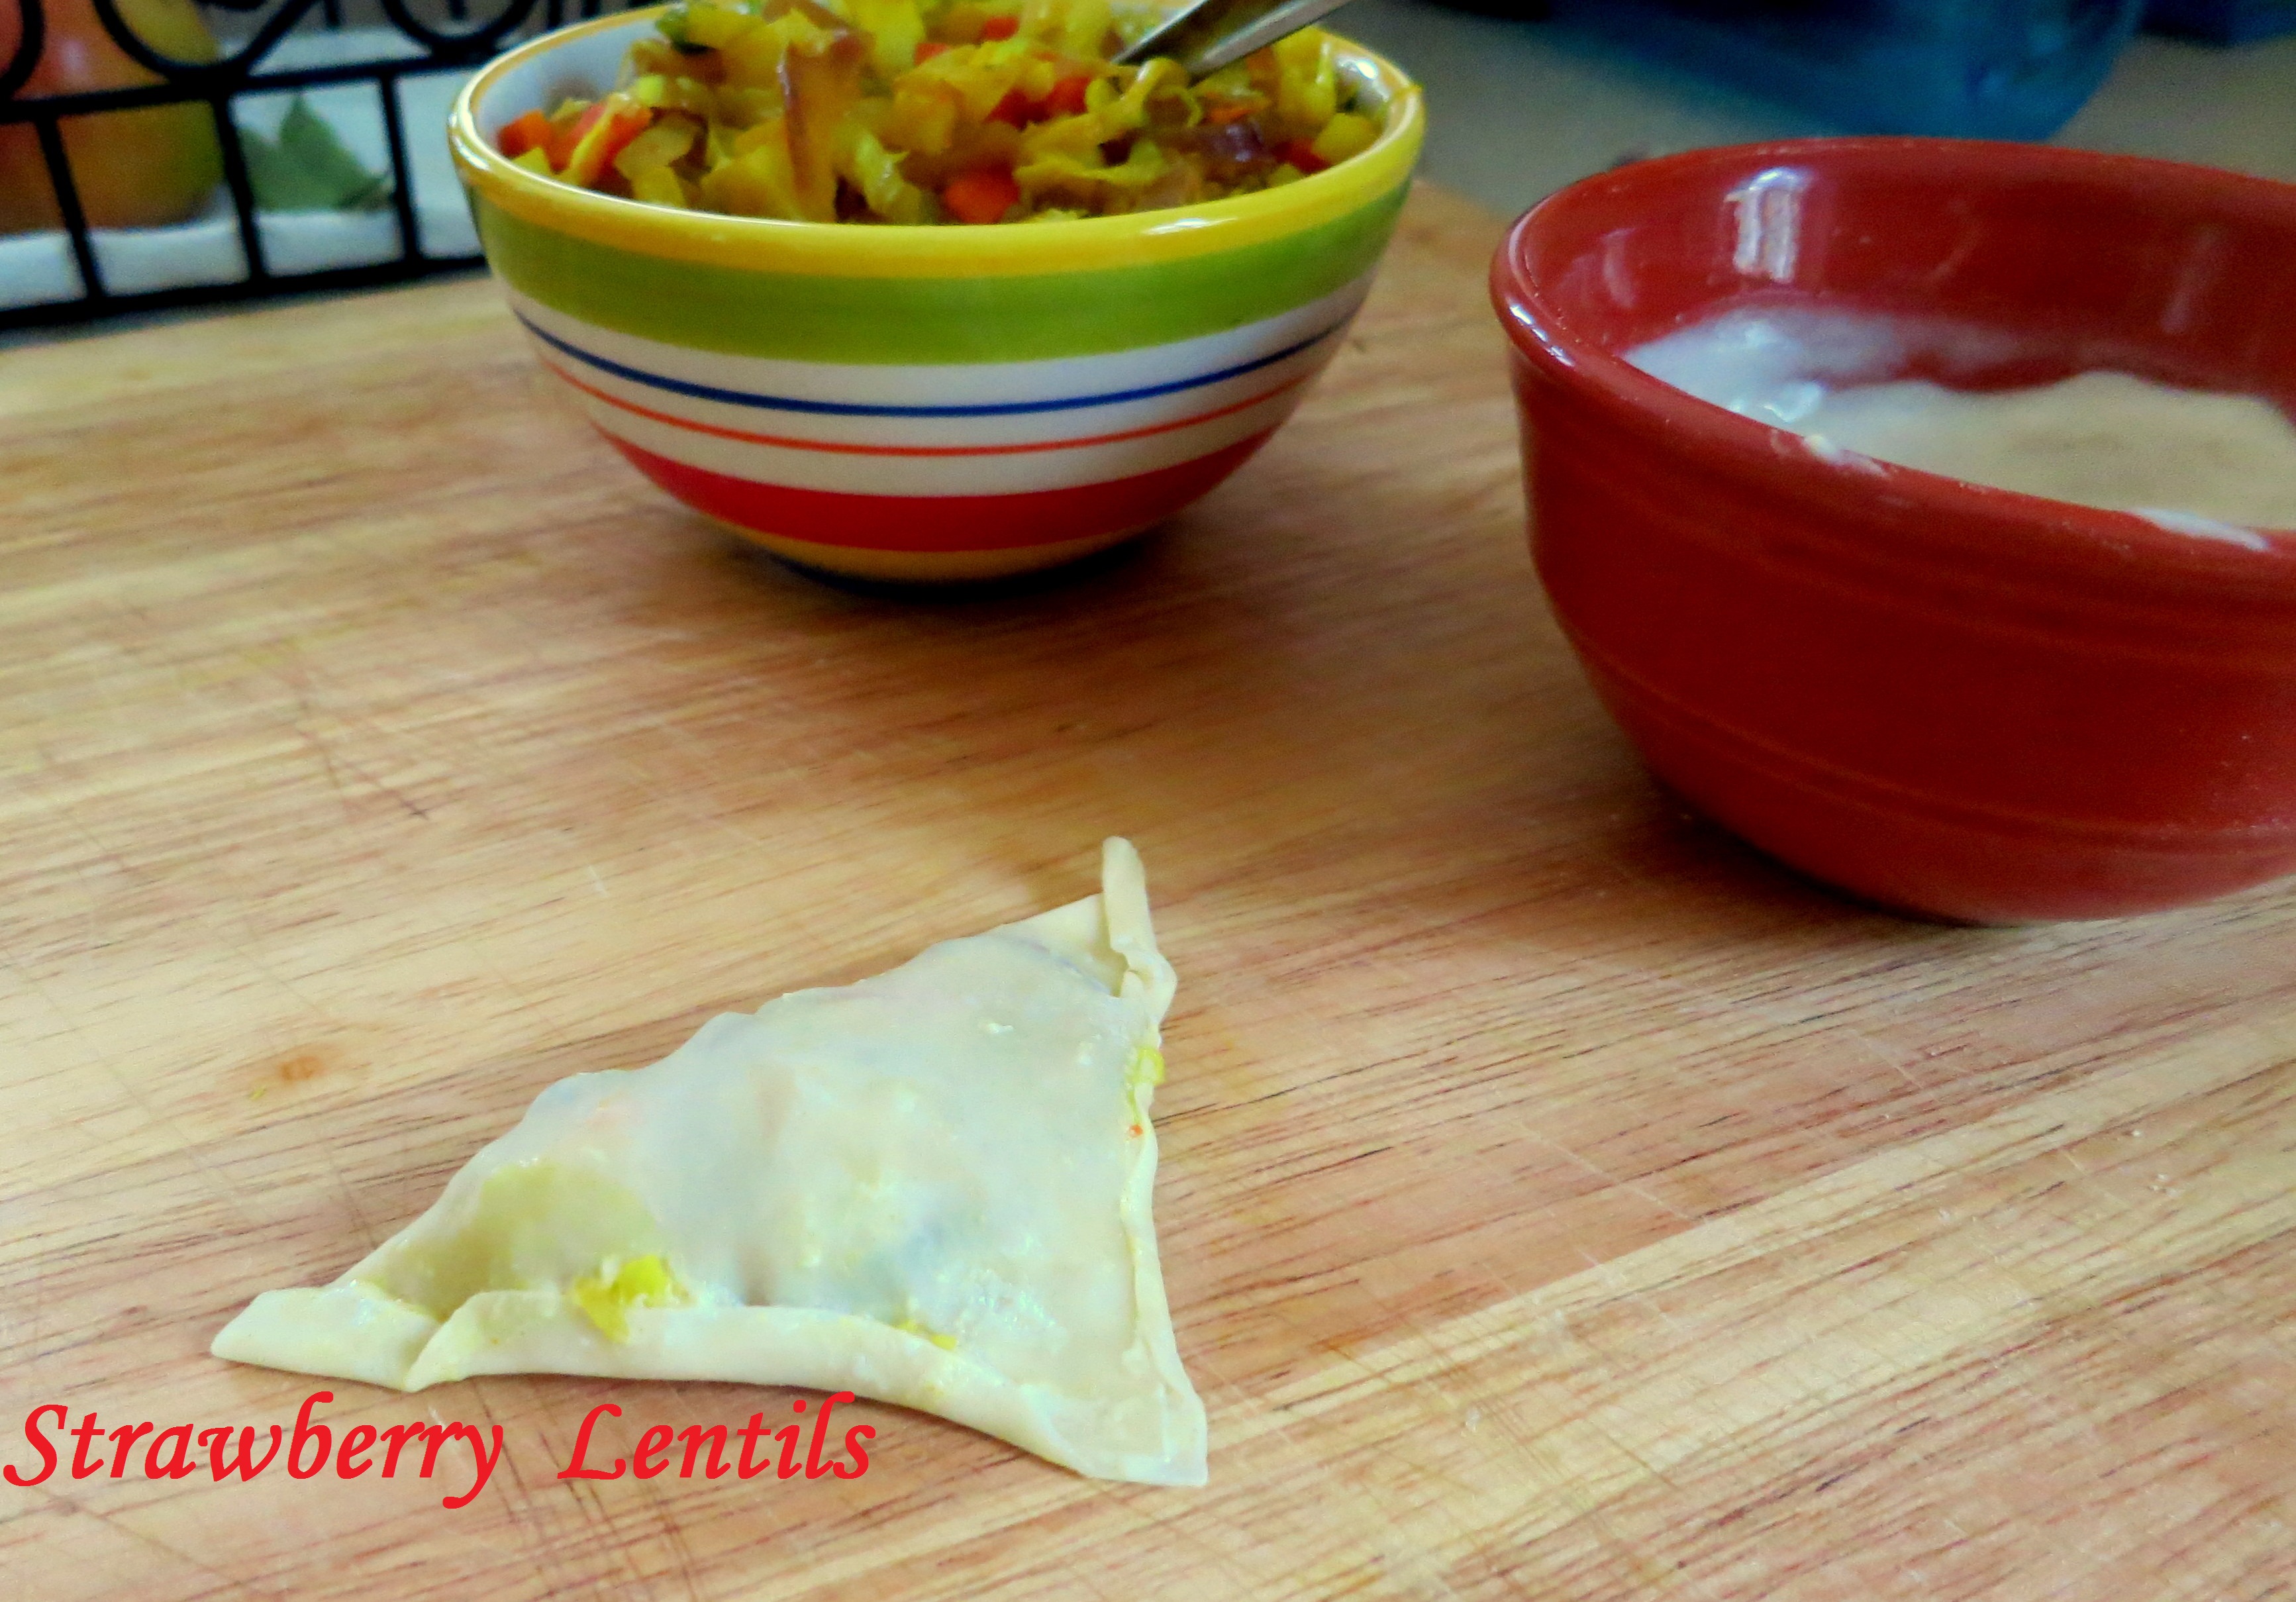
  • Prepare all samosas like this. If for a party, you can make these a day or two ahead and refrigerate  until you need them. Also you can freeze these  until when needed.

Image

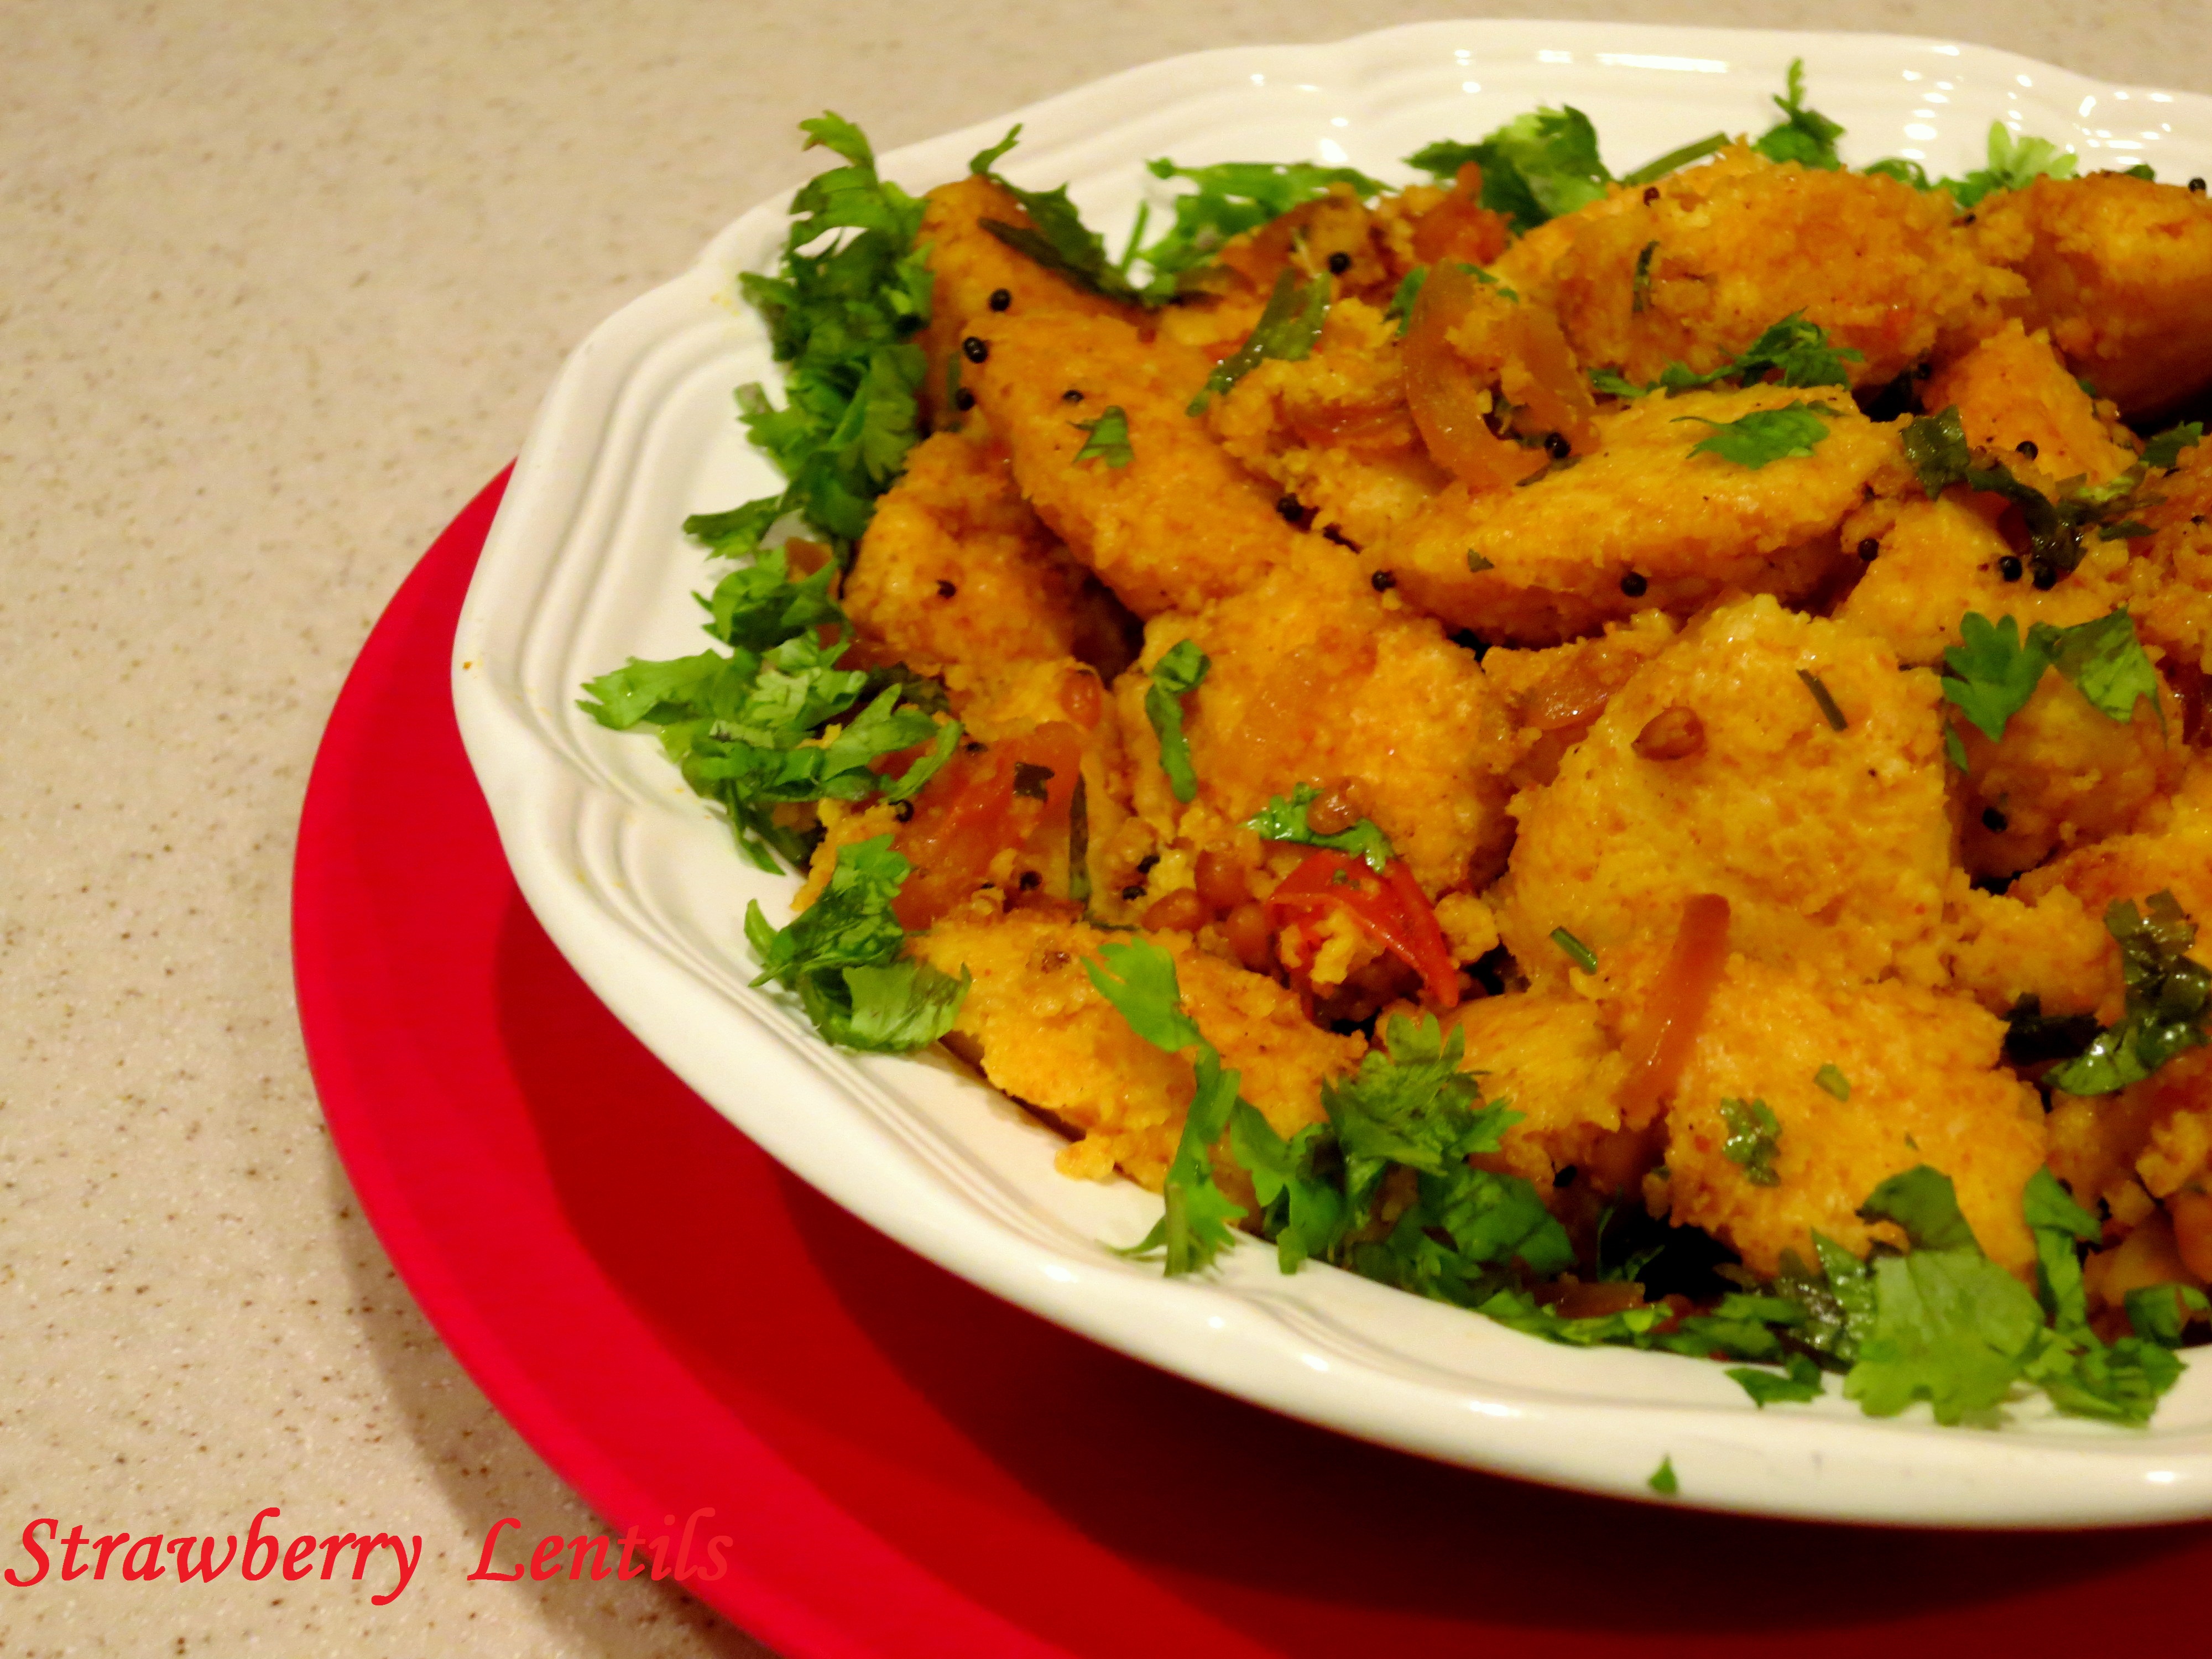
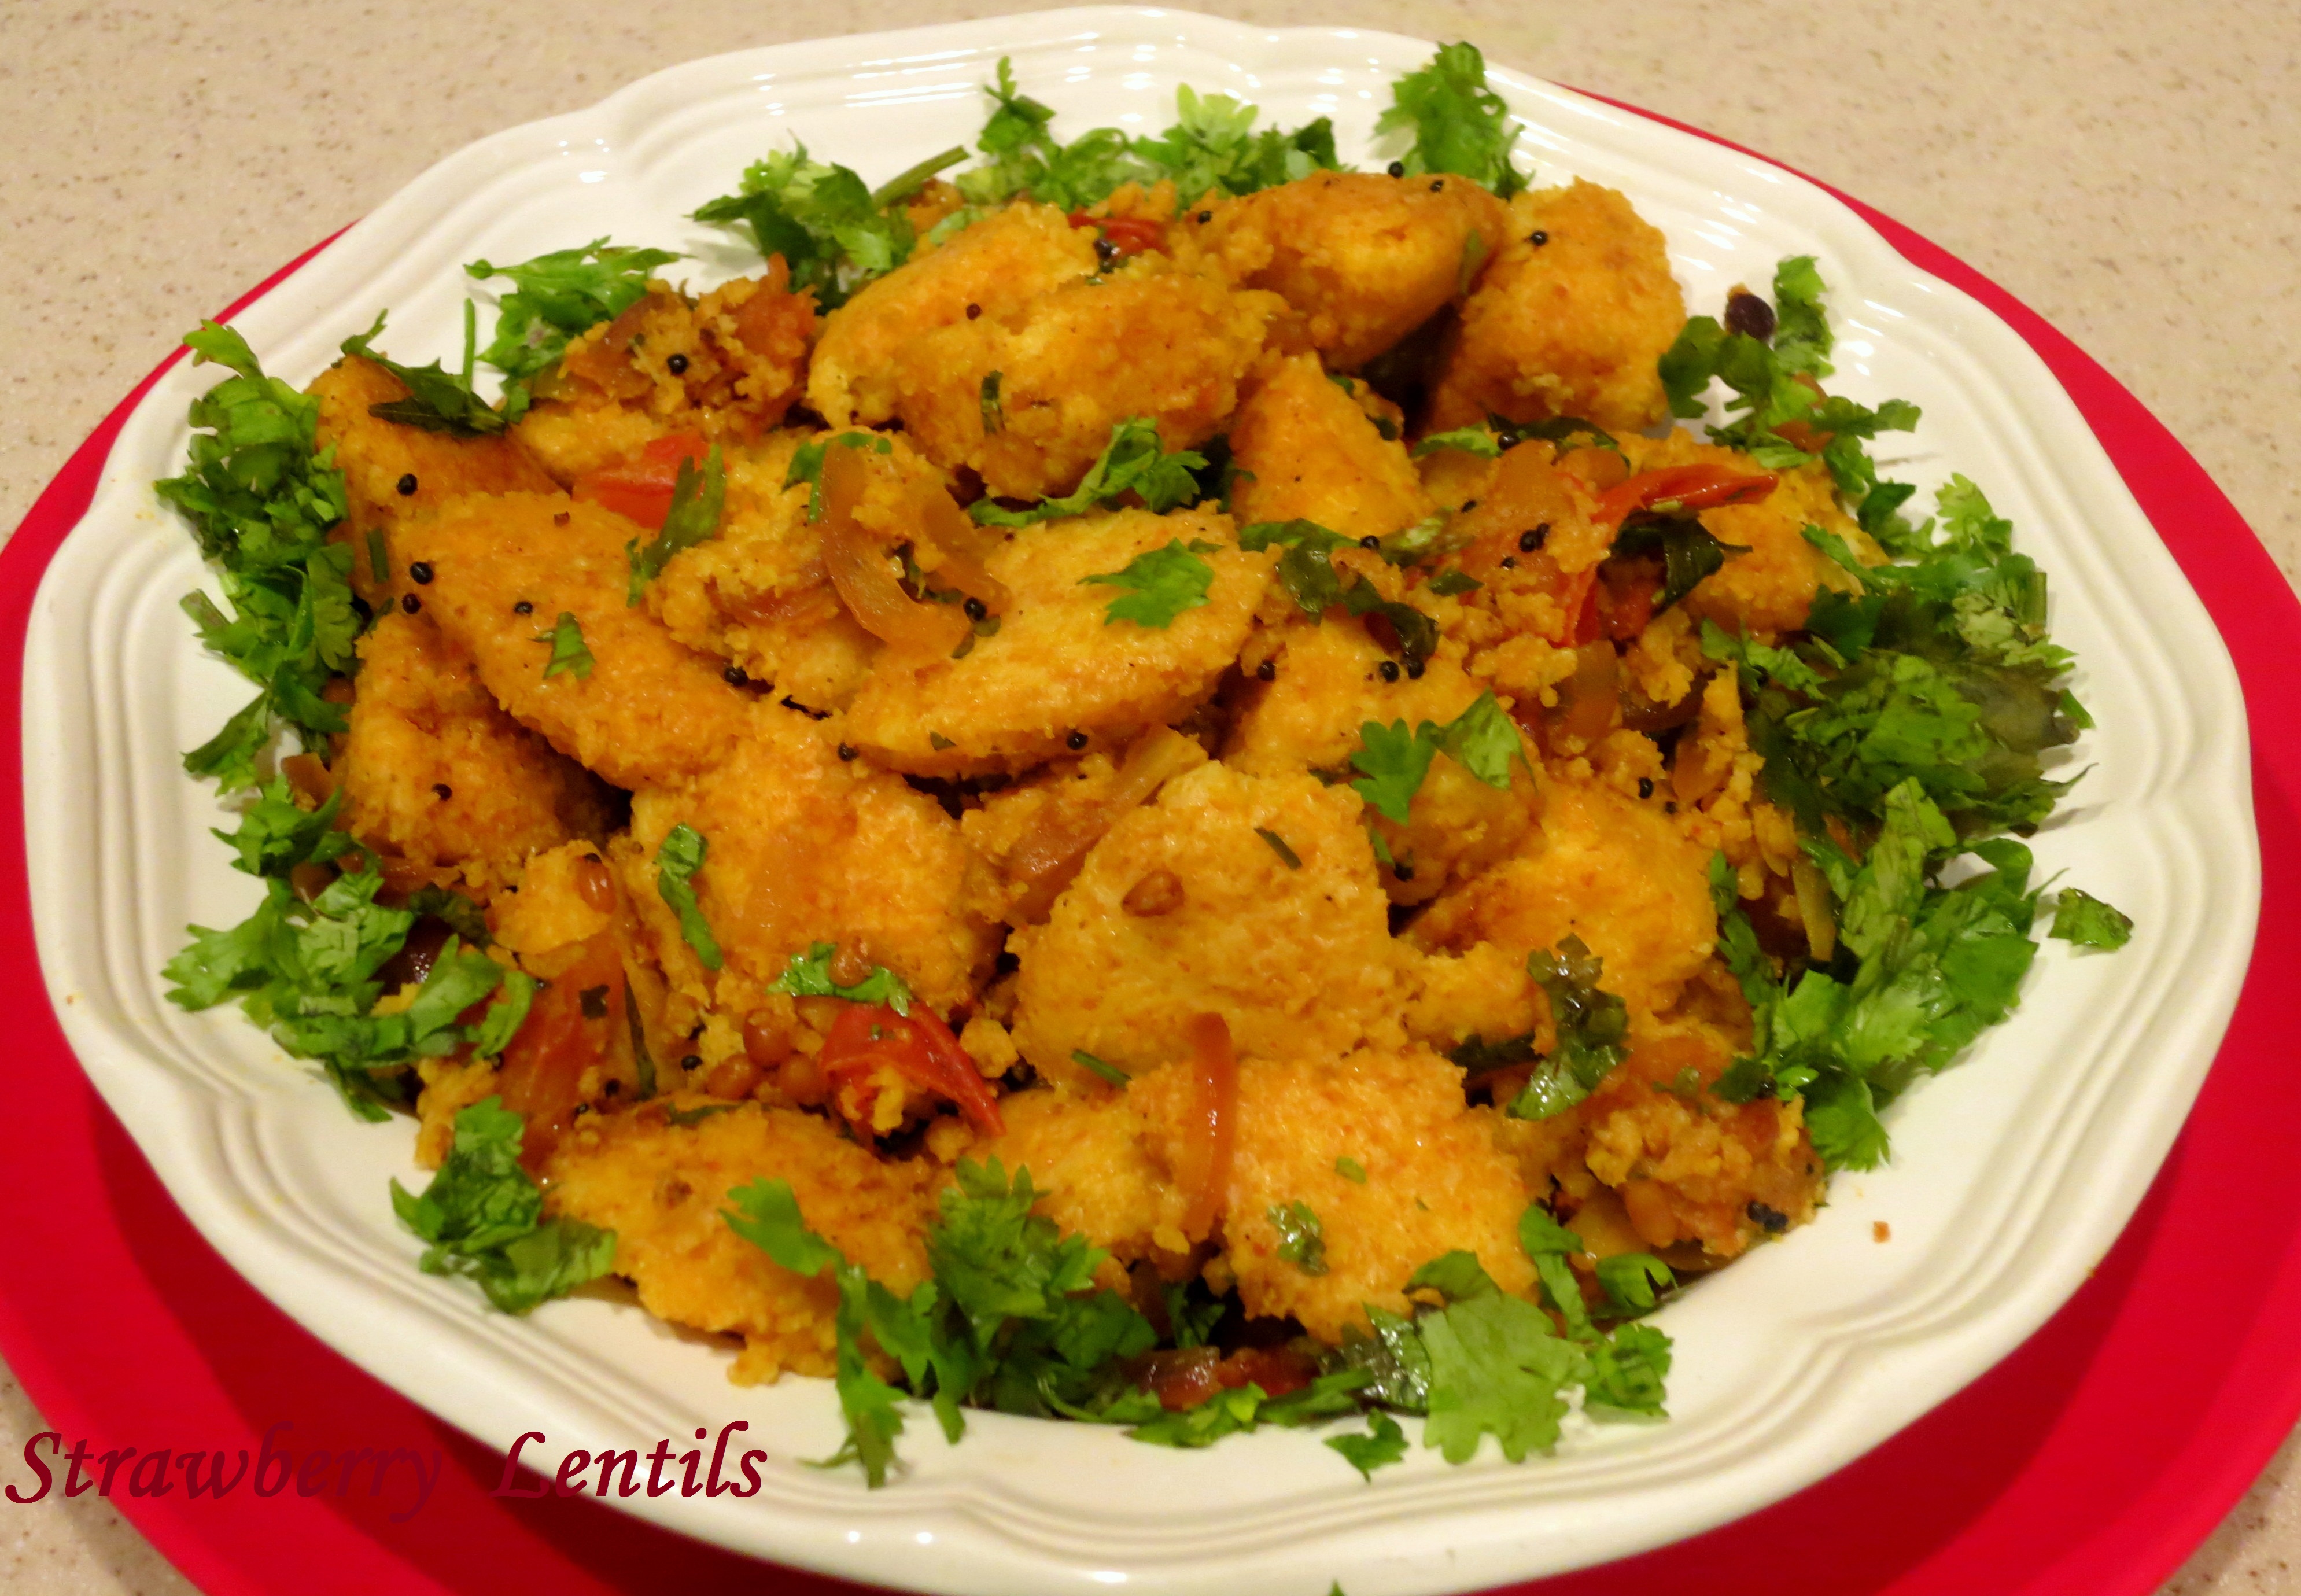
  • Heat oil in a pan for deep frying and fry the samosas to a golden brown.

Image

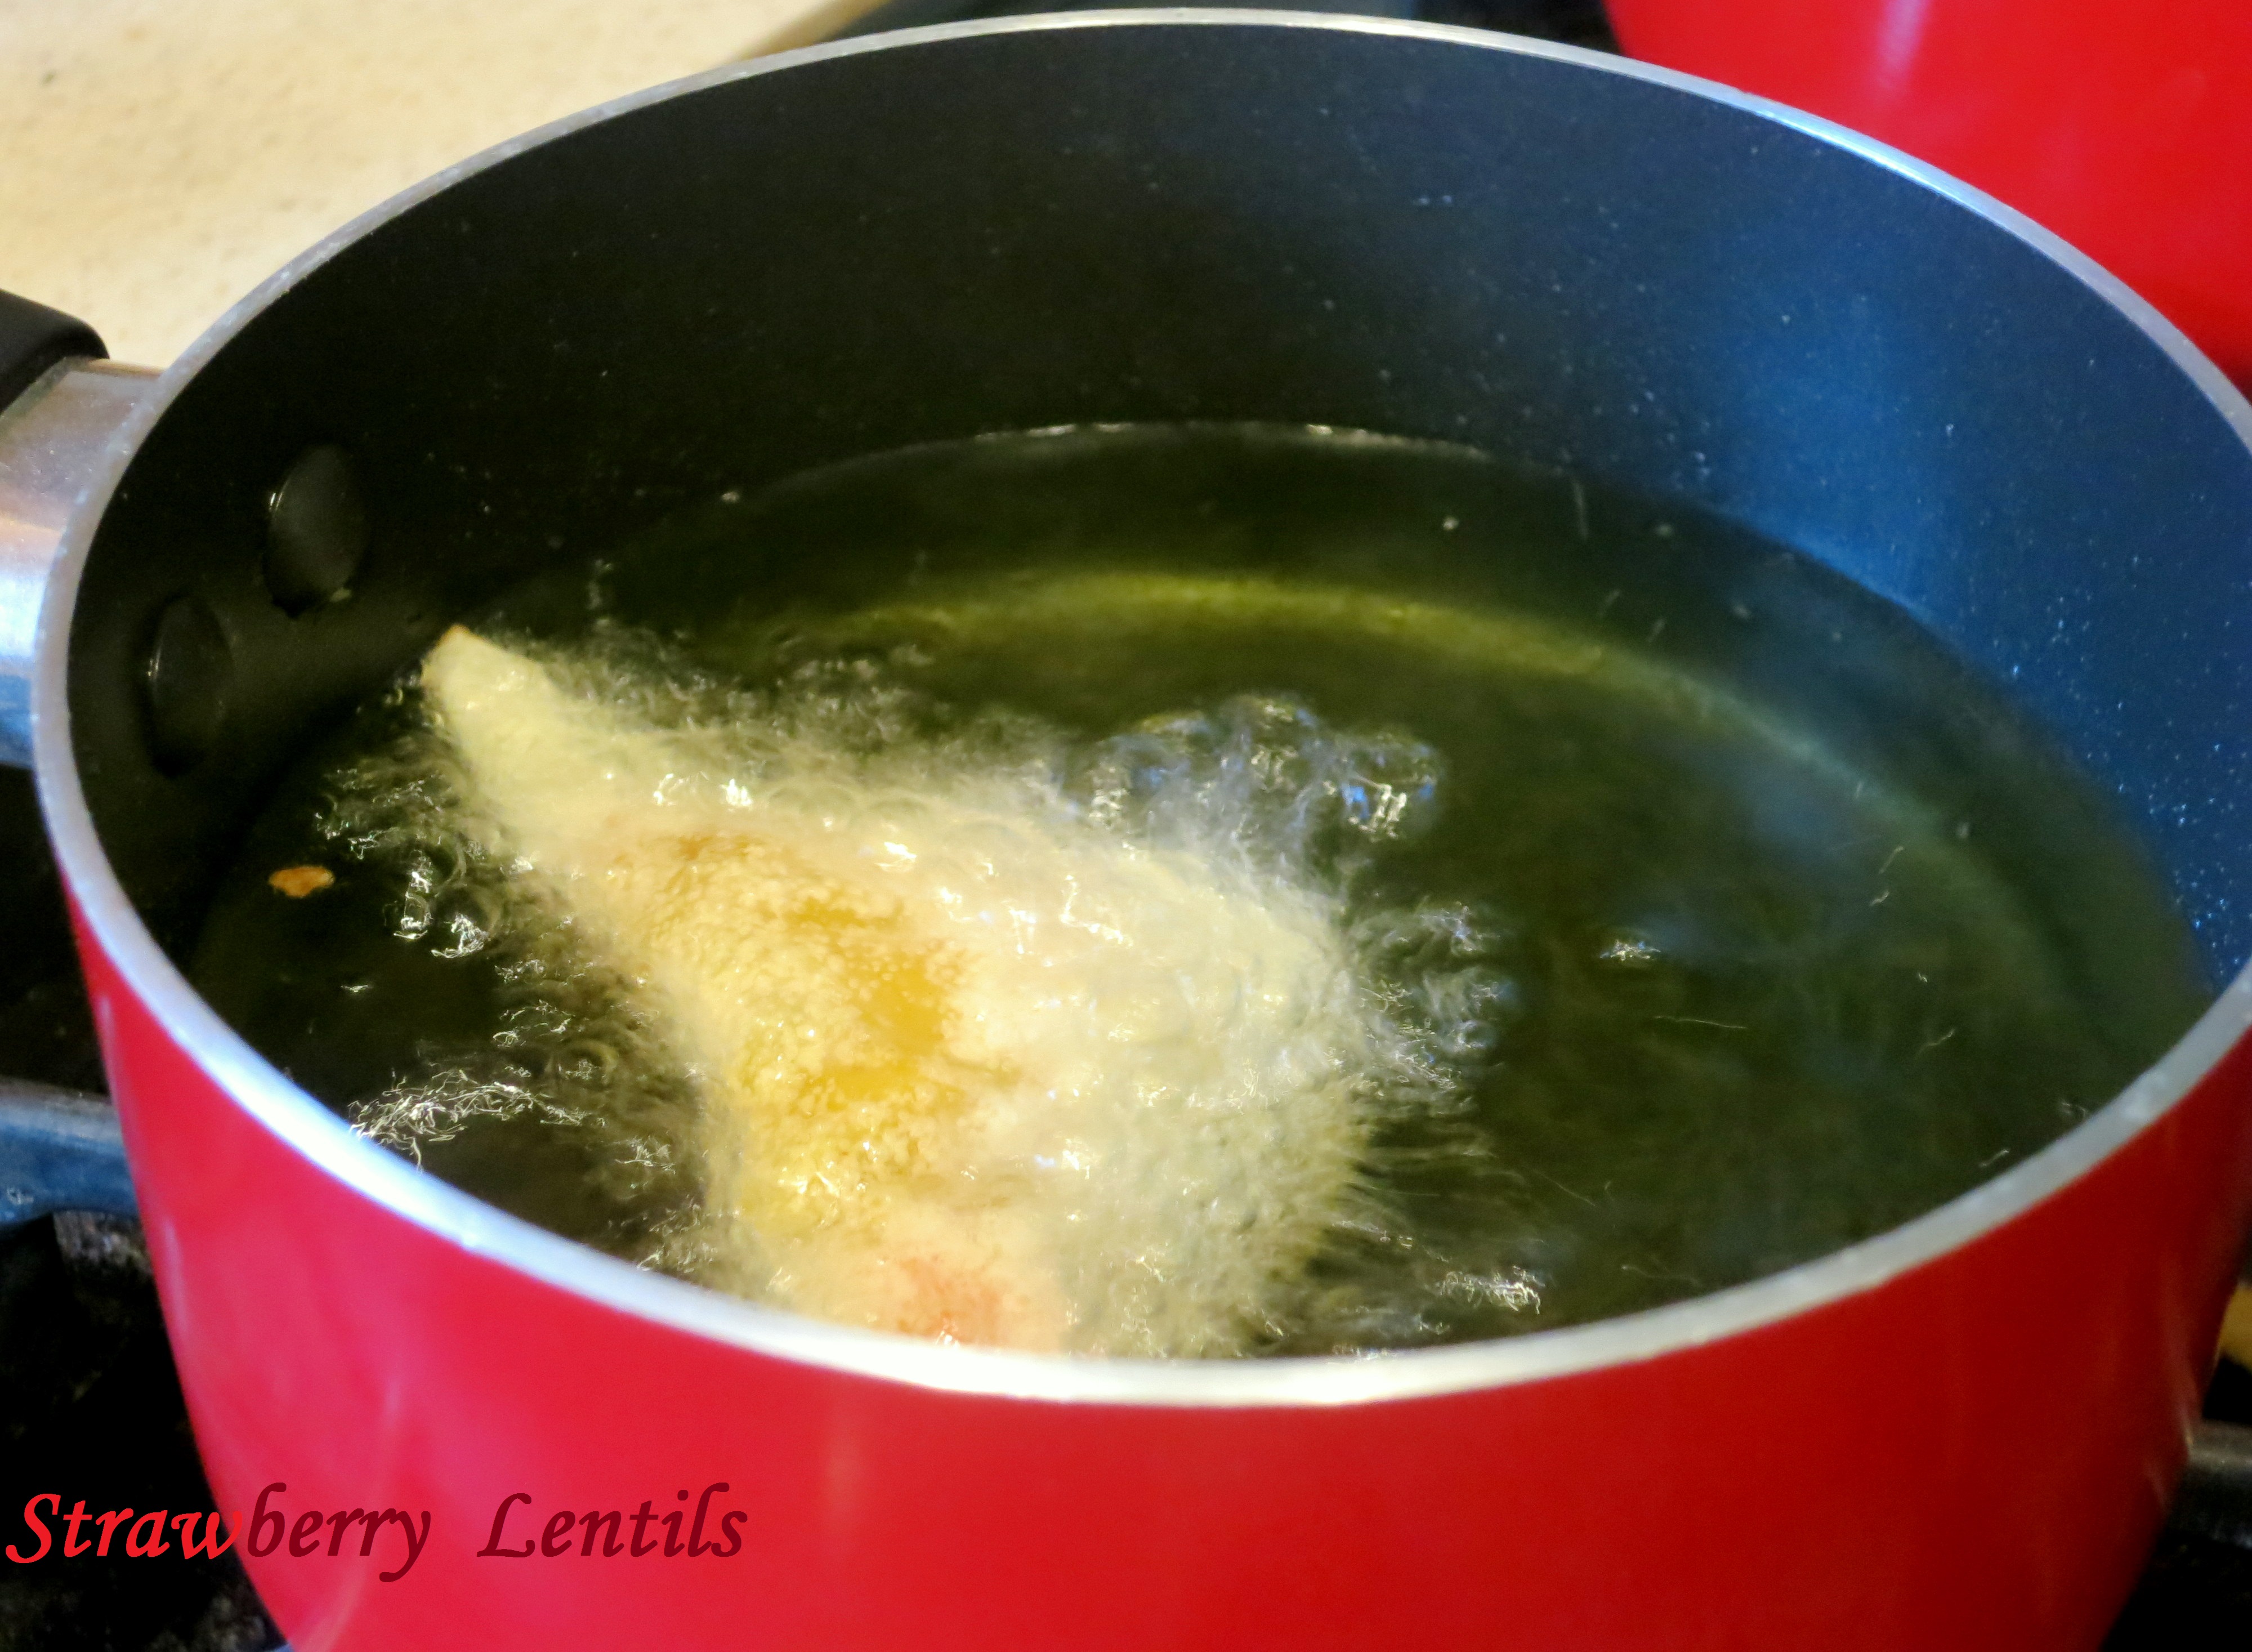
  • The only thing left to do now is, sit by the window and enjoy the crunchy samosa, with hot tea while watching the rain 🙂

Image

Tomato Pulav


Image

This is a recipe I learned from my grandma. It  is a basic pulav, the only difference being, the rice is cooked in tomato water. Here I have given my grandma’s way of making the tomato water, I will also suggest some quicker alternatives.

  • Soak 2 cups of Basmati rice or Raw Rice (pacchirisi) in water. [ For 2 people, 1 cup of rice will suffice. 2 cups will serve 4-5 people.]

Image

  • The steps below are to make tomato water. Please use red, juicy tomatoes. For 2 cups of rice, you will need about 4 medium size tomatoes. If using small campari tomatoes, you will need about 7 or 8. Cut the tomatoes to big pieces.

Image

  • In a sauce pan, heat  2 tsp. of oil  and add the tomatoes. After a quick saute, sprinkle some salt to sweat the tomatoes. Cover with lid and cook for a few minutes.

Image

  • Tomatoes will give out their juice. Turn off the heat  and let it cool down for a couple of minutes.

Image

  • This is a tomato mill/tomato grinder. My grandma used a similar one. (This is bringing back so many memories, as it was my job to use the mill to grind tomatoes 🙂 ).

Image

  • If you don’t have one, no worries. I don’t have one either. I just use my steamer basket and pot. Any strainer and pot combination should work fine.

Image

  • Pour the boiled tomatoes into the steam basket.

Image

  • Now use a wooden spoon to stir the tomatoes around while mashing them lightly at the same time.

Image

  • Add  little water to the tomatoes and repeat the process, until you are left with just the skin on the steam basket, and the juice in the pot.

Image

  • And here is the tomato awesomeness 🙂 Ok, now for some easier alternatives. You can grind the boiled tomatoes in a blender and filter out the seeds and skin. (I don’t like that the blenders make it foamy.) Or, the easiest option of all, dilute canned tomato paste with water. But each method slightly alters the taste and texture of the pulav. By the way, do we have to be so finicky about cooking in tomato water ? Why not just saute the tomatoes and add the rice ? The answer is , cooking in tomato water adds a lightness and a subtle tomato flavor to the pulav which you won’t get in cooking with tomatoes as such.

Image

The measure is 1 cup of rice : a little less than 2 cups of tomato water. As I am cooking 2 cups of rice today, I will need about 3.75 cups of tomato water.  Now that the tomato water is ready, we can get things ready for the pulav.

  • You will need 1 medium onion sliced thin. Peas is optional, but I just like to add them for protein. Also mint it optional, you can use cilantro instead. Also slit 1 green chilli.Image
  • These are the spices needed (in the recommended quantity for 2 cups of rice).

Image

  • Heat 1 tbsp of butter and 2 tbsp of oil a pot and fry the whole spices.

Image

  • Saute the onions and mint. After the onions become translucent, add 1 tbsp of ginger garlic paste.

Image

  • After the raw smell of ginger, garlic paste goes away add the green peas.

Image

  • Add the soaked rice.

Image

  • Add the tomato water. (2 cups of rice : 3.75 cups of tomato water).

Image

  • Add 1 tsp of red chilli powder and 1/2 tsp of garam masala. You can add turmeric powder also, it will make the color orangish. I like the natural color of tomatoes, so I don’t add turmeric powder for this pulav.

Image

  • Cover with lid and cook in low heat. Stir once or twice in between. You can also transfer the contents of the pot to an electric rice cooker and complete cooking in the cooker.

ImageImage

  • Serve with simple onion raita (onions + yogurt + salt).
Related articles

Idli Siyali


Image

This dish is one of my earliest food memories. But until recently, I never knew what it was called. While growing up I always referred to it as “orange idli upma” or “gundu idli” (coz’ of the big chunks) or simply ” that idli thing you made when we went to the park”.  Then when I started to cook, this was one of my earlier trials(as you will see below, its quite a simple recipe),  I started calling it “Masala idli”, adding ‘masala’ to a food’s name makes it official, right ? 🙂 Recently, while I was browsing for something else, I stumbled upon this familiar recipe and figured out it is called “Idli Siyali”. After all, this has a name , that too such a sweet name. 🙂

  • This is usually made with left over idlis. Your idlis “must”  be in room temperature if not colder. Fresh idlis will lose form and crumble.

Image

  • Cut the idlis into big cubes, roughly 1 idli into 4 pieces.

Image

  • To make the masala, you will need 1 big red onion, 1 medium tomato and few curry leaves. Tomato and onion should be cubed , no fine chopping.
  1. Image
  • In a pan/wok,heat 2 tbsp of oil (sesame oil, preferred), splutter a tsp of mustard seeds and fry a tsp each of urad dhal and channa dhal to golden brown.

Image

  • Saute the onions and curry leaves, Onions do not have to brown.

Image

  • Add the tomatoes. Sprinkle salt to sweat the tomatoes.

Image

  • Tomatoes do not have to soften too much. Add 1 tsp of turmeric powder, 3 tsp of sambar powder (add more or less as you wish) and some salt. If you do not have sambar powder, use 2 tsp of red chilli powder and 1 tsp of coriander powder. Let the powders mix with oil.

Image

  • Add about 1/2 cup of water. Water allows the sambar powder to cook fast. But don’t add too much water, as the gravy is going to be reduced to a thick paste anyways. Also add a pinchof vellam/jaggery/brown sugar.

Image

  • Allow the masala to boil thoroughly and reduce. When you see the oil separating , it is done.

Image

  • Add the cut idli pieces to the masala and mix it gently without breaking them.

Image

  • Sprinkle coriander leaves  and remove from heat.

Image

You can use boiled egg instead of idlis in this recipe to make a quick egg masala.

Another variation, is instead of using tomatoes ,you can also use tamarind juice.

Image

Beach Sundal (Chick peas salad with green mango)


Image

I don’t know if I could call this street food, because I’ve only tasted these in Tamilnadu (South India) beaches. It is quite an experience, munching on this hot and spicy sundal while caressed by the salty ocean breeze. It is called  “Thengaa (coconut) Maangaa (green mango) Pattaani (peas) Sundal”. I have never tasted coconut in this sundal, so I don’t add coconut in my recipe.

  • Ingredients:

(Traditionally dried green peas are used for this sundal, but I love chick peas.)

Image

  • In a pan/wok, heat 3 tsp of oil and splutter a tsp of mustard seeds. Then saute the chopped green chillies, grated ginger and curry leaves.

Image

  • Then add the onions and green mango together and saute, just enough to take the edge off. The onions and mango shouldn’t become too soft.

Image

  • Saute the grated carrot. Again , make sure they don’t soften too much. Add salt to taste.

Image

  • Add the chick peas and mix with the other veggies. Add crushed garlic and mix well. Garlic is optional, but it is always wise to add some garlic to all your lentils/beans recipes 🙂

Image

  • Finally sprinkle the chopped cilantro and turn the heat off. Add more salt if needed. Also if you want to make it more spicy , you can add crushed red peppers.

Image

  • Cover with lid and leave the sundal in the same wok for at least 10 minutes (with heat turned off).

Image

  • And you have to serve this sundal in  paper cone to complete the beach experience.

[After I prepped all my vegetables today, I realised that my camera was completely out of charge. I couldn’t wait an hour for the camera to re-charge as the kids were already in the car with their beach toys. So all  pictures were taken with my windows phone today. Though I had some lighting issues, I think they turned out okay 🙂 ]

Image

Paneer Butter Masala


Image

I do not know the history on why this is called Butter Masala. I just add 1 tbsp of butter in the recipe, I just interpret it as the gravy is as smooth as butter. Long shot, uh ? What so ever, this dish appeals to the kids with its subtle flavors, smooth texture and of course, no apparently visible vegetables 🙂

  • You need the ingredients below for the gravy.

Image

  • Heat 2 tbsp of oil in a wok and fry the whole spices.

Image

  • Saute the onions until they turn slighty brown. Also fry 1 tsp of ginger garlic paste.

Image

  • Add the tomatoes. Sprinkle salt to sweat the tomatoes.

Image

  • Once the tomatoes soften add the tomato paste. You can just use the paste, or just use tomatoes or a mix of both.

Image

  • Mix well and add little water if needed. Add turmeric powder, chilli powder and a pinch of garam masala. Also add salt as needed.

Image

  • What adds to the flavor of this dish is “Kasoori Methi”, dried fenugreek leaves. You can get this in an Indian grocery store.

Image

  • Crush 1 tsp of kasoori methi in the palm of your hands and add to the onion tomato mix.

Image

  • Allow the mix to cool down and make a puree with cashew nuts. Cashews help with the smoothness, you can also us toasted poppy seeds instead of cashews. While grinding , grind the cashesws first and then grind the tomato-onion mix to puree.

Image

  • While making the puree , if you need to add water , add heavy cream or milk instead.

Image

  • Return the puree to the wok. Add a tbsp of butter and a tbsp of oil. you can add more butter as you desire, but 1 spoon is more than enough.

Image

  • If the gravy starts to thicken you can dilute by adding milk or cream.

Image

  • While the gravy is cooking, you can cut paneer and brown them slightly . You can replace  paneer with tofu.

Image

  • Add the paneer to the gravy.

Image

  • As of now, the dish is complete. But if you would like to add one more layer of flavor, dry toast a tsp of cumin and a tsp of kasoori methi. If you don’t have kasoori methi, use a tsp of fenugreek seeds.

Image

  • Grind the toasted cumin and fenugreek leaves to a fine powder.

Image

  • Sprinkle this pixie dust on the gravy.

Image

  • Reduce the heat and simmer until oil separates.

Image

Just as I was about to finish, my son came back from school. As soon as I opened the door he exclaimed “wow , I can smell my favorite paneer dip” and my day was made. 🙂

Image