Fish in cocount curry


My hometown is a small fishing town in the southern tip of India, so my love for fish shouldn’t be a surprise. Nothing compares to the taste of freshly caught fish cooked within hours. I became a vegetarian few years back and I have to say it would have been impossible if I am still living in my hometown. This curry is a traditional recipe and brings back memories of my school days, sharing lunches with friends, I had a couple of friends whose moms made awesome versions of this curry 🙂

Image

Fish – cleaned , cut and rubbed with turmeric and salt. (I have Tilapia here)

Image

Tamarind water (Even after all these years of cooking I can’t rightly judge how much tamarind I will need. I usually make a good amount of tamarind water and add to the recipe as needed and save the rest in the fridge and try to use it within 4-5 days).

Image

chopped onions, diced tomatoes and a generous amount of curry leaves.

Image

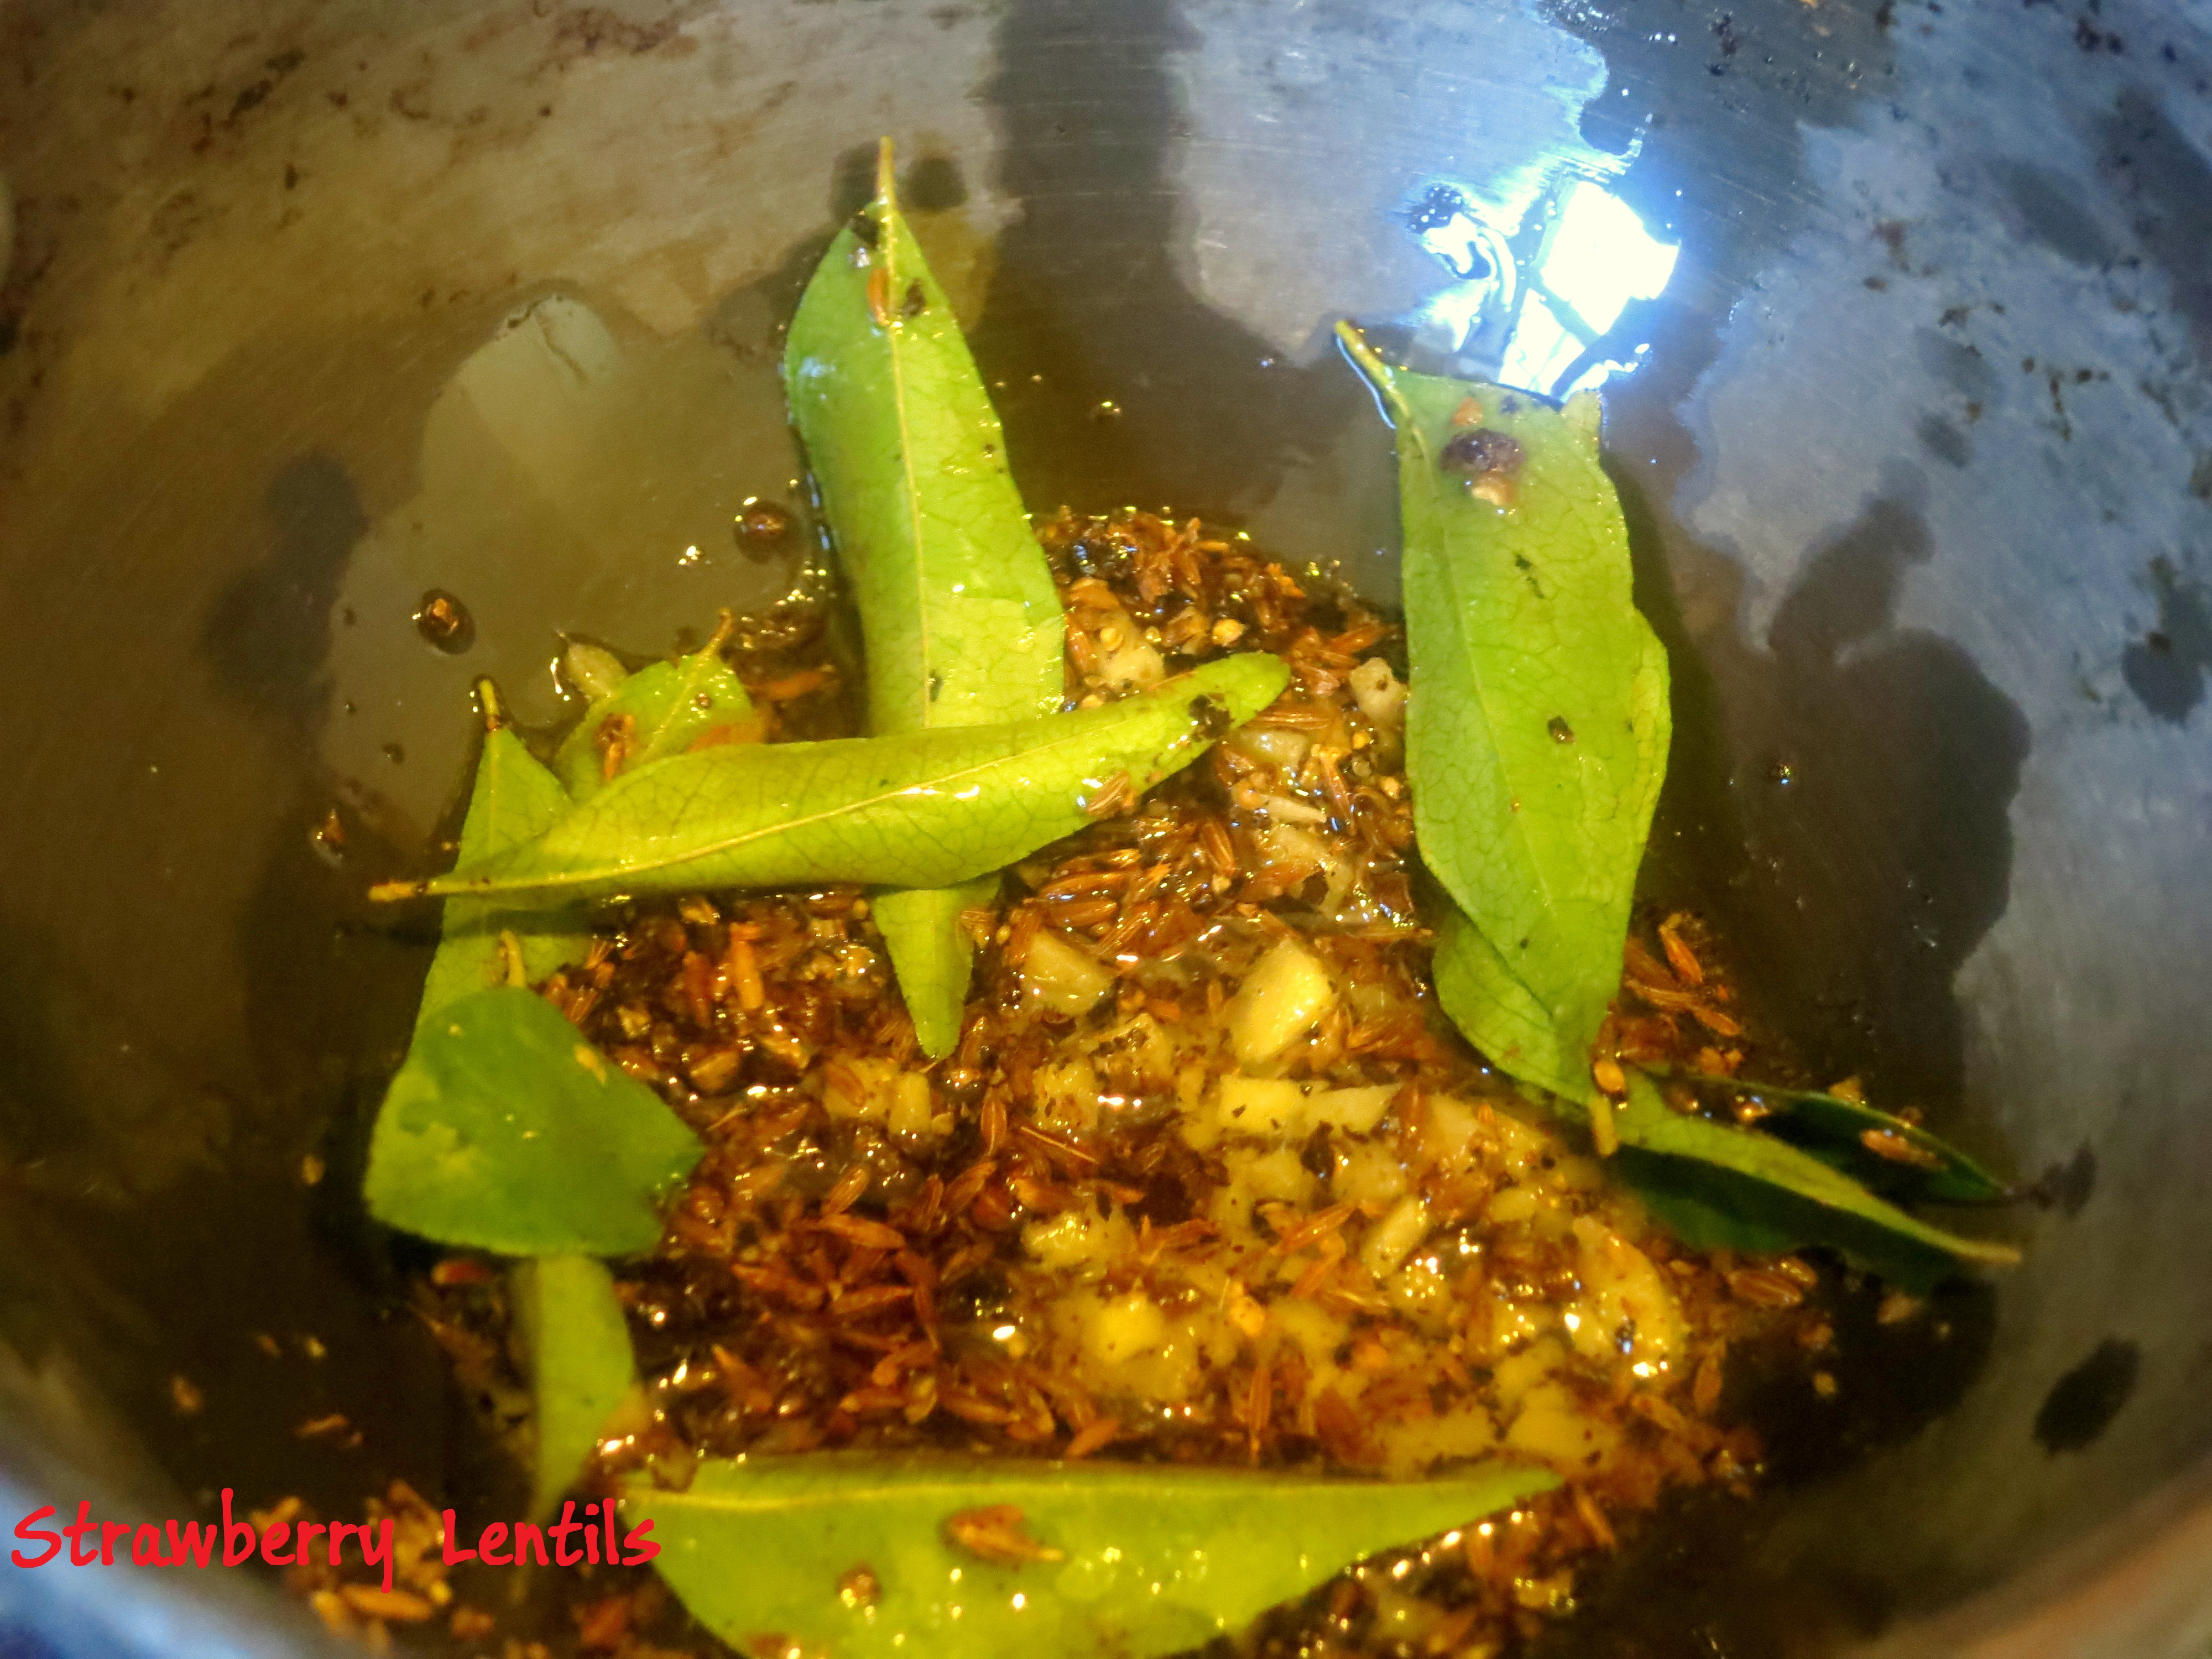
In a pan, add 2tbsp of sesame oil. Fry 1 tsp of mustard seeds and 1/2 tsp of fenugreek.
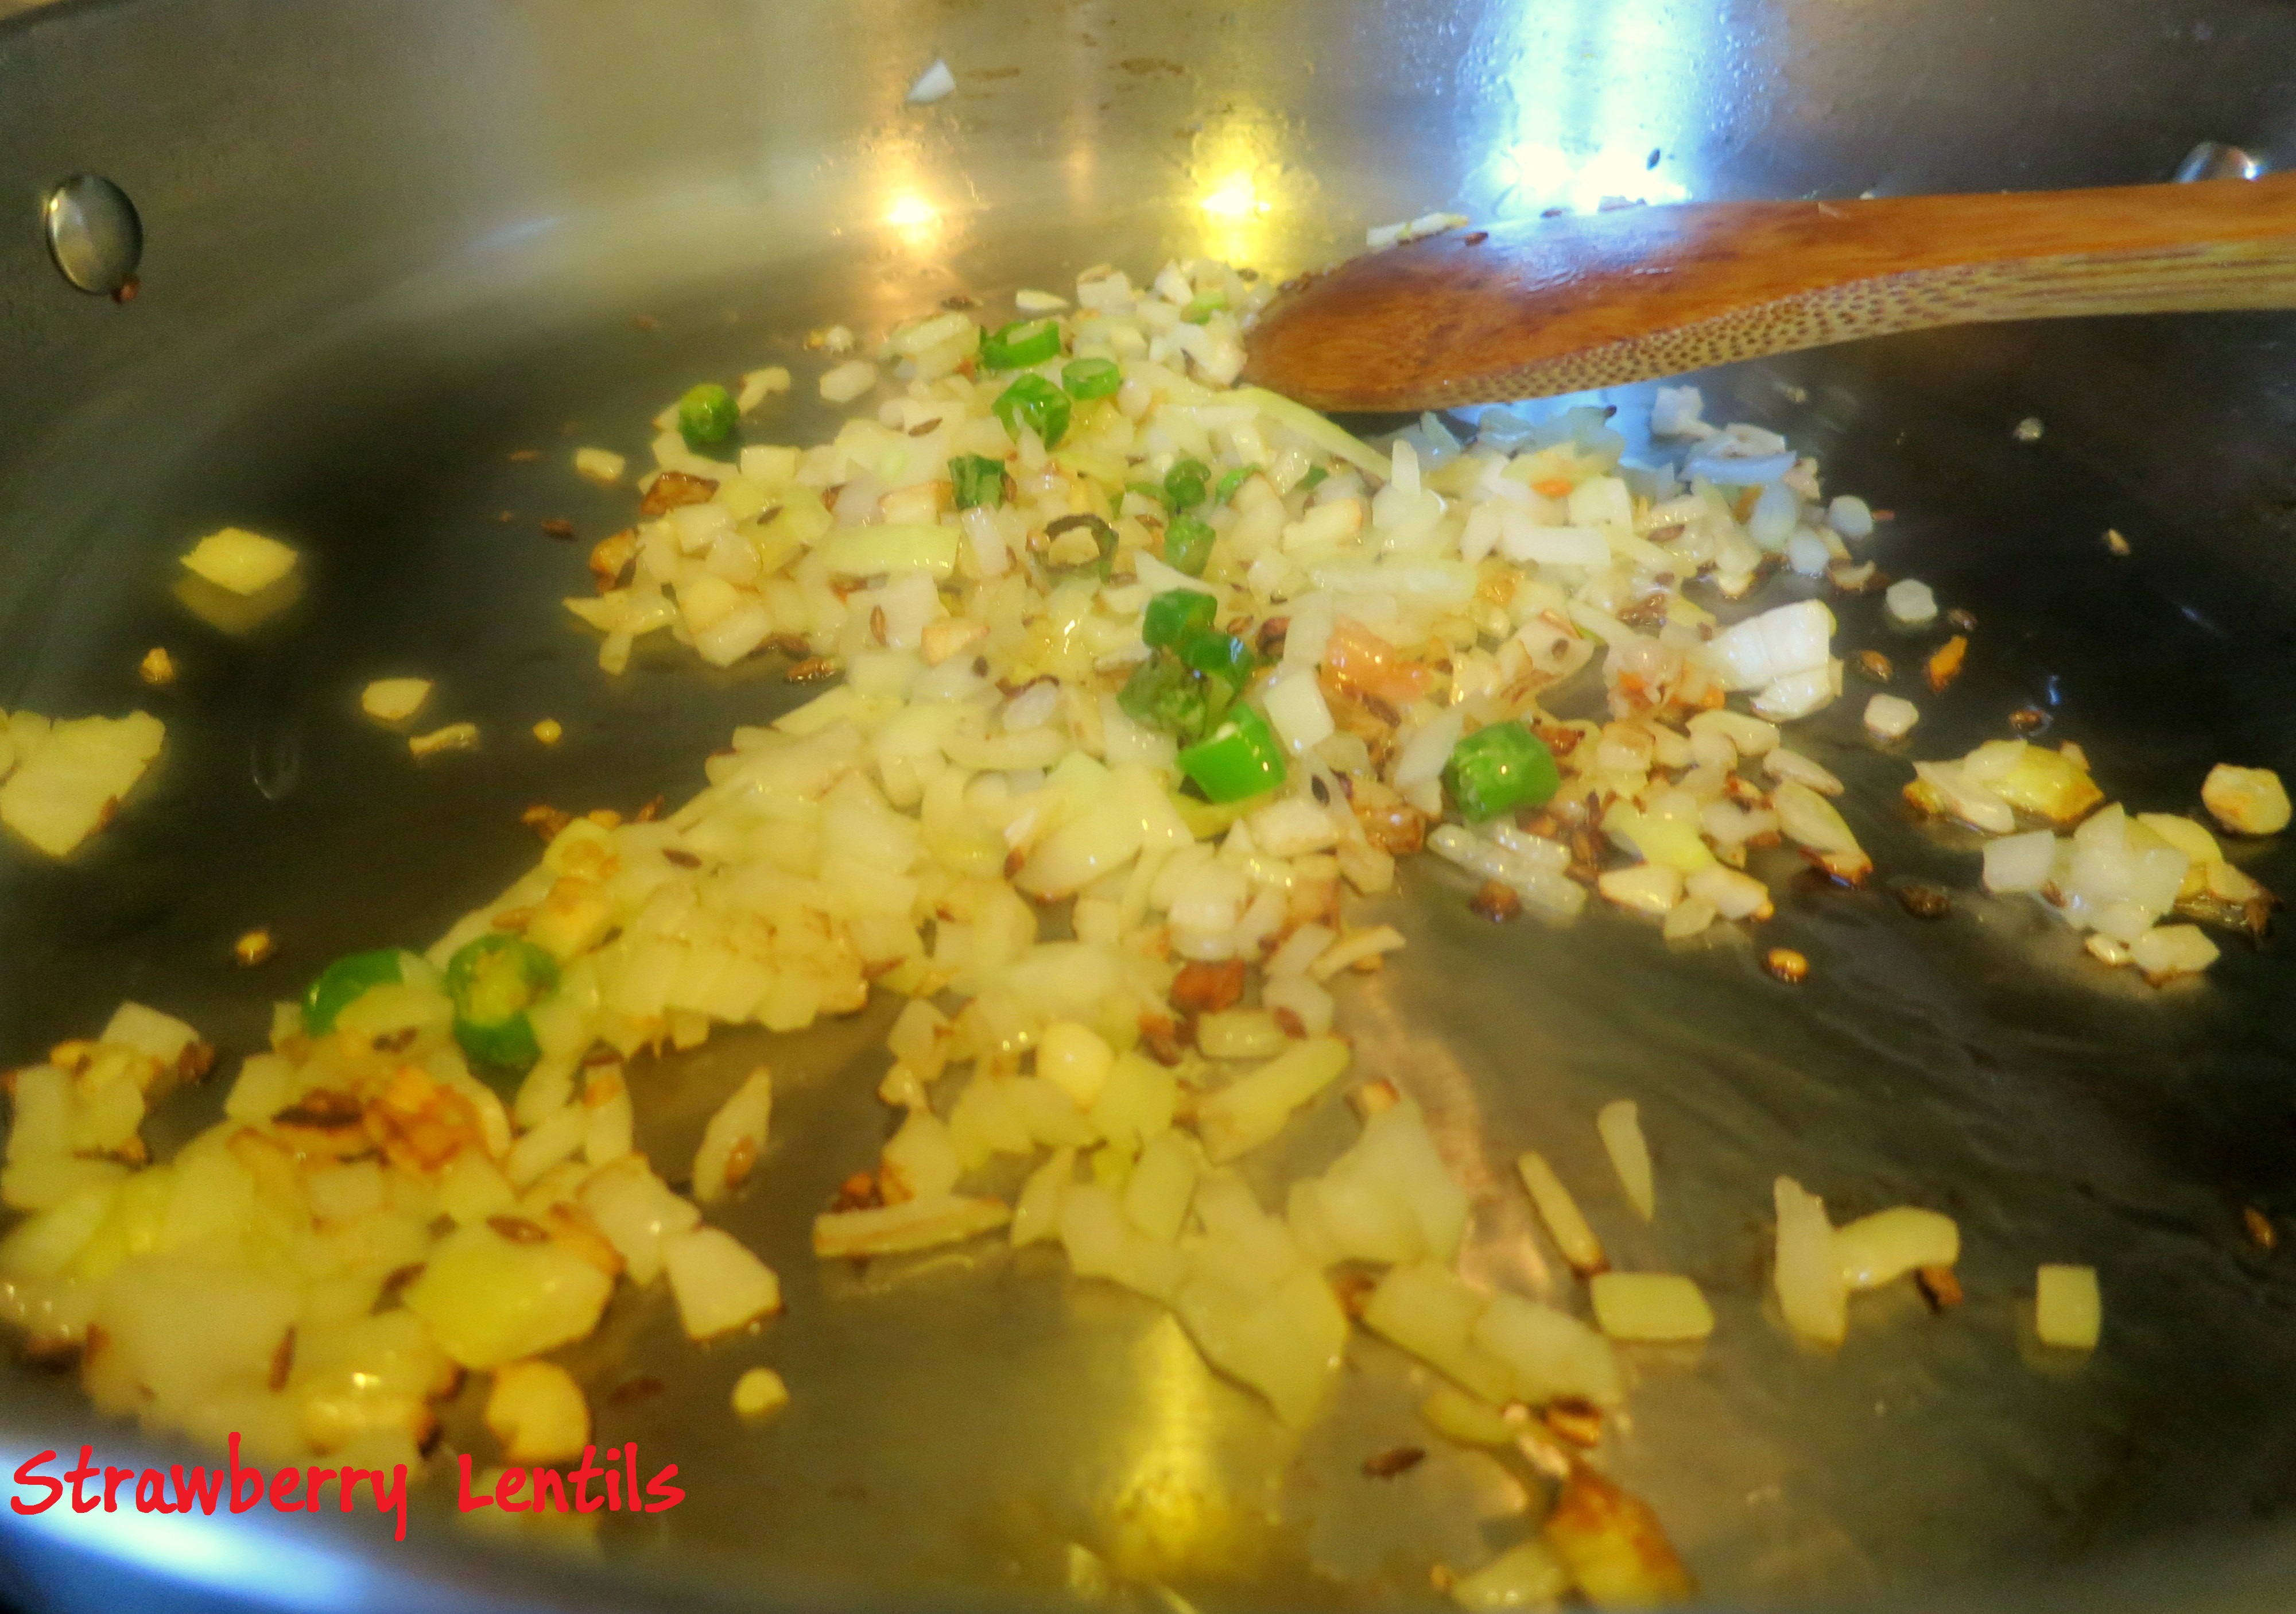
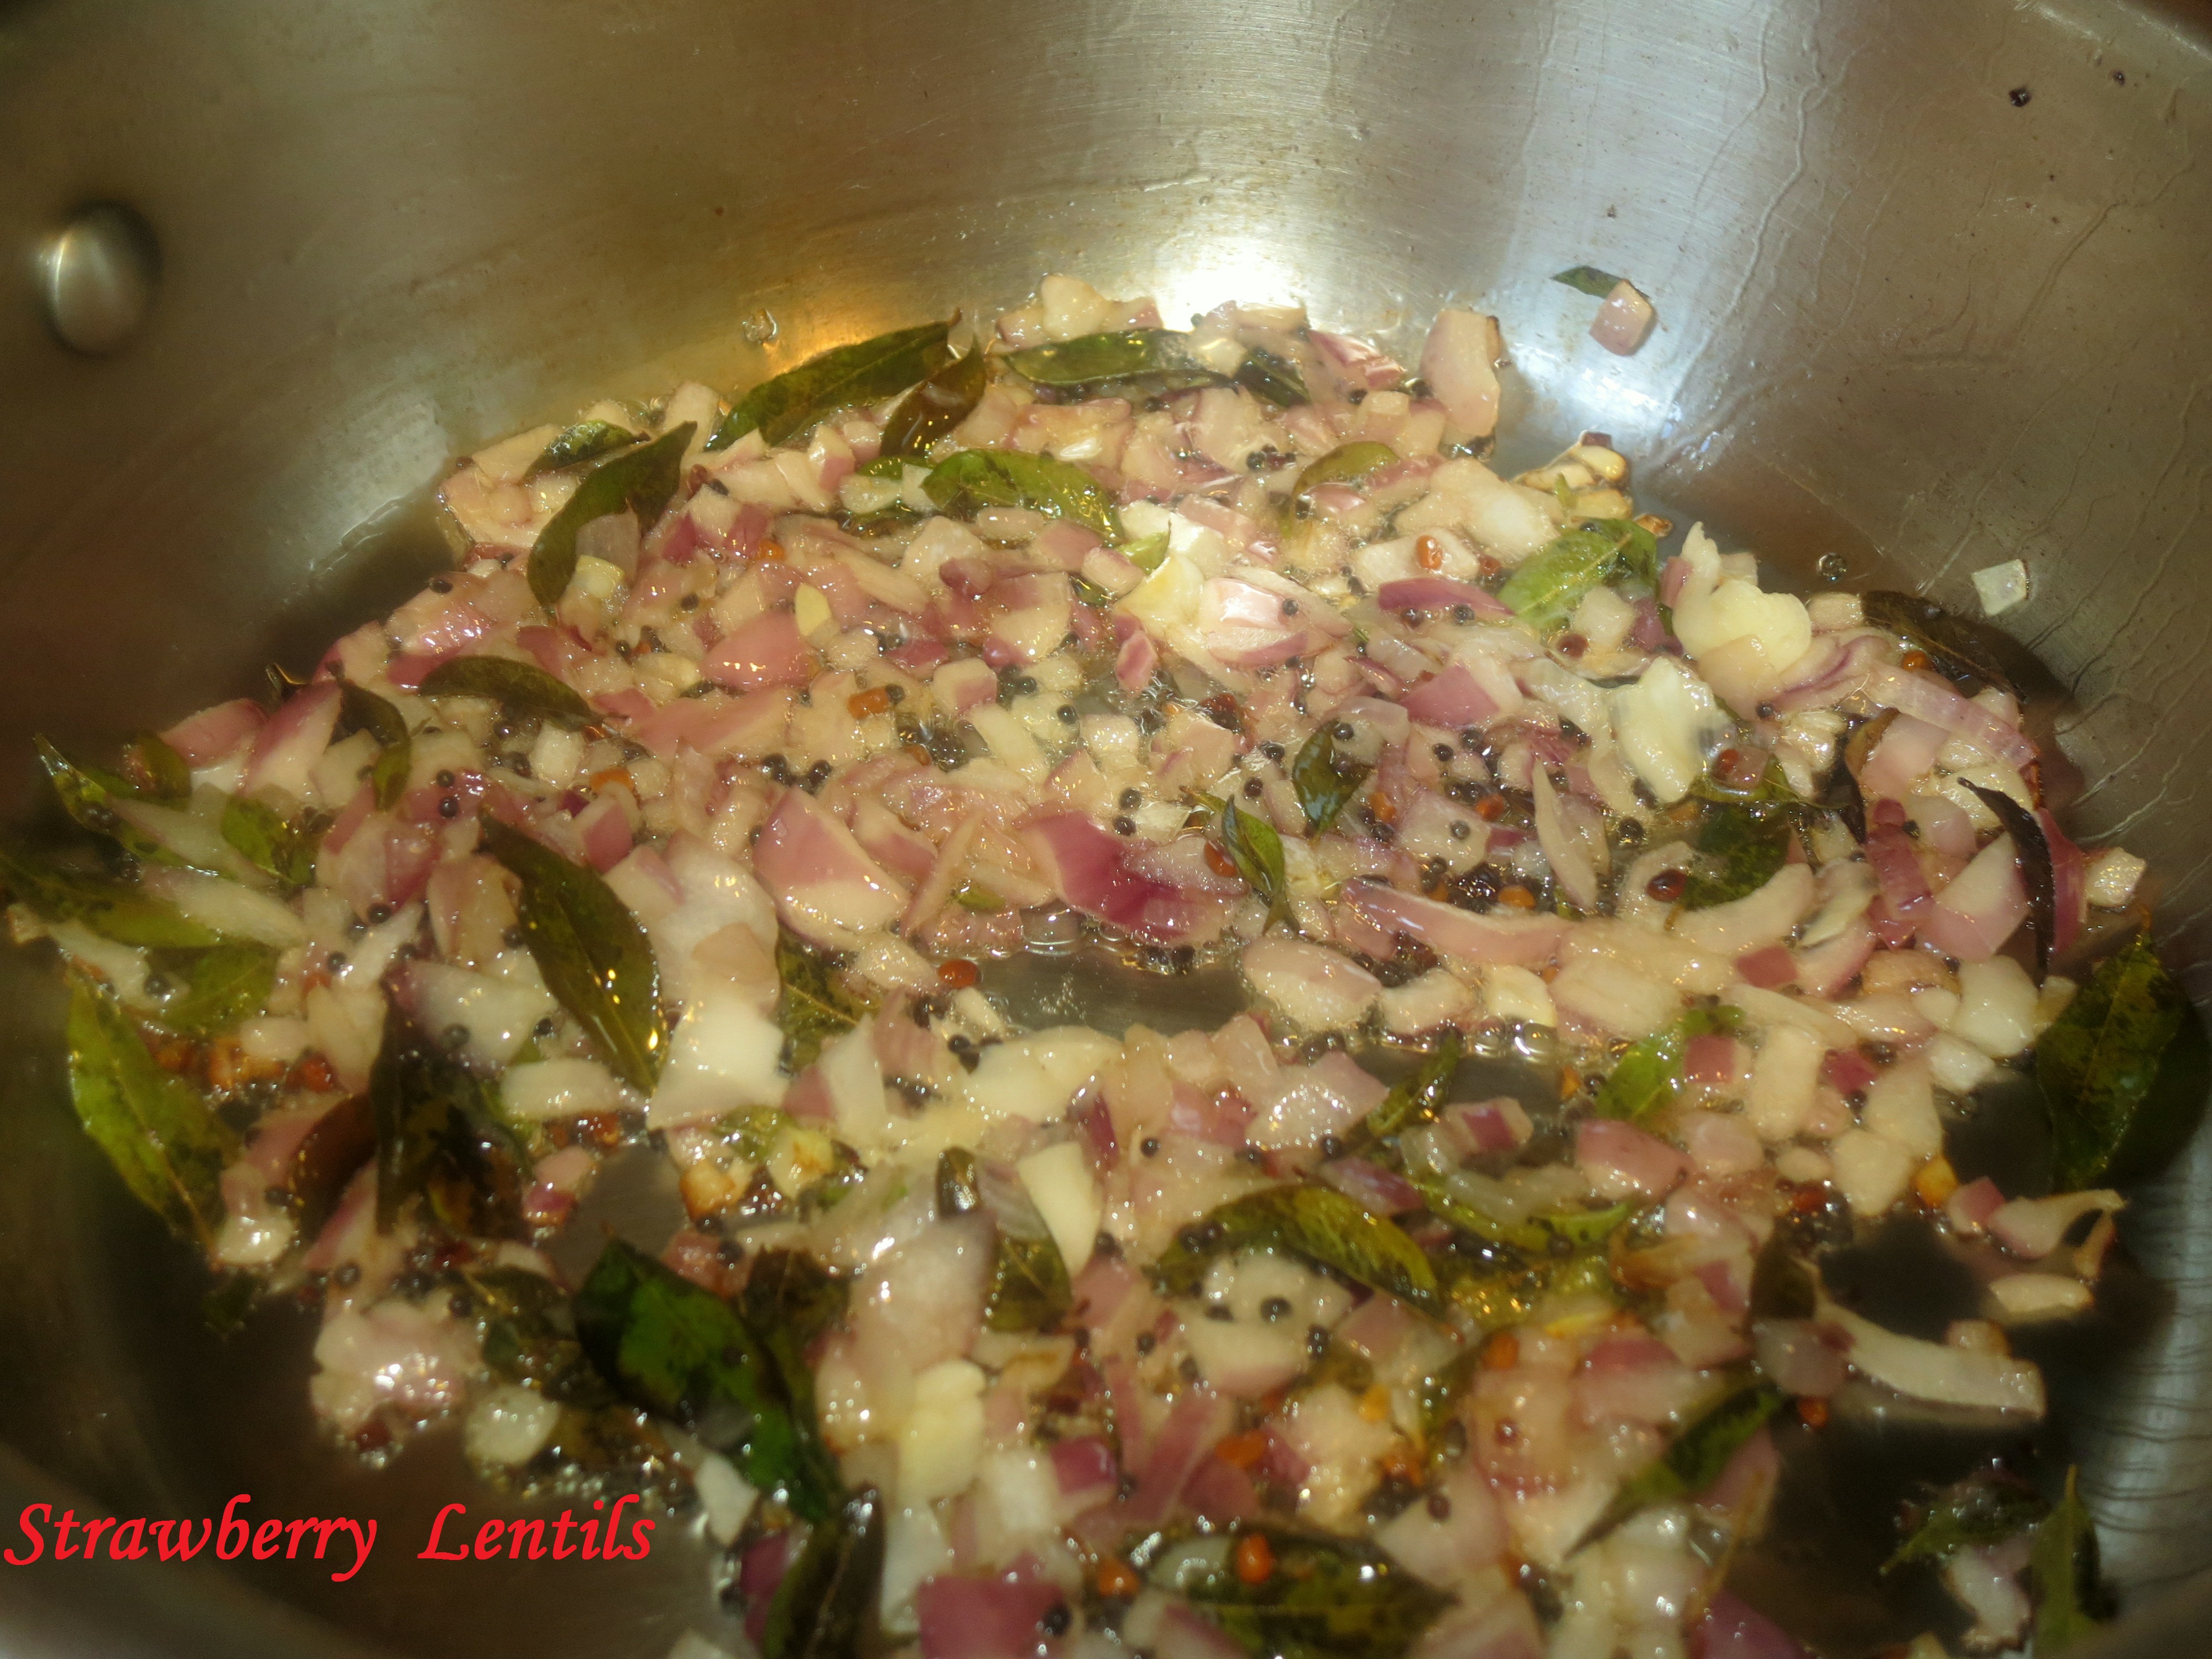
Saute the onions and curry leaves.

Image

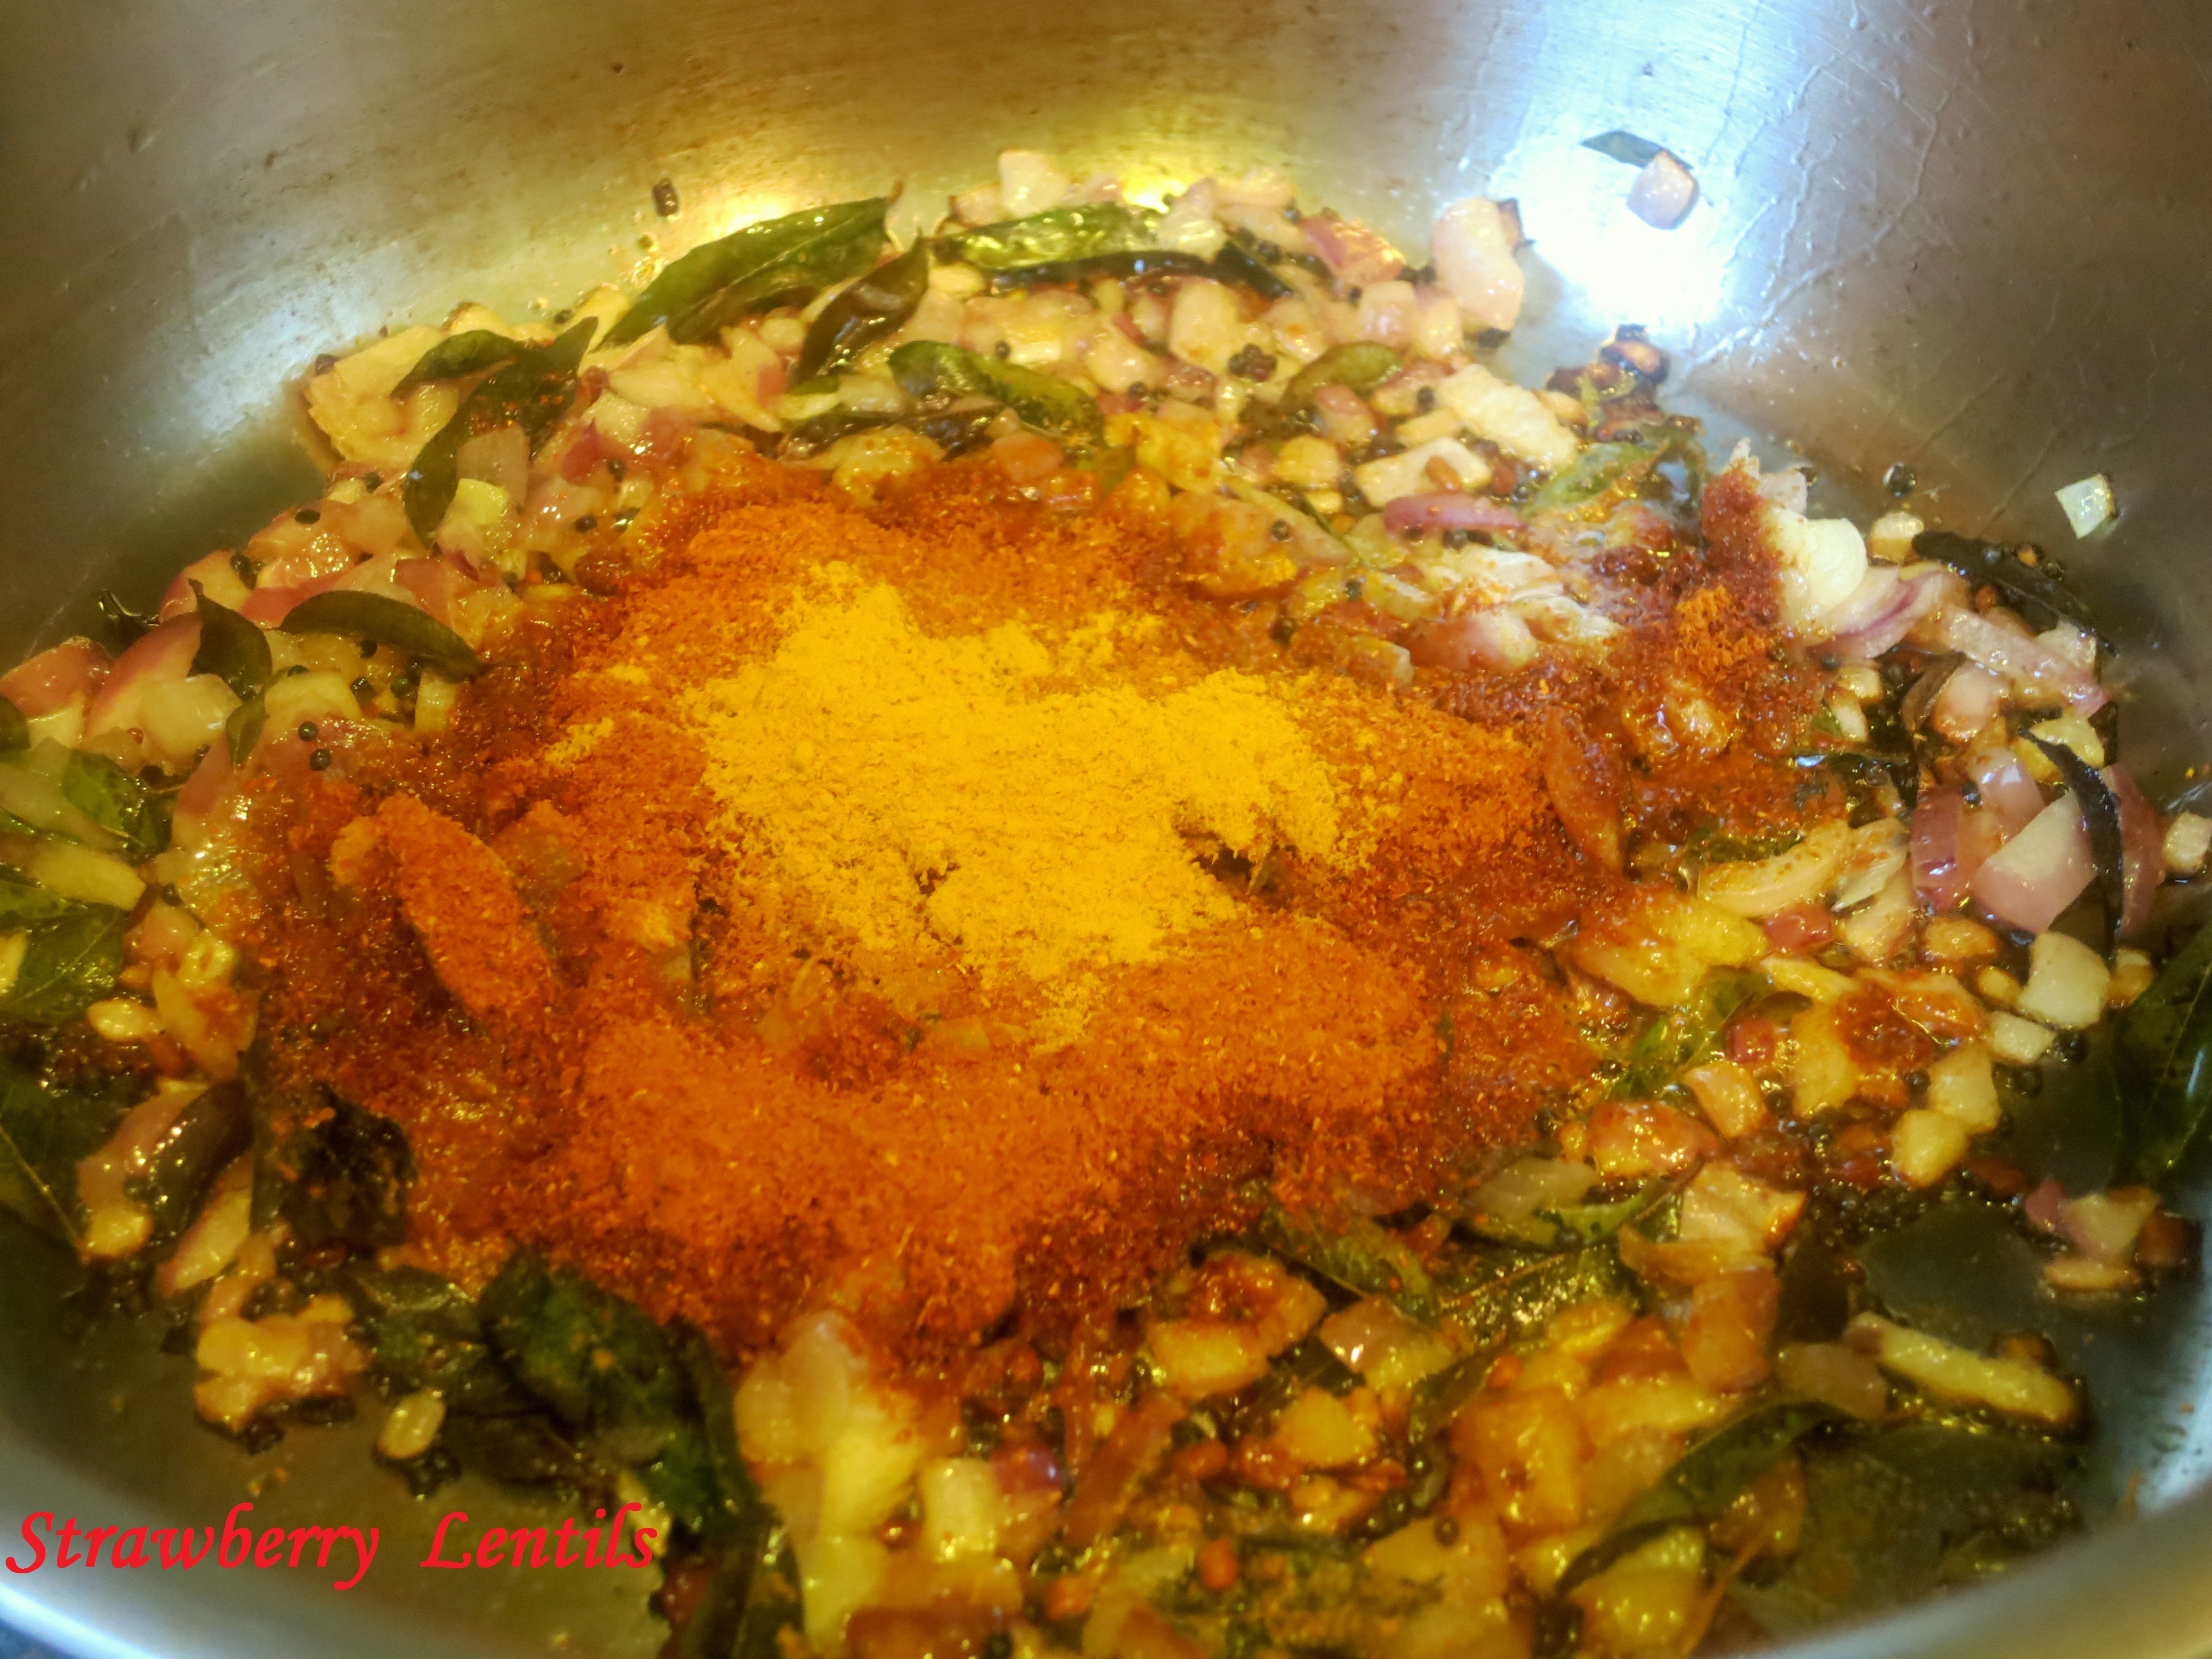
When the onions lightly brown, add :  2 tsp of turmeric powder and red chilli powder (according to your heat preference) directly to the oil. This will instantly cook the chilli powder and take the raw smell out of it.

Image

Once the oil separates, add the tomatoes.

Image

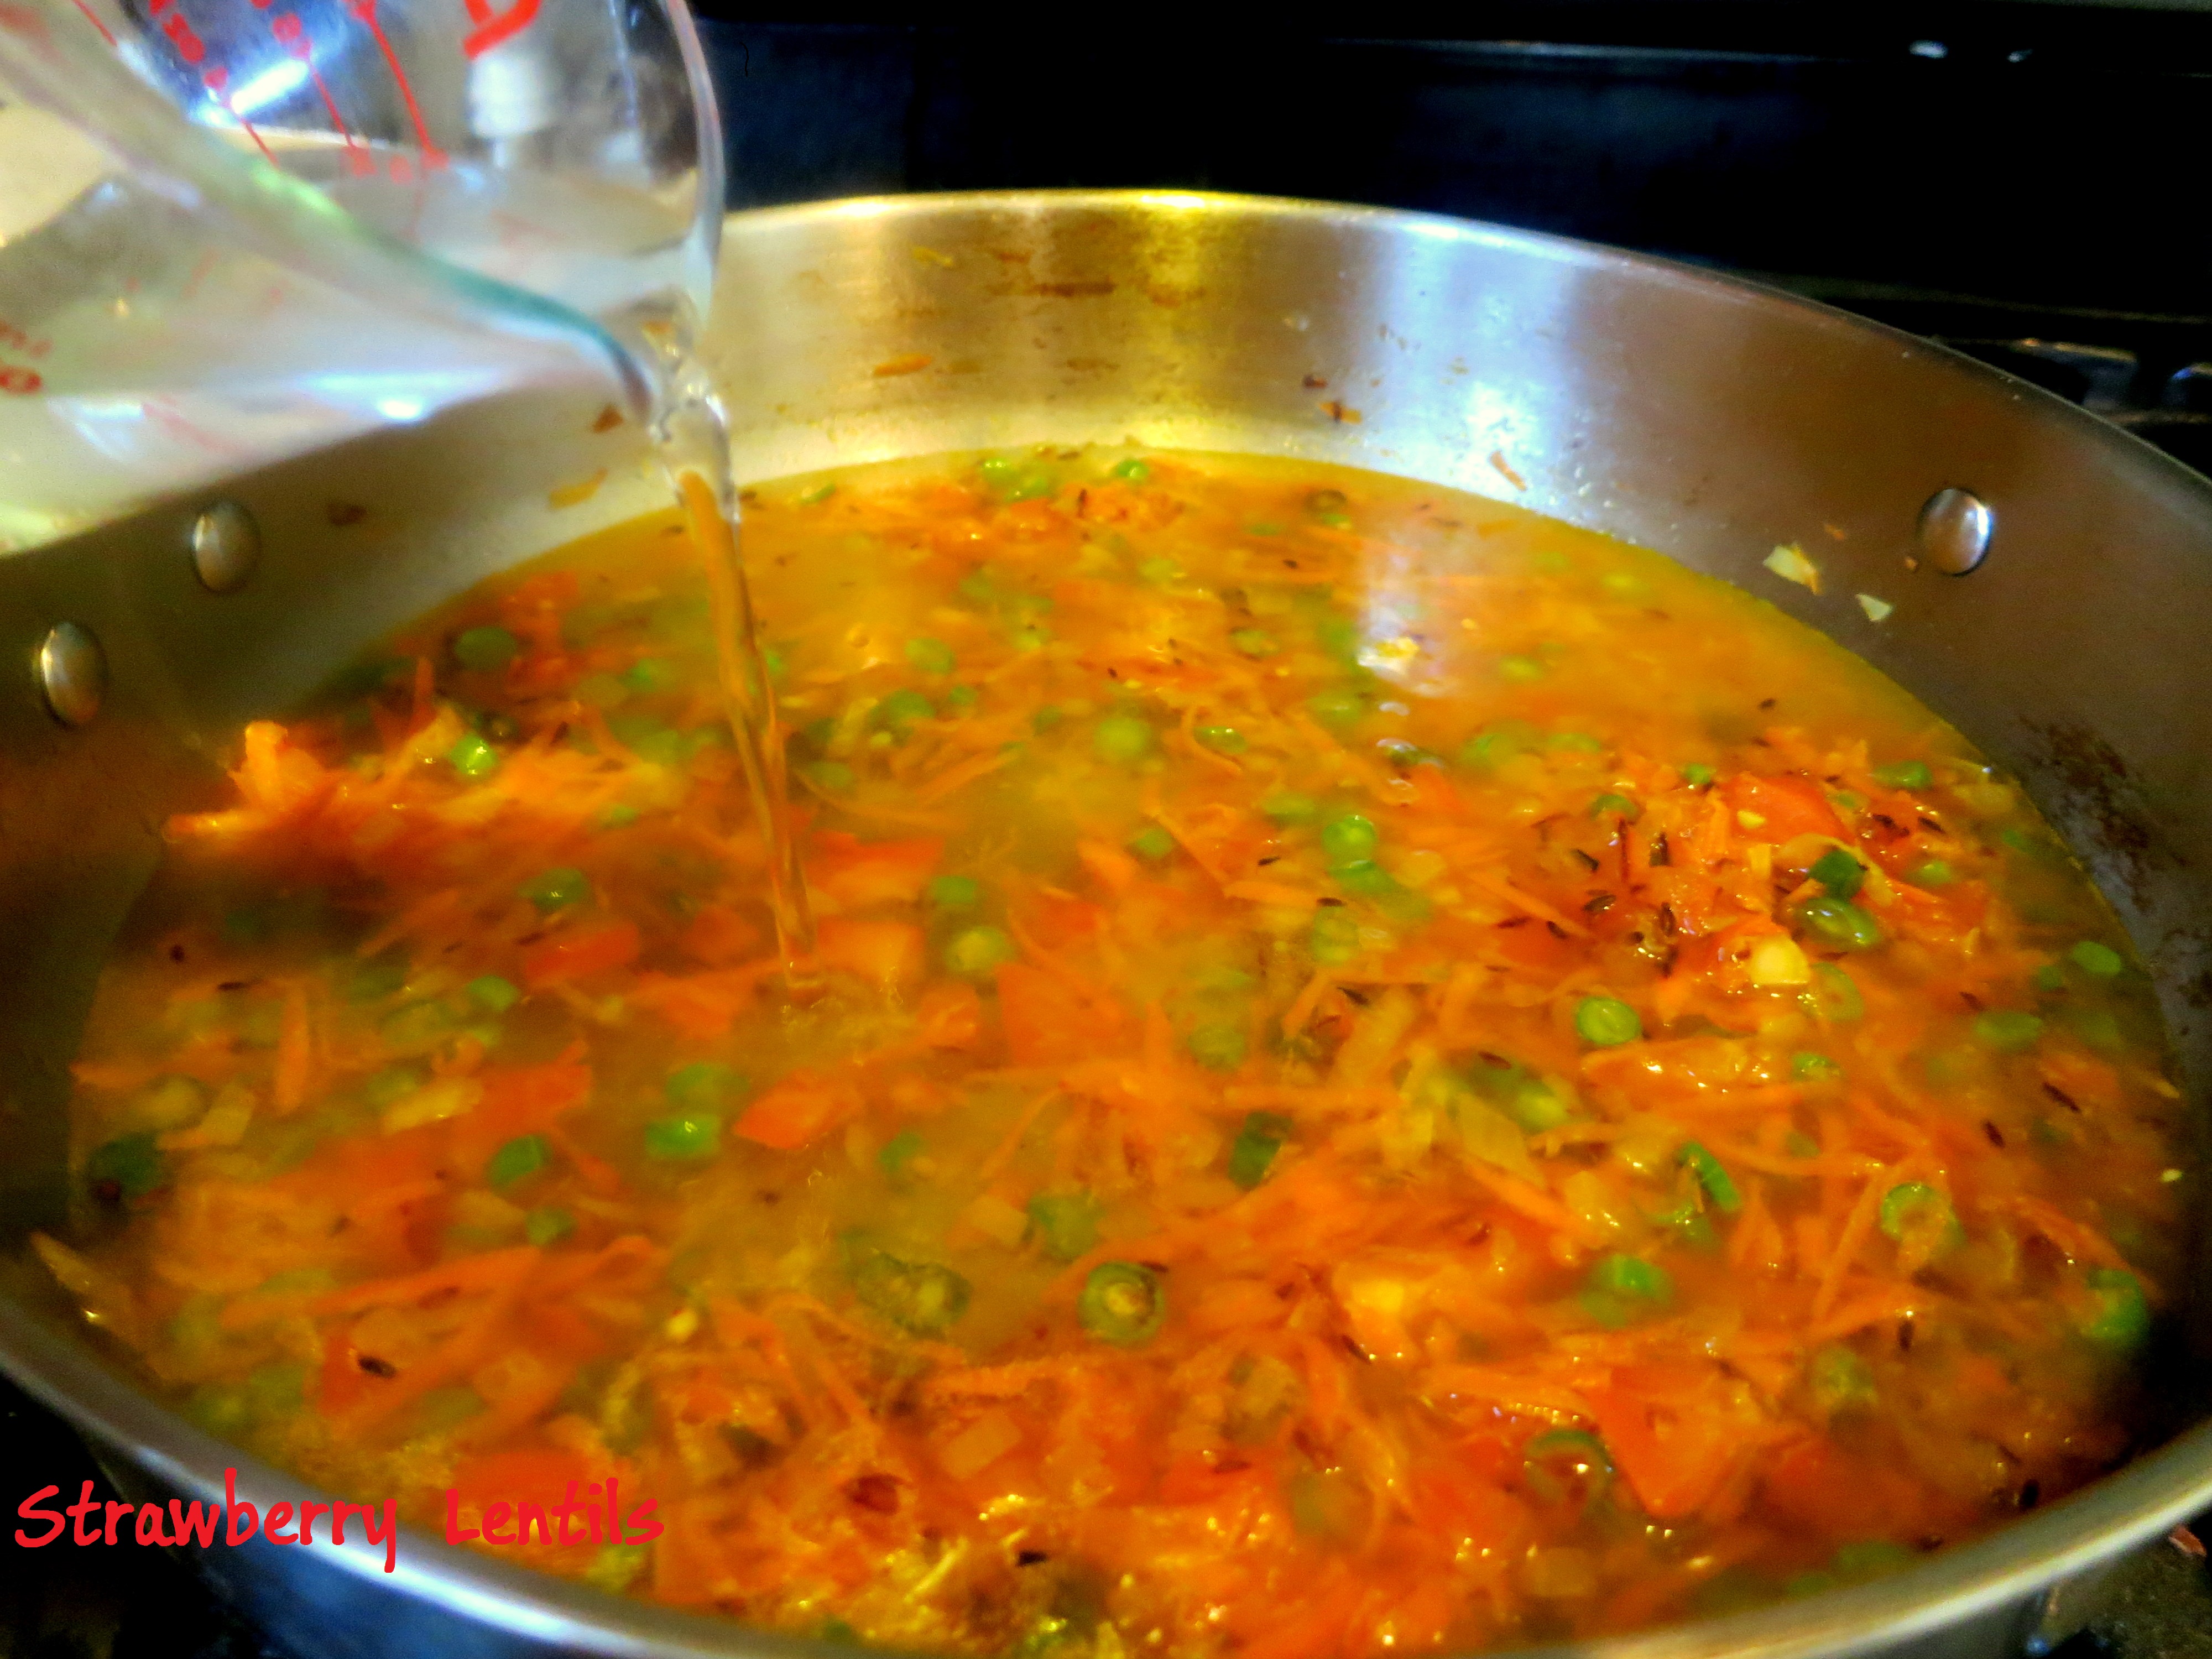
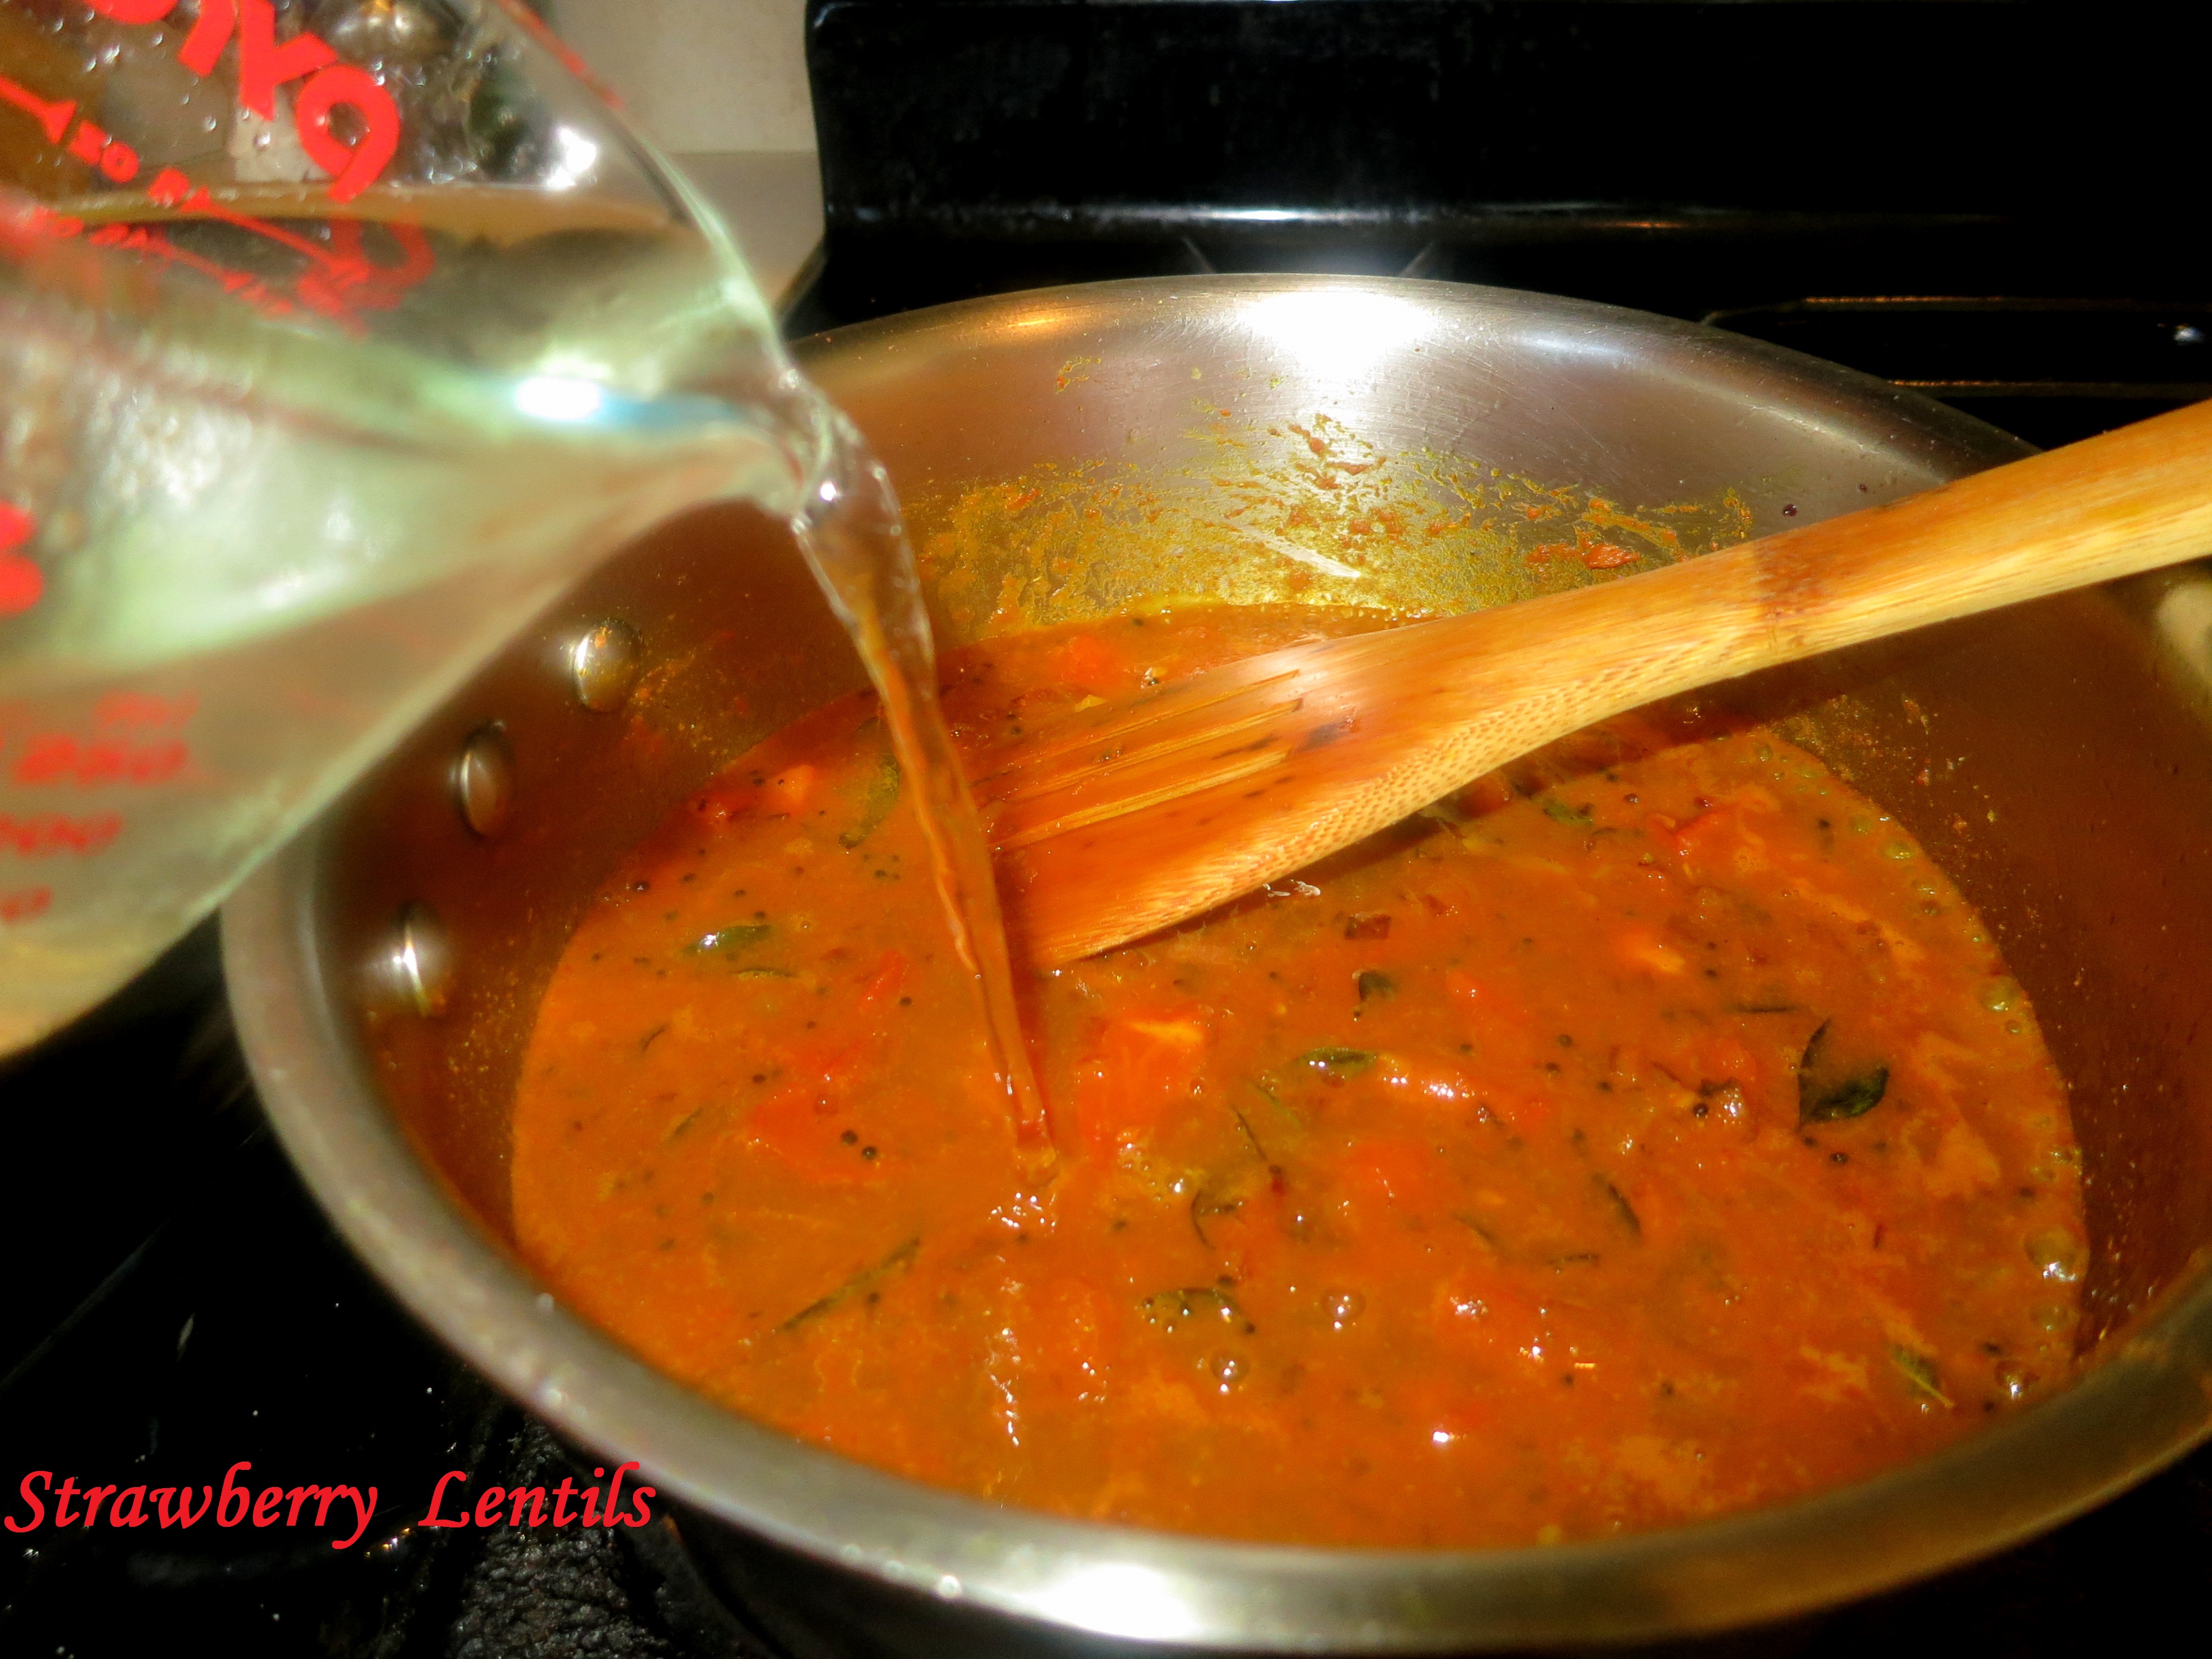
When the tomatoes soften, add the tamarind water.

Image

Add about a cup of water and salt. Allow this to boil and reduce a little bit (until the raw taste of tamarind goes away).

Image

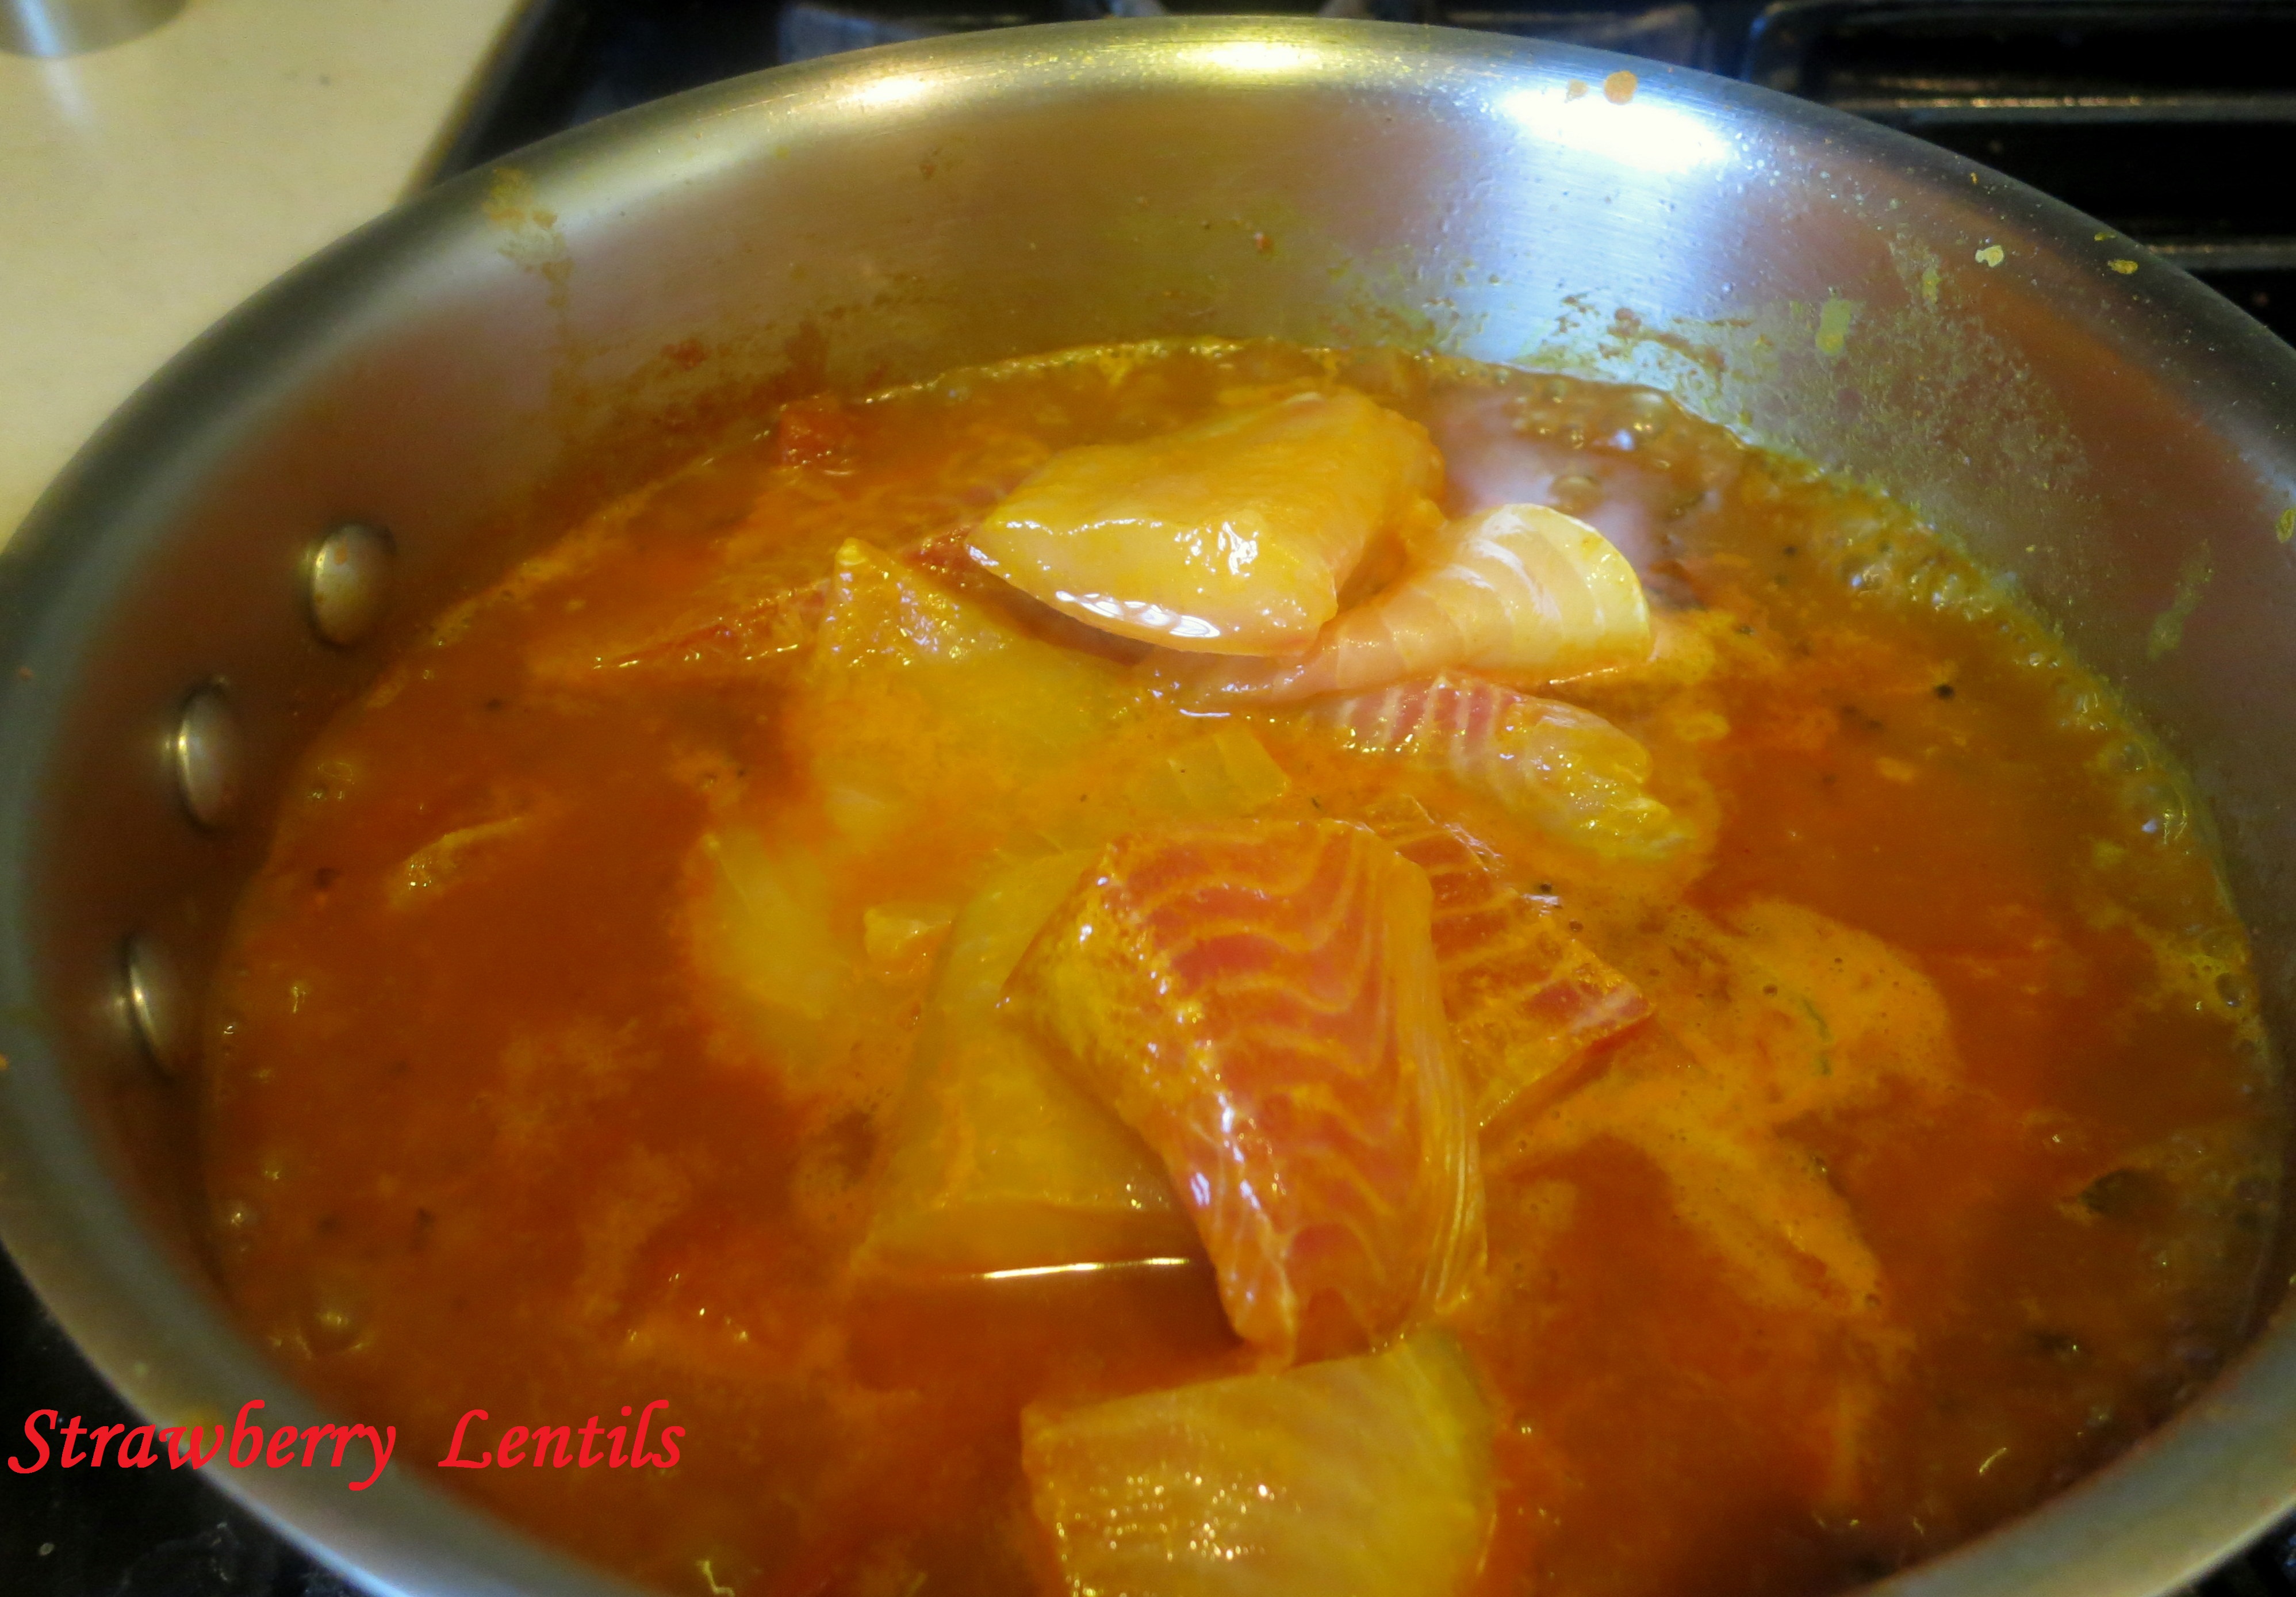
Add the fish pieces and allow it to cook for 5 mins. That’s all it will take for the fish to cook.

Image

While the fish is cooking, we can make the coconut paste. You’ll need :
grated coconut – 3 tbsp.
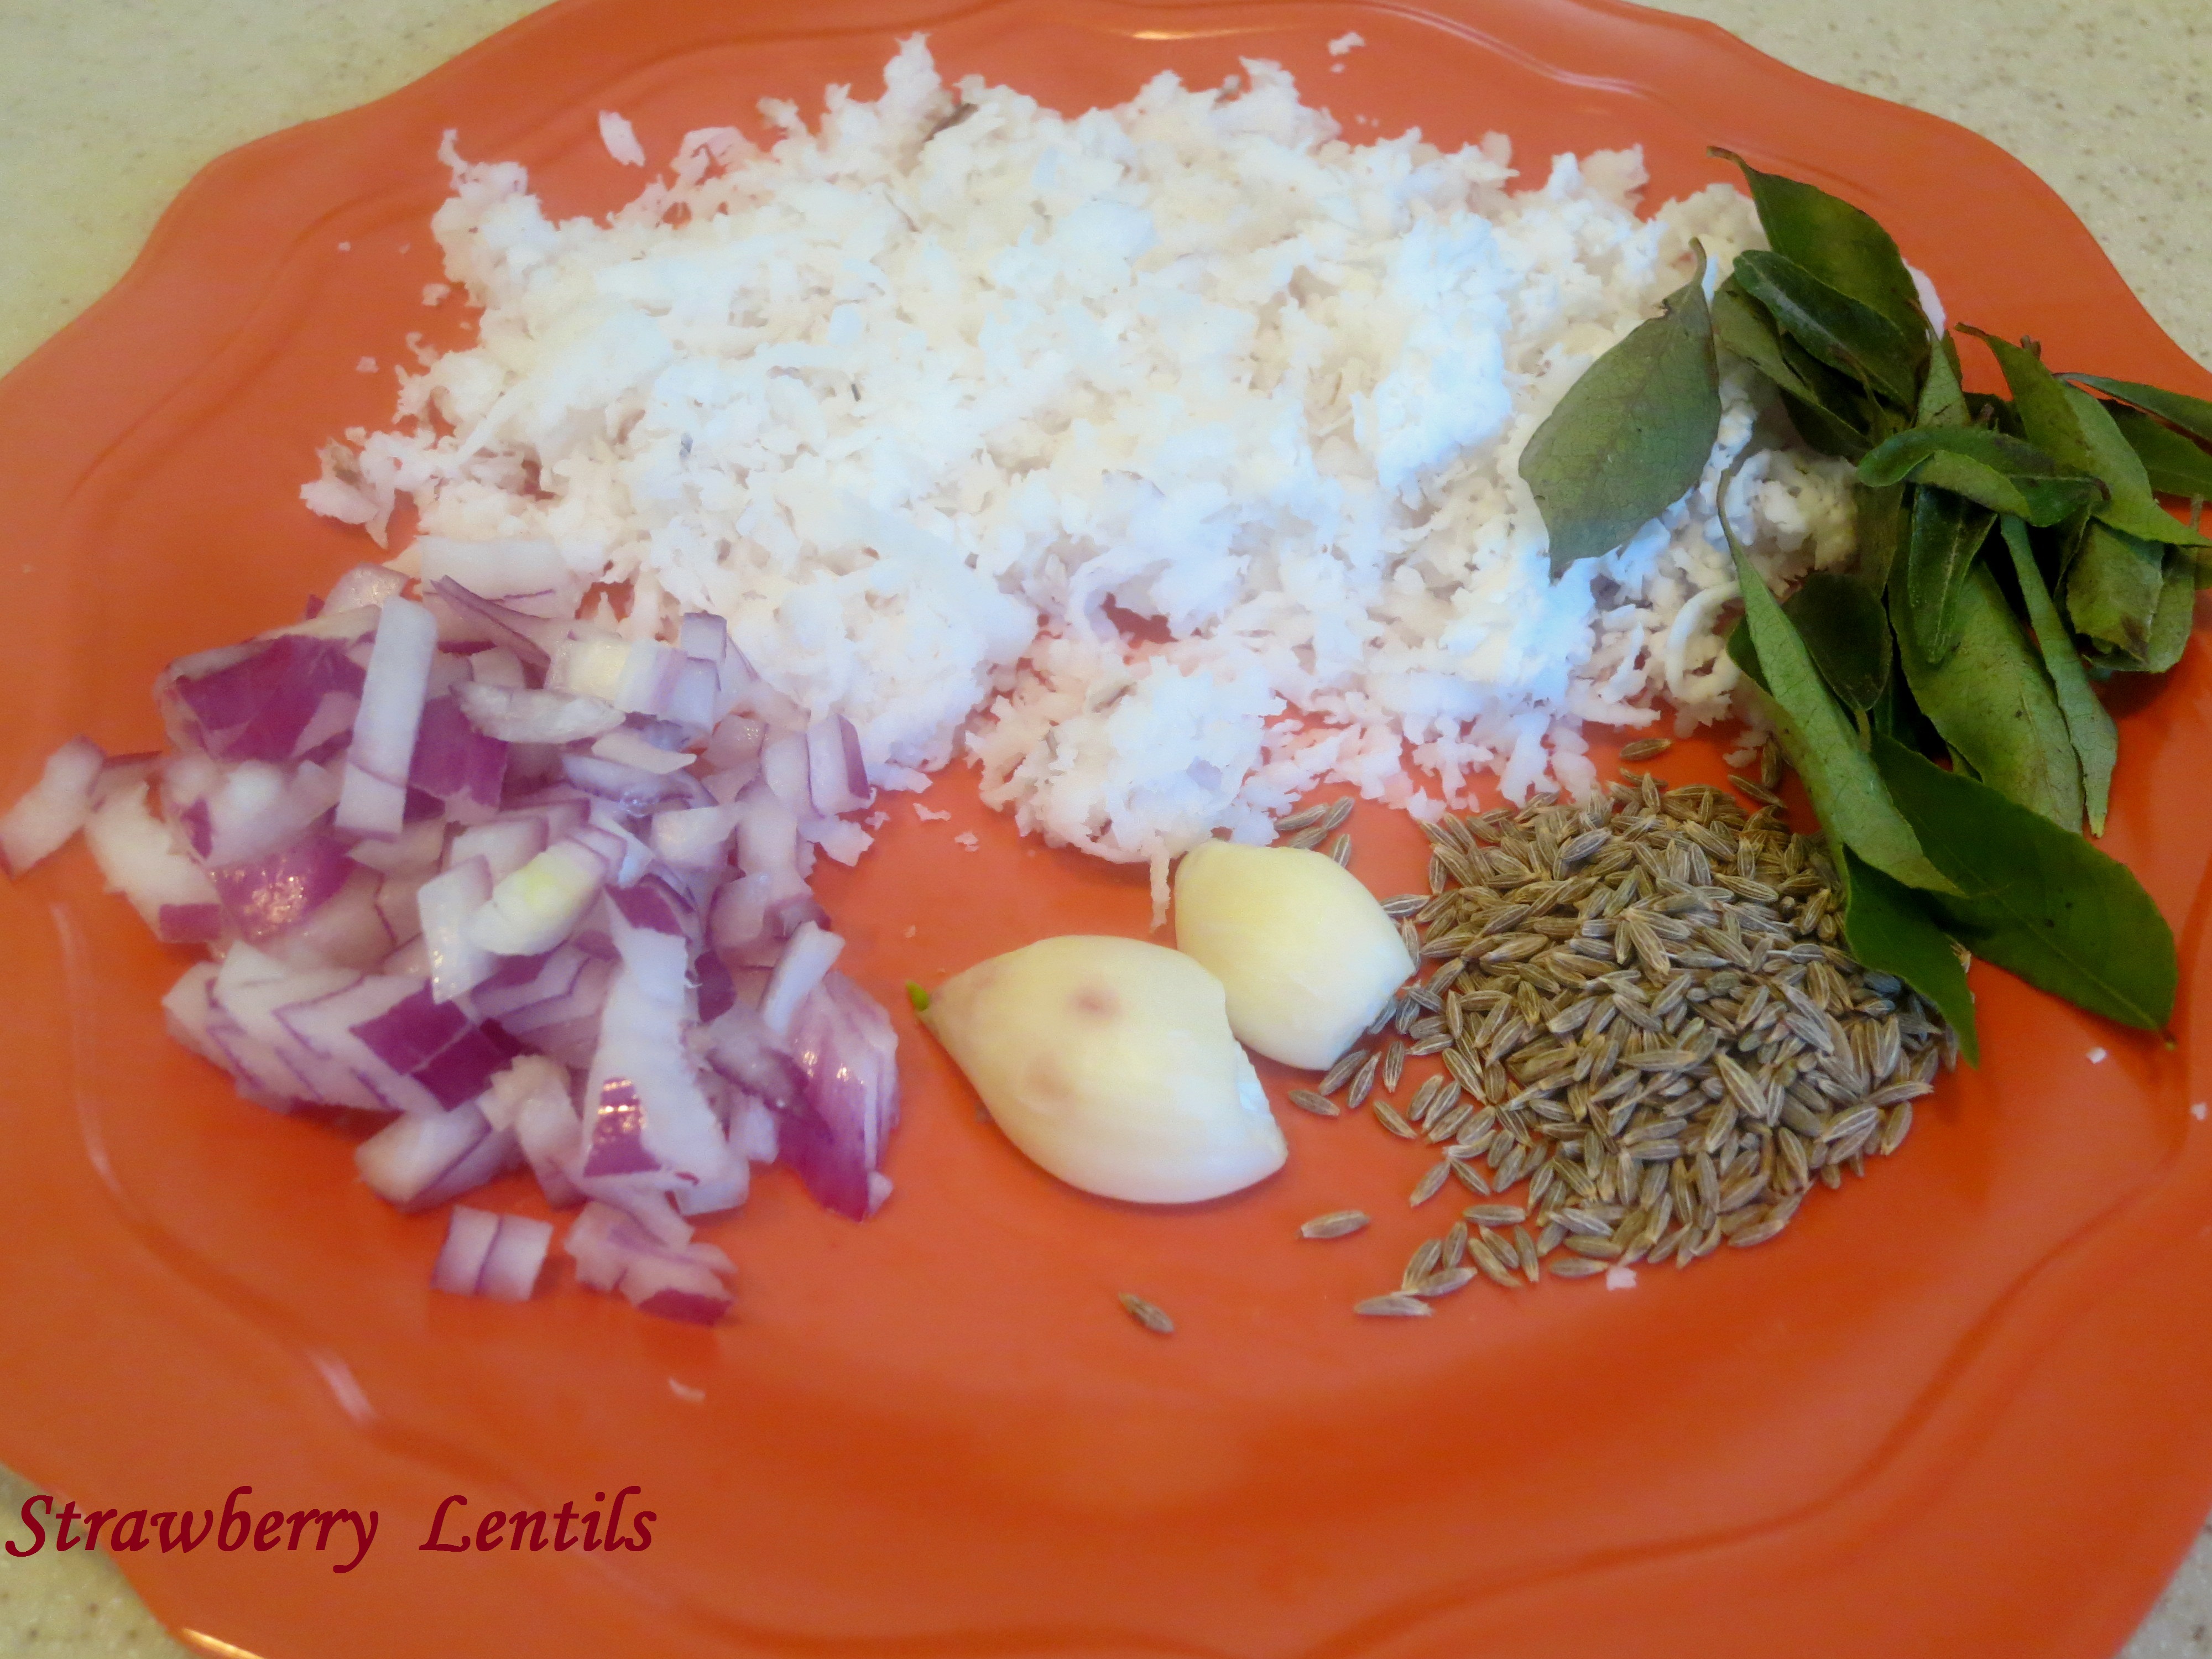
chopped onions – 1 tbsp.
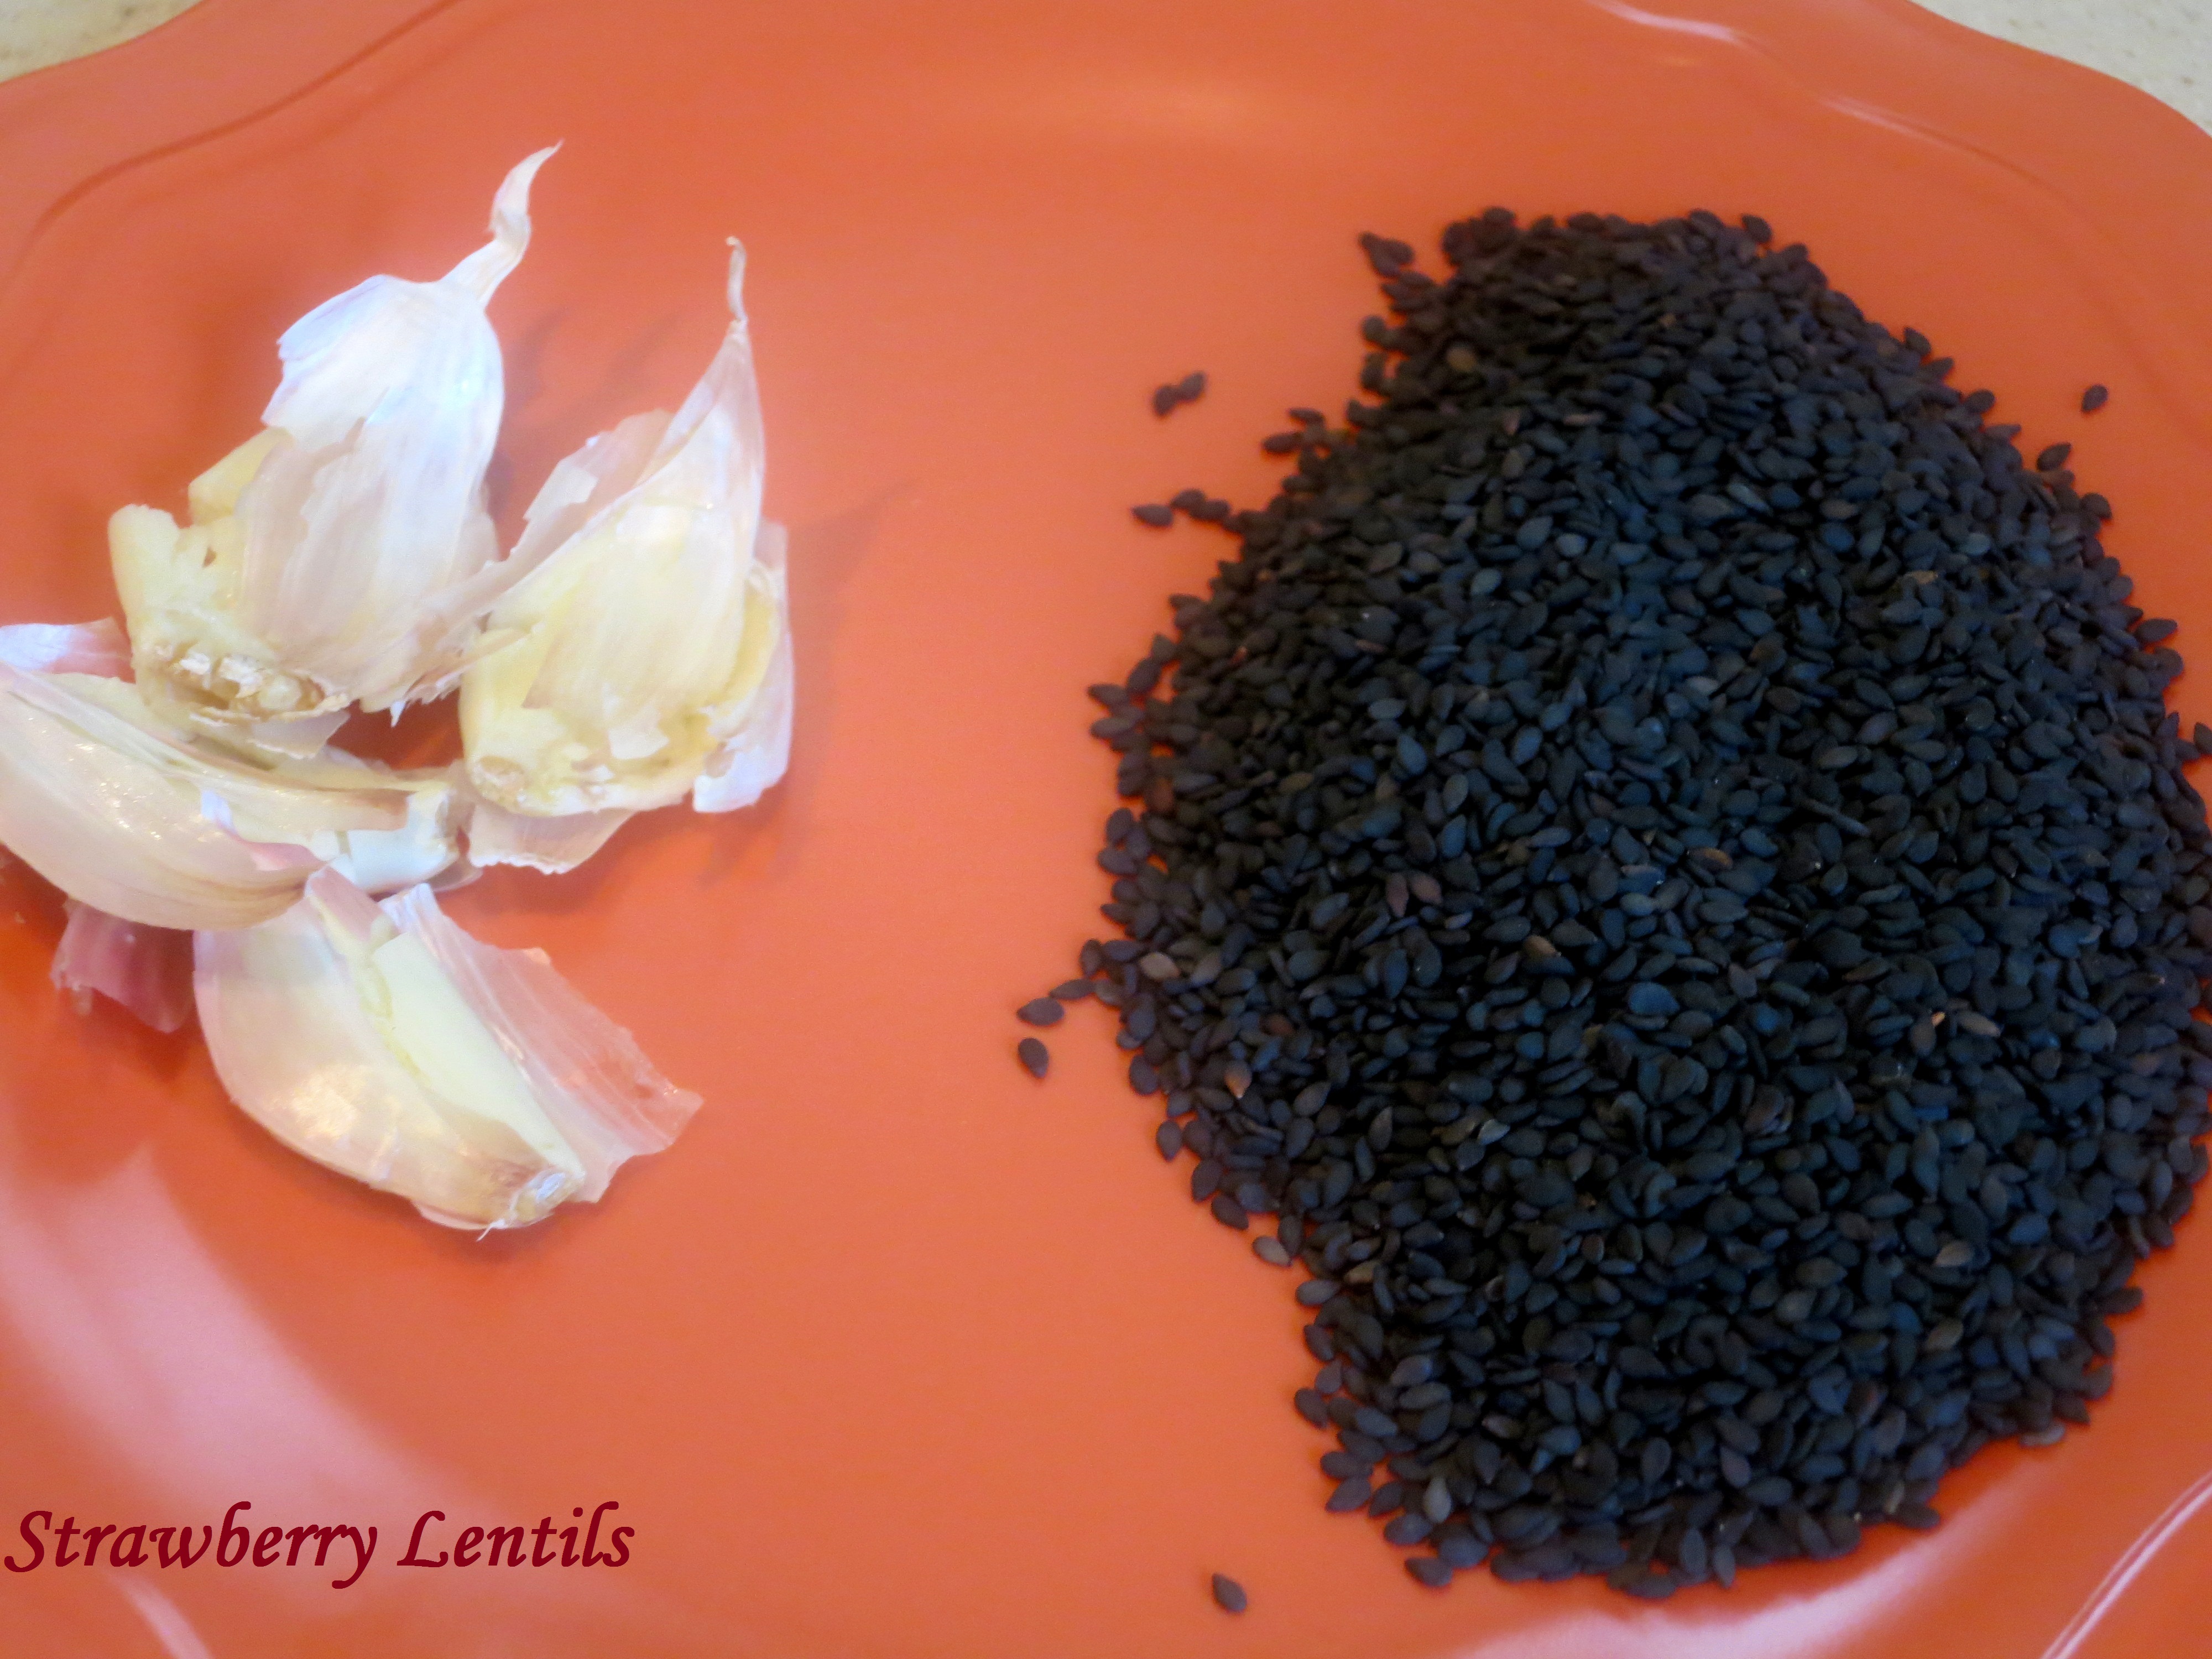
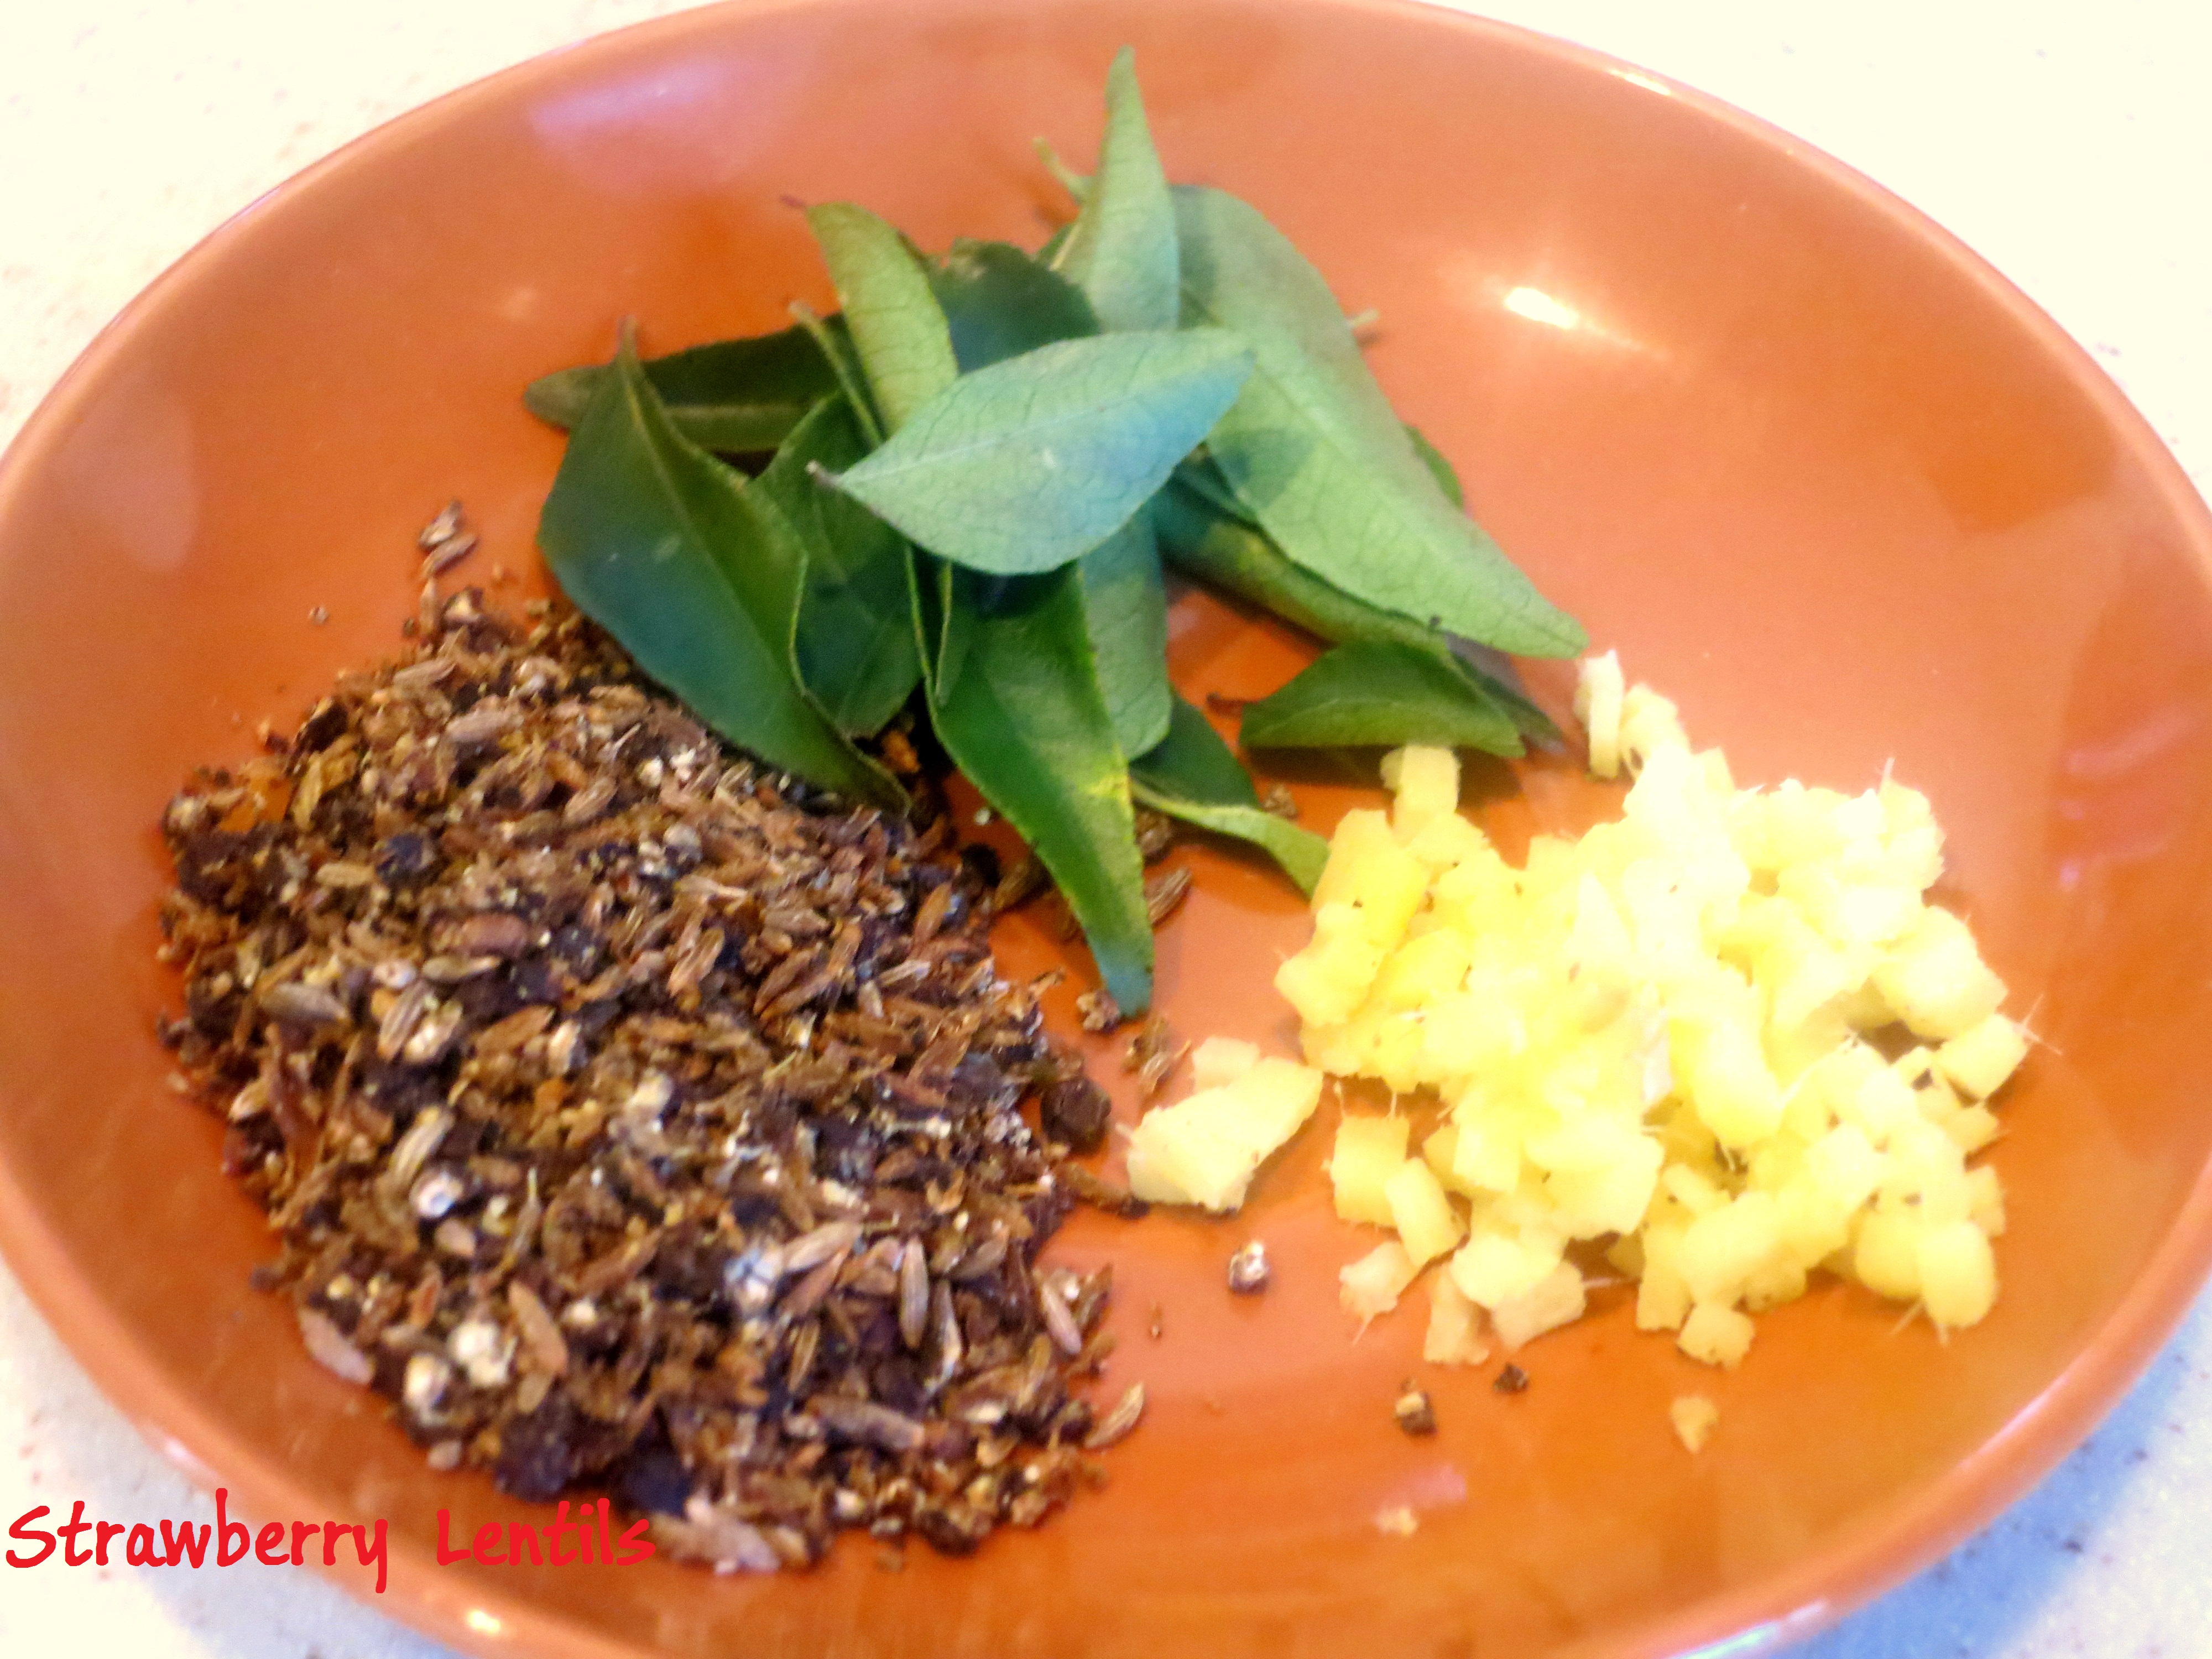
garlic – 2 cloves
cumin – 2 tsp
curry leaves – some
(If you like a little punch, you can also add 1 tsp of black pepper. )
Image
Grind them all with water to make a paste.
Image
Add the coconut paste to the fish curry, stir in without breaking the fish .
Image
Sprinkle some more curry leaves, cover with lid and simmer for 10 mins. Allow the curry to stay in the pan for at least 30 mins before transferring to the serving dish.
Image
Serve with rice. You can drizzle a tsp of sesame oil in the curry before serving. Fish, curry leaves and sesame oil are like soulmates, they work very well together 
Image

Idli podi (or molaga podi or chammandhi podi or..)


Call it any name , the taste never fails. I’ve always loved the combination of idli and podi(who doesn’t), this particular recipe is from my mom’s mom. This is more intense, more flavorful and more salivating 🙂 There are a few brands of podi available in stores (in NJ that is, I am sure there are more options in India), but I usually find them to be either very mild or they look very reddish as if the red chillies are raw. This recipe is very simple, so I always make it at home.
Image
If you just want a basic podi…these are the only ingredients you need.
Urad dhal – 1 cup (you can use urad dhal without the peel too)
Channa dhal – 1 cup
dry red chillies – 2cups (loosely packed)
Image
These are just embellishments that add more layers of flavor. You don’t have to add these for a simple podi. If you are adding sesame seeds, the shelf life is less.Sesame seeds (black, brown or white) – 1 cup ; Garlic cloves – a few
Image
Heat a pan and dry toast the lentils (urad dhal and channa dhal). Do not add oil, just toast them dry for a few minutes, until you get the flavor and the urad dhal becomes slightly pinkish.(Make sure to keep stirring to avoid burnt lentils).Image
Set the toasted lentils aside. Heat 1 tsp of oil and toast the chillies until they slightly change in color (again no burning).
Image
Toast the sesame seeds in a tsp of oil.
Image
Roast the garlic in a tsp of oil.
Image
Let everything cool down for atleast 30 minutes. Then dry grind it to a coarse powder.
Image
Add salt only after grinding. The right texture should be like beach sand, if you add salt while grinding, it will add moisture.
 Image
Hot idlis, podi, sesame oil and a cup of good Madras coffee…..mmmm….what a wonderful life !!
Image
You can also add podi to spice up the idli upma.
Image
Make “crispy idli fingers” (cut the idlis into finger shaped pieces and coat them with the podi and oil mix and shallow fry them. You won’t believe how crisp they come out.)Image

Easy Onion Rings


This recipe is so easy, you can make it faster than reheating the frozen rings 🙂

Image


Cut the onion in rings. I am using white onions, I have tried with red onions too. So yellow, white , red…they are all good.Image


The shortcut to the batter is to use  pancake mix . To  cup of pancake mix , add red chilli powder, garlic powder, a pinch of salt. In case you can’t get pancake mix, you can make your own as below :
1/2 cup flour
3/4 tsp salt
pepper
1/2 tsp baking powder
1 egg beaten
1/2 cup milk

 Image
 
Add water to make a batter, the batter doesn’t have to be smooth. consistency similar to bajji/pakora batter.Image
 
Bread crumbs ( any kind, regular, panko or pulsed cornflakes).Image
 
Dip the onion rings in the batter and then roll them in bread crumbs.Image
 
These are ready to be fried. Image
 
Fry the rings in oil to golden brown.Image
 
Coating with bread crumbs is optional. I prefer just batter fried rings… kids do love the crunch of the bread crumbs.Image
 
To make a simple dipping sauce : Mix your favorite hot sauce with your favorite ranch.
Image
 
 
Wasn’t that easy ? 🙂
Image


Oats Kichadi


Tired of eating oats with maple, brown sugar, cinnamon and fruits…try this savory oats recipe for a change…Image

Soak 1 cup of green grams (whole moong) for about 4 hours.

Image

Cook the green grams thoroughly. (I pressure cooked them).

Image

Plain oats – 1 cup.

Image

Onions, Tomatoes, Green chillies (I’ve used two), garlic – chopped, grated carrots, green beans

Image

In a pan, heat a spoon of oil and fry cumin seeds. Then sauté the green chillies, garlic and onions.

Image

Saute carrots and green beans (you can add vegetables of your choice) and finally add the chopped tomatoes.

Image

After the veggies soften add 2.5 cups of water

(1 cup of oatmeal : 2.5 cups of water)

 Image
When water boils add the oats. I am using quick oats. Check the box for cooking time and water quantity.
Image
Cook for about 5 mins. If needed add more water and add salt to taste. Once the oats are cooked , stir in the cooked green grams and sook in low hear for another 5 mins.

 Image
For seasoning : black pepper and cumin – crushed, chopped ginger, curry leaves
Image
Heat a spoon of oil and fry the pepper, cumin, curry leaves and ginger.
Image
Mix with the cooked oats.
Image
For garnish and to add texture, dry roast some nuts. I roast them in microwave for about a minute.Image
Top the oats with the dry roasted nut, chopped carrots and herbs of your choice. I’ve used curry leaves here.This is a complete meal with whole grains, lentils, vegetables and nuts.

 Image

Mysorepak


Mysorepak is one such sweet , that you can’t just read a recipe, do it and get it right. There is a rhythm to the making of it and you have to do atleast a couple of times to find your own and make mysorepaks with the melt in your mouth texture and yet not like a burfi. I had the hardest time taking pics for this recipe as in the last 5 minutes things happen really fast , and managing the camera and the stirring was a challenge. However, I hope if you are looking for a mysorepak recipe this could help you.Image
Besan (chick peas flour)- 1 cup
Sugar – 2 cups
water – 1/2 cup
Ghee – 1 cup
flavorless oil – 1 cup(I like the mix of ghee and oil, when you use just ghee, the texture doesn’t come right…it comes out very soft , like a burfi. And we won’t be fully using the 2 cups of ghee and oil mix, but its always better to have this amount on hand ready, coz’ while making the mysorepak, if you need more ghee/oil…it would be too late.)Image

Mix 1 cup of ghee and 1 cup of oil and heat it to smoking hot, then lower down the flame and keep it in ‘sim’ until the mysorepak is done. The key is that it should be hot, not warm.Image
Heat 3 tbsp of oil (you can take some from ghee+oil mix) and add it to the besan. The oil has to be hot enough so that you hear a sizzle and you can also see it bubbling when you add to the besan. Do not skip this step, this takes the raw smell out of besan.Image
Mix the oil well with the besan, try to break the lumps with spoon, but do not worry much about them. I always add it like this, the lumps smooth out in the syrup anyways.Image
Grease the plate you will be pouring the mysorepak in at the end.Image
I have one heavy bottomed pot to make the mysorepak and the ghee+oil pot in the nearby burner (keep it hot)Image
Add the sugar and water to the pot to make the syrup.Image
Stir until sugar completely dissolves. The consistency we are looking for is 1-string. But you don’t have to check the string. when you see the sugar boiling like this, it is 1-string consistency.Image
Add the besan to the syrup. You will see lumps now…but do not worry about that.keep stirring for a couple of minute before you start to add ghee.Image
Pour a big spoon of hot ghee+oil to the mix. Ofcourse, you have to hear the sizzle and you will see the hot ghee cooking the top layer instantly.Image
Mix well until the ghee is absorbed. Keep adding ghee and keep stirring.Image
The mixture will take in all the ghee you are adding. Notice the smooth texture…Image
Notice how the texture is becoming flaky, its the beginning of the end .Image
Slowly the ghee+oil will start oozing out of the mixture. Image
The mixture will not stick to the bottom anymore.Image
When it rolls easily into one big lump you know its done…if you leave it on heat any longer, it will start to brown/burn.Image
Quickly transfer the mysorepak to the greased plate….the mysorepak will continue to cook.
Image
Smooth the top without pressing too hard, the top layer will look rough….that’s how mysorepak is.Image
Mark lines when it is still warm. But you can wait for it cool down before you cut them into pieces.Image
The cooking time, from making the syrup to pouring the finished mysorepak to the greased plate won’t be more than 10 – 12 mins. But those 10 mins definitely need your undivided attention.  Good luck !Image